Have you ever tried to photograph lightning? It is no easy task to catch it at just the right instant – even when leaving the shutter open for several long seconds. Not to mention, it can be a little dangerous depending on the storm and how you position yourself.
Hey there, I’m Cara! While you won’t get the thrill of photographing lightning using this trick, it’s safer and faster to create lightning on your computer. So let’s look at how to create a lightning effect in Photoshop!
There are ten essential steps to make a realistic lightning effect in Photoshop, and I’ll explain the steps in detail.
Note: I use the Windows version of Photoshop. If you are using a Mac, the workspace will look slightly different from the screenshots displayed here.
Table of Contents
Step 1: Make a Copy of the Background Layer
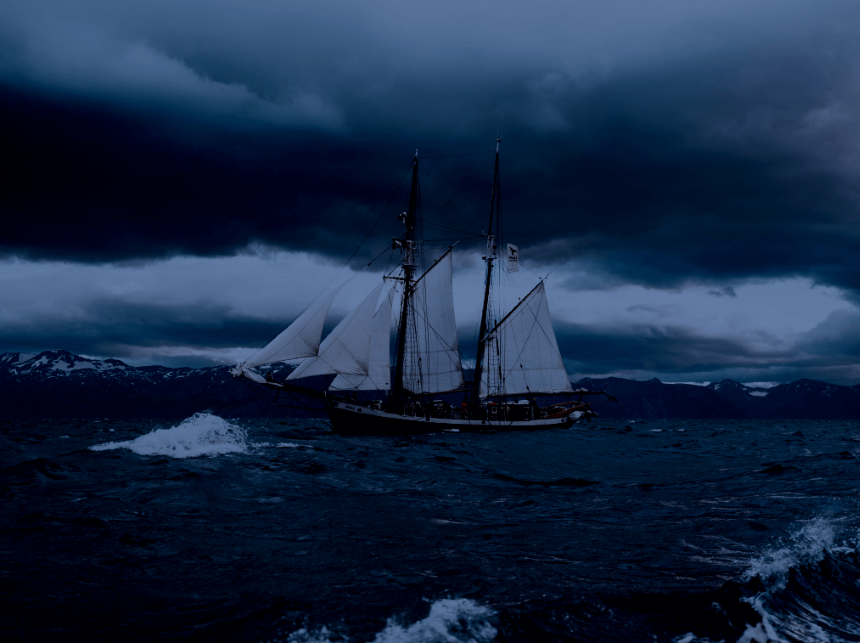
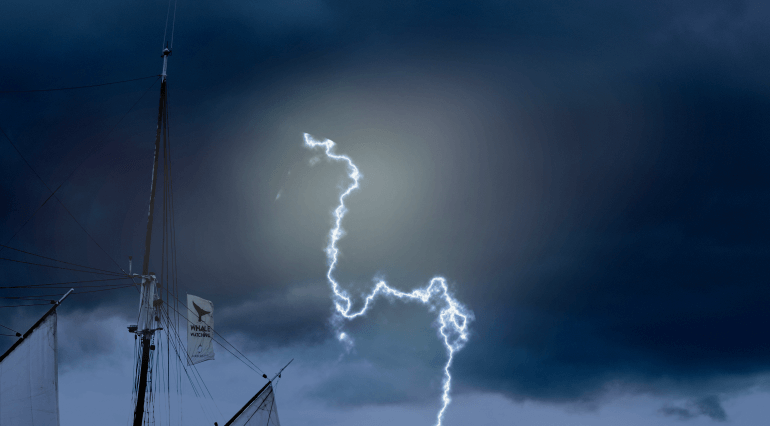
For this example, I’ve downloaded this image from Pexels.com.
The first step is to create a copy of the background layer. We’ll need it to cover the top and the bottom of our lightning later. Plus, it’s always a good idea to duplicate your background layer in case you mess up. Press Ctrl + J or Command + J.
Step 2: Add a Gradient
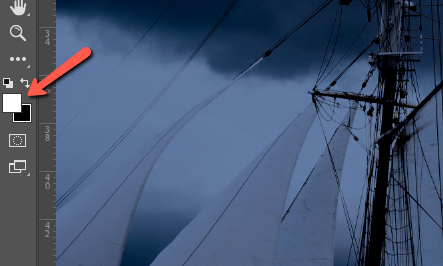
We’re going to create the lightning out of a filter, but for it to end up right, we need to add a gradient first. Make sure your foreground and background colors are black and white by pressing D for Default on the keyboard.

Click the Add New Layer button at the bottom of the Layers panel to create a new layer for the lightning.

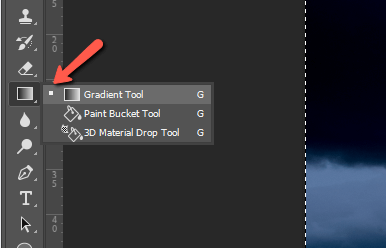
Now choose the Gradient tool from the toolbar on the left or press G on the keyboard.
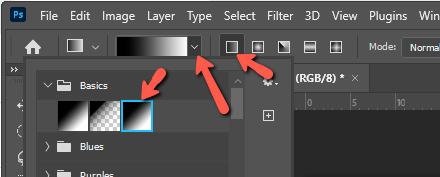
In the Options bar, click the downward arrow to the right of the preview box. Open the Basics folder and choose a black-to-white gradient. Make sure that the tool is set to Linear Gradient. It is the first option to the right of the preview box.
Holding the Shift key to keep your gradient perfectly horizontal, click and drag from the top to the bottom of your image. Your image will disappear behind the gradient but don’t worry about that for now.

Step 3: Create the Lightning
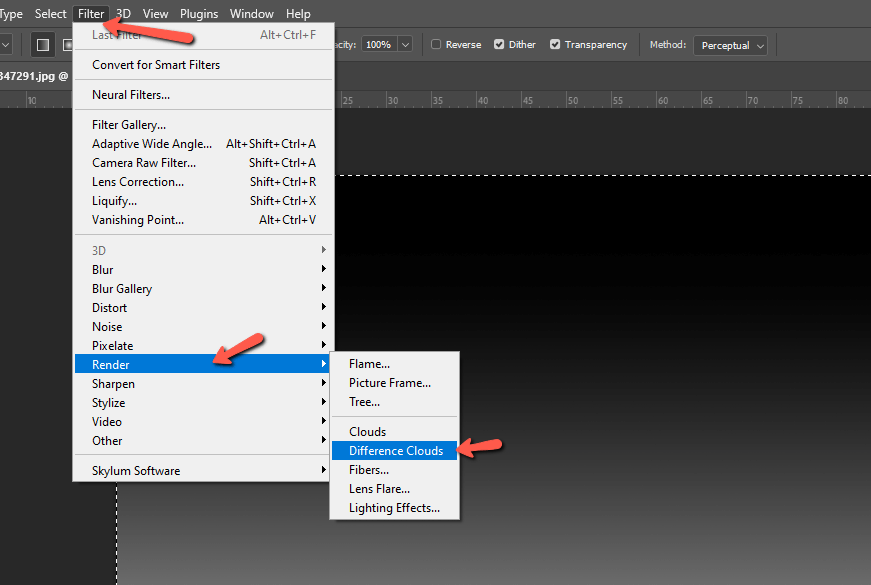
To create the lightning, we’re going to use the Difference Clouds filter. Go to Filter in the menu bar, hover over Render, and choose Difference Clouds.
You’ll get this black-and-white fuzz over your image that looks something like static on an old TV.
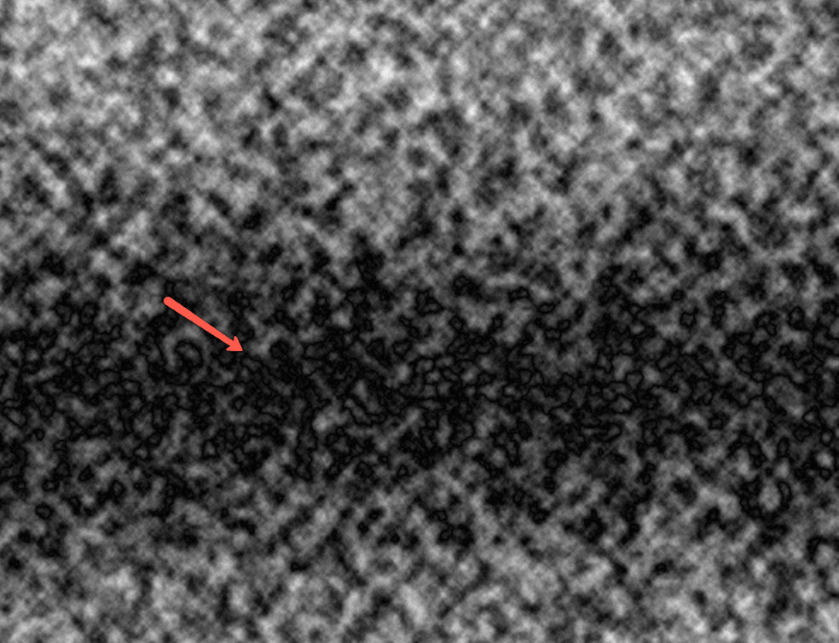
Notice how there are squiggly black lines? That’s what we’re going to turn into the lightning. You can keep adding Cloud Difference filters until you like the look of the black lines. I’m going to add the filter once more to get this effect.
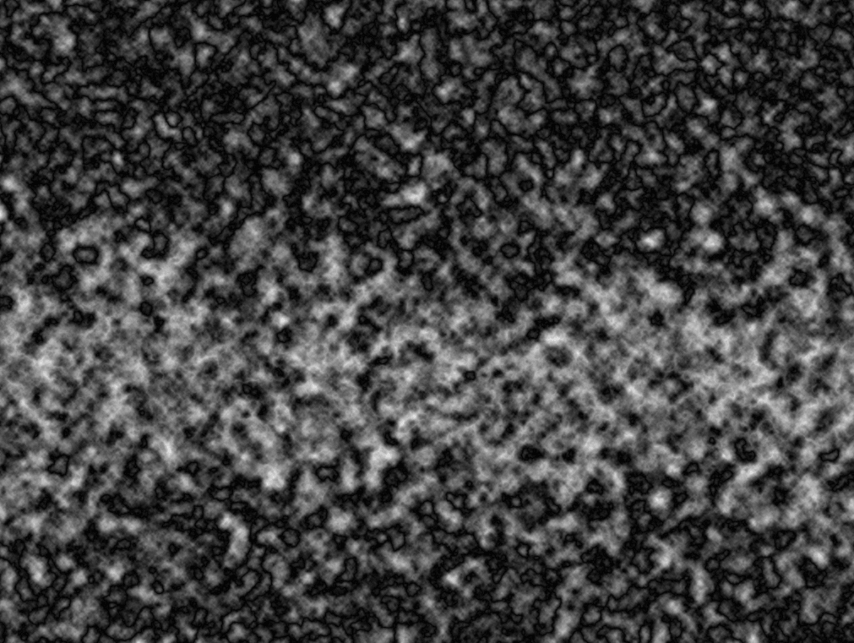
The lines are black and obviously, we need them to be white to create lightning. So let’s invert the black and white using the keyboard shortcut Ctrl + I or Command + I.

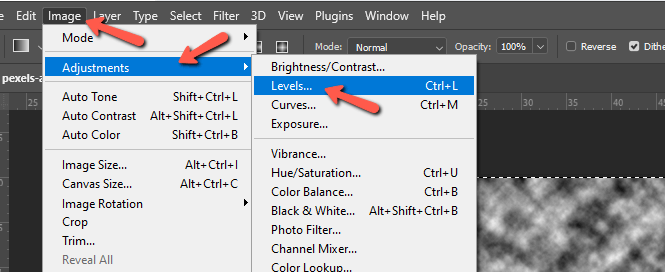
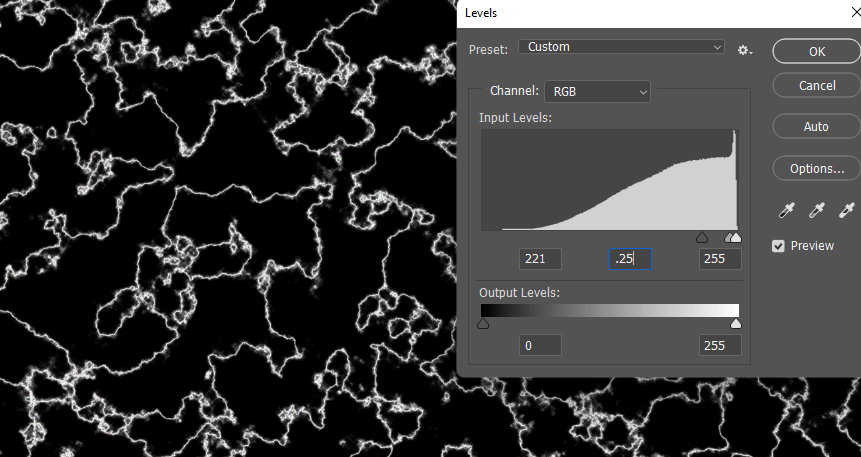
There’s still a lot of other stuff in the way so go to Image, Adjustments, and choose Levels. Or simply press Ctrl/Command + L on the keyboard.
Bring the shadows slider on the left up (to the right) to eliminate the black areas until only the white streaks are left. Though it seems backward because we’re creating lightning, you don’t want too much glow around the white streaks. Try bringing the midtones down to about .25 to keep it clean.
Step 4: Select the Lighting
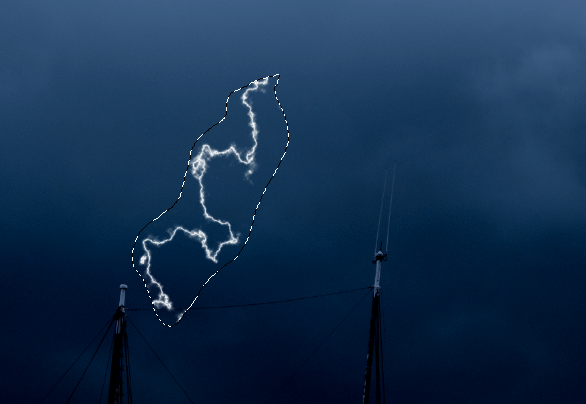
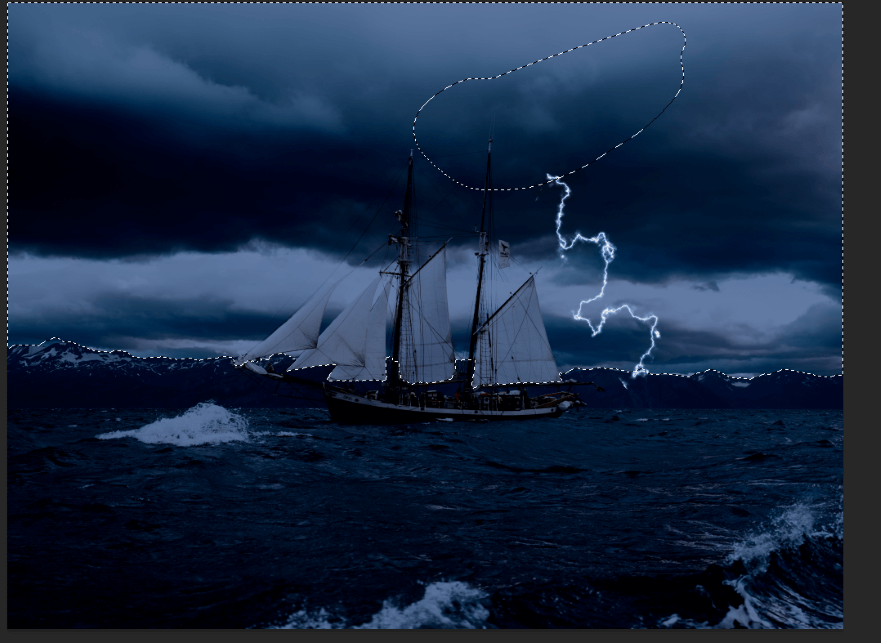
Now, at this point, there is way too much “lightning” going on. We need to select just a piece of these jagged white lines to use in our image.
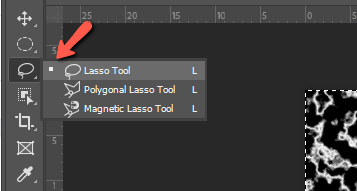
Select the Lasso Tool from the toolbar on the left, or press L on the keyboard.
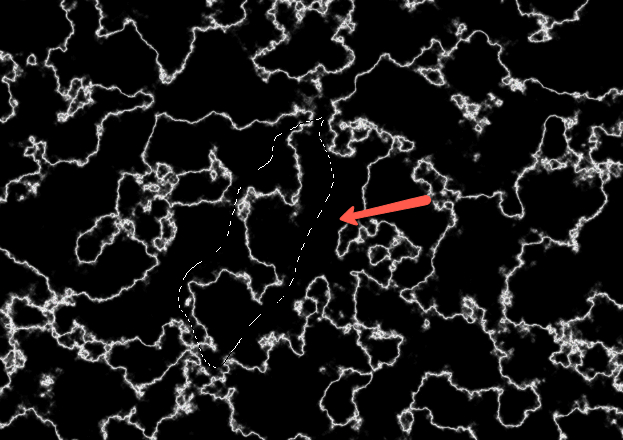
Pick a piece to use and roughly draw around it with the Lasso tool. You don’t have to be precise at all. Just make sure the whole piece of lightning is inside the selection – and nothing else.
Press Ctrl + Shift + I or Command + Shift + I to invert the selection. Then hit Backspace or Delete to remove the rest of the difference clouds filter.
Change the Blend Mode to Screen in the box near the top of the Layers panel.
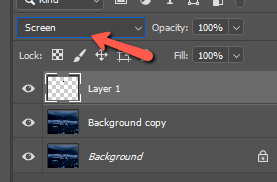
This will remove the black parts and leave only the bright parts.
Step 5: Resize and Position
Right now, the lightning is way too small and not well-positioned at all. Press Ctrl + T or Command + T to activate the Transform tool.
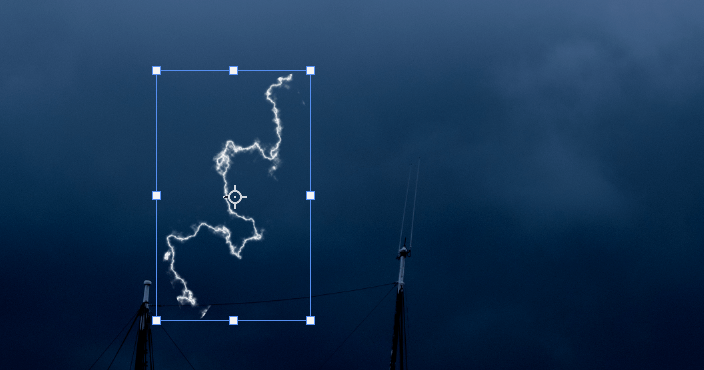
Grab the handles to stretch, rotate, and drag your lightning to an appropriate position in the image. Right-click and choose Flip Horizontal if you want to switch directions as I did here.
Remember that lightning usually appears to be coming out from the clouds, so you’ll want to look for a spot where the clouds come together for the origination point.

Extend the lightning just slightly past the origination and termination points you’ve chosen. We’ll insert it into the landscape in a moment.
Step 6: Add Color
Right now our lightning is blindingly white, but real lightning isn’t strictly white. It usually has a blue or yellow tint to it. Blue will work best for this image, so let’s add some.
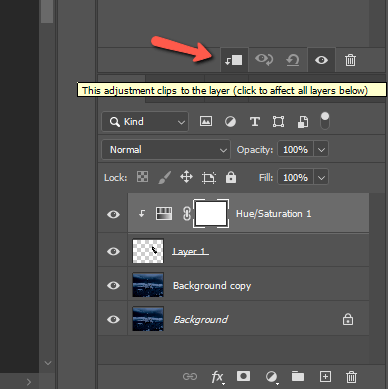
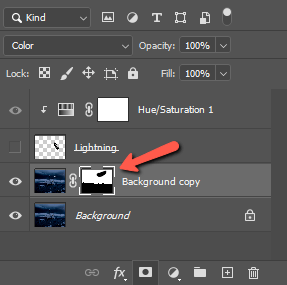
Click the Adjustment Layer icon at the bottom of the Layers panel. It looks like a half-filled circle.
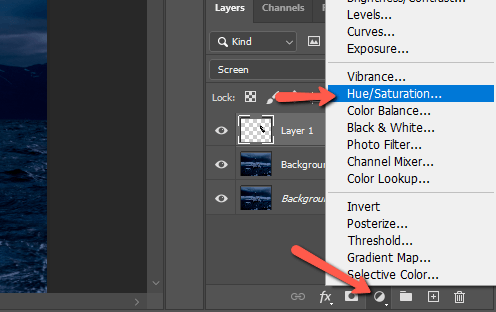
Choose Hue/Saturation from the list. Add a Clipping Mask so the color effect is only applied to the lightning and not the whole image. Do this by clicking the clipping mask button at the bottom of the hue/saturation adjustment panel.
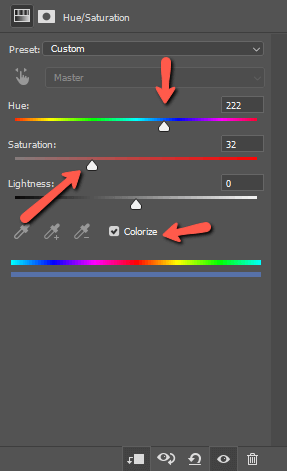
Click the Colorize box and choose a bluish tint from the Hue slider. Decrease the saturation as needed to ensure a realistic look.
Step 7: Create a Layer Mask
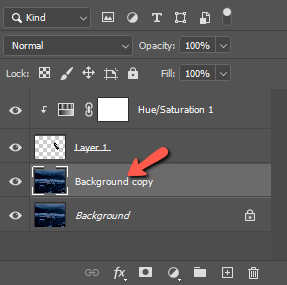
We want to tuck the lightning into the scene so that it looks like it’s coming out from behind the clouds and dropping below the horizon.
To do this, select the copy of the background layer we made at the beginning.
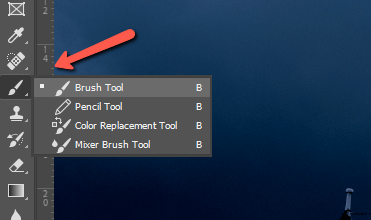
Choose the Brush tool from the toolbar or press B on the keyboard.
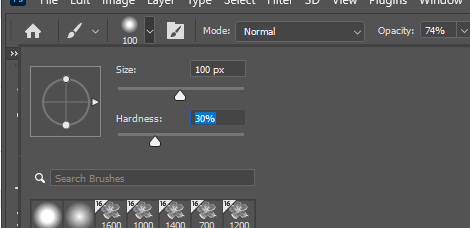
Choose a soft round brush that is an appropriate size for your image.
Press Q on the keyboard to activate the Quick Mask tool. Or click the rectangle icon with a circle in the center near the bottom of the toolbar on the left.

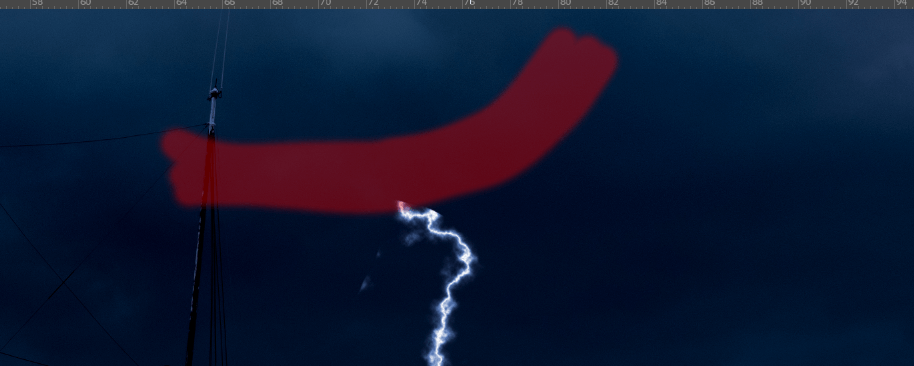
Paint along the edge of the clouds right above where your lightning begins.
Press Q to turn the painted section into a selection.
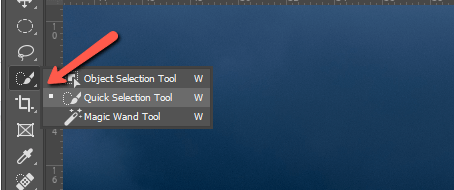
Switch to the Quick Selection Tool.
Hold down the Alt or Option while dragging along the horizon at the lightning’s termination point to add this section to the selection.
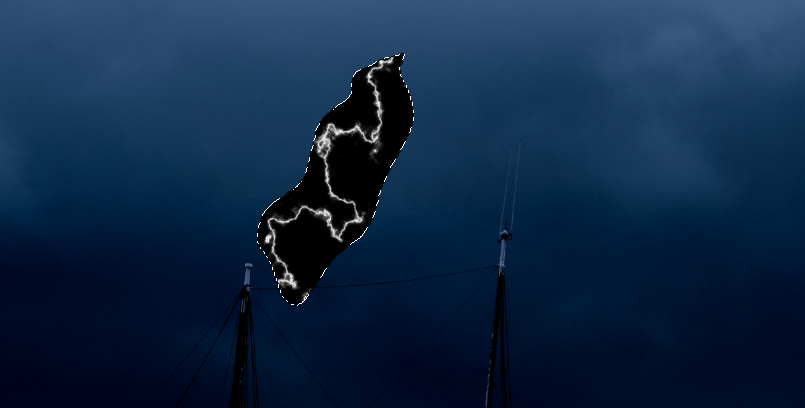
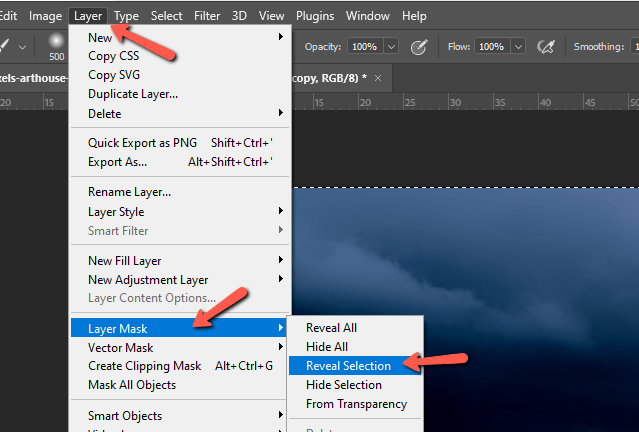
Press the Layer Mask button at the bottom of the layers panel to turn the selection into a layer mask. Alternatively, you can go to Layer in the Options bar, hover over Layer Mask, then choose Reveal Selection.
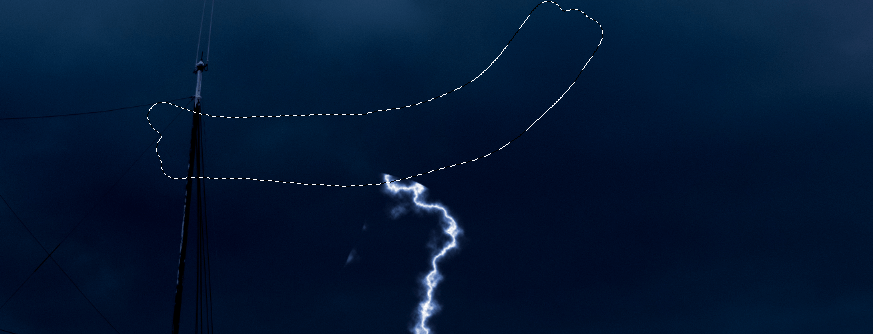
However you get there, you want to end up with a layer mask that looks something like this.
Step 8: Brighten the Sky and Add Glow
The clouds wouldn’t be so dark if there were a real lightning strike, so let’s brighten things up a bit. Press X on the keyboard to switch the foreground and background colors. Now white should be your foreground color.
Switch to the Brush tool in the toolbar or by pressing B on the keyboard. Choose a soft, round brush again and bring the Opacity down under 20%. Bring the Flow down as well. Too strong and the effect will look strange.
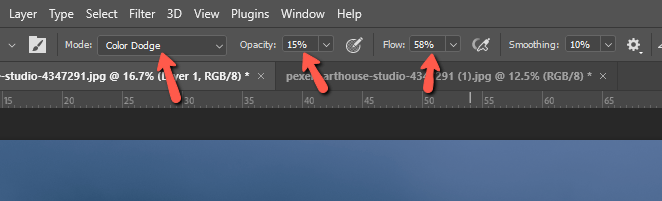
Change the brush’s Blend Mode to Color Dodge. Gently paint along the clouds at the lightning’s beginning point. Run along the lightning as well in a few spots to add some brightness and glow.
If it seems too strong, pull back the Opacity on the layer until it looks right.

Step 9: Add a Greenish Glow
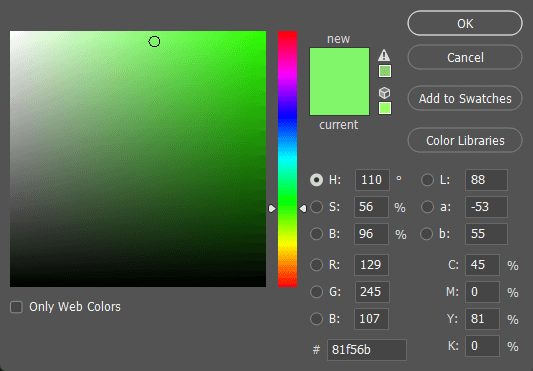
With the brush tool still active, double-click on the foreground color to open the color picker. Choose a light green from the color picker.
Change the Brush’s blend mode to color and bring the Opacity down even further to about 10%
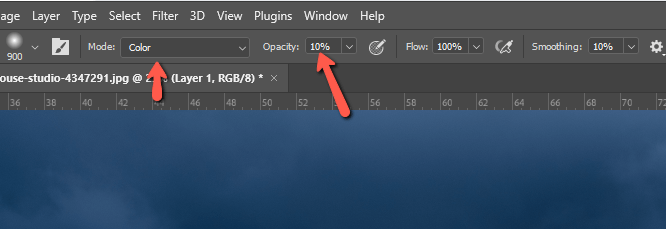
Paint a couple of strokes near the base of the clouds.
Step 10: Bring the Layer Mask on Top
Now we need to bring the layer mask up to hide the top and bottom of our lightning strike. While holding Alt or Option, click on the layer mask and drag it up to the lightning layer. Release to copy it.
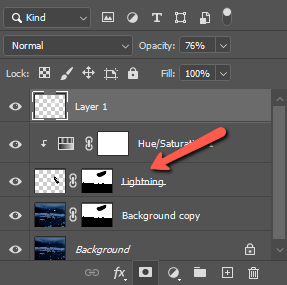
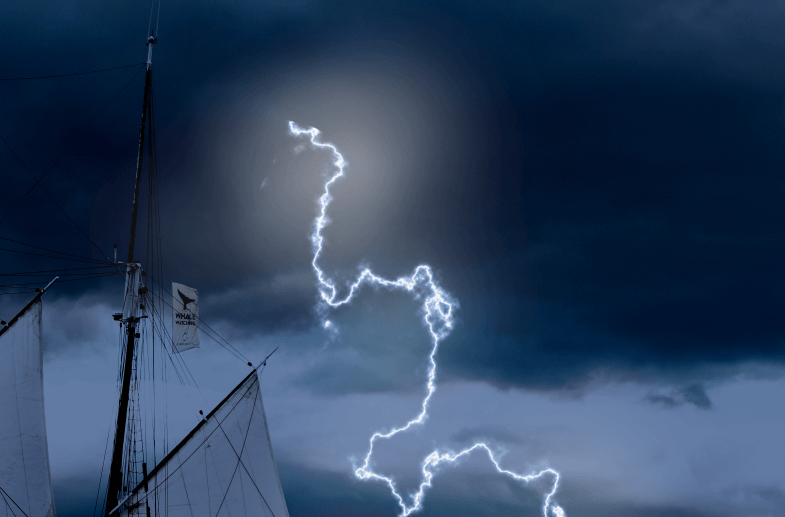
Voila!

A perfectly safe, perfectly cool lightning strike image! Curious about adding other weather effects? Find out how to add fog to your images here.
About Cara Koch