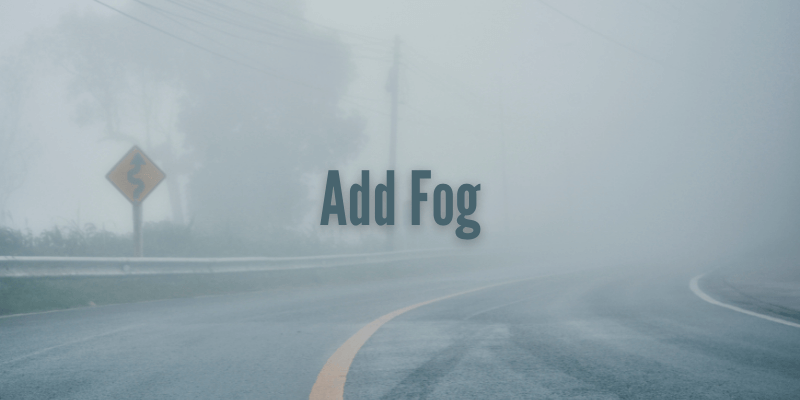
What do you think of when you see fog? Dreamy? Chilly? Hazy? Creepy?
There are several different vibes that fog can lend to an image, depending on the image and how the effect is applied. Luckily for you, learning how to make fog effect in Photoshop is way easier than you might think.
Hey there! I’m Cara, a lover of all things Photoshop and photography-related. Join me as I show you how to make this simple, yet impactful foggy edit in Photoshop.
Table of Contents
Step 1: Choose Your Image
You can’t add fog to just any image and expect it to look natural.
For a realistic look, you’ll obviously need an outdoor image with a bit of distance. If the scene is very short, such as photographing a subject against a wall 10 feet from the photographer, there isn’t much room for there to be fog.
The effect can work on certain moody still-life photos or other indoor photos for a creative effect. However, don’t expect it to look like real fog. It’s more like using a smoke machine to create spooky Halloween photos, but less concentrated.
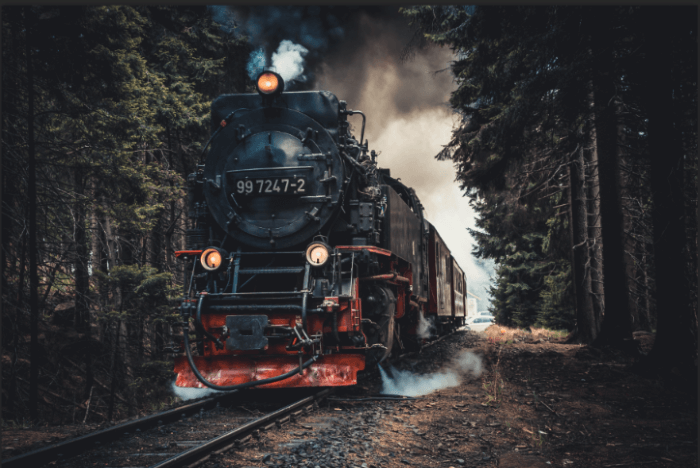
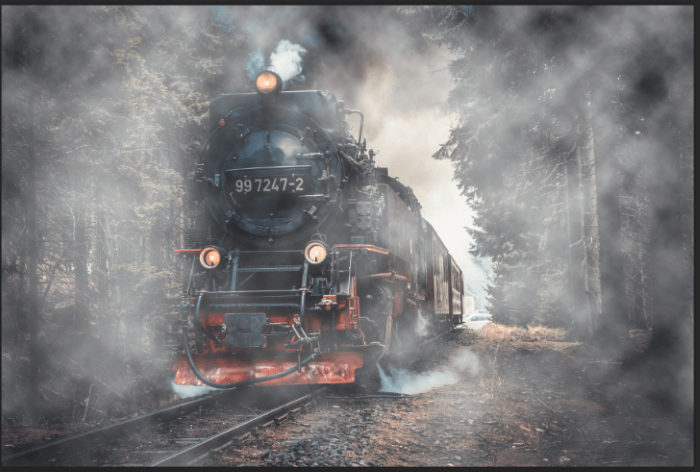
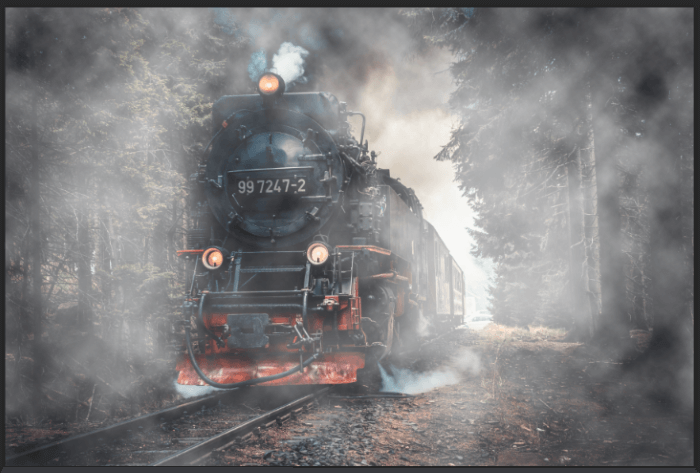
Today, I’ll add some fog to this image.
Step 2: Add a New Layer
We’re going to use the render clouds tool to create the fog effect. You can learn more about this tool in our tutorial on how to add clouds to a photo in Photoshop.
It’s always nice to leave an untouched copy of your original photo so hit Ctrl + J or Command + J to duplicate the background layer.
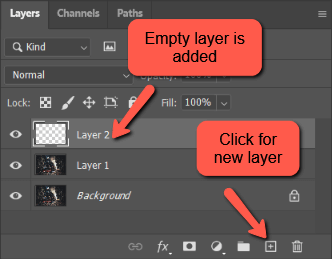
We want to add clouds on their own layer so click the New Layer icon at the bottom of the Layers panel. Alternatively, you can press Shift + Ctrl + N or Shift + Command + N.
Step 3: Render Clouds
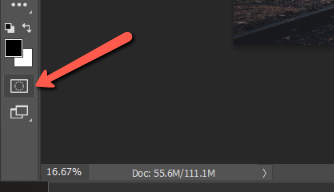
Press Q on the keyboard or click the Quick Mask Mode button on the toolbar under the Foreground/Background swatches.
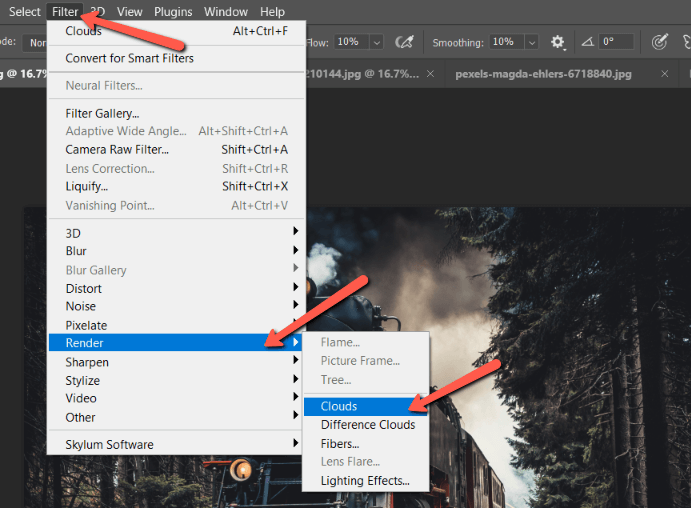
Go to Filter in the menu bar, hover over Render, and choose Clouds.
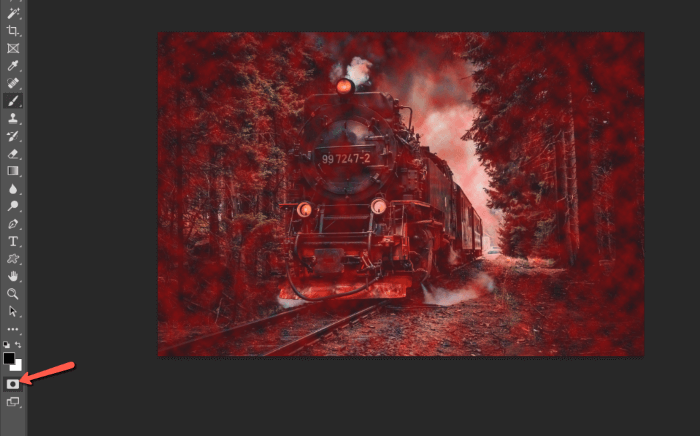
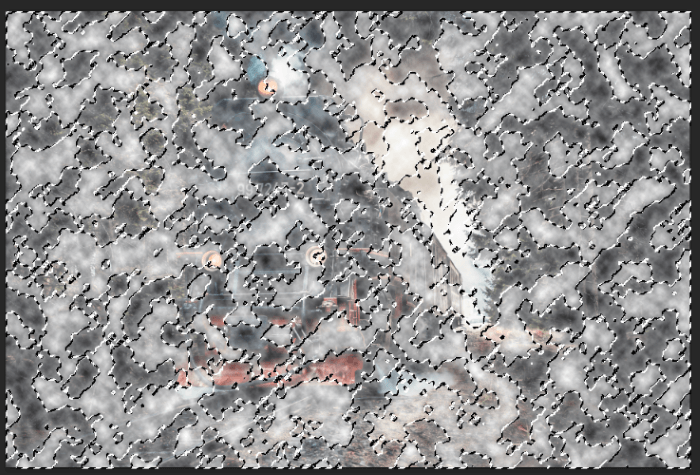
You’ll see this crazy red selection appear. Click the Quick Mask Mode button or hit Q on the keyboard again to exit the mode.
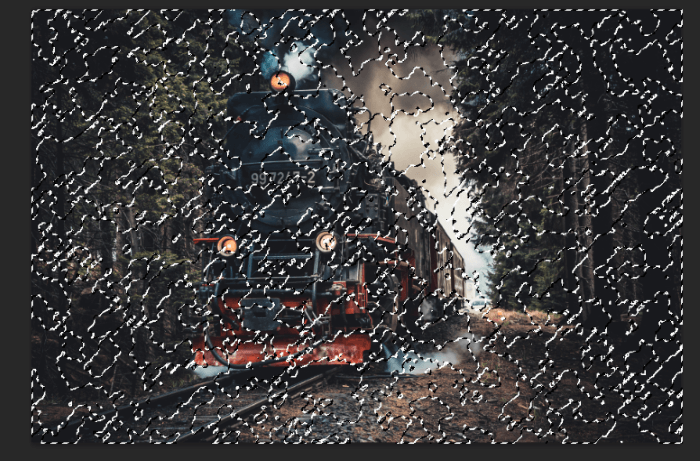
You’ll be left with this squiggly selection around the clouds.
Step 4: Fill with White
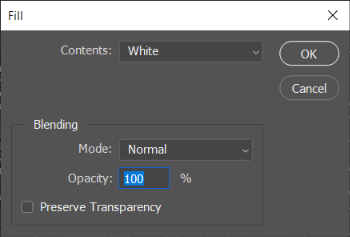
Hit Shift + Backspace (or Delete) to fill the selection with white. You can also get here by going to Edit in the Menu bar and selecting Fill.
The selected areas are then filled in with white.
Press Ctrl + D or Command + D to deselect the selection.
Step 5: Adjust the Size with the Transform Tool
Okay, it’s pretty foggy, but it doesn’t look natural at all! We need to get a smoother look by enlarging the cloudy overlay. With the fog layer selected, press Ctrl + T or Command + T on the keyboard to open the Transform tool.
You can also get here by going to Edit in the menu bar and selecting Free Transform.
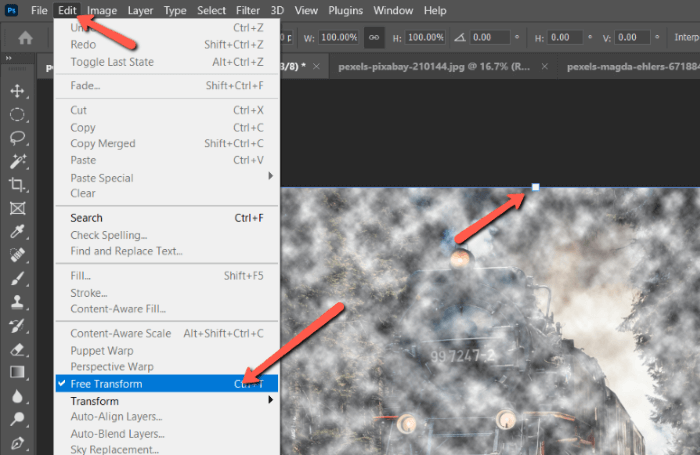
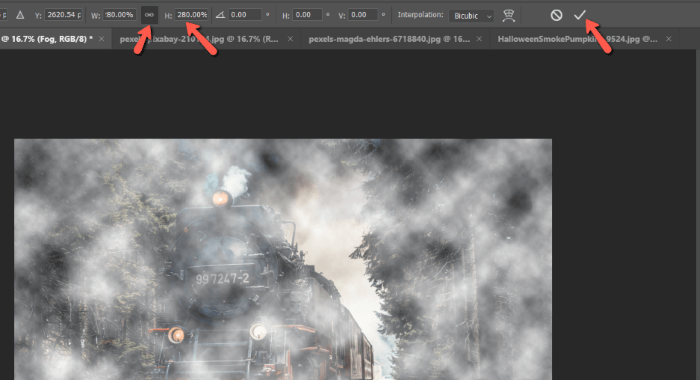
You’ll notice a blue box with handles appear around the image. You can click and drag on the corner handles to make the clouds bigger. We want to go a lot bigger, though, so I’d recommend changing the size in the Options bar instead.
I changed the height and width values from 100% to 280%. As long as that little link between the two boxes is selected, you only have to change one and the other automatically changes as well.
You can also click and drag within the image to move the fog around. This allows you to place the patchy areas where you prefer. Click the checkmark on the right when you’re finished.
Step 6: Refine the Fog
At this point, it looks like fog but it also looks like the fog has been evenly plastered across the front of our image. That’s not what fog looks like in real life. Things that are closer to you have less fog rolling in front of them and the fog is thicker in front of things that are farther away.
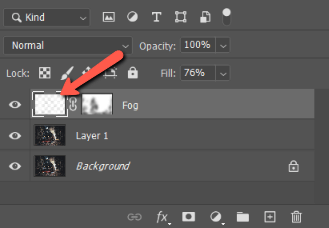
With this in mind, let’s refine our fog with a mask. With the fog layer selected, click the Mask button at the bottom of the Layers panel. You’ll see a white mask appear linked to the fog layer.

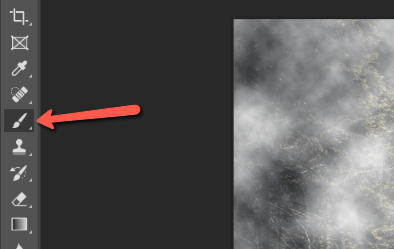
Now, switch to the Brush tool by selecting it from the toolbar on the left, or pressing B on the keyboard.
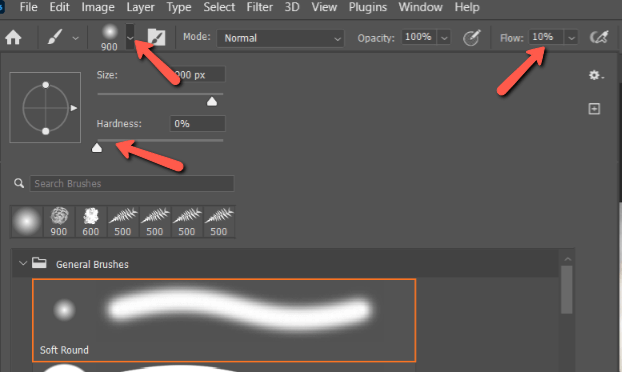
Choose a Soft Round brush. Make sure the Hardness is set to zero. Turn down the Flow to 10% or even lower to very slowly remove the effect. We don’t want any hard lines anywhere.
Carefully paint over the foreground and any areas of your image that you would realistically be able to see more clearly through the fog.
If you want to add a touch more fog to certain areas, you can do this with the brush as well. Click on the fog layer thumbnail instead of the layer mask. Then use your soft brush to paint with white and fill in areas that seem to be lacking.
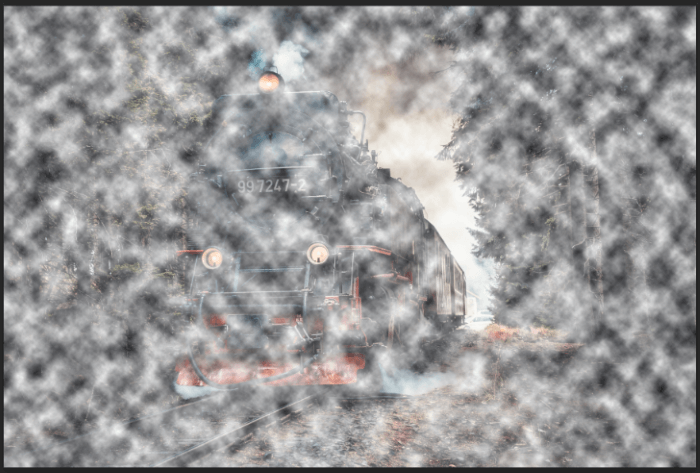
Voila!
I know Halloween is over for this year, but there’s always next year. Plus, there are tons of fun things you can do with fog in other images!
Interested to learn more fun tricks with Photoshop? Check out our tutorial on how to add a vignette to images here!
About Cara Koch
Karen
This was one of the most helpful tutorials EVER. Every step explained and supplemented with images on where to find all the tools and settings within Photoshop. Thank you! Finally someone explains a process without assuming the “student” already has a plethora of knowledge.
June
Thanks, Karen. Glad you find our tutorials helpful 🙂
veli
education helped me a lot, thank you, I also do photoshop, I work on manipulation. 🙂
hi
or u just use an overlay…