
Making a 3D mockup to display a packaging design is a fantastic method that may provide any designer with a competitive advantage. When used properly, mockups can improve a design and show clients what the design would look like if it were put into practice.
Ever wanted to design a mock-up of how your graphic design would seem on the package it will be printed on? A mockup is best thought of as a simulation of your design on the material or surface it will be displayed on.
In essence, a digital mockup is a picture or graphic of your finished product with the design mapped on top to make it appear as though it has been printed on the item.
Any designer who works on projects for clients or themselves will eventually create a graphic that needs to be printed out and attached to a physical thing. Getting the perspective, color, and texture just right is the most challenging part of adding text, logos, or graphics to any surface inside a picture.
My name is Aly, I have been using Photoshop for over five years and am Adobe certified. In this tutorial, I am going to be showing you how you can make a box mockup in Photoshop.
Table of Contents
Key Takeaways
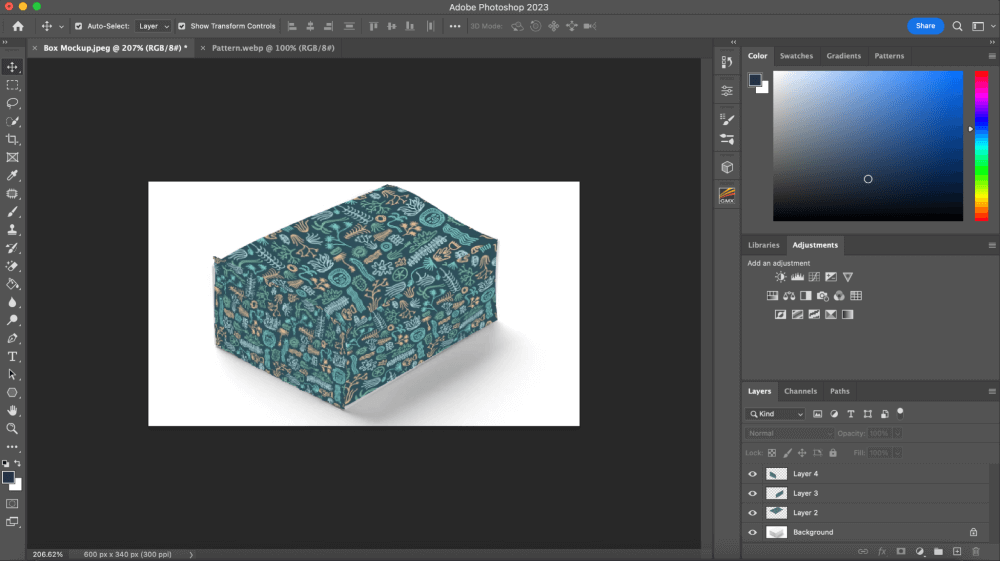
- Selecting the ideal image is crucial. Use a picture of a box or piece of packaging as the basis for your mockup, or take one yourself. There shouldn’t be anything in the way of the box.
- You should already have your pattern template created and ready to use.
How to Make a Box Mockup in Photoshop
Photoshop is the ideal program for making mockups, and while you may use PSD mockup files, developing a mockup from scratch is much more enjoyable and fulfilling. Follow the steps below to add your own design to a box in Photoshop.
All you need to do is find a box image and have the image you want on the box ready.
Step 1: Open your box photo in Photoshop. You can find a box image easily from some free stock image sites.
Step 2: You can drag your design or pattern into Photoshop, or copy and paste it directly. When you press Command + V or Ctrl + V to paste your pattern on top of your box photo while it is still on one layer, it will automatically paste onto a new layer.

Step 3: Click Command + A to select the pattern. Press Command + C or Ctrl + C to copy the selection once the running ants have surrounded your pattern. By pressing Command + D or Ctrl + D, you can delete the layer and selection.

Step 4: Go back to your background layer, which should be your box template. Go ahead and Paste your pattern. Once you do that, hit Command + T to free transform.
Step 5: Once you’ve activated Command + T to do free transform, you will be able to transform the image any way you want to.
Size up or down the design to what will fit your box best. Don’t worry about placing it yet.
Step 6: At the top of the menu you will see a little icon like shown below. Go ahead and click that icon.

Step 7: Now, click and drag one of your corners, you will see that the pattern box is way more flexible to be placed onto your box. Go ahead and get one side completed and once you’re done and the pattern is on the box hit Command + C to copy.
At this stage, you can use the Selection Tool or Eraser Tool to tidy up any edges, such as if your box’s lines weren’t quite straight. Change the blending mode to see if the various colors work better with your original box shot.
Tip: If the Free Transform tool doesn’t get you the result, you can go to Edit > Transform and choose another transform option.

Step 8: Now you can save your box mockup. I prefer to save the final mock-up as a PDF (300 ppi, maximum resolution, jpeg) You can do this by going to File > Export > Export as PDF.

Final Thoughts
Even though there are many different ways to create a 3D mockup, including using fancier backgrounds and additional effects, even this straightforward method significantly improves presentation.
Any questions about making a box mockup in Photoshop? Leave a comment and let me know.
About Aly Walters