Although Photoshop was initially developed by Adobe for manipulating still images, you can also utilize the platform for video editing. Additionally, Photoshop is a great place to start if you’re new to video editing software to learn the fundamentals.
Photoshop may be used to edit any type of video project. You may quickly create content for social media videos using its resizing capabilities, and you can then post it in the suggested formats.
You may edit long-form video projects on the site, but you can also produce short-form content.
In this article, I’ll teach you ways you can edit a video in Adobe Photoshop.
Table of Contents
How to Edit Videos in Photoshop
There’s so much you can do in videos, but I’m going to show you the very basics just to begin with. Follow the steps below to edit videos in Photoshop.
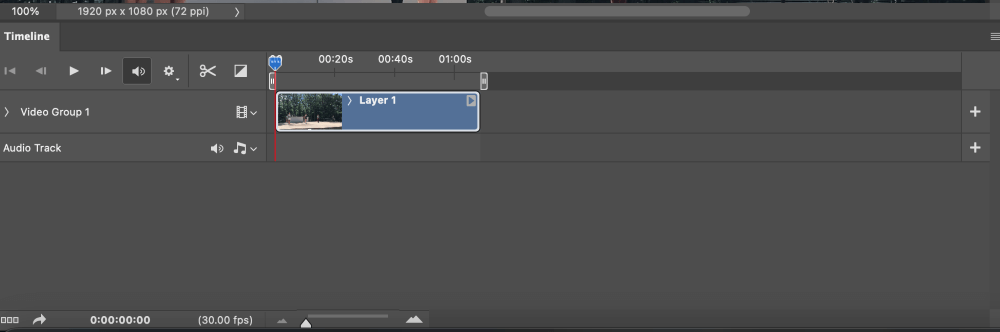
Step 1: First, import the video, select the video file from your storage folder by going to File > Open. Find your video file and click Open.
When Photoshop has loaded, the video clip will be displayed in a timeline. To alter a section of the video, move the timeline pointer there.
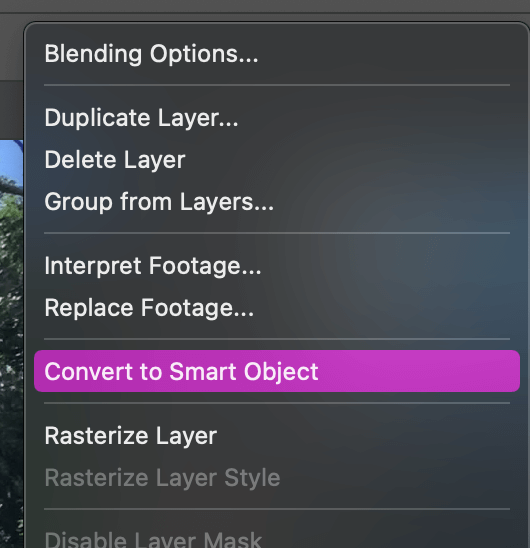
Step 2: You must first turn your video into a Smart Object in order to add a filter (open the Layers panel, right-click on the video layer, and select Convert to Smart Object). You can now apply filters to the chosen video layer, including blur, distortion, and pixelation.
You might want to alter the way your video looks in addition to adding special effects such as adding text. In Photoshop, adding text requires hardly any work.
There is a T icon in the left-hand toolbar. After selecting the text symbol, add a box to your movie. You can change the font and size using the controls at the top.
Step 3: By selecting the Transitions icon, which is situated on the left side of the video timeline, you may view the possible transition effects.
A transition can be added to a video clip in the timeline by clicking on it and dragging it there. You can see how the arrow shows where I want my transition to be.

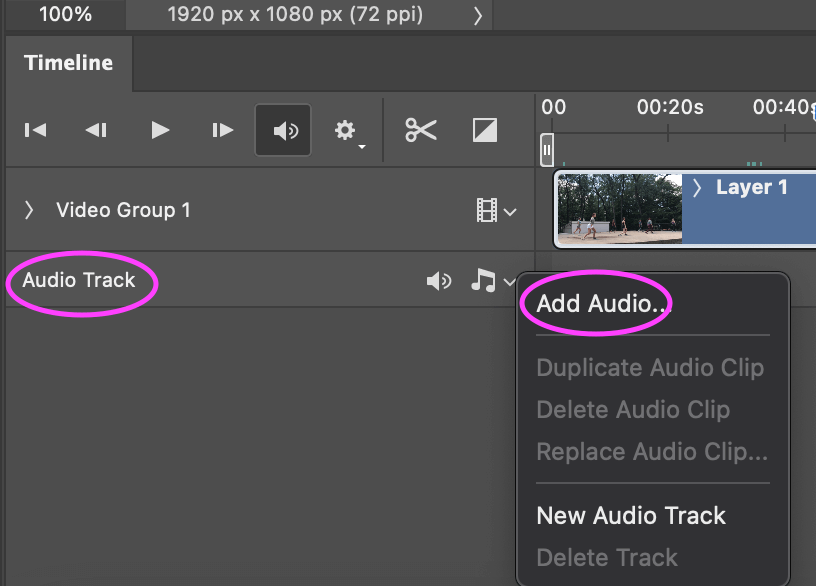
Step 4: Select Add Audio from the context menu when you right-click on the audio track below the video timeline. Click Open after selecting an audio file from your storage location.
Step 5: You’re ready to export your video once you’re done editing it in Photoshop. To render it first, select File > Export > Render Video.
Bonus Tips
- Look through all the filters that you can add to your video, some of them are pretty useful depending on what your video entails.
- When exporting, look at the different formats that you can save in. Make sure you know what your video will be used for to go off of what format to save in.
Final Thoughts
Although Photoshop may not be most people’s first pick for video editing, doing basic edits is easy and since you already have the software, you don’t have to worry about getting a new video editing program for basic editing.
Any questions about editing videos in Photoshop? Leave a comment and let me know.
About Aly Walters
shirley feldman
I really appreciated how detailed and comprehensive your post was. You covered everything from importing the video files to adding audio tracks and applying effects. I also found your explanations of the different tools and options to be really helpful.