Adding text to Photoshop is quick and easy, the complicated part is, how to manipulate the added text. You probably already know how to select the type tool and type in the text, but still making a mess? I guess you forgot to click OK.
Why I might have guessed it correctly is that I’ve been there, done that. Working with text in Photoshop is not as flexible as in Adobe Illustrator. You can’t just scale or move your text freely once it’s typed. I mean, you can, but you have to do a couple of extra steps.
For example, if you want to move the text layer, you’ll need to select the Move Tool, otherwise, if you keep clicking on the canvas, you’ll see your image full of text. And it’s a bit tricky to scale because you’ll have to use the transform tool to scale it, and you must click OK.
Sounds complicated but no worries I’ll show you the tricks! In this tutorial, you will learn how to add text to a photo in Photoshop and some useful tips on how to edit text.
Keep reading.
Table of Contents
5 Quick Steps to Add Text to a Photo in Photoshop
You can easily add text in Photoshop by following these five simple steps below.
Note: Screenshots are taken from Adobe Photoshop CC Mac version. Windows or other versions might look slightly different.
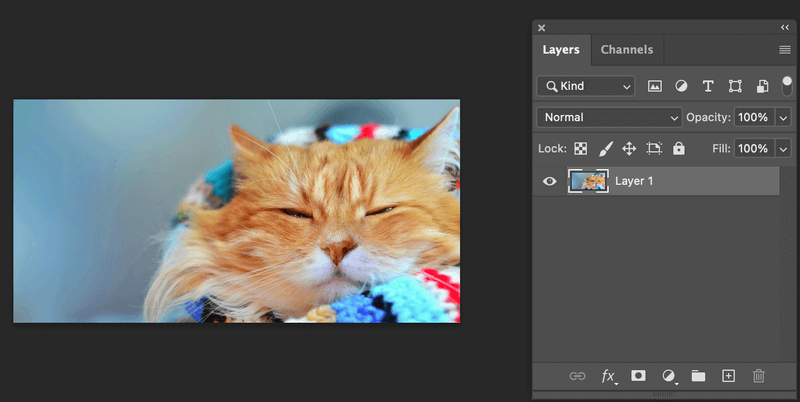
Step 1: Open the image in Photoshop.
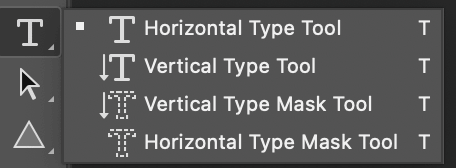
Step 2: Select Type Tool on the toolbar. There are several options but let’s select the default Horizontal Type Tool for this tutorial.
Step 3: Click on the canvas and type the text you wish to add to the photo. When you click, you’ll see Lorem Ipson.
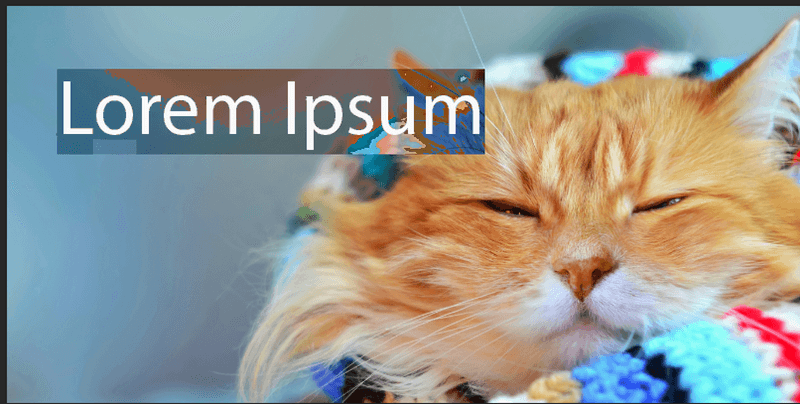
Delete it and type in your text.

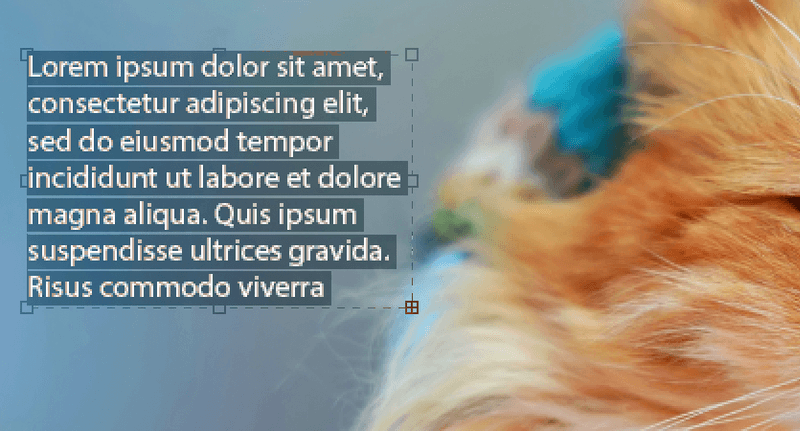
Tips: If you’re adding a paragraph, I recommend clicking and dragging to create a text box and then replacing the Lorem Ipson.
Note: The text will show in the style that you used for the last design you did in Photoshop. For example, if you used the color red, and Helvetica font for the last text edit you made in Photoshop when you type now, your font will be Helvetica, and the text color in red.
Step 4: Adjust the text styles from the top menu or the Character panel. If you don’t see the Character Panel in Properties, you can set it up quickly by going to the top menu Window > Character.
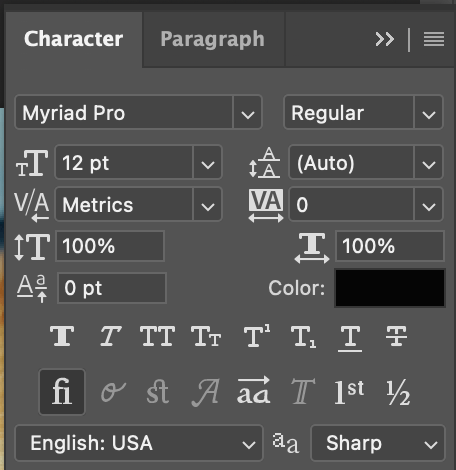
You can change the font style, size, color, spacing, etc.

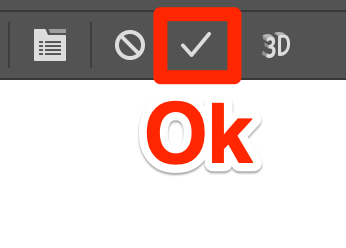
Step 5: Click OK (check sign). This is an important step.
Not happy with the text position? You can select the Move Tool to reposition the text.

If you want to freely scale the text instead of changing the font size, you can select the text and check the Show Transform Controls option on the top menu.

You’ll see your text inside a bounding box, which means you can scale it freely without going to the Character panel to change the font size.
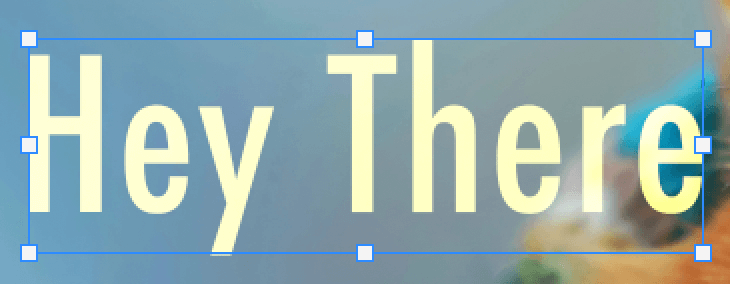
Once you’re happy with the size, don’t forget to click OK.

FAQs
You might also be interested to know the answers to the following questions related to adding text to images in Photoshop.
How do I edit the text in a picture in Photoshop?
If you want to edit the Character styles like font and colors, you can select the text layer, and edit from the Character panel. If you want to change the text content, double-click on the text on the canvas and you’ll be able to edit the text.
How do I make text bigger than 72 in Photoshop?
When you hover on the text size icon (Tt) from the toolbar, you’ll see a pointer with left and right arrows, click and drag to the right to increase font size. Another option is to type in the value in the text size box manually.

How do you make text vertical?
Select the Vertical Type Tool on the toolbar instead of the default Horizontal Type Tool to create new text.

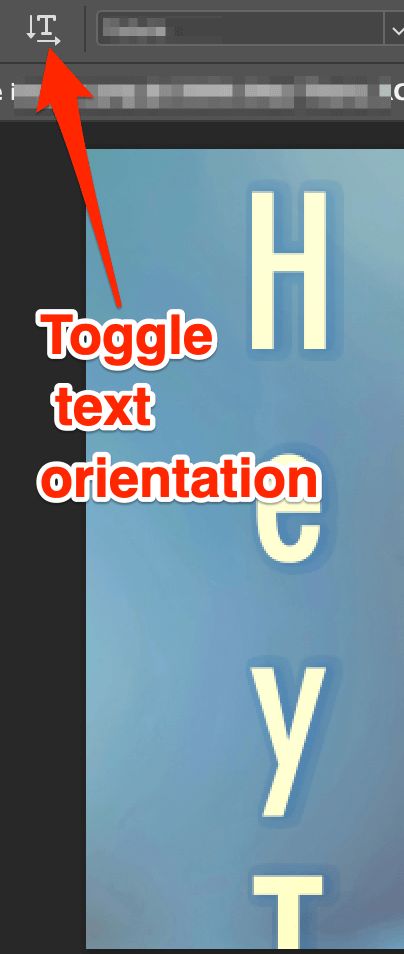
If you already have the text typed horizontally, you can change it to vertical from the top menu > Toggle text orientation.
Conclusion
Adding text to your image in Photoshop is not complicated at all, just remember to do the last step, click Ok and you should be trouble-free.
Good luck!
About June