Images are everywhere on the web, and a great many of them have text over top of them. Sometimes they’re hilarious memes that you want to update or date-time stamps that ruin the composition of your image – or any of a hundred other possible problems.
But luckily, they can all be edited to delete the text in Photoshop!
Obviously, if your text is on a separate text layer in your Photoshop document, you can simply delete the layer in the Layers panel.
But since most of you will be looking for tips on how to remove text that’s already been saved as part of the image, here are a couple of different methods to remove text from images in Photoshop.
Table of Contents
Removing Text from a Color Background
If your text is located overtop of a plain, solid-colored background, then you’re in luck! The removal process is extremely simple: just place some new pixels that match the background color over top of the text, and it will disappear.

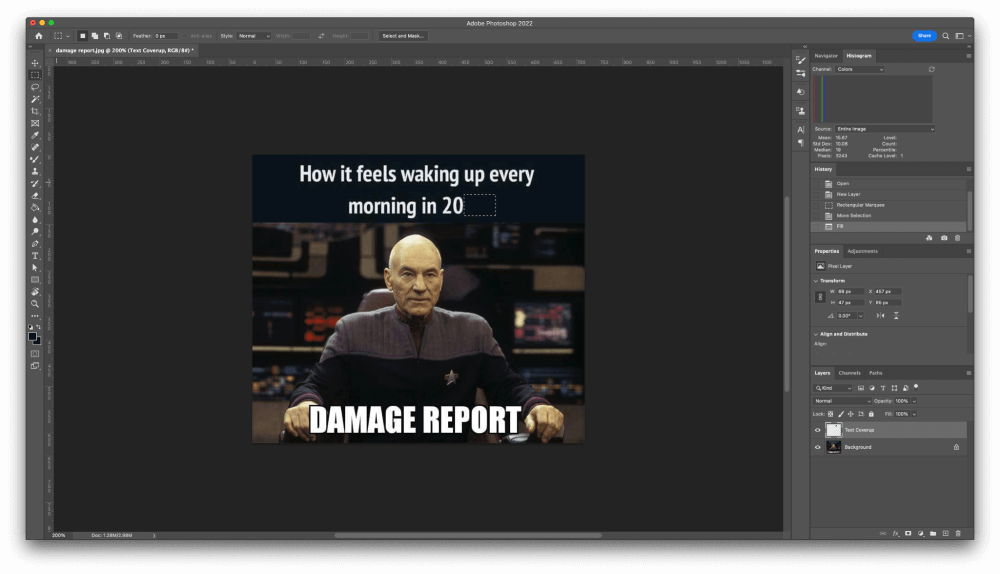
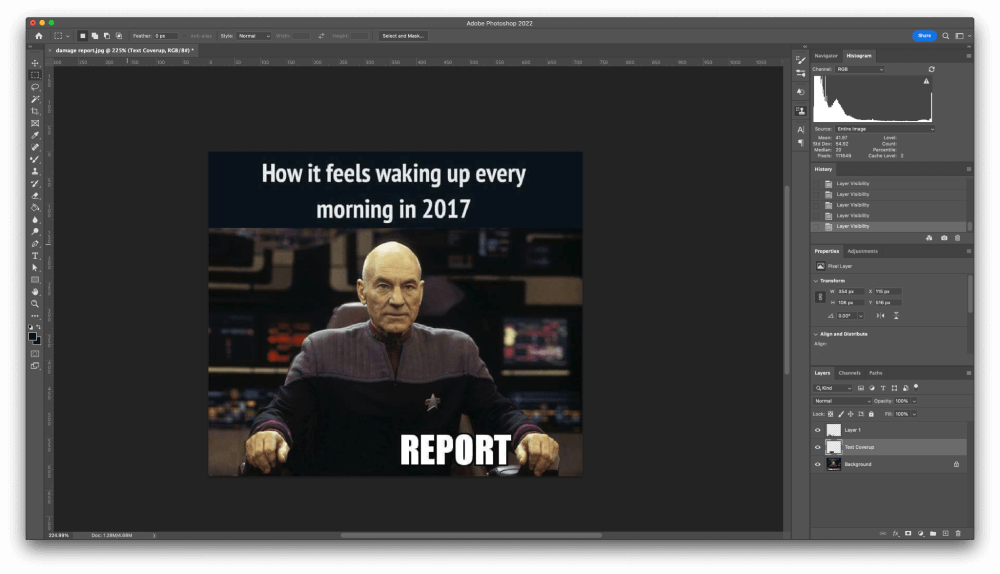
I’m going to remove the “2017” and replace it with another year, since I think the same sentiment still applies, but you can use the same technique on any image.
To get started, you’ll need to tell Photoshop what color to use for the “patch”. With your image open in Photoshop, switch to the Eyedropper tool using the toolbox or the keyboard shortcut I.
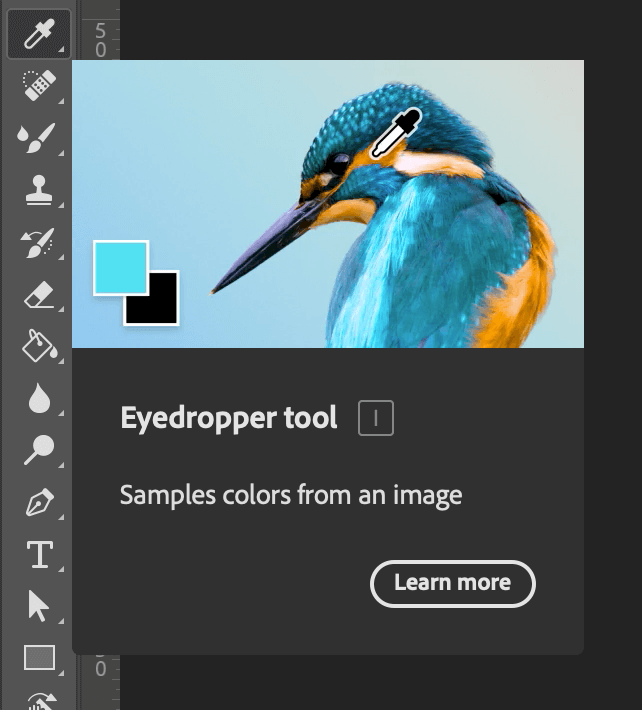
Click on the background color behind the text in your image, and Photoshop will set your current foreground color to match it, ready to be used to create the coverup patch.
If you’re not happy with the resulting color, check the Options bar at the top of the main document window. The Sample Size setting will allow you to customize how many pixels Photoshop will use to determine the final color.
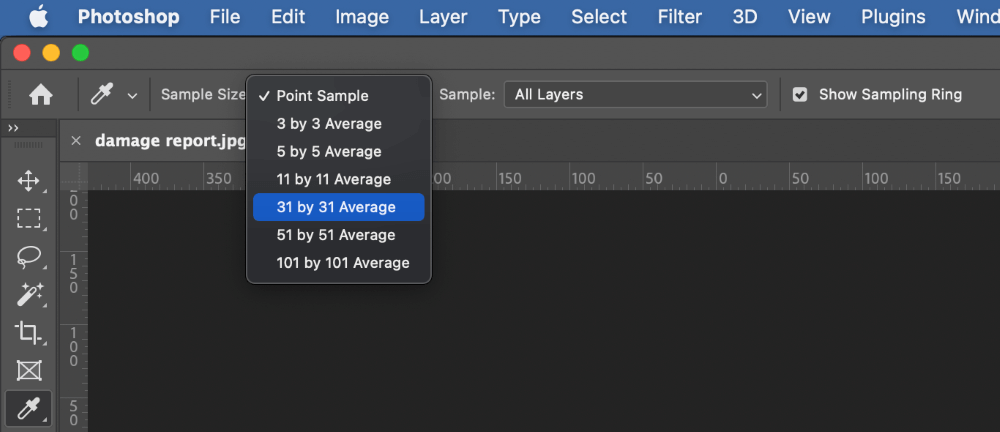
The Point Sample setting uses a single pixel, while the other options will average out the colors from a larger area using some math wizardry.
It’s also a good idea to create a new layer to hold your coverup pixels. This step is arguably optional, especially if you’re in a hurry, but it’s a good habit to be in, and it lets you go back and edit things later if you change your mind or make a mistake.
Non-destructive editing is the future!
Open the Layer menu, select the New submenu, and click Layer. You can also use the keyboard shortcut Option + Shift + N (use Ctrl + Shift + N on a PC) or the Create a new layer button located at the bottom of the Layers panel. Give your layer a descriptive name, and click OK.
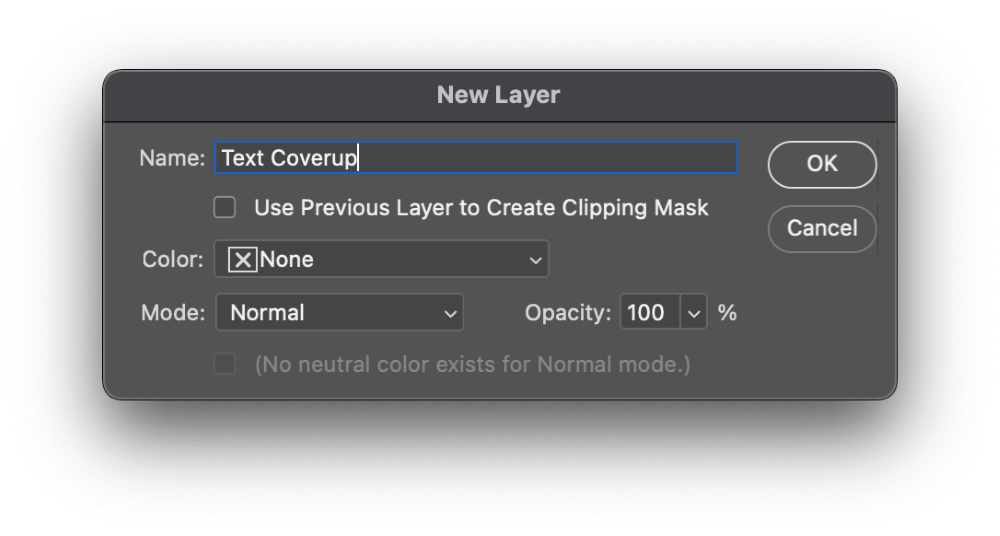
Once you’re happy with the patch color and you’ve got your new layer ready, it’s time to remove your text. Don’t forget to make sure that your new layer is active/selected in the Layers panel at the bottom right of the interface!
You can do this in a couple of different ways: using the Brush tool, or by creating a rectangular marquee selection and filling it.
To use the Brush tool method, simply activate the Brush tool using the toolbox or the keyboard shortcut B. Paint directly over your text, and it will seem to disappear!
If you want to use the rectangle selection method, switch to the Rectangular Marquee tool using the toolbox or the keyboard shortcut M.
Draw a selection around all the text that you want to remove, and then use the keyboard shortcut Option + Delete (use Alt + Delete on a PC) to fill the selection with your current foreground color.
Removing Text from a Complex Image
If the text you want to remove is over a complex background such as a photograph, removing the text is a bit harder to do. At least, it’s harder to do if you care about the look of the final results – if not, then you might want to skip ahead to the next section for some faster options.
This method uses a new layer and the Clone Stamp tool to recreate complex image details. It doesn’t take too long to explain the process, but it takes far longer to complete than the other methods described in this tutorial.
Create a new layer using the Layer menu or the keyboard shortcut Command + Shift + N (use Ctrl + Shift + N if you’re on a PC). Give it a descriptive name in the New Layer dialog box and click OK.
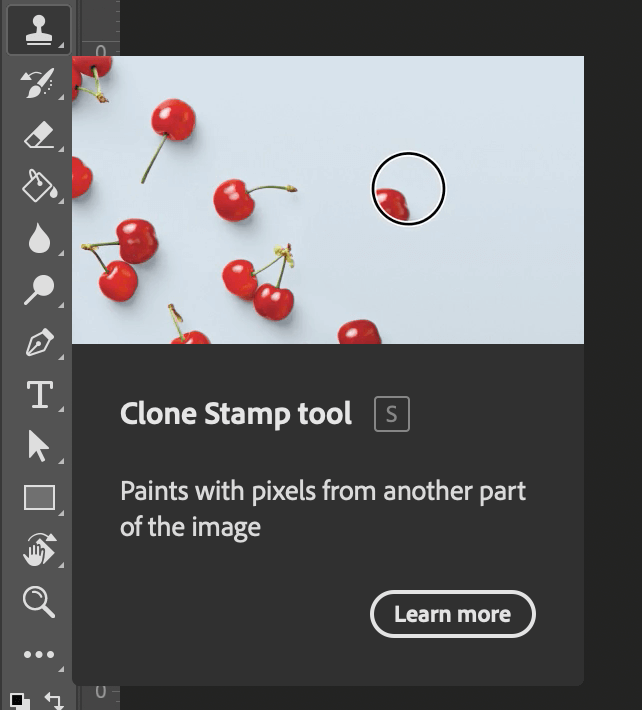
Switch to the Clone Stamp tool, and ensure the Sample setting is set to Current & Below in the Options bar at the top of the main document window.
Hold down the Alt key and click a part of your image that would be a good coverup patch for the text. Make sure your blank new layer is selected in the Layers panel, then start painting over the top of the text you want to remove.
This process varies quite a lot depending on the exact contents of your image, but the general steps remain the same. Switch up your source point as needed to make sure that your patch layer matches up seamlessly with the background layer. Change your brush size, opacity, and edge hardness as needed, just like you would with any other brush tool.
It can be very time-consuming to get this right, and there are some situations where it’s simply too complex and difficult to create an accurate edit, especially if you’re not sure what should appear “under” the text you are removing.
You’ll have to decide for yourself how much time you want to invest in this method, or if you want to try another option.
Alternative Quick And Dirty Options
If you don’t really care about having a perfectly seamless edit, there are a few other options you can use to remove text from an image that is a lot faster. They don’t look great, but sometimes speed is more important than precision. Sometimes.
Crop the Text
This is a slightly brutal way to remove text in Photoshop considering that it has so many more sophisticated options, but it can be very effective.
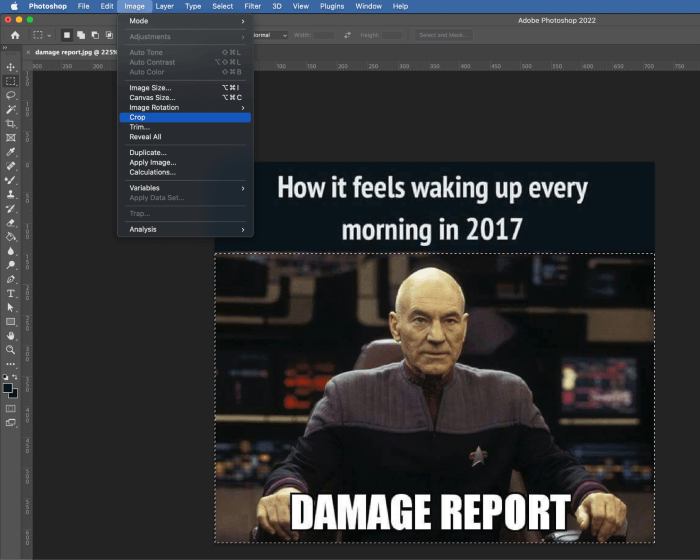
Simply switch to the Rectangular Marquee tool using the toolbox or the keyboard shortcut M, and draw a selection around the parts of the image you want to keep.
Open the Image menu and click Crop. Everything outside the selection will be removed, including your undesired text. As I said before, this is a very quick and dirty option, but it’s certainly effective.
Redact It!
This is very similar to the very first method described in this post, but if you don’t really care about the look of the final image, you can simply place a giant block of color without trying to do any matching.
If you need to share an image that contains some sensitive text that you don’t need to share, this is your best option. It’s also great for memes, especially since they can get even funnier as you see how many people have blocked and replaced the text over the lifespan of the image.
Simply switch to the Rectangular Marquee tool, set your foreground color to anything you want, and draw a rough selection around the text you want to block out.
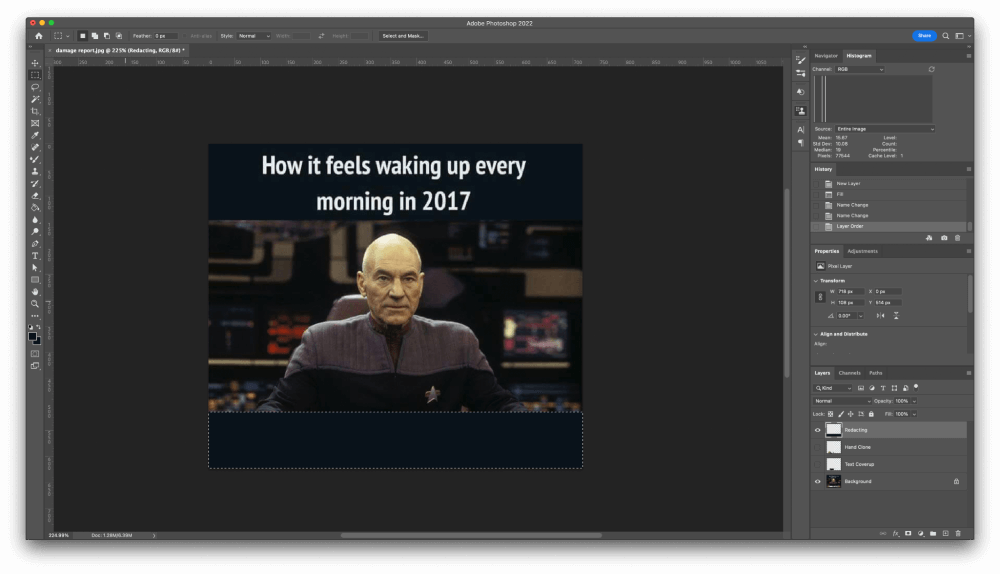
The keyboard shortcut Alt + Delete (use Option + Delete on a Mac) will instantly fill your selection with your current foreground color, and the text will no longer be visible.
A Final Word
It will probably only be a matter of time until Photoshop’s fancy algorithms (or rather, the engineers who create them) will figure out a way to automatically remove text from an image using some version of Content-Aware Fill.
But until that happens, you’ve learned the best ways to remove text in Photoshop – time to put your skills to use!
Happy editing!
About Thomas Boldt
