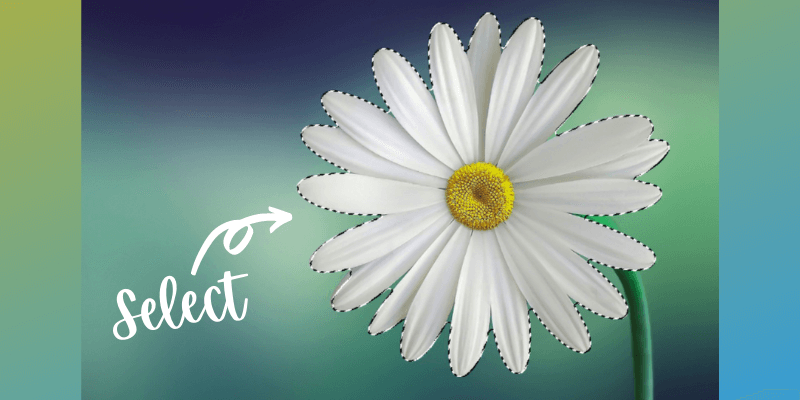
What’s the one skill you need to do almost anything in Photoshop? You need to know how to make a selection. If you want to cut or paste anything, apply edits to certain parts of an image, and so much more you have to know how to select an image in Photoshop.
Hey there! I’m Cara and I have a love-hate relationship with selections. They can be tedious, but if you don’t do them right, your project will look terrible. And I mean glaringly obvious terrible.
I’m sure you want to avoid this awful label, right? So let me show you the various methods of how to select an image in Photoshop.
Table of Contents
Method 1: Automatic Subject Selection
Let’s start with the easiest. This automatic method is nice but doesn’t always work. It works best when the image has an obvious subject with lots of contrast. This makes it easy for Photoshop to differentiate and make a selection.
Let’s look at this image I downloaded from Pixabay.com. With the image open and a selection tool active (like the Quick Selection tool), you’ll see a Select Subject button in the Options bar.
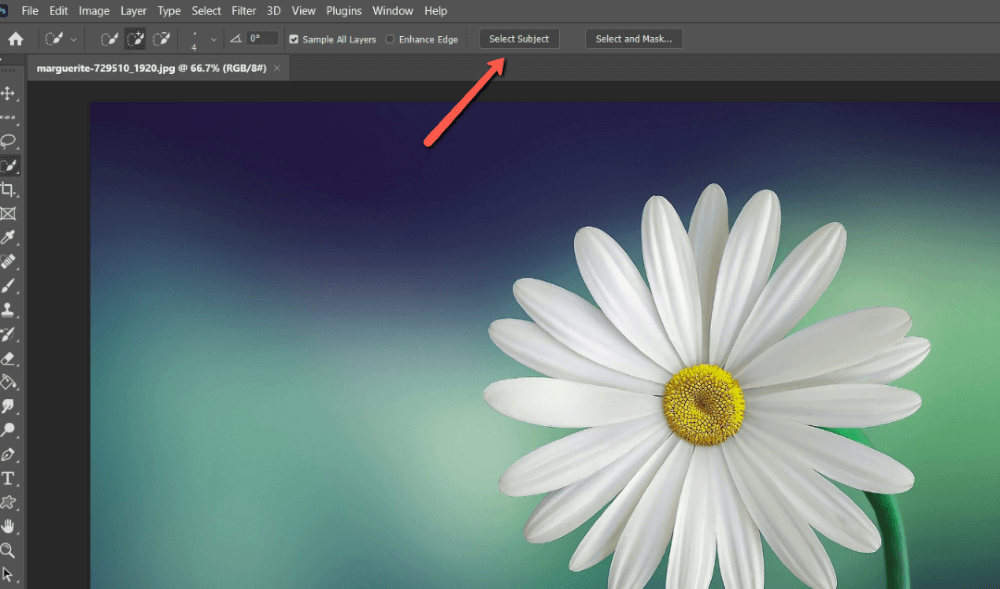
Click the button and let Photoshop work its magic.

Boom! An easy one-click (albeit not perfect) selection!
Method 2: Select and Mask
You may also notice the Select and Mask button in the Options bar. This button opens the Select and Mask workspace that allows you to refine the edges around a selection.
Output your selection to a layer mask and your selection will automatically be masked off when you exit the workspace.
Method 3: Object Selection Tool
The Object Selection tool allows you to direct Photoshop’s selection attention to a certain part of the image.
For example, if there were two flowers equally in focus in our image, Photoshop might try to select them both. If you want only one, you can use the Object Selection tool to tell Photoshop which one to select.
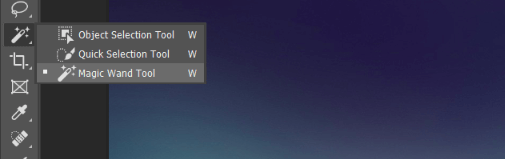
Choose the Object Selection tool from the toolbar.

Hover over the object you wish to select and you’ll notice that it turns blue. Photoshop is giving you a preview of what it will select when you click on it.

You can also drag out a box around the object you wish to select and the selection area will snap to the edges.
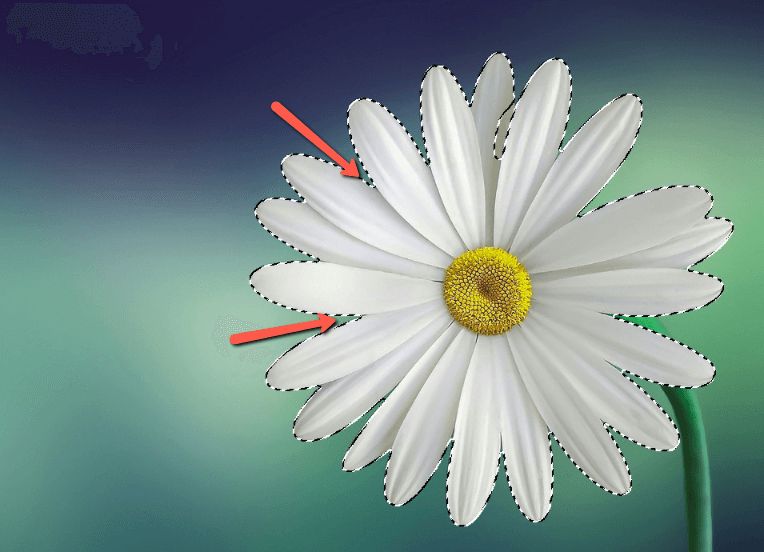
Notice that the result is a little cleaner than with the Select Subject command? If you go back and look, you’ll see that there are little spots at the petals’ intersection where the background was not fully selected. Here, it is more precise.
Method 4: Quick Selection Tool
The Quick Selection Tool allows you to direct Photoshop to the areas of the image you want to select. The program will automatically look for edges and help you by snapping the selection lines to those edges.
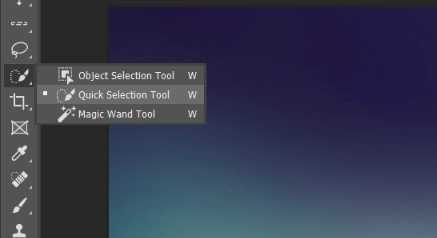
To try it, right-click on the Object Selection tool and choose the Quick Selection tool from behind it.
Drag the mouse around close to the edges of the object you want to select. It takes a bit of a steady hand, but Photoshop helps you out immensely.
You can also use the Quick Selection tool to fix little mistakes made by the more automatic tools. This is a great way to speed up your workflow by not having to do the whole thing by hand.
For example, notice this spot that was missed with the Object Selection tool?
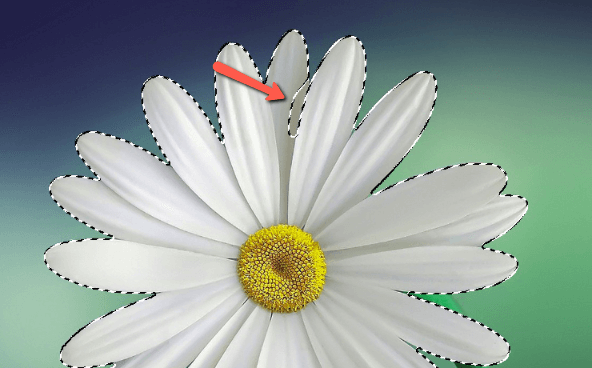
With the Quick Selection tool, you can choose to add to the selection or subtract from it in the Options bar. Let’s choose the Add option.
Carefully drag with the mouse to add in the section that was missed.

Method 5: Magic Wand Tool
The Magic Wand selection tool works based on color. It will make a selection around all the pixels that are the same or close to the same color.
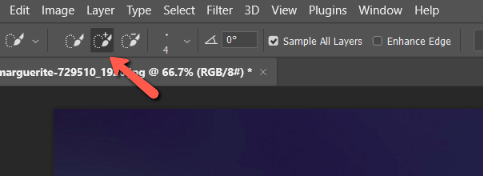
Right-click to open the flyout menu and choose the Magic Wand tool.
There are several settings in the Options bar that allow you to fine-tune which pixels the tool will select.

See how it selected the white areas but not the yellow center? We can add in the yellow part, of course, but I wanted you to see how the tool works with color. Notice that the petals’ intersections are cleanly selected as well.
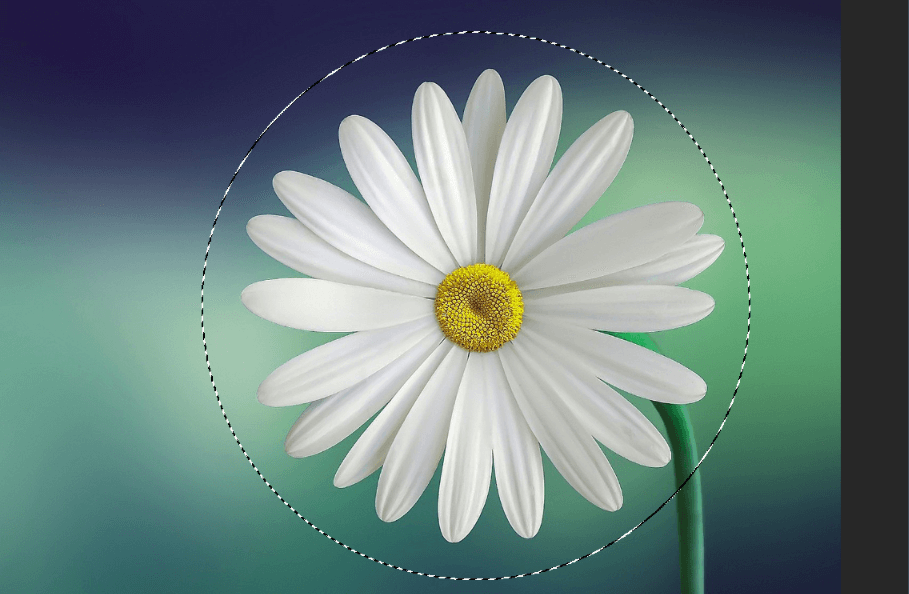
Method 6: The Marquee Tools
What if you don’t want to exactly select an object in your image? Maybe you want to create a circle crop or mask off a rectangular section of the image.
You can do this with the Marquee tools. There are four of them but when working with images, you’ll typically just use the Rectangular and Elliptical options.
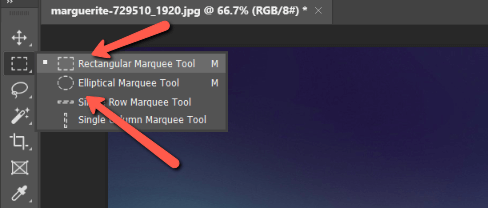
The Rectangular allows you to create square or rectangular selections. The Elliptical creates circle and oval selections.
Method 7: The Lasso Tools
The Lasso tools allow you to make quick, rough selections.
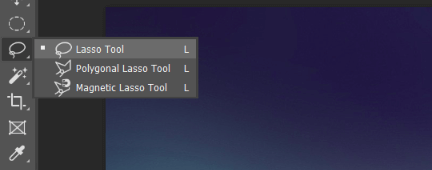
The regular Lasso tool is a freehand tool where you can drag the mouse to literally draw a rough selection. (Obviously, freehand is not my forte!)

The Polygonal Lasso tool creates straight lines between points. This is handy for drawing a quick selection around geometric objects like triangles.

The Magnetic Lasso is a more precise version of the quick selection tool. Drag your mouse around the object you want to select and the lasso will snap to the nearest edges.

Method 8: The Pen Tool
The most precise selection tool is also the most difficult tool to understand. However, sometimes the Pen tool is the only way you can get the exact selection that you want.

It works by dropping little anchor points around your selection. You can drop as many points as you need as well as create curving lines by dragging your mouse after dropping a point. Prepare your patience because a complicated selection will take a while.
Final Words
Whew! How was that? I hope you enjoyed this roundup of some of the different ways to select an image in Photoshop.
If you’re just getting started in Photoshop, don’t let this article discourage you. These tools can take a little time to get used to.
Throughout this article, we linked to a few other tutorials explaining the tools in more detail. Plus, we have a whole Tools and Basics section that is chock full of tutorials designed to help you get comfortable with these Photoshop tools.
Give yourself some projects to work on and you’ll be whizzing around Photoshop in no time!
About Cara Koch