
Sometimes you will have an image that a person will need to be removed from one shot and inserted into another. This method is frequently employed by magazine publishers to cut out models and position them against eye-catching colorful backdrops.
You can build a new image by cutting a person out of one photo and pasting it into another using Adobe Photoshop. This is a really straightforward process and usually only takes a few minutes.
My name is Aly, I have over five years of Photoshop experience and am also Adobe Photoshop certified and I’m here to show you how you can remove a person from an image and place it into another.
How to Move One Person from a Photo to Another
Using Adobe Photoshop, you can cut a person from one photo and paste them into another photo to create a new image.
Step 1: Open Adobe Photoshop. Choose Open from the drop-down menu under File on the top navigation menu. Select the image that includes the subject you wish to remove by clicking on it.
Click on the second picture you’ll be putting the individual into while holding down the Ctrl key. To simultaneously open both photos, click the Open button.
Step 2: You should now have two tabs open in Photoshop, one being the image you want to cut the person from, and the other the photo you wish to put the person in.
Find the Quick Selection Tool on the left-hand side toolbar. Have the tab of the person you are wanting to cut out selected first.

Step 3: Next, click on your person while the Quick Selection Tool is selected. If you need your brush to be bigger hold down ] (Right Bracket) if you need your brush to be smaller hold down [ (Left Bracket).
You will start to see dotted lines going around the person. Keep clicking and dragging in the way that you are essentially outlining your person until the entire person is surrounded by the dotted lines.
If you make a mistake you will see at the top of the menu bar a little (-) icon. You can click that and select the mistake and it will push the dotted lines back to where you need them.

Step 4: Once you are satisfied with your selection of your person go to the top menu and you will see Select and Mask go ahead and click that so we can clean up our edges and check out other settings.

Step 5: A menu option will pop up. There are many settings here, but the main one we will want to focus on is edge refinement. Edge refinement is going to clean up the little tiny slivers that our cursor couldn’t reach such as hair and extra spacing.
Your refinement settings will not look anything like mine since the quick selection tool varies by person. But you will see that there is a list of settings to alter.
Personally, I like to set my radius anywhere between 2px and 5px. In Photoshop, the radius option controls the size of the selection boundary where edge refinement takes place. For sharp edges, use a small radius; for softer edges, a larger radius.
Smooth, feather, and contrast are going to be up to you. I like to smooth my image so it’s not as harsh, but I wouldn’t go too heavy on the smooth option as it could make your image look blurry.
Feathering is a technique for reducing an object’s sharp edges in your photograph. This is where I usually play around between smoothness and feathering to get the correct look.

Step 6: Once you are finished refining your edges, click OK. You will now see that your person has dotted lines around them, this is good, this means that we are ready to extract your person and move them.
Step 7: While the dotted lines are still around your person, hold down Command + C to copy your person. Next, switch over to your new background or image tab by clicking on the other tab next to your current tab.

Step 8: Now, since you already copied your person in the other tab, let’s go ahead and press Command + V to paste our person into our new image or background. You might see that the person is too big or too small for our new image or background. That is okay.
Click on your person and they should get selected with a box around them. This is how we are going to fix the size of them onto your new image or background.
Click and hold down on one of the squares on any of the four corners of your person. Drag your mouse in or out to alter the size of the person. Click and drag the person to move them to the desired place in your new image or background.

Step 9: Perfect! Now you have your person pasted into your new image but as you can see with mine, there is a tonal difference between the person and the background, so we will need to fix that to make it blend better as if she was already there.
Step 10: Select your background layer from the Layers panel and then go up to Filter > Blur > Average.

You will see that your background is now a color, what Photoshop did was pick the average tone that was in your background layer. We will need to grab our Eyedropper Tool from the toolbar while our background layer is still selected.

Step 11: Choose the Eyedropper Tool and click on the new color background that is shown, this will move that color to your foreground color box, located on the left-hand side menu closer to the bottom.

Step 12: Click Alt + Ctrl + Z (Windows) or Option + Command + Z (Mac) to remove the color from your background. Now, we need to create a new layer, so go down in your layer menu and select Create New Layer as shown in my image below.

Step 13: Once you created the new layer, grab your Paint Bucket Tool, located on your left-hand side menu. When you have the paint selected, make sure you are working on your new layer (Layer 2).
With the Paint Bucket Tool selected, click anywhere on your image to dump the paint can and release the color. Your image will now be covered in the previous color.

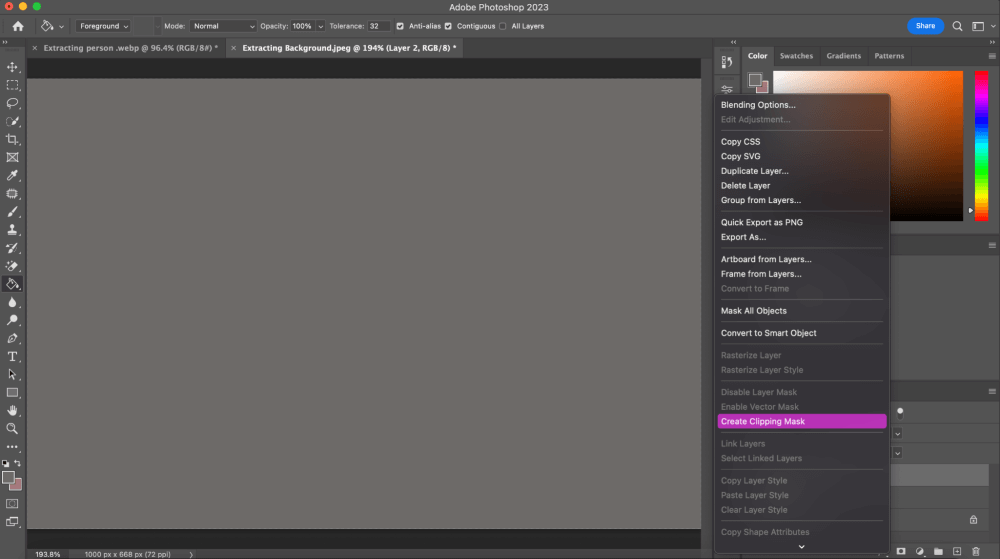
Step 14: We need to now create a Clipping Mask so that the color only covers your person.
Now you can see in the image below the color is only on my person.

Step 15: In the layers panel you will see the Opacity slider, drag it down to 0%. Slowly start to increase the opacity by dragging the slider to the right. You will start to see the tone being introduced to your person.
Once you have figured out the right amount of opacity for your image it should look much better than it did before. Your image should look all of a similar tone and make it seem like the person was always there.

And that’s it! You have now successfully move a person from one image to another in Photoshop!
Final Thoughts
Even though this process is quite a few more steps than other tutorials, it really does go by quickly once you learn the process of extracting. You can try this with all different types of images.
What is fun about this process is that you can now extract anything you want from an image, not just a person, which leads to fun projects in my experience.
Any questions about moving one person from a photo to another in Photoshop? Leave a comment and let me know.
About Aly Walters
richard dean rodgers
canu move one body from pic to another and place it?
June
Hi Ricard,
What do you mean by “place it”?