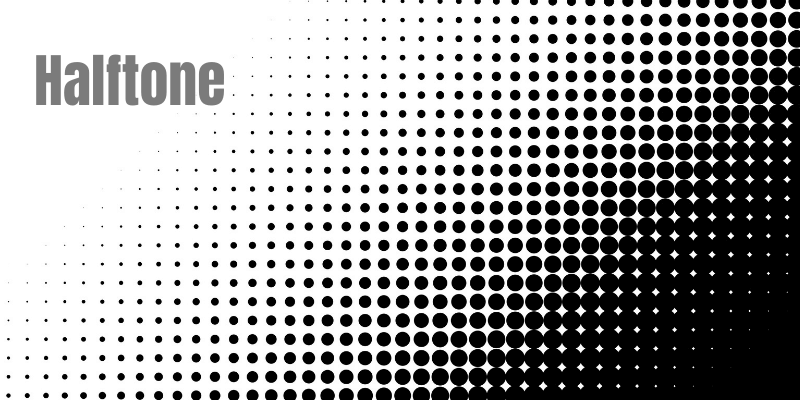
If you’ve ever taken a careful look at an old newspaper or print advertisement, you may have realized that the visuals aren’t exactly what they seem to be. You’ll find a crowded and minute array of dots instead of a continuous, smooth tone. Halftone is a style that is similar to pointillism but not quite.
Halftoning is the process of simulating subtle tone changes with distinct ink units. The dots could be large and grouped tightly together in dark areas. They will be more diffuse and arranged selectively to suggest details in brighter places.
I’m Aly, I am Adobe Photoshop certified and have been using Photoshop for many years. In this article, I will be showing you how to create a halftone effect on your image in Photoshop.
You can create the halftone effect in greyscale or color, and I’ll show you both methods below.
Table of Contents
Key Takeaways
- Adding a glossy filter can help to draw the eye in more to your image.
- This effect may not be appropriate for all images and can produce an unnatural appearance.
Method 1: Make a Halftone Effect in Black and White
Discover how to create a black and white halftone effect in Photoshop and how to modify the halftone effect’s color.
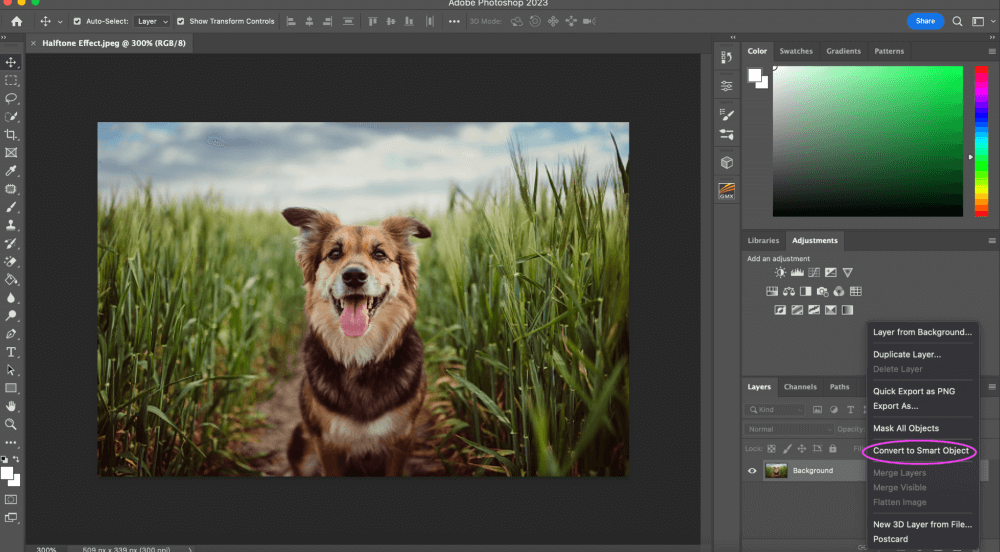
Step 1:Open your desired image in Photoshop before we begin creating the halftone effects. Right-click the image layer and choose Convert to Smart Object to turn the image into a Smart Object.
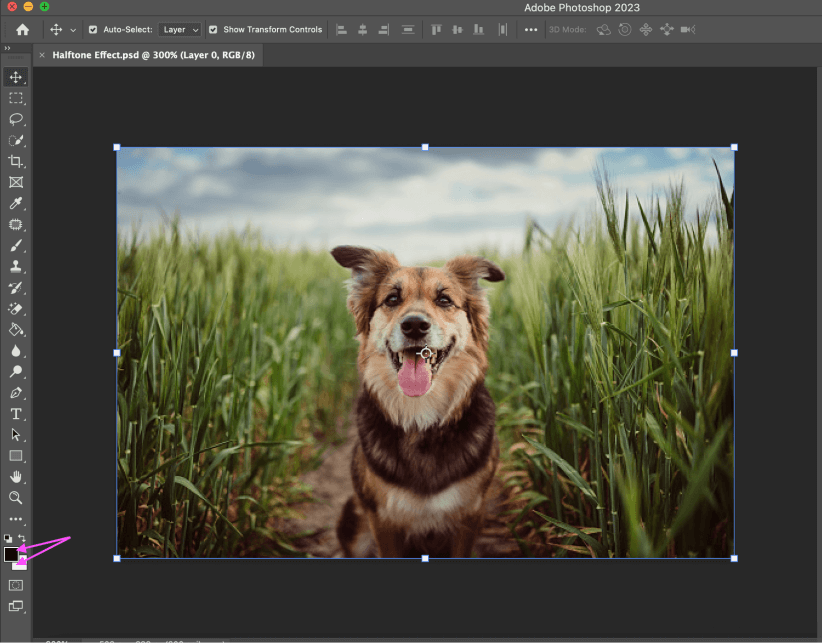
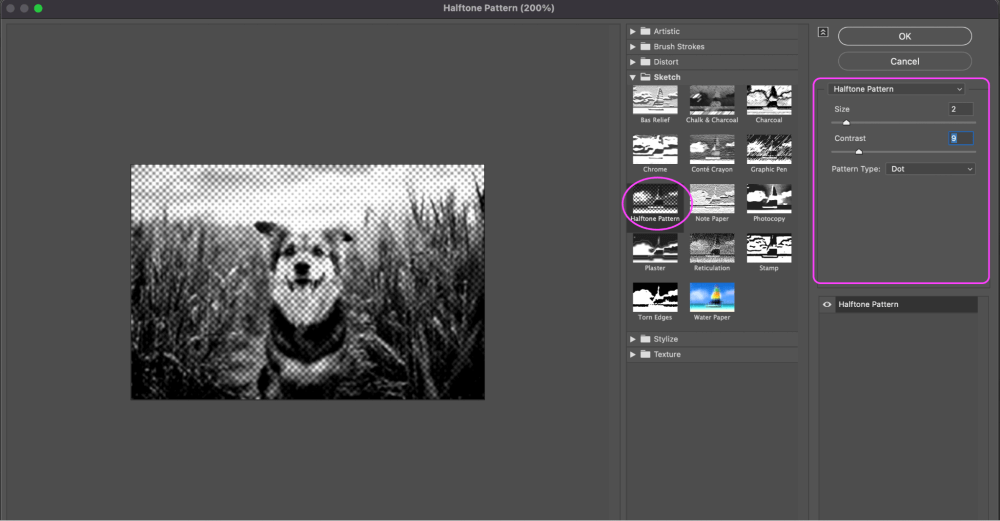
Step 2: When creating a halftone effect, the Halftone Pattern filter uses the current Foreground and Background colors. Choose the color black by clicking on the Foreground color icon at the left bottom of the toolbar. Then choose the color white by clicking on the Background color icon.
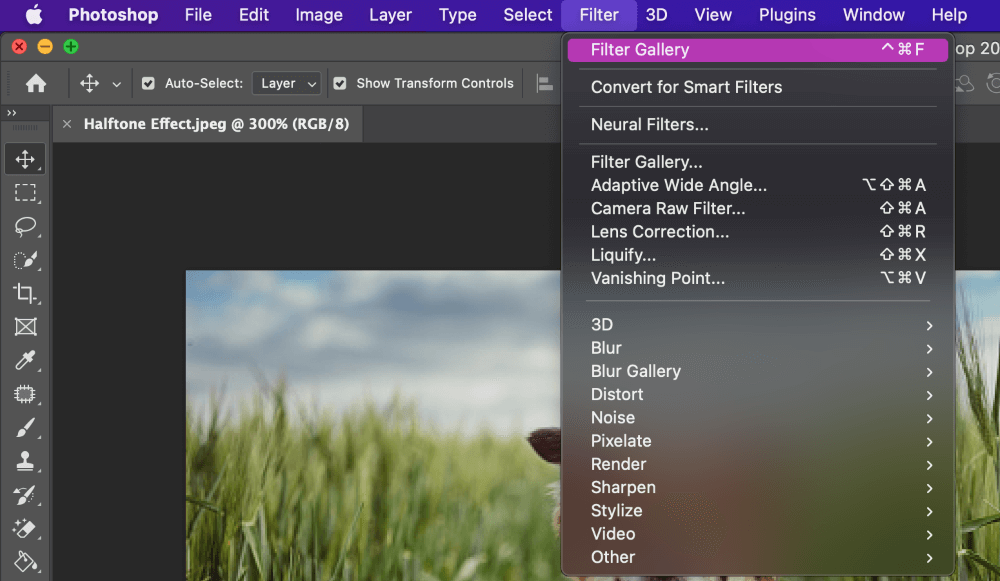
Step 3: After you have selected your foreground and background colors, you will want to go up to the top menu and find Filter > Filter Gallery.
Step 4: Once you have opened the filter gallery, pick Halftone Pattern from the Sketch folder. Verify that Dots is selected under Pattern Type. Make the Size and Contrast adjustments you prefer using the preview image on the left. If more zoom is required, use the buttons located in the bottom left.
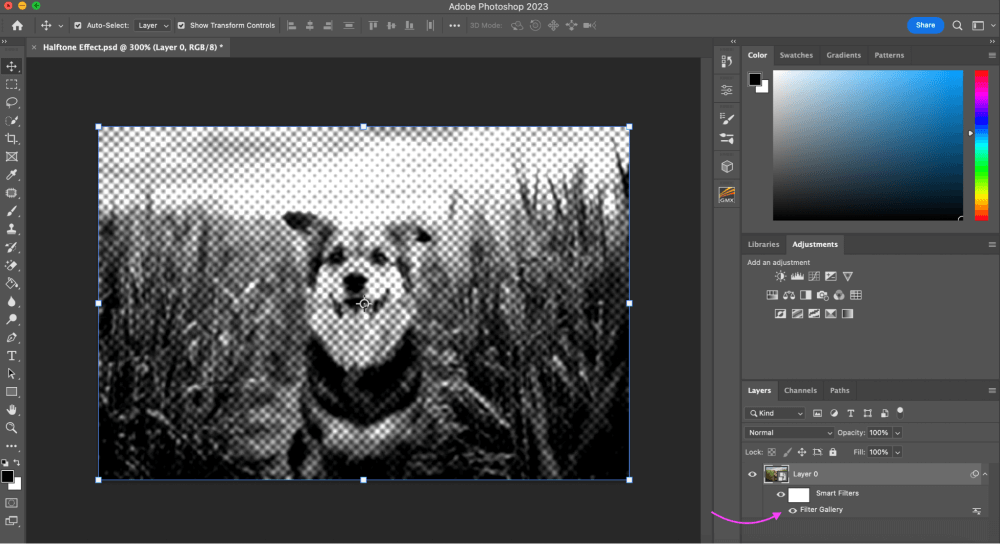
Step 5: Because the image is a Smart Object, you can still make changes if you want to change the Halftone Pattern filter that has been applied. Just double-click on Filter Gallery in the Layers panel’s Smart Filters section. Once you’ve made any adjustments, click OK once more.
Method 2: Make a Halftone Color Effect in Photoshop
Instead of your halftone effect being in black and white, let’s make it in color.
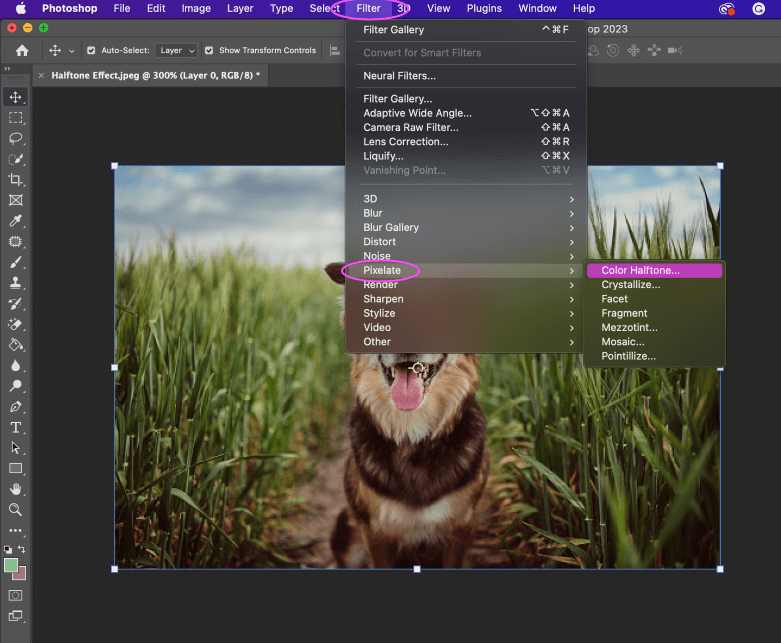
Step 1: Make sure your image is still a smart object, this step is important. After you’ve checked, go up to Filter > Pixelate > Color Halftone.
Step 2: This part is tricky if you’ve never done this before, I have explained what the options are when the color halftone menu pops up.
Radius
The size of the halftone dots and the distance between them are influenced by the radius. To vary the gradient and blur of the color and image, modify the dot size.
Smaller dots will appear more refined and understated, but larger dot sizes will remind one of the low-quality print materials like antique comics, old advertisements, or homemade grunge zines. The maximum radius will have an impact on the halftone dot size.
The size of the dots can only match or be less than the value you enter. Max Radius ranges from 4 to 127.
Channel
The placement and overlap of the dots are altered by the Channel setting. A setting for the Screen Angle governs each Channel. It is expressed in degrees.
The angle at which the Cyan, Magenta, Yellow, and Black dots are introduced to the pattern can be changed by adjusting the value. Depending on how the dots merge, they can create different colors where they overlap.
What I choose for my numbers will look completely different from yours. I found that the best way to figure out what looks best is to play around with the radius and channel numbers. It took me a good 10 or so tries before I got my image to look how I wanted.
Step 3: If you want to change the look of the halftone colors, double-click the Blending Options icon in the Layers panel that is located to the right of the filter.
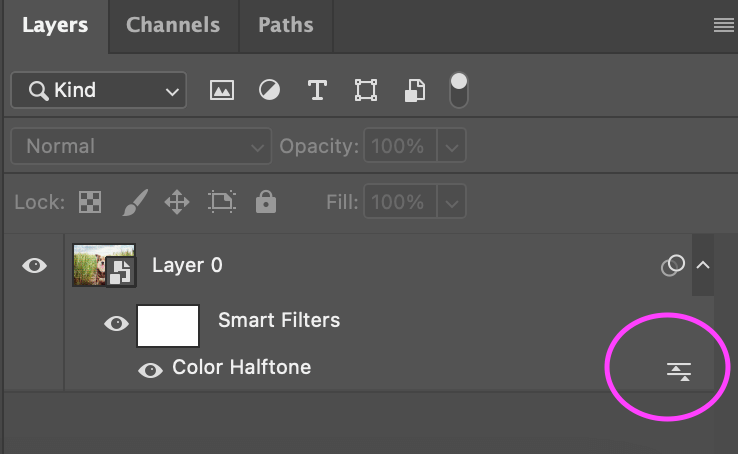
Step 4: You can modify the blending mode and opacity in the Blending Options box that appears. Check the Preview box to see a real-time preview of the changes. The blending options will be applied to the image once you click OK.

Pro Tips:
- Try experimenting with multiple different photos, write down which radius and channel numbers work best for that image, and learn from it.
- Screen angles should be separated by 30 degrees in order to prevent a distracting visual interference pattern from developing when successive halftone dot patterns are overprinted.
Final Thoughts
You can now create some extremely unique photos using Photoshop’s halftone effect. Try the two strategies you learned today with the various color-changing methods to find which works best for you.
Any questions about making a halftone effect on an image in Photoshop? Leave a comment and let me know.
About Aly Walters