Blending modes (or blend modes) determine how the pixels of two layers interact with each other to affect your image. Changing the blending mode can have a drastic effect on the outcome.
But, it’s a good thing that Photoshop offers an immediate preview when you hover over each blending mode. Most people start out not fully understanding how these modes work and their unscientific approach to choosing one is to scroll through until they find one that looks good.
Hello there, I’m Cara! Today, let’s save you a bit of time and frustration by answering your burning question. What are blending modes in Photoshop and how to use them?
Let’s dive in!
Note: I use the Windows version of Photoshop. If you are using a Mac, the workspace will look slightly different from the screenshots displayed here.
Table of Contents
What Are Blending Modes in Photoshop?
The first part of the question is easy. It might take a bit to fully wrap your head around how the blending modes work, but their basic purpose is to determine how two layers blend together.
Technically speaking, each blending mode uses a mathematical equation to do this. Relevant factors include hue, saturation, and luminosity. Some blending modes use a combination of these components to determine the outcome.
Why use blending modes in Photoshop? They are a great way to target changes to a certain part of the image without having to use layer masks or selections.
This is really helpful, for example, if you wanted to affect all the light parts of an image. Rather than wasting time trying to create a bunch of selections, you can simply apply a blend mode for a frustration-free and seamless application.
Another helpful feature is that blending modes are non-destructive. You can come back at any point and change the blending mode or adjust its opacity to fine-tune the outcome.
How to Use Blending Modes
Blending modes are super easy to use. You need two layers, the base layer and the blending layer. These layers can be anything – images, shapes, text, color fill, etc.
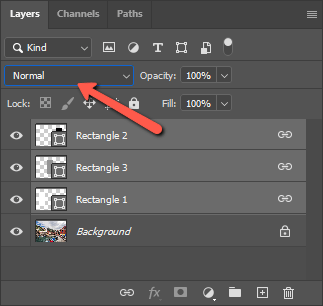
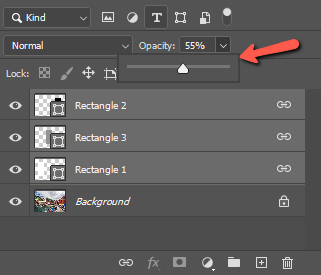
Then, you click in the blending modes box near the top of the Layers panel. By default, the blending mode is always set to Normal. So if you haven’t changed anything yet, the blending mode option is Normal.
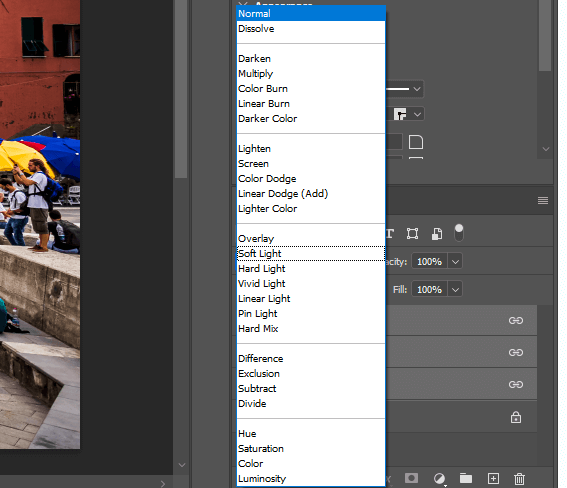
Then you simply scroll through the menu and choose the blending mode you want. Photoshop will automatically give you a helpful preview of how the blending mode will look as you hover over each one.
The 6 Categories of Blending Modes in Photoshop
Photoshop divides the blending modes into 6 basic categories. You’ll notice when you look at the menu that though the categories are not named, the modes are divided for visual ease.
Normal Blending Modes
The first two are normal blending modes that are based on opacity rather than actually blending the layers together. Normal is the default mode which keeps the layer at 100% opacity and doesn’t allow the underlayer to show through (unless there are transparencies in the top layer).
Darken Blending Modes
The next group is the 5 darken blending modes. These modes darken the base layer and remove lighter pixels from either the base layer or the blend layer. Which pixels it decides to remove is based on the particular blend mode.
Lighten Blending Modes
The next group is the 5 light blending modes. These work the opposite of the last group. They brighten the base layer and remove dark pixels from either layer according to the mode you choose.
Contrast Blending Modes
The 7 contrast blending modes are a mix of the last two groups. If the colors are darker than 50% gray, Photoshop will apply a darken blending mode. If the colors are lighter than 50% gray, Photoshop will use a lighter blending mode instead.
Inversion Blending Modes
These 4 blending modes analyze variations between the blending and base layers to produce their effect. Depending on what you’re blending, the result may invert colors and you’ll end up with something that looks like a photo negative.
Component Blending Modes
The final 4 blending modes look at hue, saturation, and luminosity and make changes based on these values. Remember that hue is the color of a pixel (excluding pure white and pure black). Saturation is the intensity of that color and luminosity is the brightness.
Now that you have a basic idea of what each group does, let’s see these puppies in action!
The 27 Blending Modes in Photoshop
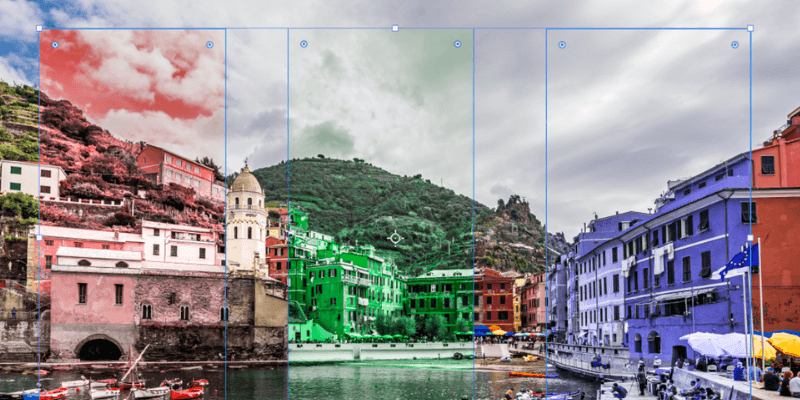
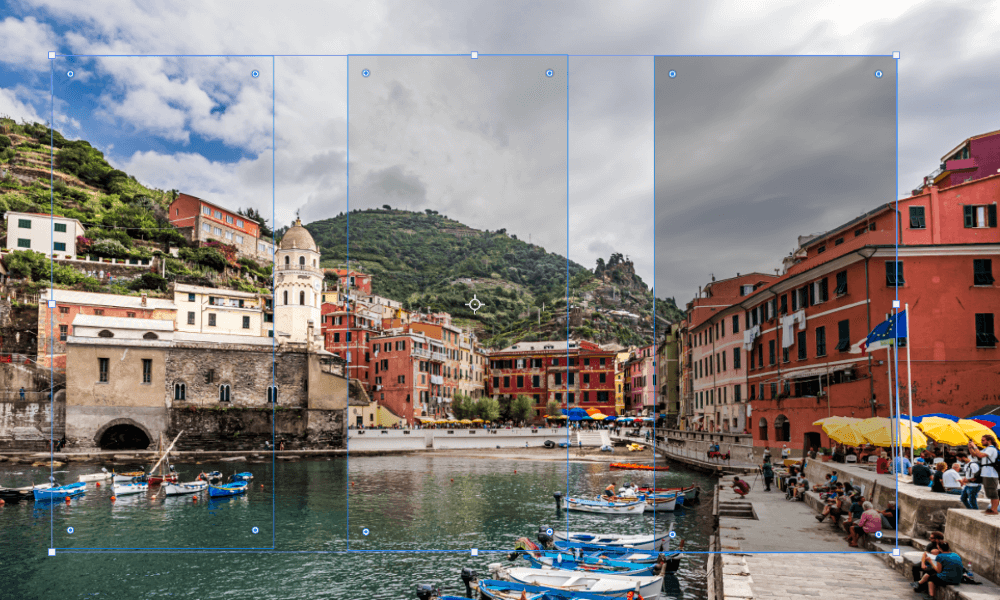
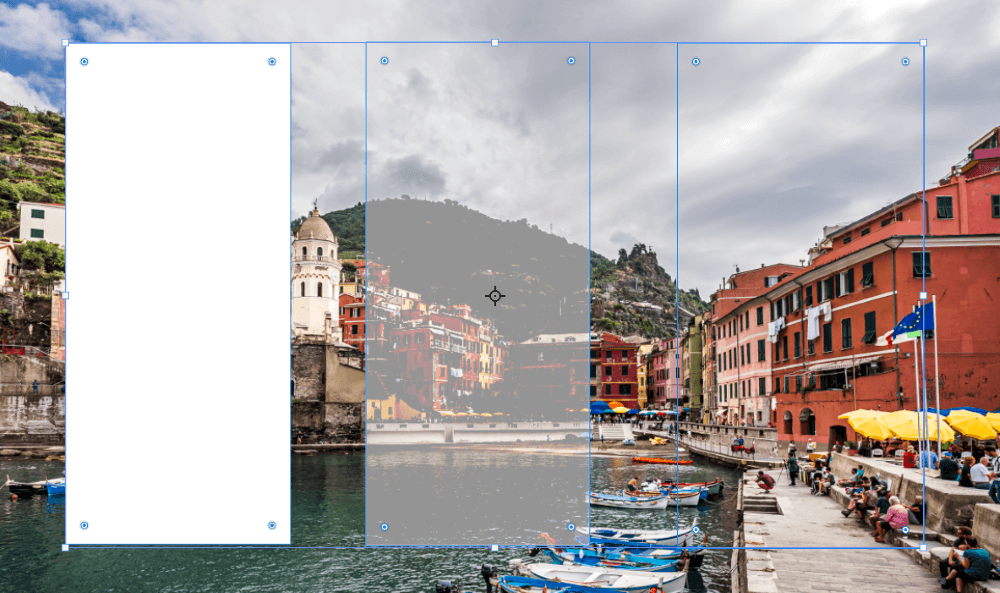
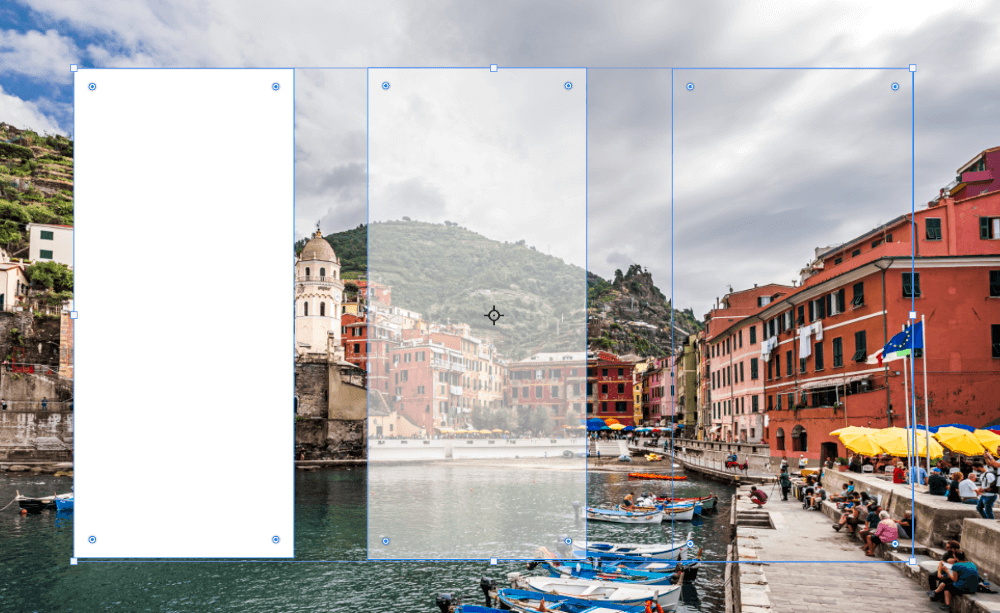
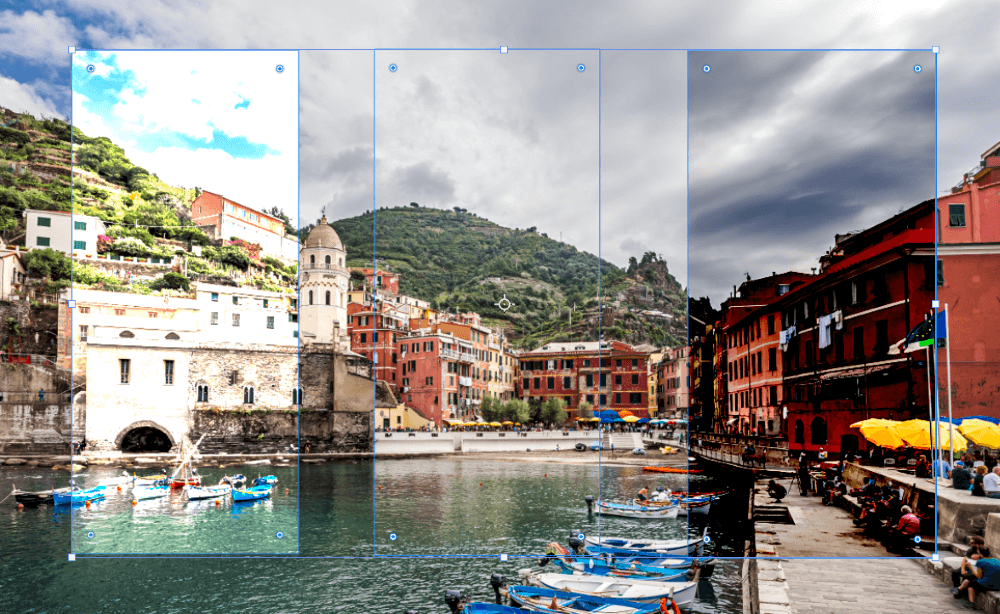
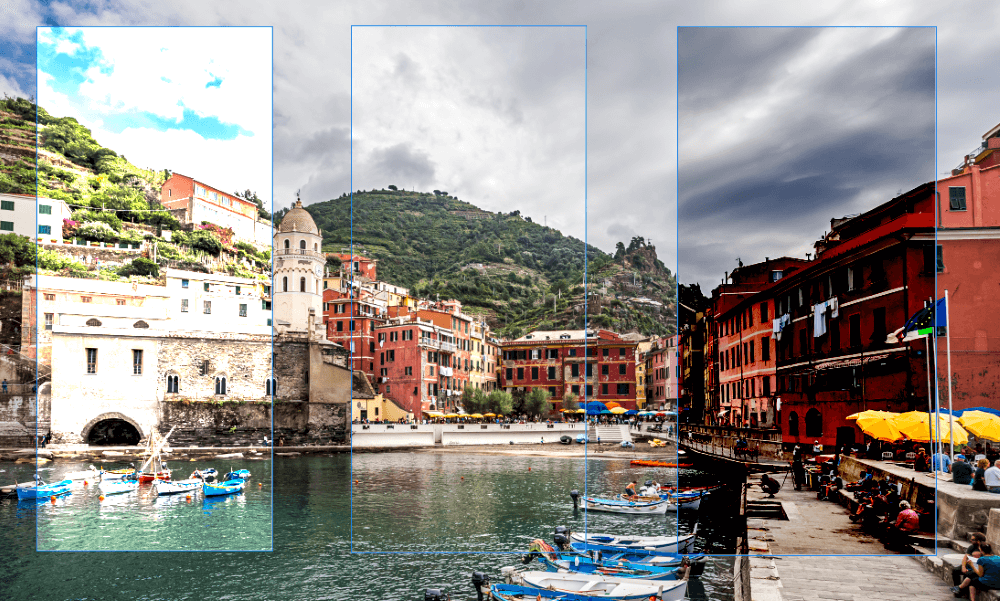
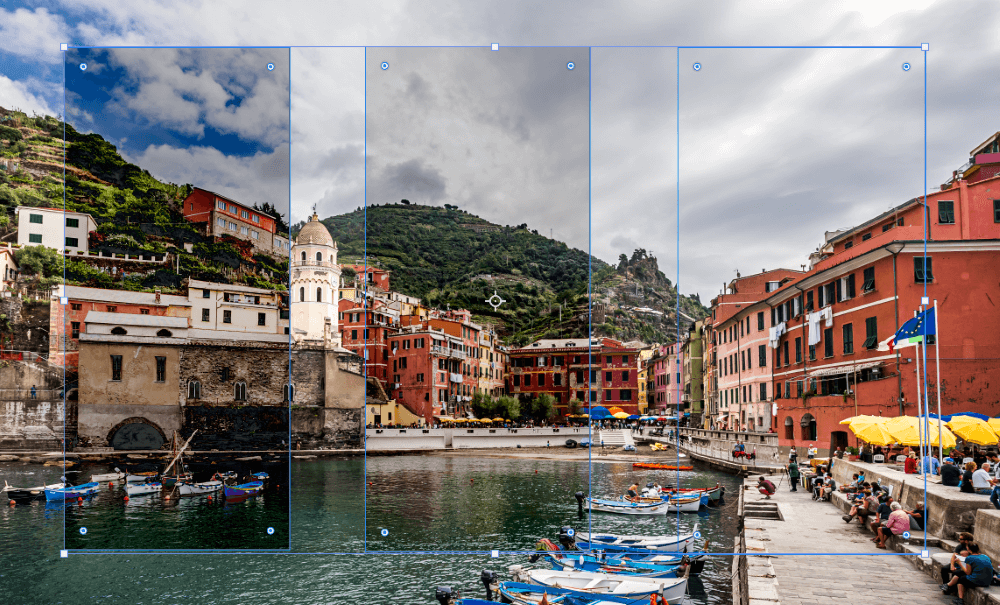
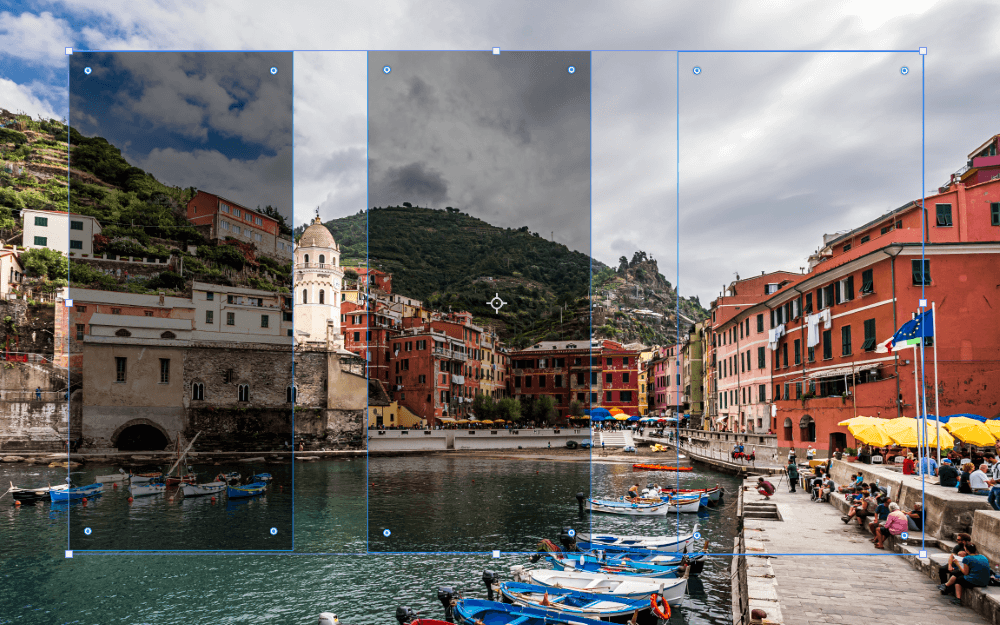
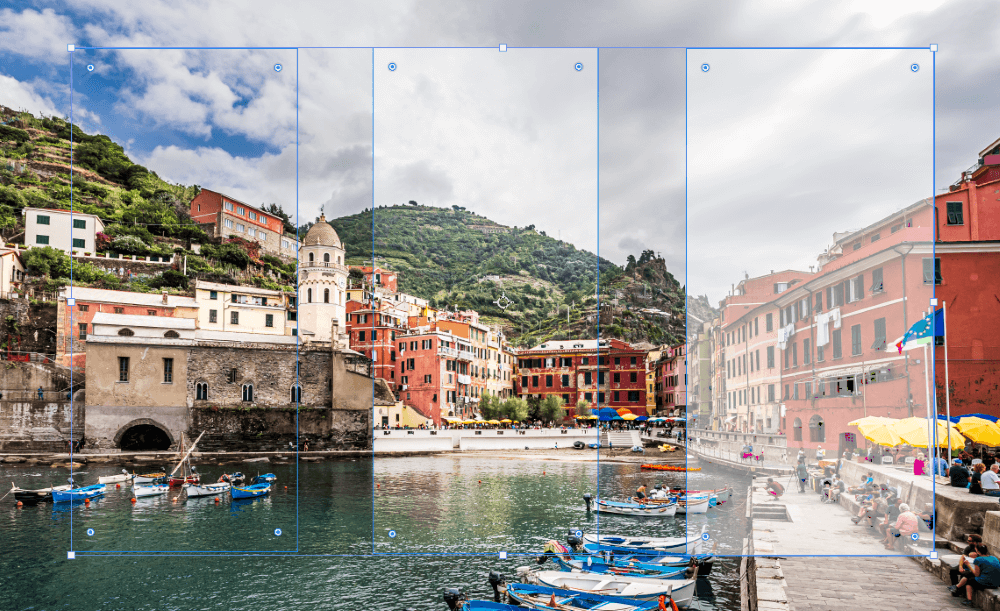
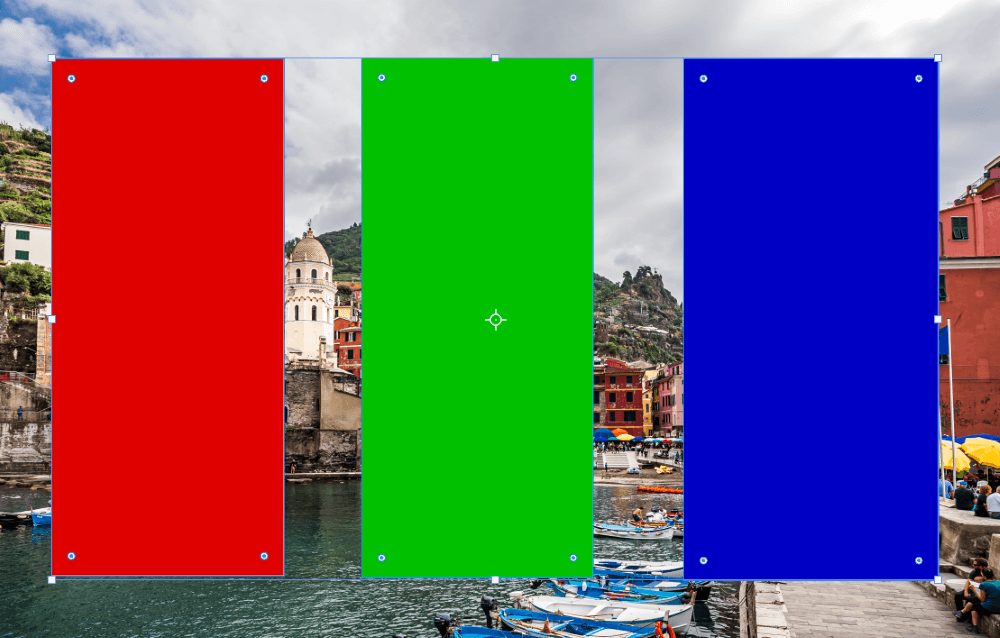
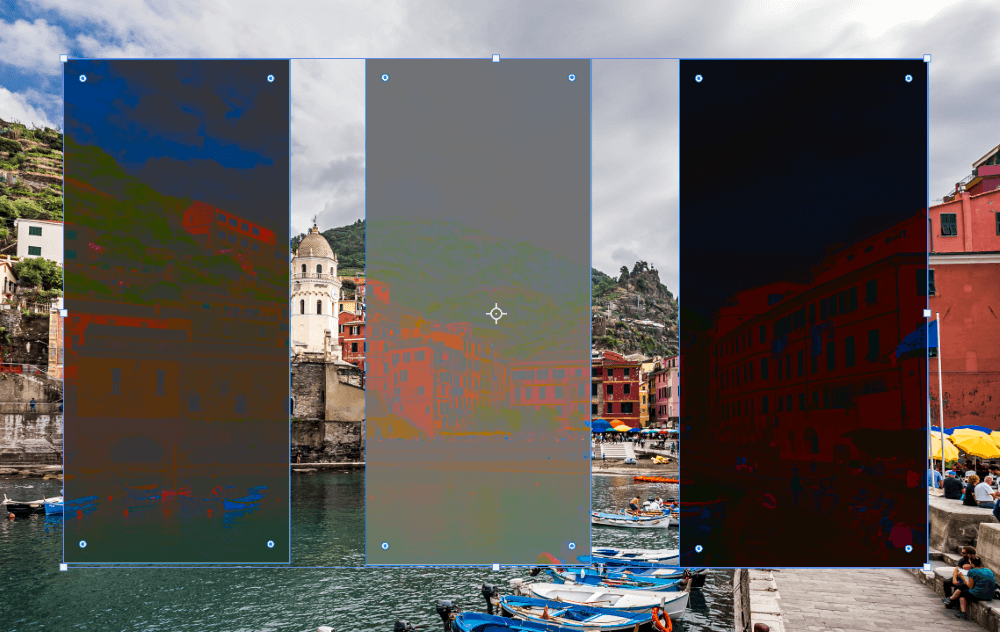
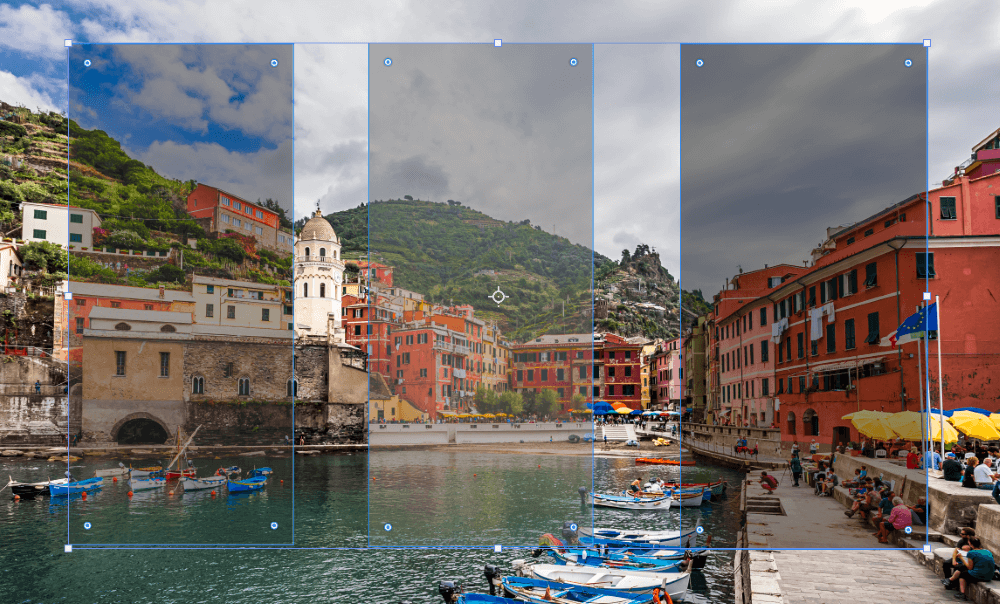
Let’s look at some visual examples of these blending modes. I’ve set up this image to help us see what’s going on.
Normal Blending Modes
First up are the two normal blending modes.
Normal
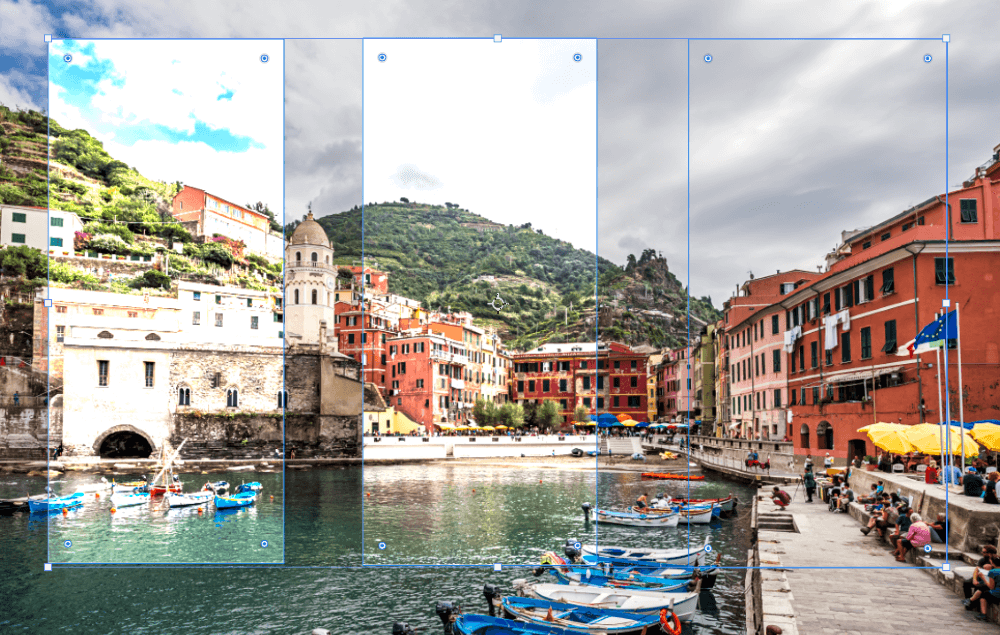
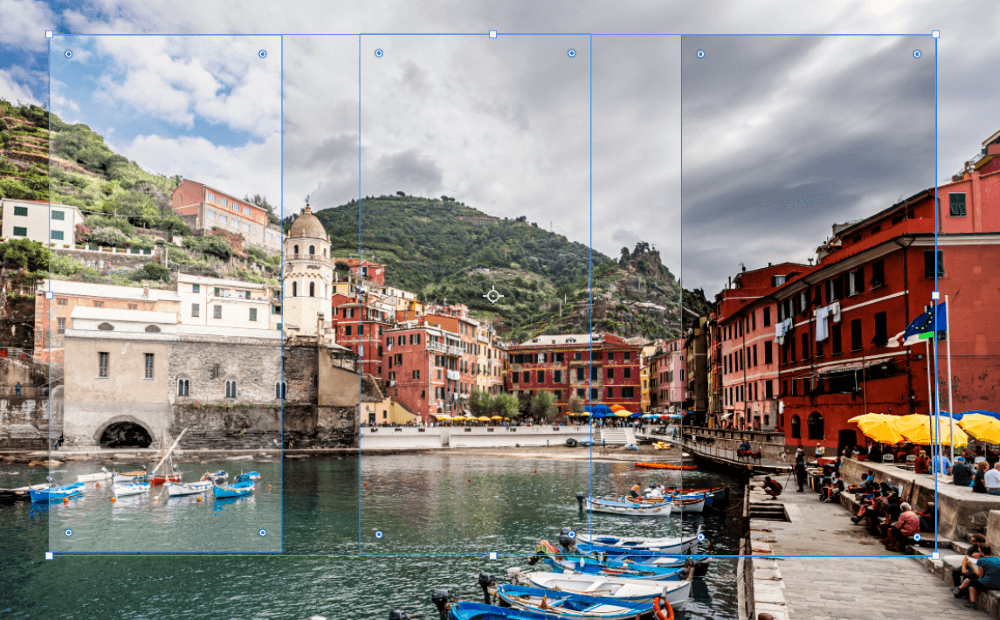
Normal is the default blend mode. The top layer is 100% opaque and the layers are completely separate. There is no blending going on here.
If we lower the Opacity of the blending layers, the base layer will begin to peek through.
However, there are no color or luminosity changes.

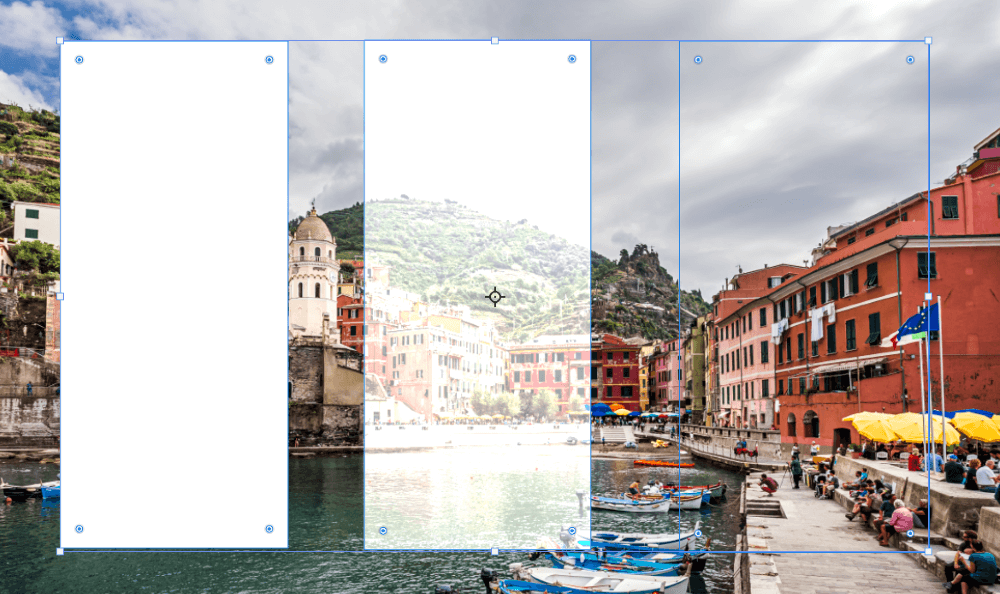
Dissolve
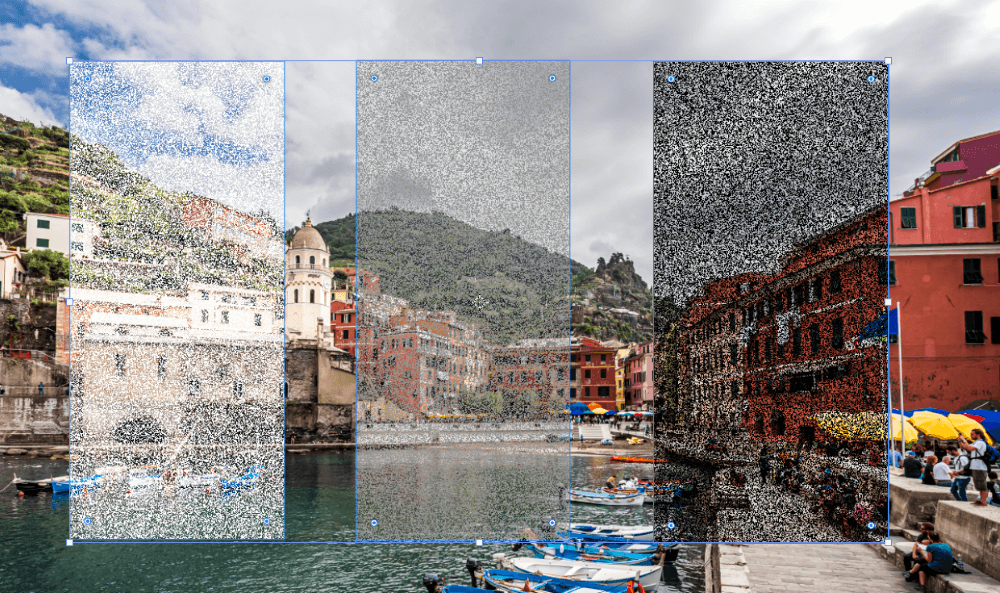
The Dissolve blending mode creates a dither pattern but at 100% Opacity, it is not really visible. However, if we lower the opacity to 50%, here’s what we get.
Darken Blending Modes
On to the darken blending modes, of which Multiply is one of the most popular blending modes used in Photoshop.
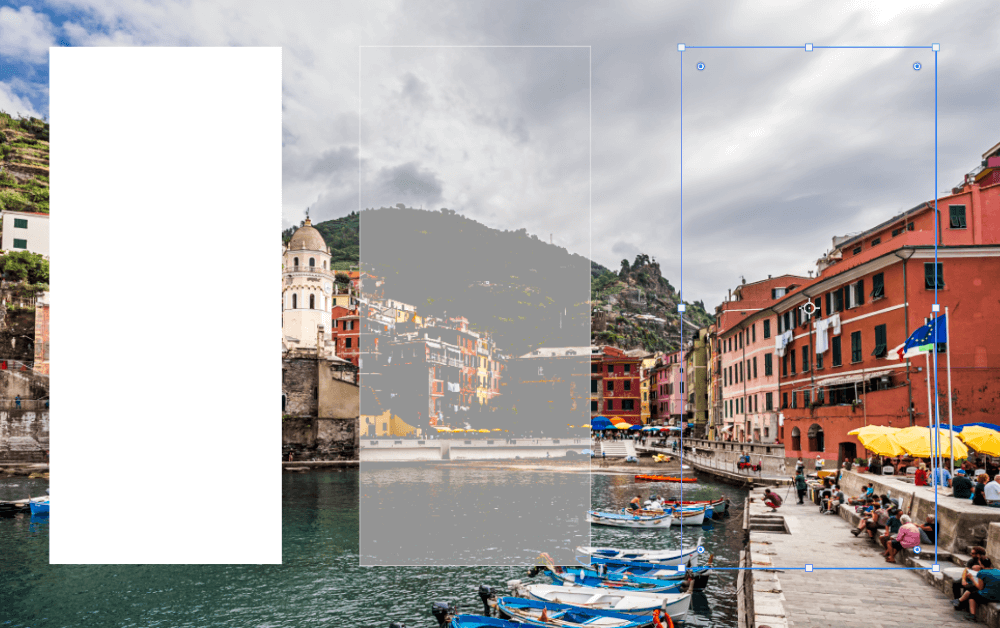
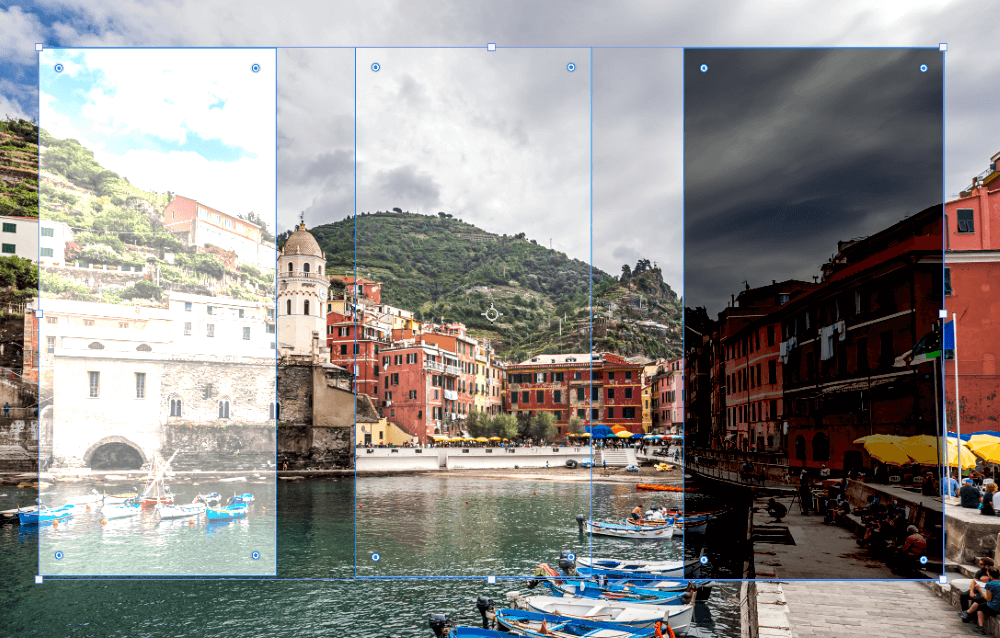
Darken
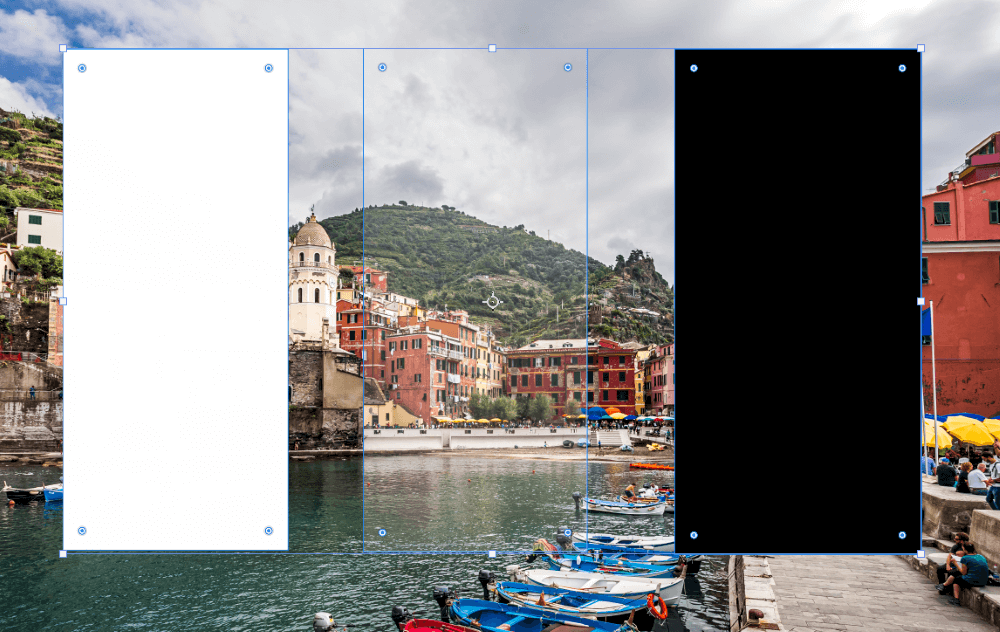
Darken analyzes the pixels in the base layer and the blending layer and keeps the darker of the two. It also analyzes the RGB channels separately, allowing for a softer blend.
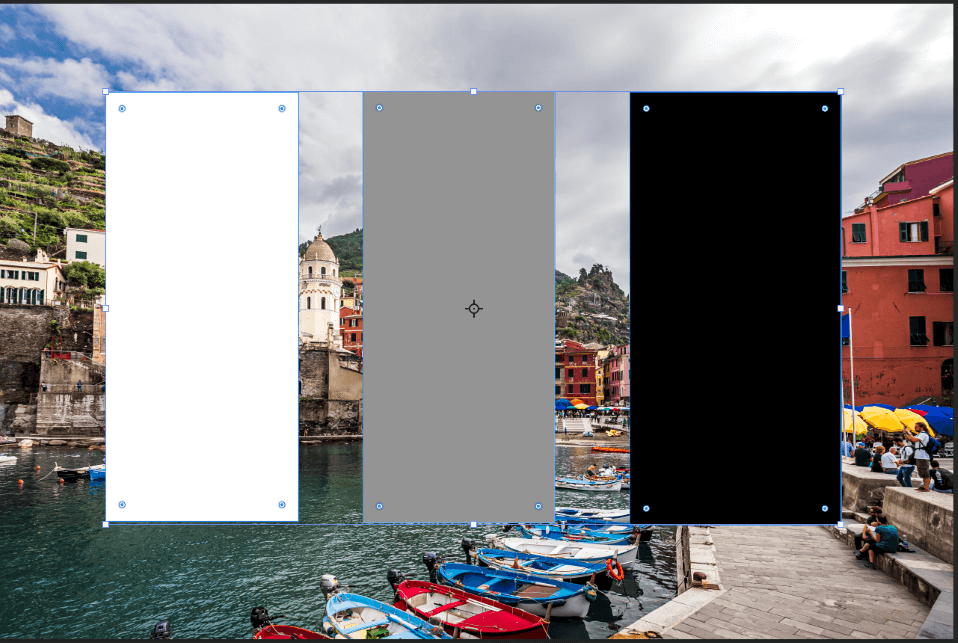
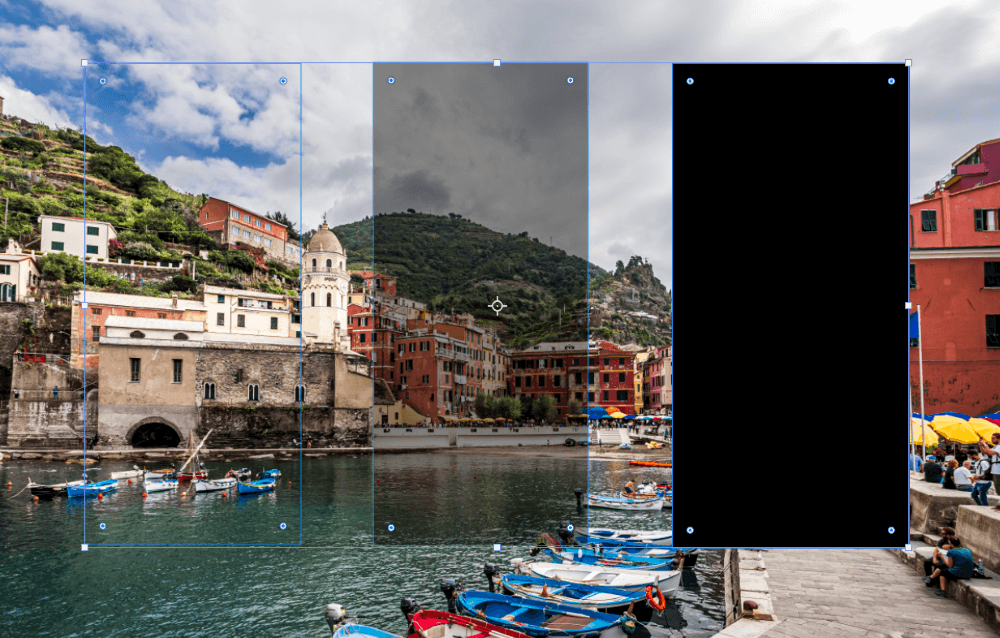
Thus, in our example, white disappears while black remains solid, and 50% gray does something in the middle.

Say you wanted to darken the light parts of an image without affecting the darker parts. You could put 50% gray over your image with the Darken blending mode and lower the opacity.
Multiply
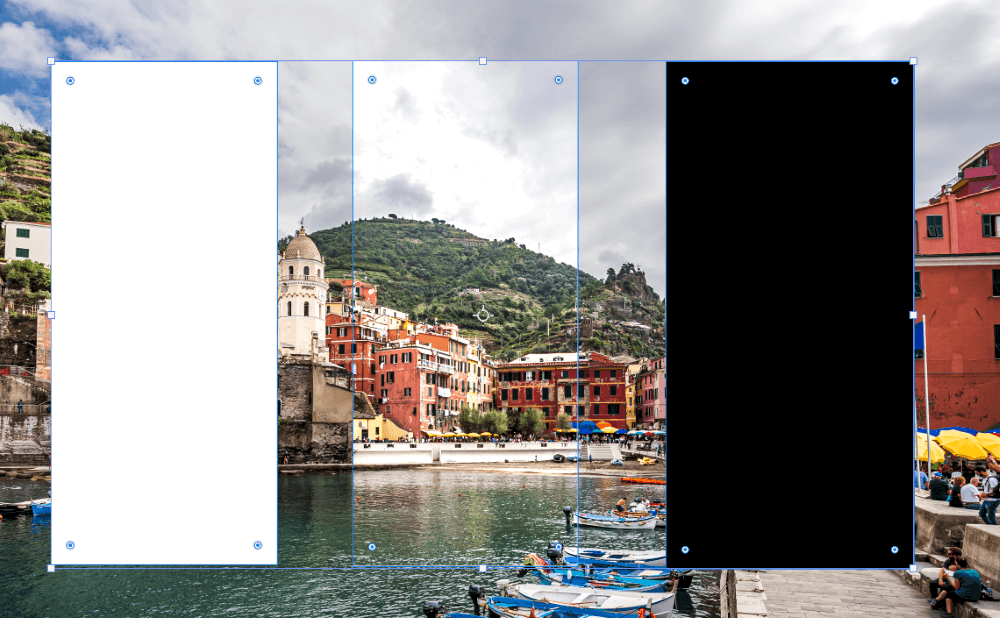
Multiply is the same idea as Darken, but tends to blend a little better. It considers the luminosity of pixels and multiplies the luminosity of the base layer by that of the blending layer. The mode ignores white and leaves black, resulting in a natural darkening of the image.
This is one of the most commonly used blending modes in Photoshop. It can be used in many ways such as adding vignettes, darkening skies, etc.
See it in action for adding texture to an image here.
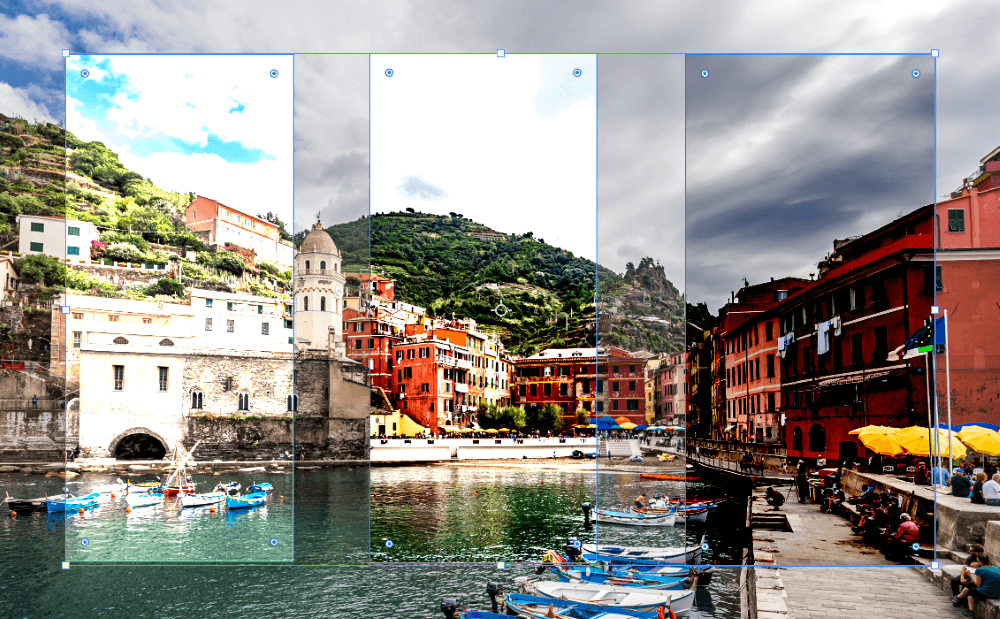
Color Burn
Color Burn takes things one step further than Multiply by adding contrast and saturation.
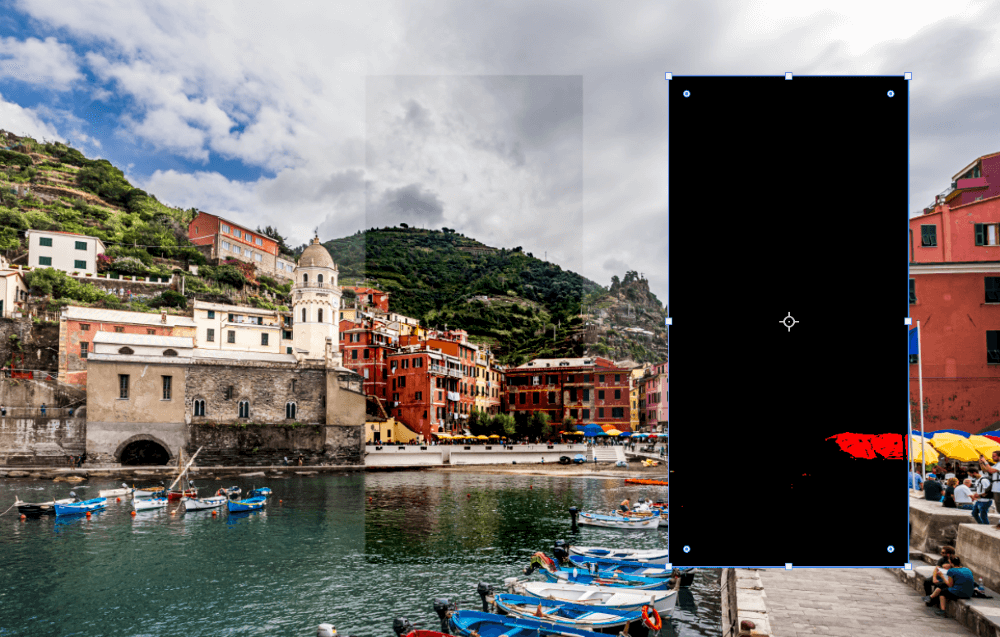
It also is the first of 8 special blending modes that work better when reducing Fill rather than Opacity. So let’s bring down the Fill to see how it affects our image.
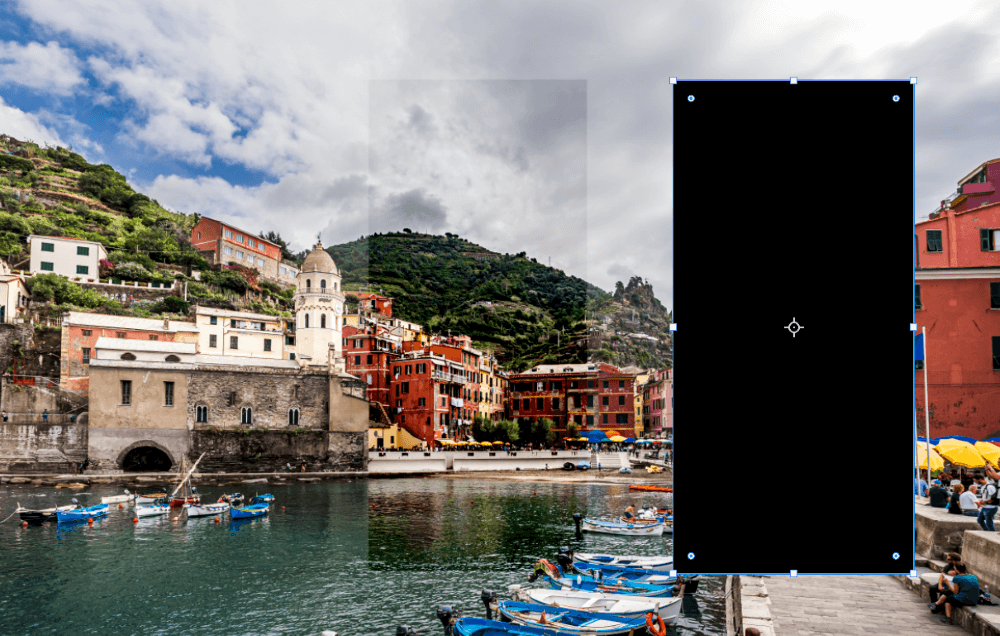
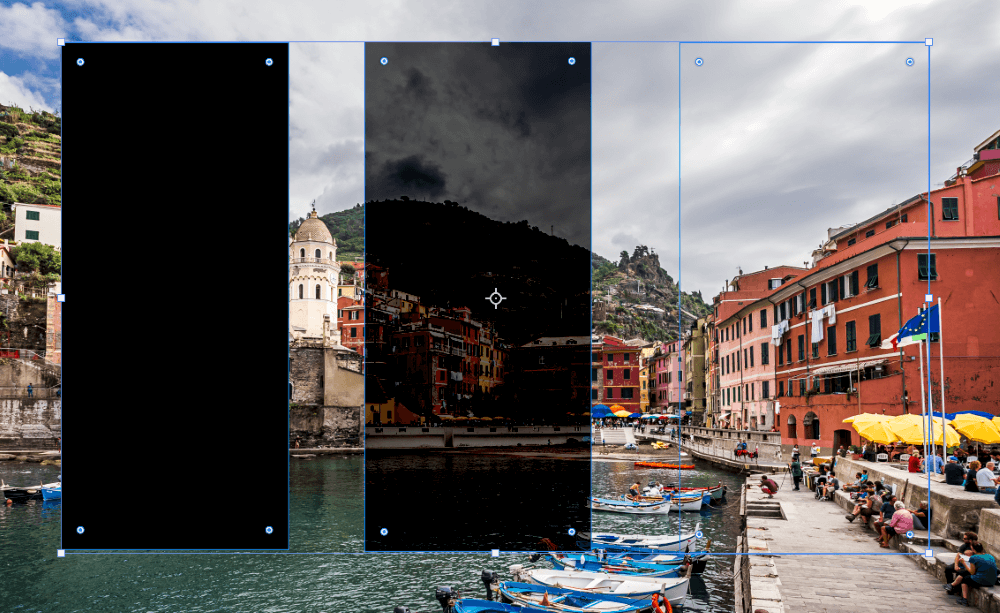
It most drastically affects the black rectangle and this gives the image a dark, rich look.
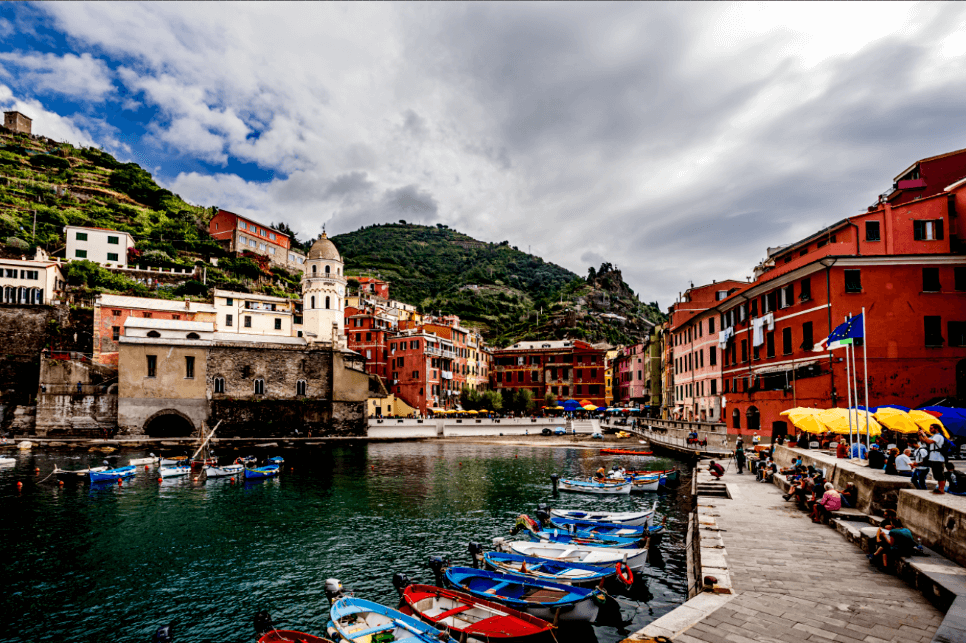
For a better example, here’s the whole image with a black layer over it set to Color Burn. The Fill is at 20%.
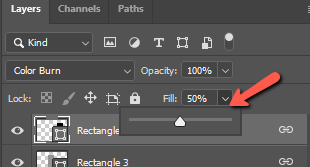
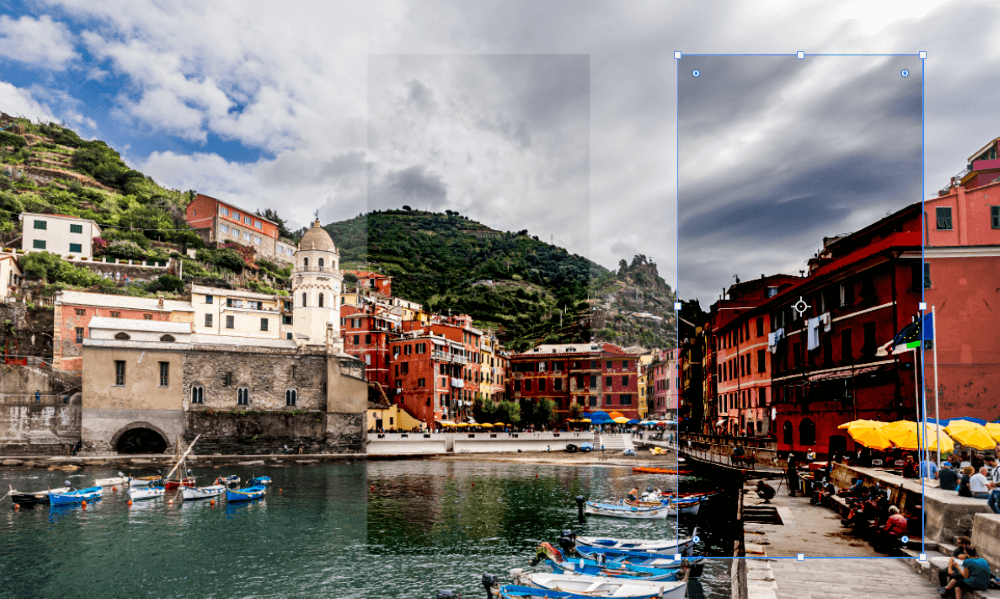
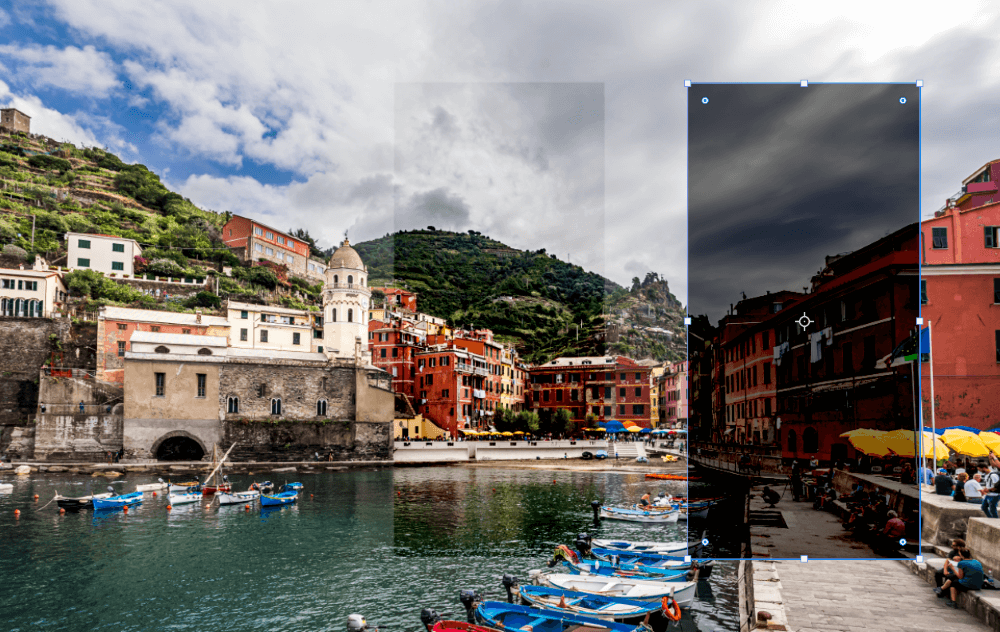
Linear Burn
Linear Burn is the same idea as Color Burn, but the result is less saturated. It’s kind of like mixing Multiply and Color Burn together. The effect is darker than Multiply but the colors aren’t quite so saturated as Color Burn.
This is the second special blending mode that works better with Fill rather than Opacity. Here is the example at 50% Fill.
Darker Color
This blending mode is similar to Darken but does not analyze the RGB channels separately to better blend pixels together. It simply compares pixels and only keeps the darker of the two.
Lighten Blending Modes
That wraps up the darkening blending modes. Let’s take a look at how blending modes with the opposite effect will look.
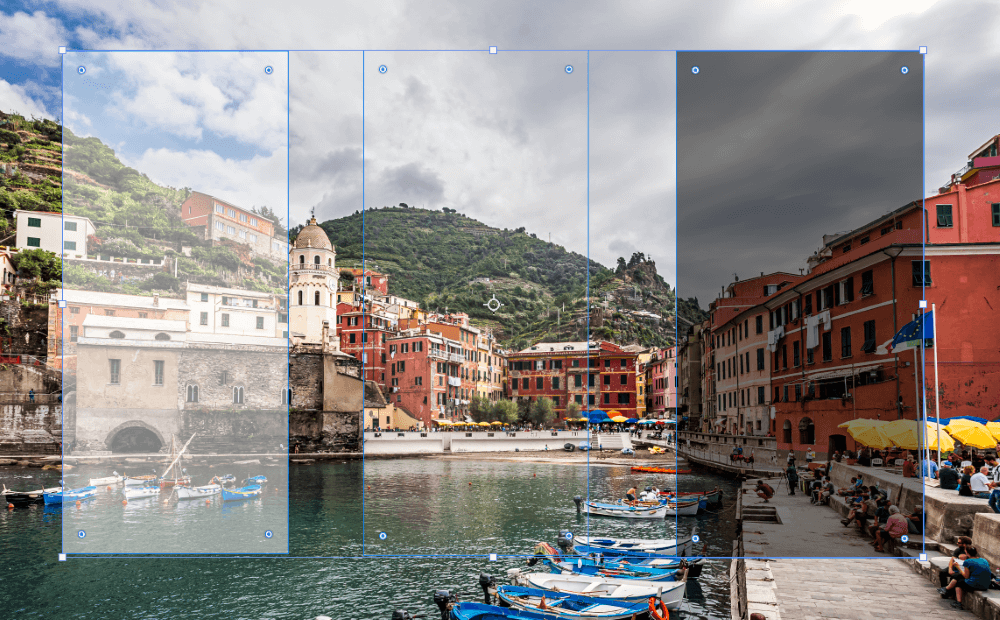
Lighten
The Lighten blending mode basically does the exact opposite of Darken. It analyzes the pixels and keeps the lighter of the two, taking into consideration the RGB channels separately.
Screen
In the same way, Screen is the opposite of Multiply. It multiplies the luminosity while ignoring black and leaving white.
See how you can use this blend mode to add fire to your images here.
Color Dodge
You guessed it! Color Dodge is the opposite of Color Burn. It does the same thing with contrast and saturation but lightens the image instead of darkening it.

It is also one of the 8 special blending modes that work better with Fill instead of Opacity. Here’s how it looks at 50% Fill.
Linear Dodge
Again, Linear Dodge is the opposite of Linear Burn. The effect is like mixing Screen with Color Dodge, producing a lighter and less saturated result. This is the fourth blending mode that works better with Fill.
Lighter Color
Lighter color analyzes the pixels of both layers and keeps the lighter of the two. It does not take the RGB channels into consideration separately.
Contrast Blending Modes
Now we have the Contrast Blending Modes which are a nice blend of the darkening and lightening blending modes.
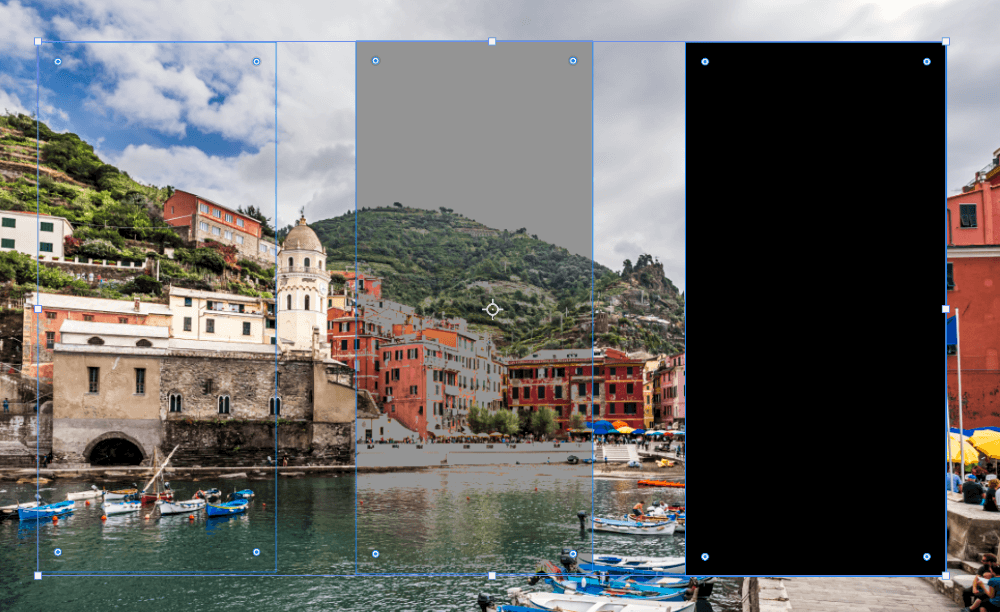
Overlay
The Overlay blending mode is one of the most commonly used blending modes in Photoshop. You can think of it as putting Multiply and Screen together. The blending mode applies to Multiply to any pixels darker than 50% gray and Screen to any pixels lighter than 50% gray.
Thus, in our example, Screen is applied to the white rectangle and Multiple is applied to the black one. There is no effect on the 50% gray rectangle.
Soft Light
You can think of the Soft Light blending mode as a mix of the Darken and Lighten blending modes. The result is similar to Overlay but produces a softer effect without the strong contrast.
Hard Light
Though it seems like it would be related to Soft Light, Hard Light is actually more closely related to Overlay. It is also a combination of Screen and Multiply, but makes its calculations based on the brightness of the blending layer rather than the base layer.
The result is often pretty harsh and works better with a reduced opacity. Here it is with the Opacity at 50%.

Vivid Light
The Vivid Light blending mode is kind of like putting Color Burn and Color Dodge together. Anything brighter than 50% gray gets brighter and anything darker than 50% gray is made darker.
Thus, the effect is pretty harsh. As you might imagine, this blending mode is the 5th of the special blending modes that work differently with Fill as opposed to Opacity. Here’s the effect at 50% Fill.
Linear Light
Linear Light is a combo of Linear Burn and Linear Dodge. Thus the result is less saturated and darker (or brighter) than Vivid Light. This is the next special blending mode and here it is shown at 50% Fill.
Pin Light
Pin Light mixes Darken and Lighten together and removes the mid-tones of the blending layer. Again, this mode is harsh and benefits from reduced opacity. Here it is at 50% Opacity.
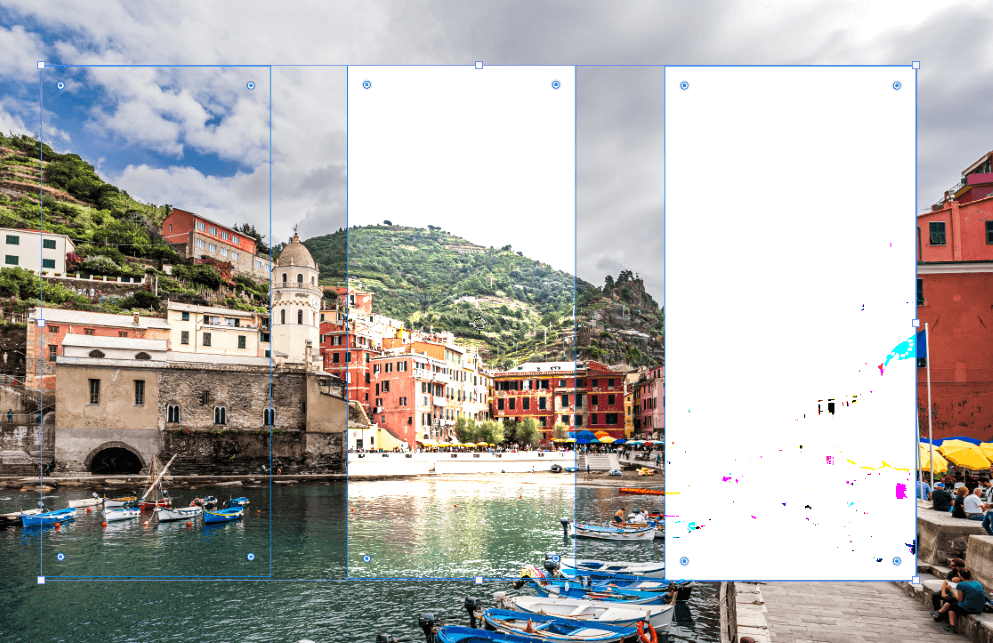
Hard Mix
If you’ve ever scrolled across Hard Mix, you’ve probably wondered what it is useful for. The blending mode adds the RGB values with those of the base layer. The result is an image that only contains the 6 primary colors plus black and white.
It doesn’t seem very helpful at first glance.
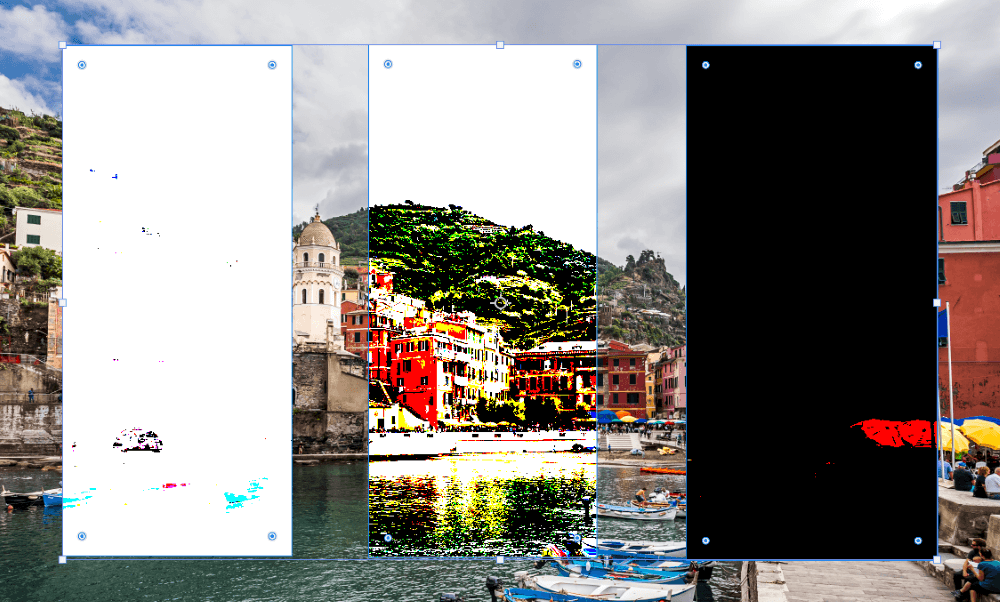
However, this is the 7th special blending mode that works differently with a reduced Fill. Here’s the effect at 50% Fill.
Inversion Blending Modes
Remember the inversion blending modes invert the colors in some way, with results that often look like a photo negative.
Difference
Difference mode uses the difference between the base and blending layer pixels. White has the same effect as using the Invert command. Black disappears and 50% gray produces something in the middle.
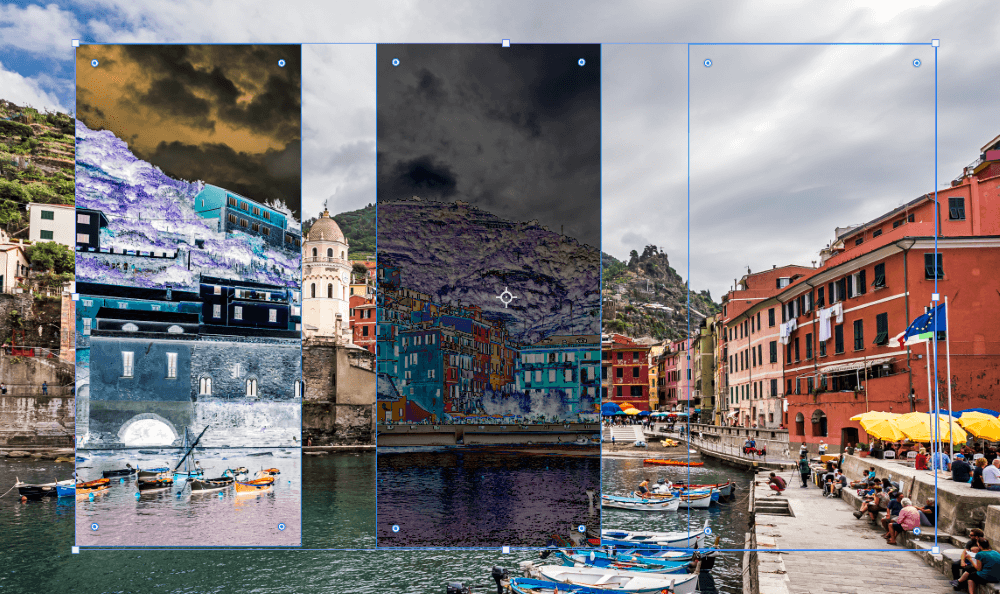
This is the last special blending mode and produces much more pleasing results here at 20% Fill.
Exclusion
Exclusion is similar to Difference and you’ll notice the same result with black and white. However, it treats the mid-tones differently, filling 50% gray with 50% gray.
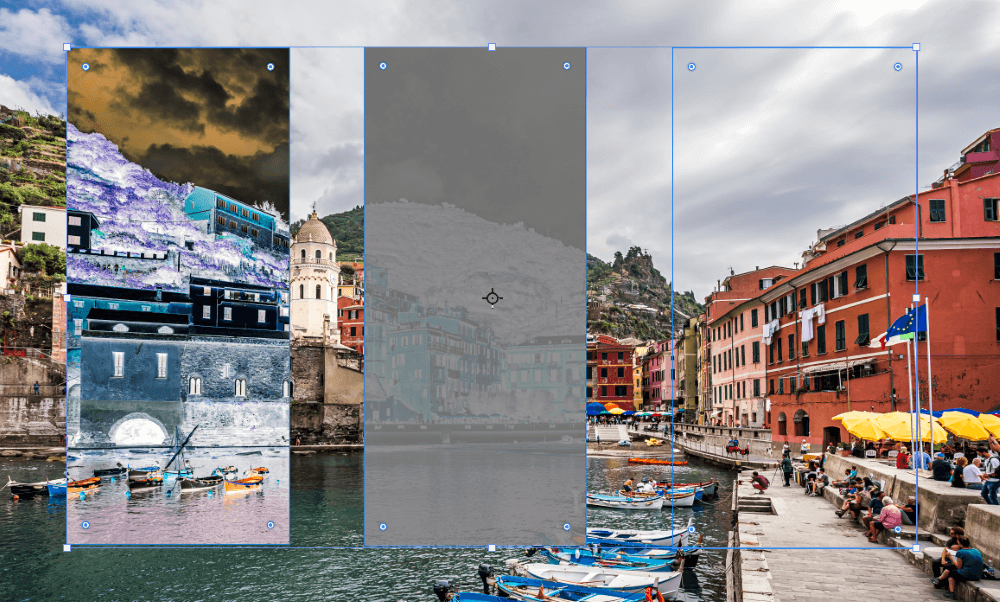
Subtract
Subtract removes brightness from pixels. It has the largest effect on the brightest pixels and less of an effect on darker pixels. So black produces no change and white goes completely black.
This extreme effect benefits from reducing either Opacity or Fill. Here it is with Opacity at 50%.
Divide
Divide has the opposite effect by brightening rather than darkening. So white has no effect and black has the brightest effect.
Again, dropping the Opacity or Fill usually looks nicer. Here it is at 50% Opacity.
Component Blending Modes
This brings us to the final set of blending modes! These work with the hue, saturation, and luminosities of color so let’s change our example image to better demonstrate.
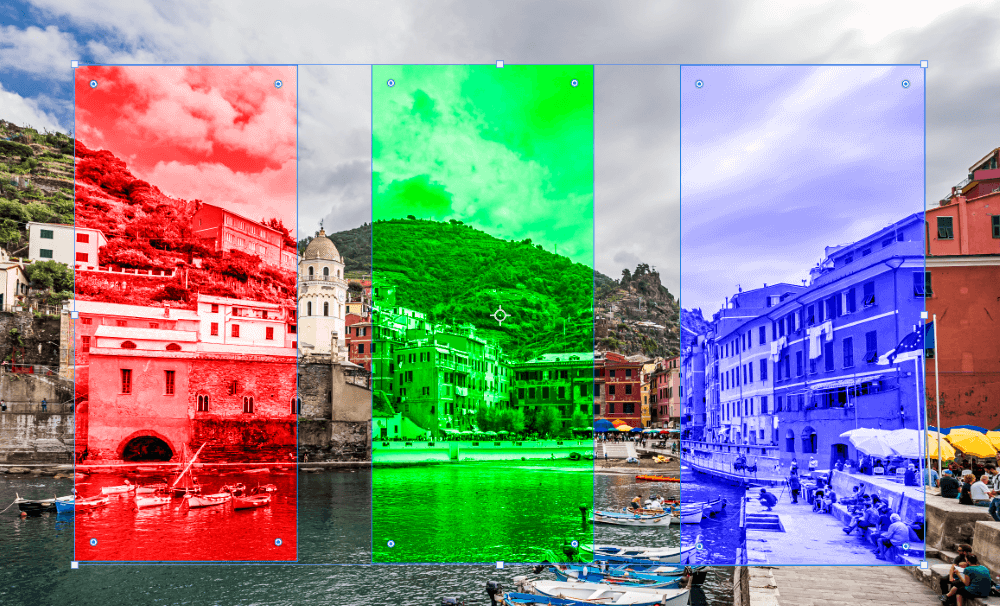
Hue
This first blend mode can be used to change the color cast of an image. Simply cover your project with a solid color adjustment layer and choose this blend mode.
Your chosen color will be added in and you can adjust the intensity with the Opacity or Fill.
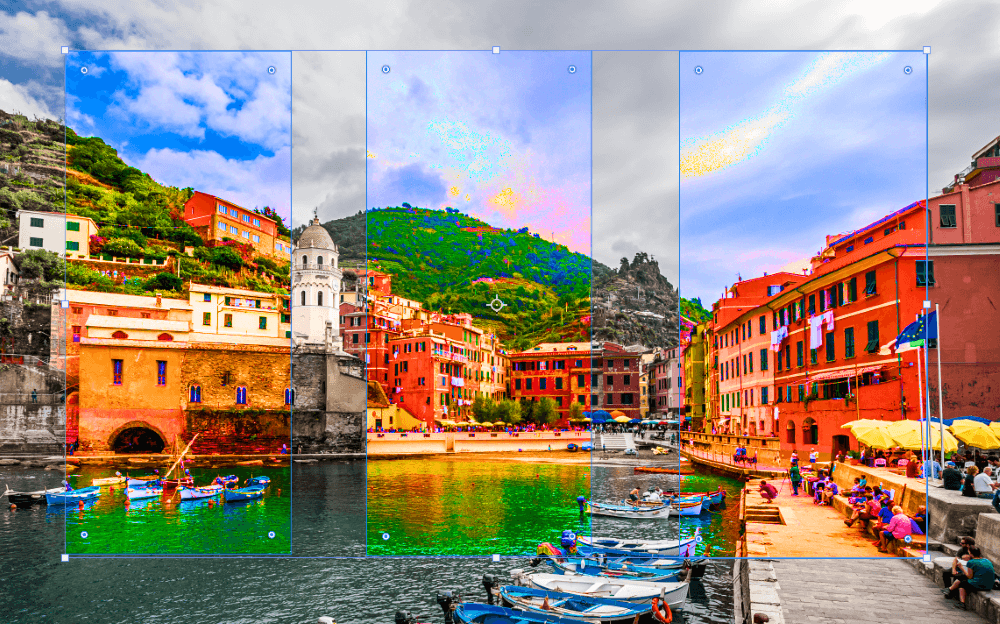
Saturation
Saturation takes the hue and luminosity values from the base layer and adds the saturation of the blend colors. If the blending layer is black or white, the base layer turns black and white since there is no color information to saturate it with.
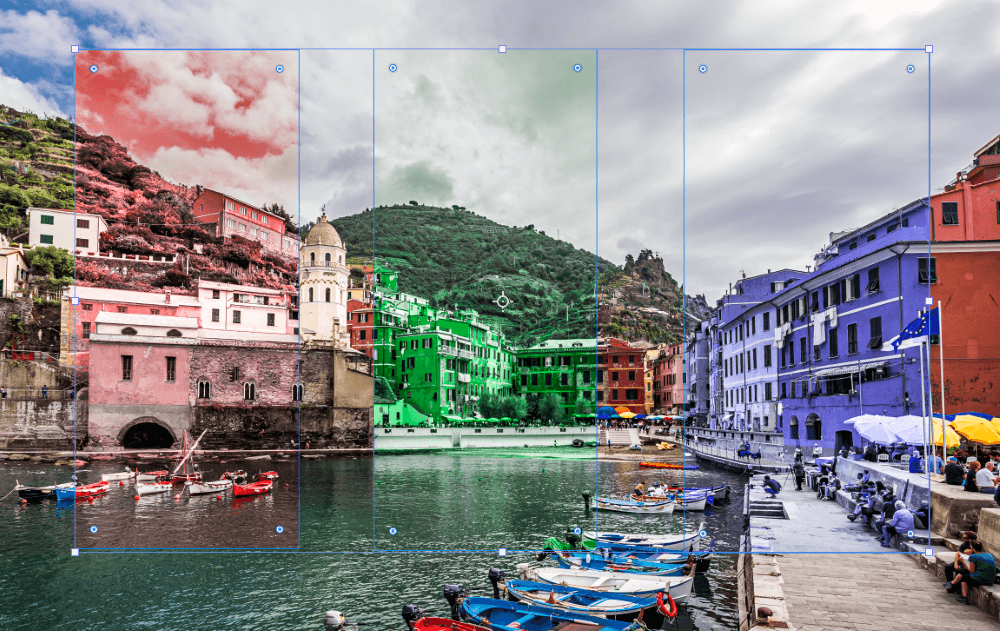
Color
Color takes the luminosity from the base layer and applies the hue and saturation of the blending layers. This mode is helpful for colorizing monochromatic images.
See this blend mode in action for changing a layer’s color here!
Luminosity
The final blending mode is Luminosity. This one takes the hue and saturation of the base layer and applies the luminosity of the blend layer.
Obviously, reducing the Opacity to 50% yields a better result.
There you have it – all 27 blending modes explained! I hope this has helped you understand better how to use these blend modes. Anything is better than simply scrolling through and praying you get a nice result, right?
And perhaps you’ve even discovered a new technique you like. Play around with these blend modes to see how they affect your images and maybe even take your creativity to the next level.
Check out how you can use a blending mode to add realistic sunlight to your images here!
About Cara Koch