Have you ever been fascinated by restoring antiques? There’s something majestic about “rescuing” something from the past. What if you could go the other way? What if you could add a vintage effect or texture to a modern photo?
Hello, I’m Cara! Photoshop makes this task super simple and quick. You don’t have to wait years for your photos to take on a grungy or vintage look. You can do it in a few minutes on your computer!
Let’s take a look at how to add a vintage effect/texture in Photoshop!
Note: I took these screenshots from the Windows version of Photoshop CC. If you are working with a Mac you will find that the workspace looks a little different!
Table of Contents
Step 1: Choose Your Photos
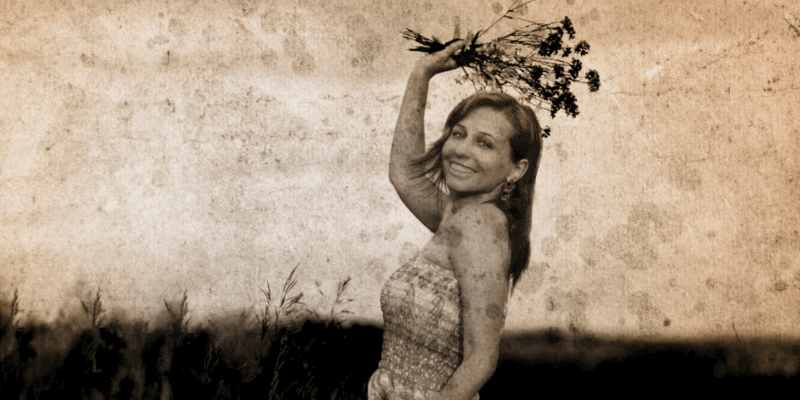
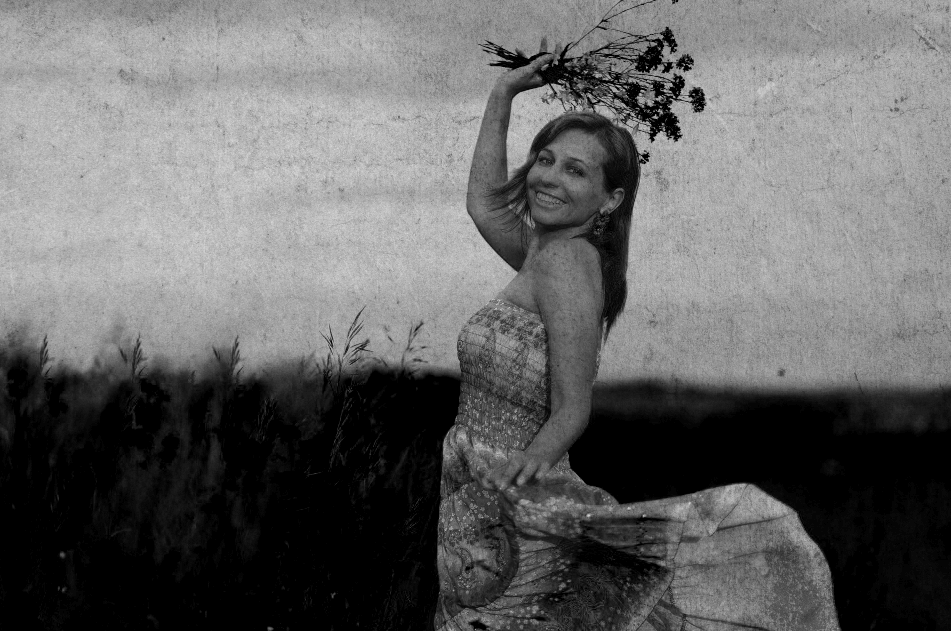
To show you how this works, I downloaded this image from Pixabay.com.

For this method, we’re going to overlay a vintage/grunge texture image over the top of our photo. To do that, you’ll need to find an appropriate texture and you can find an image with texture from stock image sites.
For example, I just typed “vintage texture” into Pixabay and got several good options. Here is the one I picked from Pixabay.
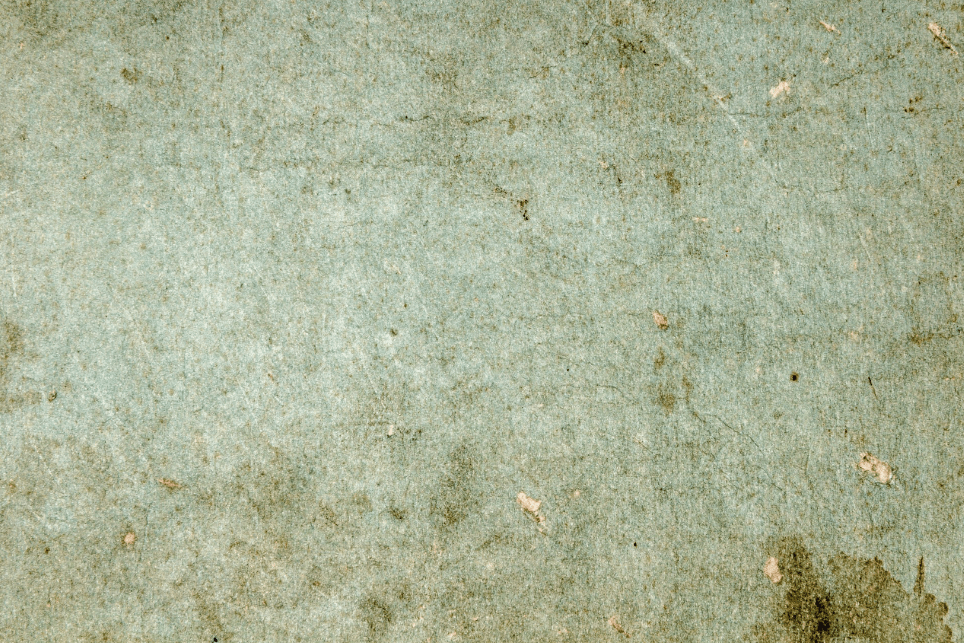
Keep in mind that the color doesn’t matter too much. In this example, we’ll be changing it to black and white, though you can also change the color to a sepia tone or anything else you prefer.
Step 2: Overlay the Vintage Effect
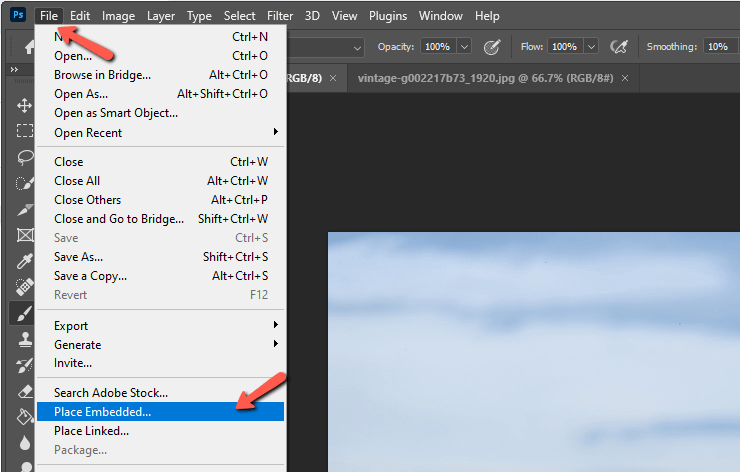
Open your first image in Photoshop. We want to place the effect on top, so go to File in the menu bar and choose Place Embedded.
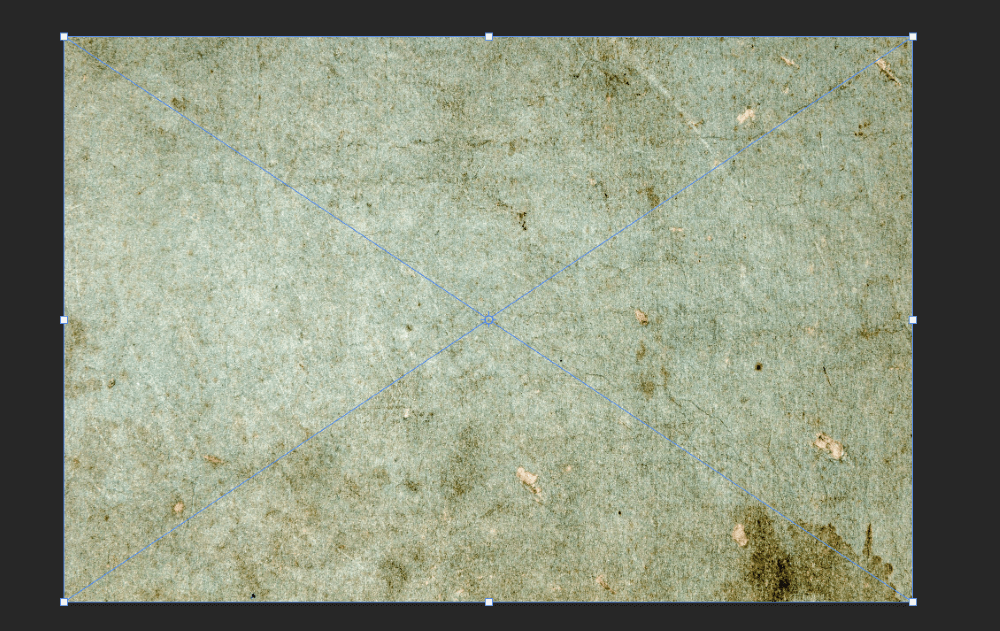
Navigate to your texture image and click Place. The texture will cover your entire photograph like this.
Step 3: Turn it to Black and White
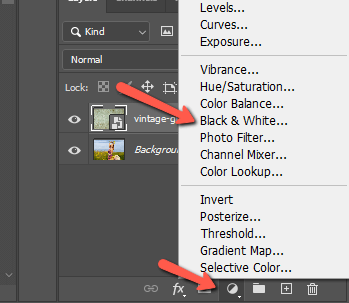
To make it look more like an old photograph, let’s turn the image into black and white. Click on the half-filled circle icon at the bottom of the Layers panel. This opens a list of adjustment layers you can add on top of your project. Choose Black and White from the list.
With the black and white layer on top (and not clipped to anything) all the layers underneath are affected. So both our texture layer and the original photograph have lost their color.
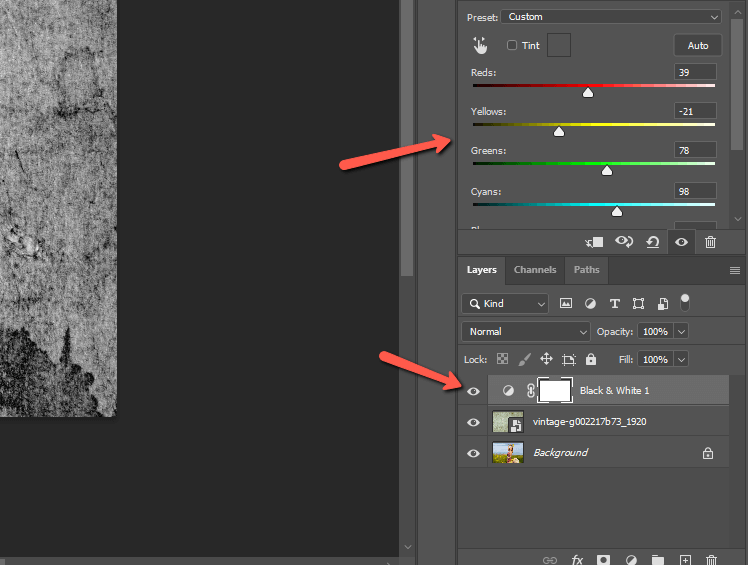
You can mess around with the adjustments if you wish to adjust the black and whiteness of your images.
If you want to adjust the images individually, clip the black and white adjustment layer to the texture layer with a clipping mask. Then, add a second black-and-white adjustment layer between the texture layer and the image.
Note: to see the image underneath, turn off the visibility of the texture layer. Click the eye-like icon on the left side of the layer in the Layers panel.
Step 4: Change the Blend Mode
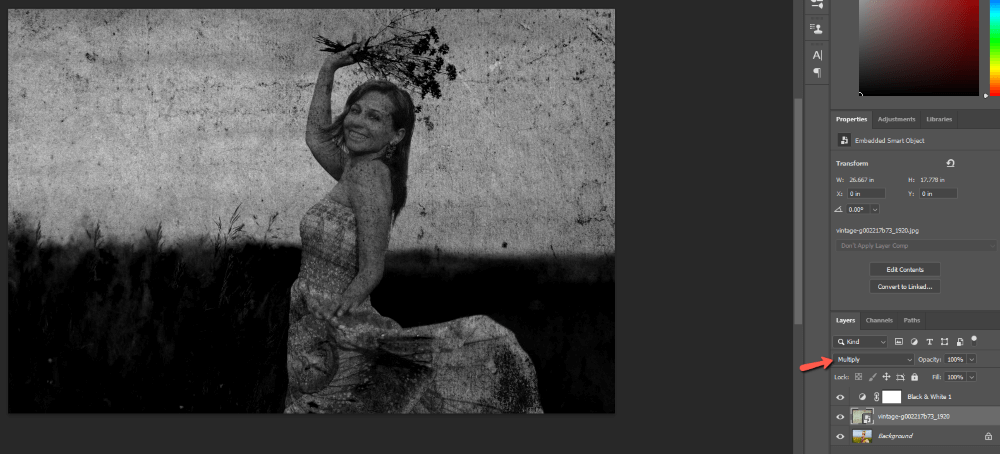
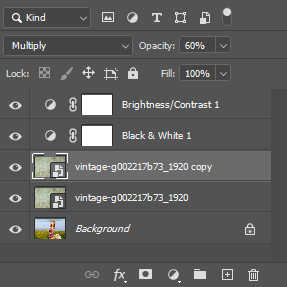
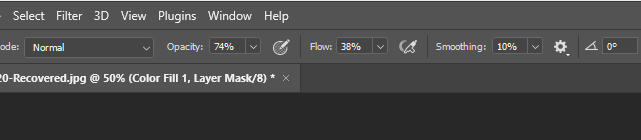
Once you’re satisfied with the look of your two images, it’s time to bring the bottom image through. We do that by changing the blend mode. With the texture layer selected, click the box where it says Normal near the top of the Layers panel. This will open the blend modes.
As you hover over them, you’ll see a preview of your workspace. There are a few different blend modes that will work depending on the look you want. Hover over each and decide which you like best. Multiply, Overlay, Darken, and Dark Color can all offer good results.
I’m going to go with Multiply.
Step 5: Make Adjustments
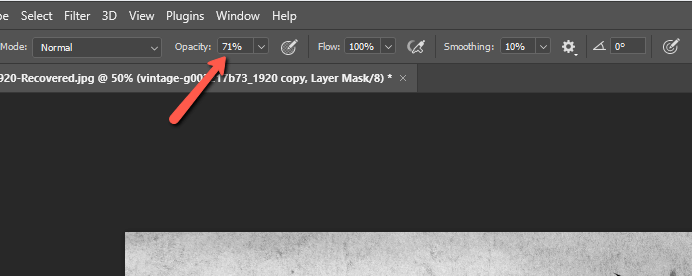
At this point, the effect is really strong. We can dial it back by bringing down the opacity of the texture layer. With the texture layer still selected, bring down the Opacity in the box to the right of the blend modes in the Layers panel.
Just click in the box and a slider will appear. Or you can type in a set value.
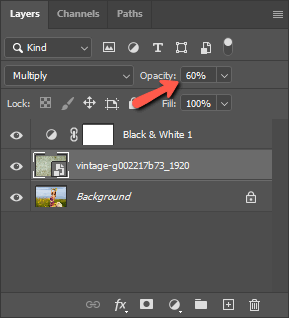
I like to drag it around and watch the live preview until I think the effect looks right.
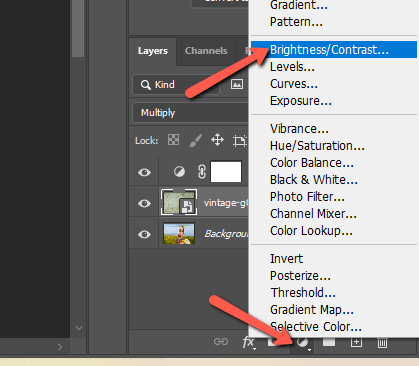
It’s still a little too dark, so let’s add a Brightness adjustment layer. Hit that half-filled circle again at the bottom of the layers panel and choose Brightness/Contrast this time.
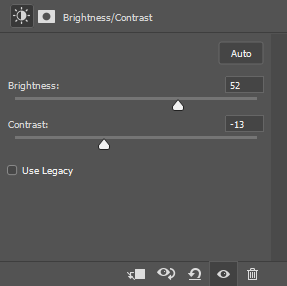
Play with the sliders until your image looks right.
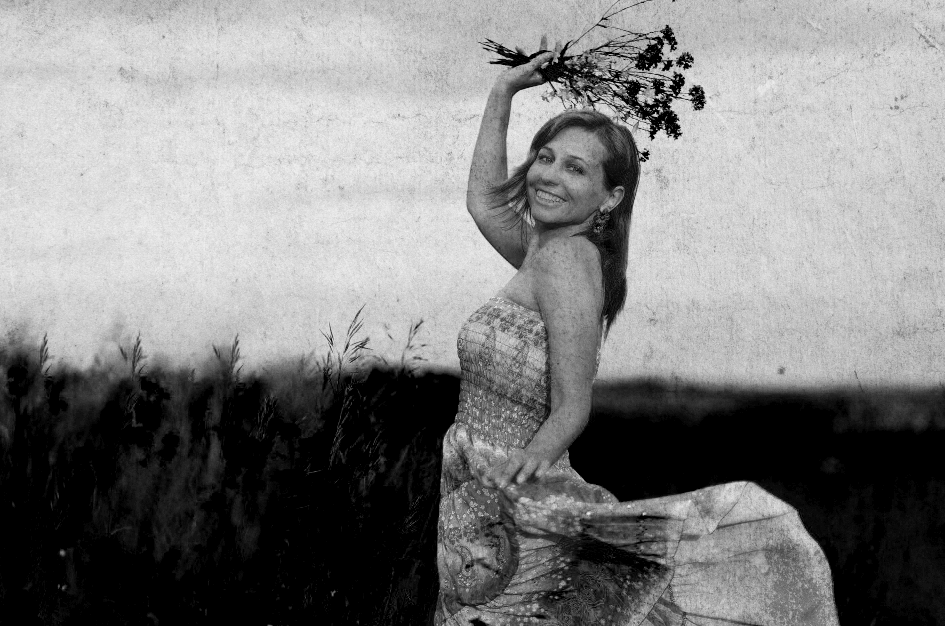
And here’s what we end up with!
Step 6: Add a Second Texture Layer
What if you want to take things a step further? While our image is looking good, the effect is very uniform. A real photo wouldn’t age quite so well. Let’s look at a simple way to layer the effect.
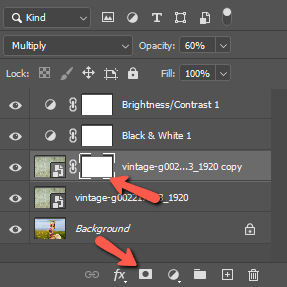
Select the texture layer and press Ctrl + J or Command + J to copy the layer.
Using a black mask, we can hide the effect of this new layer. Then, we can paint the mask white so only parts of the second texture layer show through.
Press the Layer Mask icon at the bottom of the layers panel. It looks like a rectangle with a circle inside.
This will add a white layer mask to the layer. Remember, “black conceals, white reveals” so we can still see the entire texture. Click on the layer mask to select it and press Ctrl + I or Command + I to invert it to a black mask.
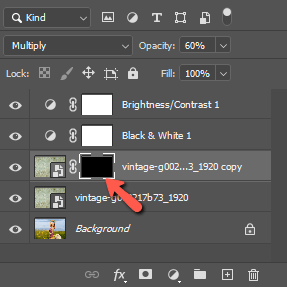
The effect will disappear on the photo in the workspace.
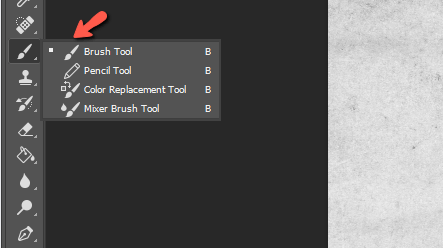
Now we want to add in parts of the second texture layer. Press B on the keyboard or choose the Brush tool from the toolbar on the left.
You’ll want to choose an uneven brush to add the effect unevenly. These watercolor brushes are a great choice. Choose a tip (or several as you work) that looks good to you. Depending on the strength of the brush, you may want to decrease the opacity in the Options bar.
This will apply the effect more subtly and you can build in layers.
So let’s give it a try. Here I’ve used a watercolor brush, rotating it with every application so nothing looks too uniform. I also used a paint splatter brush to look like water spots.
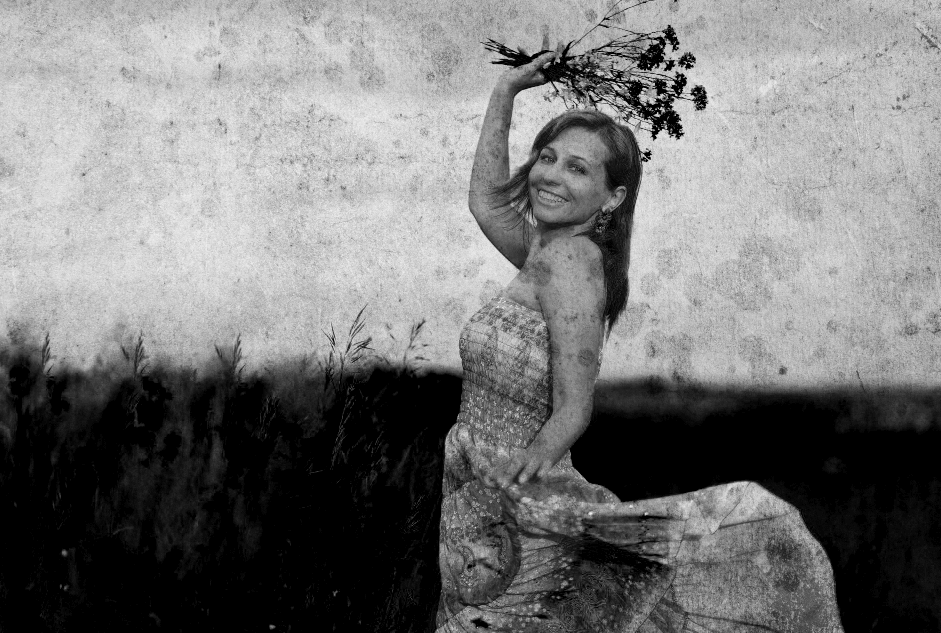
Here’s the image with only one texture layer for comparison.
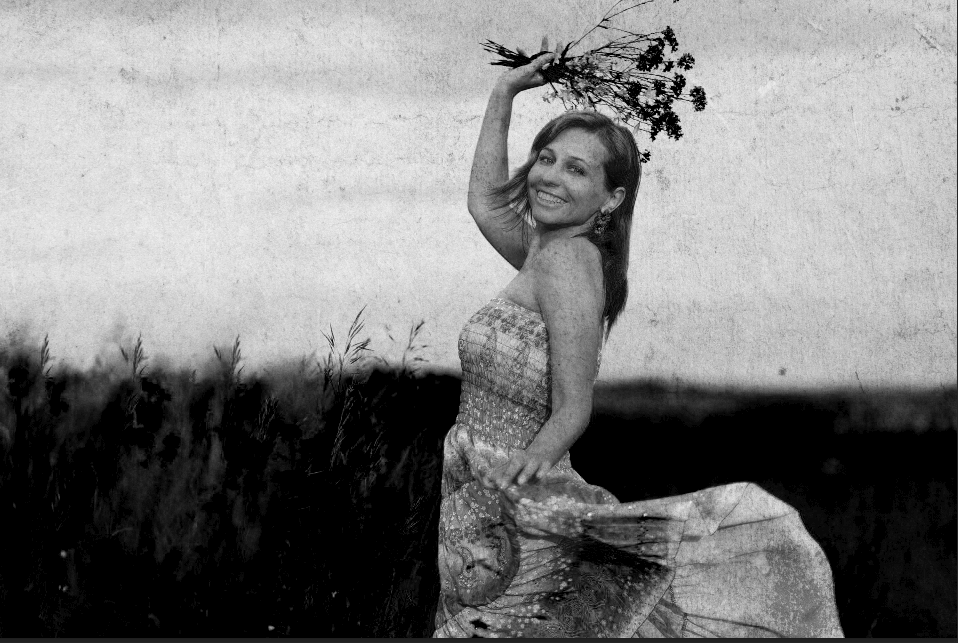
And bam! I have a really cool, vintage photo.
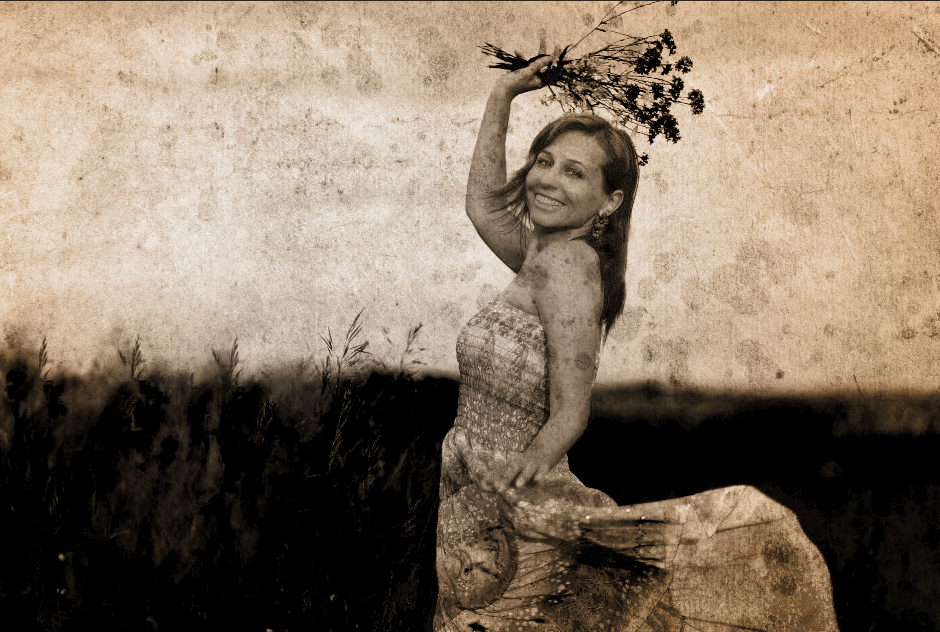
Step 7: Add a Sepia Tone
You can stop here, of course. But if you want to add a sepia tone to your image, that’s really simple, too.
Click on the topmost layer so that the layer you add next will go on top. Then click the half-filled circle Adjustment Layer icon at the bottom of the Layers panel. This time, select Solid Color from the list.
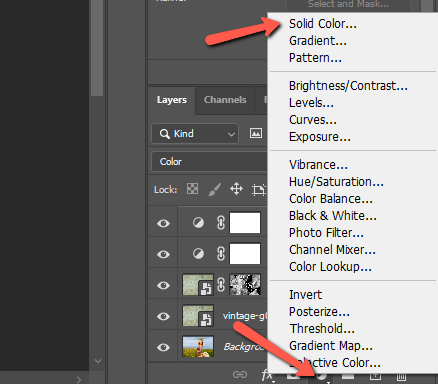
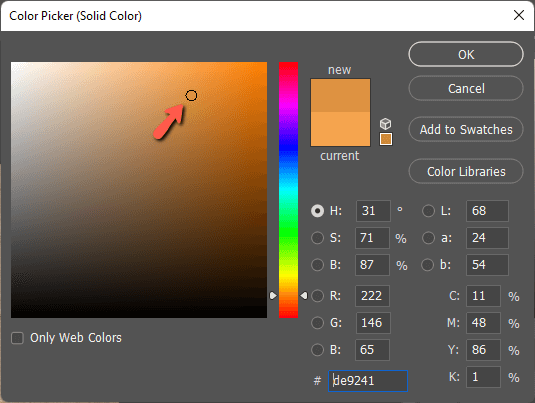
Choose an orangish brown tone from the color picker and press OK.
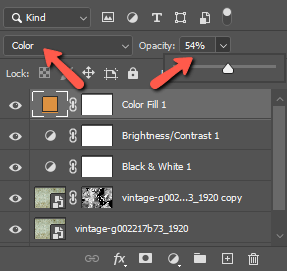
With this color layer selected, change the blend mode to Color. The color will probably be too strong, but you can fix that by bringing down the Opacity of the layer as well.
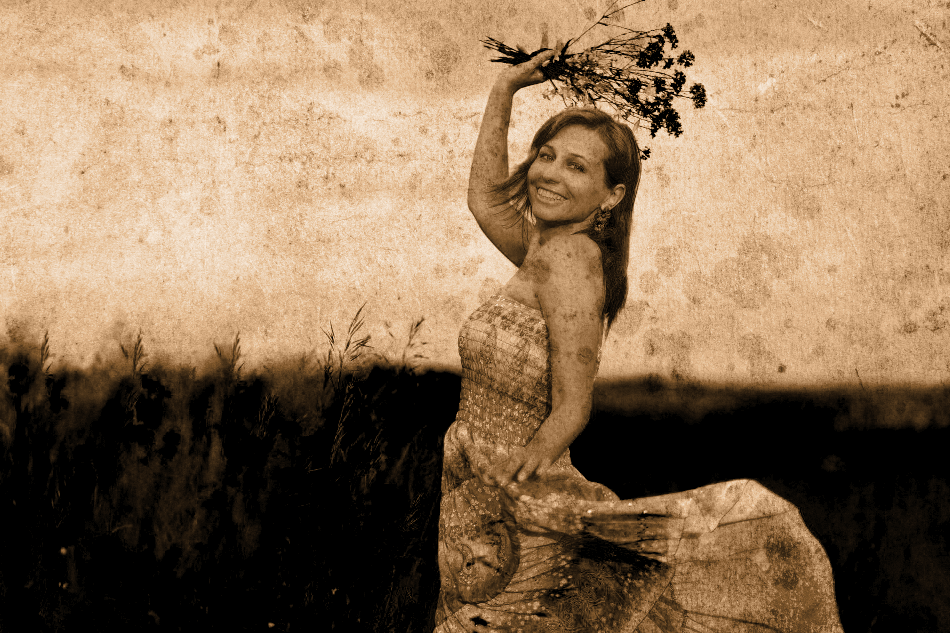
Now check out our antique image!
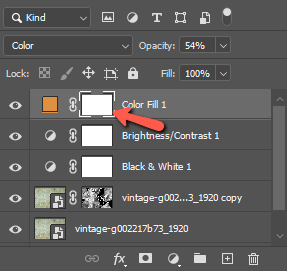
You can also make the color uneven (which often happens with old photographs). Click the layer mask that will appear automatically with the solid color adjustment layer.
Then choose a soft round brush and bring down the Flow and Opacity.
Click a few times randomly on the image.
Once you get the technique down, it only takes a few minutes and you can get creative with that second layer for lots of neat effects. Have fun! Curious about restoring an old photo? Check out how to do that here!
About Cara Koch