Today we walk around with thousands of photos of our loved ones in the palm of our hands. When our loved ones are gone, we have plenty of mementos to remember them by.
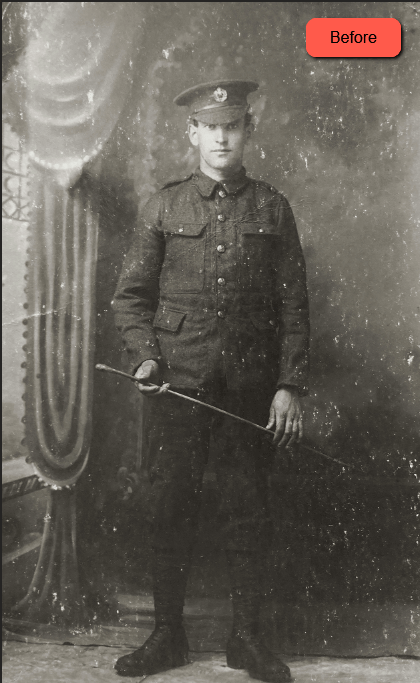
But in the not-so-distant past, photos were a rare thing. And the photos you have of your grandparents, if any, have been ravaged by time.
Hey there, I’m Cara! Part of why I love photography is the moments and memories that you can capture and preserve. Unfortunately, many of our old family photographs are not stored digitally anywhere and the paper has been damaged.
So here’s how to restore an old photo in Photoshop and bring new life to that memory.
Table of Contents
Step 1: Upload Your Image
If your image is not already in digital form, digitizing it is your first step. You can do this easily with a regular office scanner.
If you don’t have access to one, you can download a compatible app for your phone and turn it into a portable scanner. Just take a picture with your phone and voila!
Once you get your photo in digital form, open it in Photoshop.
Step 2: Crop and Adjust
Often when you’re scanning in an old photo, you end up with bits around the edges that you don’t need. Or perhaps there are severely damaged parts of the photograph that aren’t necessary to the composition.
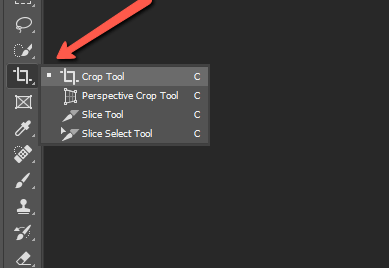
You can trim off these edges easily with the crop tool. Press C on the keyboard or choose the Crop tool from the toolbar on the left.
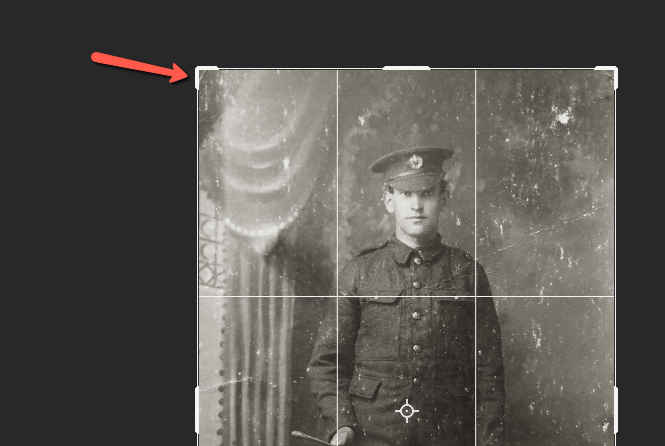
A box will appear around the photo. Click and drag the handles to crop the photo as needed. If the photo needs to be straightened, you can click and drag the corners left or right to rotate the image.
Step 3: Copy the Image
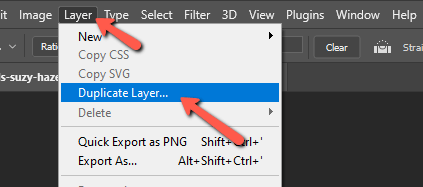
With the image properly positioned, press Ctrl + J or Command + J to duplicate the layer. Or you can go to Layer in the menu bar and choose Duplicate Layer.
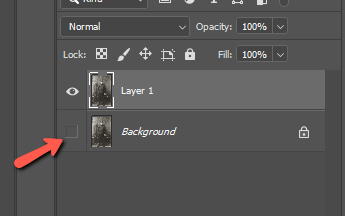
This will create a copy of the original image that you can refer back to as you work. Be sure to turn off the layer’s visibility so you can see your changes as you make them. To do that, press the eye icon on the left side of the layer.
Step 4: Start with the Major Stuff
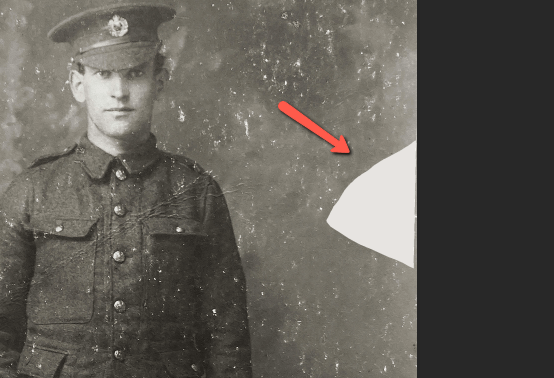
Start with repairing any major rips, tears, or missing pieces of the image. You can do this by copying parts of the image and pasting them over the missing parts. This works well for damage to the background.
To copy a section, grab the Lasso tool and draw around the area you want to copy.
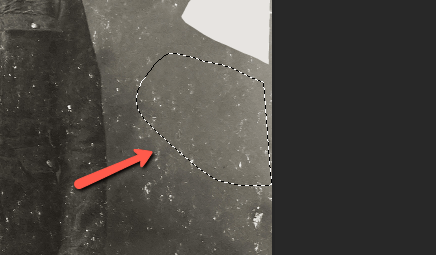
Press Ctrl + J or Command + J to copy the section to a new layer. Press Ctrl + T or Command + T to activate the Transform tool.
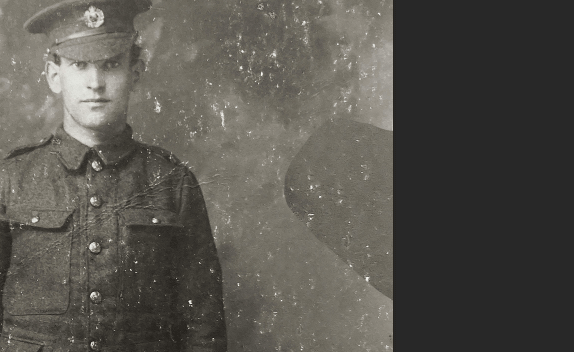
Click and drag to cover the damaged section. The color may not be quite right, so you’ll need to blend.
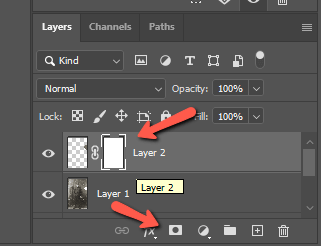
With the patch layer selected, press the Layer Mask button at the bottom of the Layers panel.
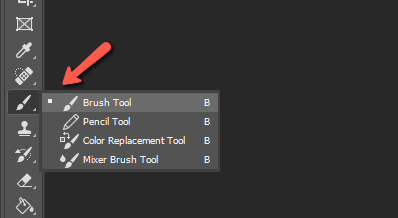
Press B on the keyboard or choose the Brush tool from the toolbar on the left.
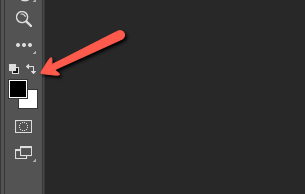
Set the foreground color to black. If white is on top, press the 90-degree arrows to switch them.
Go up to the Options bar and press the little arrow next to the brush settings. Choose an appropriate size and bring the Hardness down for better blending.
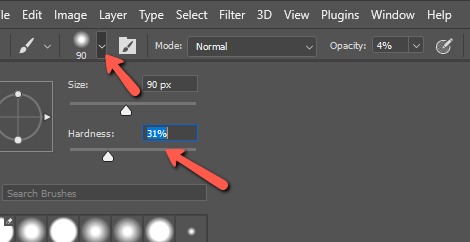
Now, paint around the edges to blend the color.
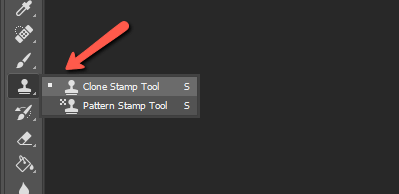
Another option is to use the Clone Stamp Tool. This allows you to copy pixels from other parts of the image and paste them over the damaged area.
Press S on the keyboard or choose the Clone Stamp tool from the toolbar on the left.
Hold the Alt or Option key while clicking on the area of the photo you would like to copy. I recommend bringing the Flow down to help with blending. You can find this option in the Options bar.
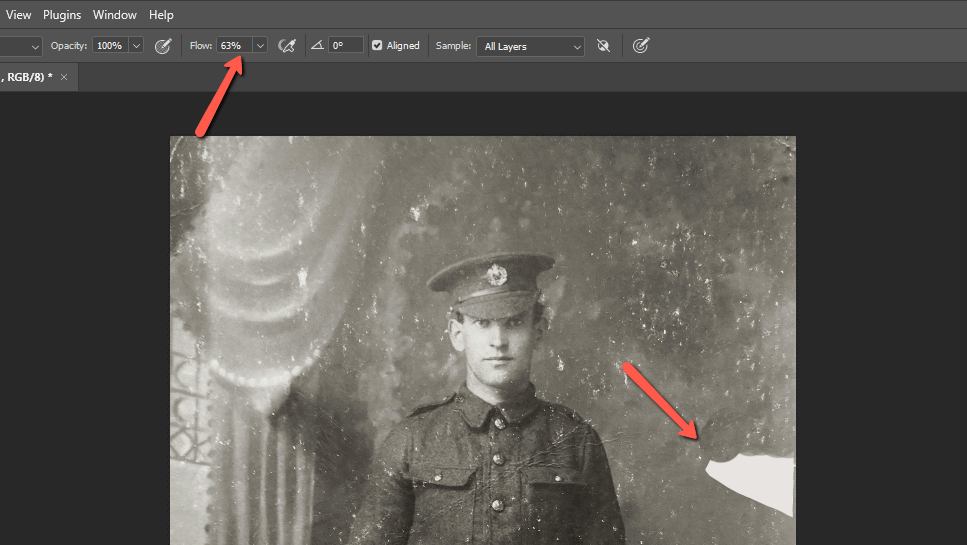
Then paint over the damaged area to fill it in.
Step 5: Reduce Dust Speckles
After repairing the major damages, it’s time to work on the smaller stuff. We’ll begin with a filter applied to the entire image, then clean up whatever is left over by hand.
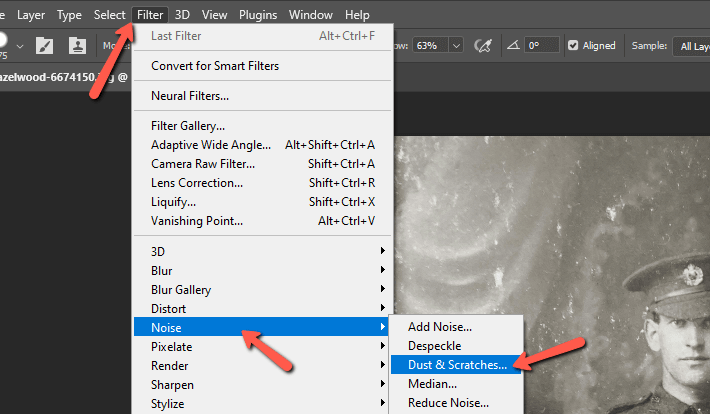
So go to Filter in the Options bar, hover over Noise, and choose Dust and Scratches from the menu that opens.
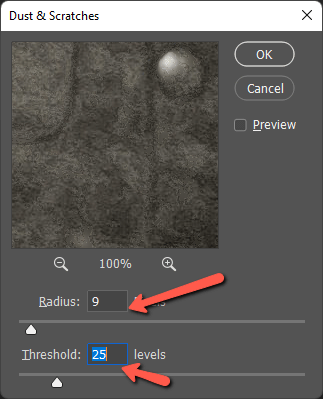
In the dialog box, you have the option of changing the Radius and the Threshold. As you bring the radius up, more specks disappear, but the image becomes softer.
Bring the threshold up to help keep the image sharp, while still removing impurities. But if you take the threshold too high, the added sharpness brings back the artifacts you’re trying to remove.
Every image will be different so play with the sliders to find what works for your image. Here are my values.
Now let’s see what the filter does for us.

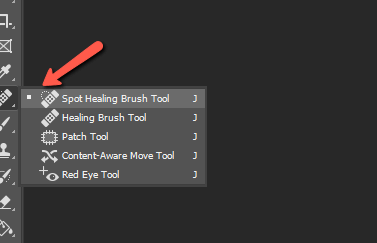
The filter smoothes some of the speckles, but we still have some to contend with. So let’s clean them up with the Spot Healing Brush tool. Press J on the keyboard or choose the tool from the toolbar on the left.
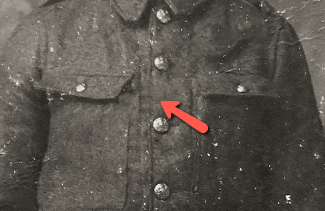
Now, this is the fun part! Click on blemishes in the image and watch them disappear!

To remove this crease, click on one end of the crease, then hold Shift and click on the other end. The spot healing brush will create a straight line between your two points and magically remove the crease. Learn more about using the spot healing brush here.
The tool does really well as you can see here, but it gets fuzzy in some areas like the lines on his jacket.
To fix that, you can jump over and use the Clone Stamp tool to repair that line.
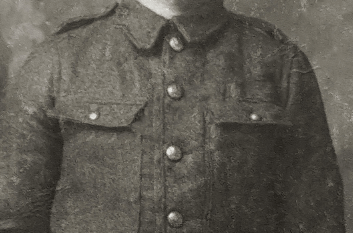
Go over the whole image and remove bits as needed. You can get as detailed as you like and the more time you spend with it, the cleaner the final result will be. However, keep in mind that it doesn’t have to be perfect. It’s still an old photograph and the vintage look isn’t always bad.
Step 6: Color Correction
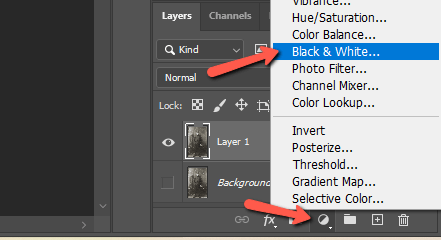
Old photographs often have an undesirable yellowish tint to them. This is easy to get rid of with a black-and-white adjustment layer.
Click the Adjustment Layer icon at the bottom of the Layers panel. It looks like a half-filled circle. Choose Black & White from the list.
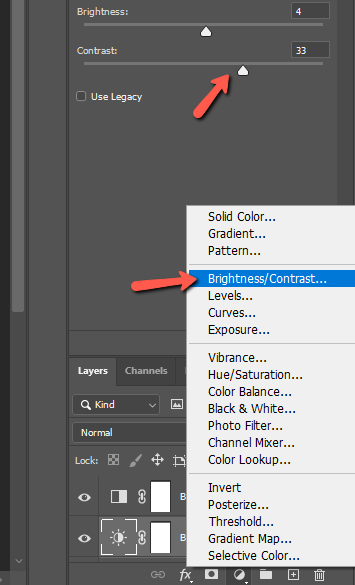
You can also play with the contrast to create a nice separation between the shadows and highlights. Choose the Brightness/Contrast adjustment layer and bring the contrast slider up.
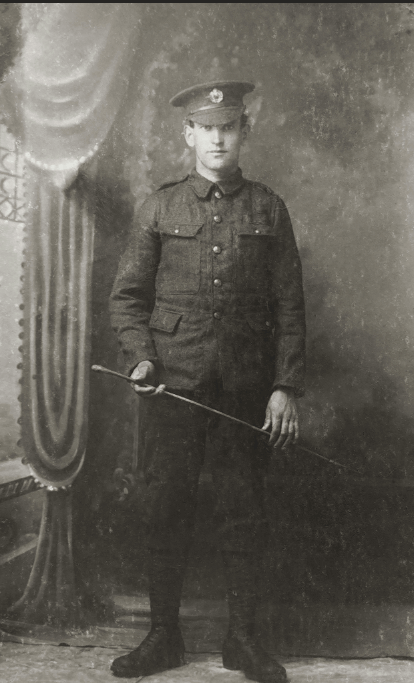
Ready to see how we did?
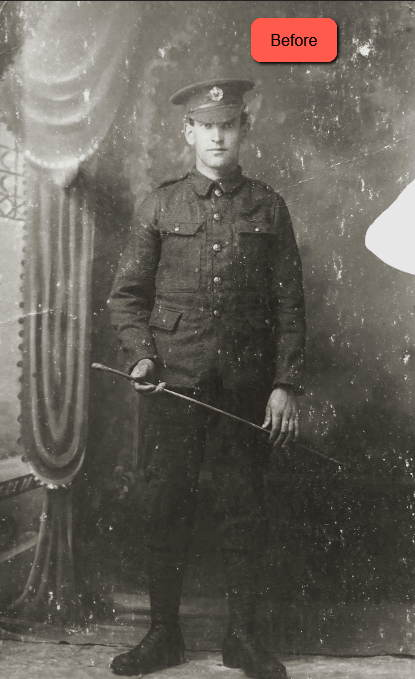
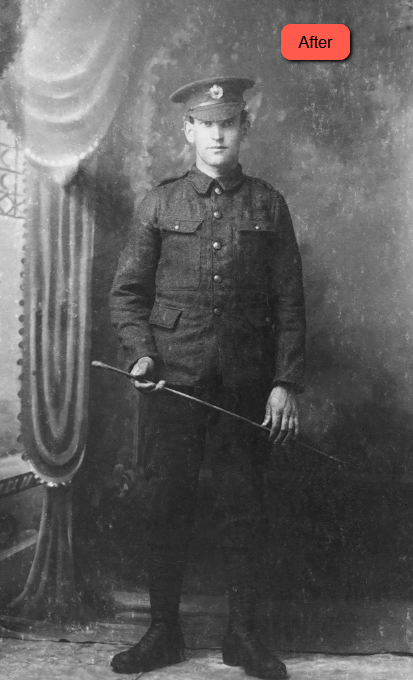
Pretty nifty!
Got any old photos you’re now itching to restore? Get to it! It’s a lot of fun and so rewarding to see the final result. Interested in other fun techniques in Photoshop? Check out how to get rid of watermarks here.
About Cara Koch