
Images are everywhere on the web today, and many of them have been watermarked for one reason or another. Whether it’s a watermark from your favorite meme group, a time and date stamp, or an artist’s watermark, you’ve probably wondered if it’s possible to remove them using Photoshop.
The short answer is that yes, it’s definitely possible to get rid of watermarks in Photoshop, but before you do so, make sure to take a long hard look at your reasons for doing so.
Most watermarks are there for a very good reason, and you may be violating the creator’s copyright by removing them.
Table of Contents
A Note About Watermarks and Copyright
I do not want you ever to use these skills to cheat another artist out of getting credit or payment for their work. Not only is it just plain evil, but it’s also completely illegal in nearly every country that has a copyright system (which is almost all of them).
Artists deserve to get paid for their work, just the same way you do – so be sure that you only use your new skills for legally and morally acceptable reasons.
If you need to remove a date and time stamp, or if you’ve ever lost the original of your photo and you’ve only got a watermarked copy, feel free to go ahead and remove the watermarks – but stealing another artist’s work and using it without permission is completely unacceptable!
Removing a Watermark with the Clone Tool
This is the most effective method for removing a watermark, but it’s also the most time-consuming.
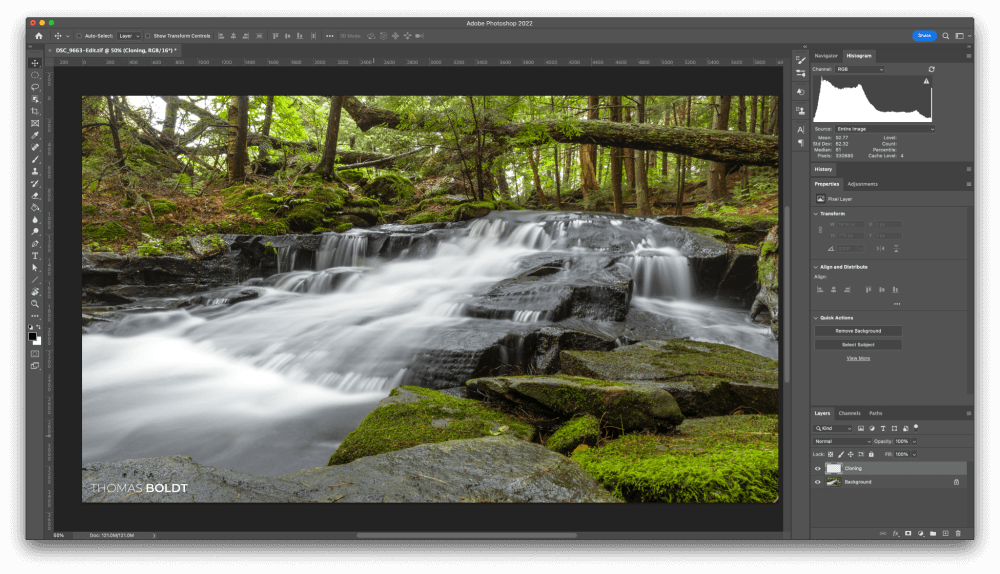
Start by creating a new layer using the keyboard shortcut Command + Shift + N (use Ctrl + Shift + N if you’re using Photoshop on a PC).
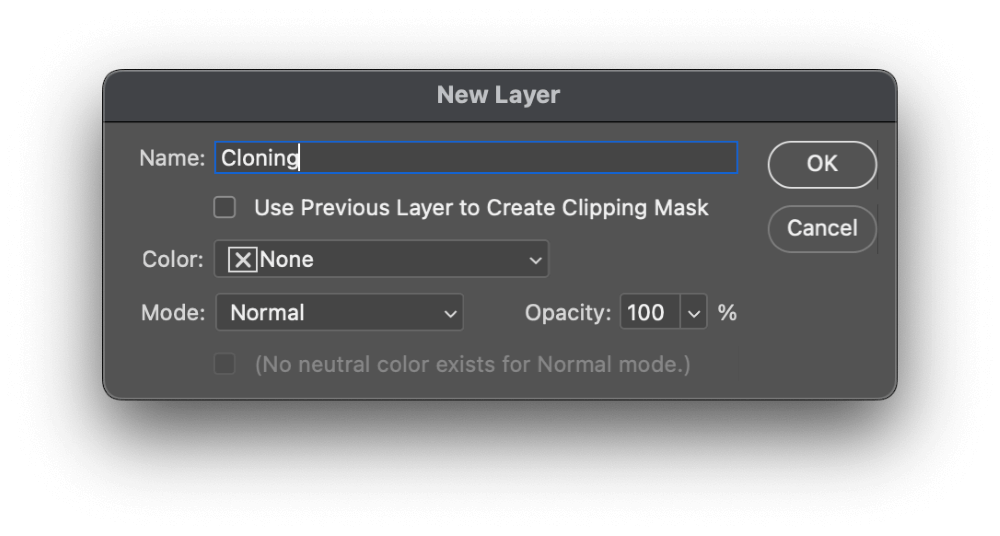
Name your layer something descriptive so that you won’t get confused later on, and click the OK button. You can also use the Layer menu or the Layers panel to create a new layer – it’s entirely up to you.
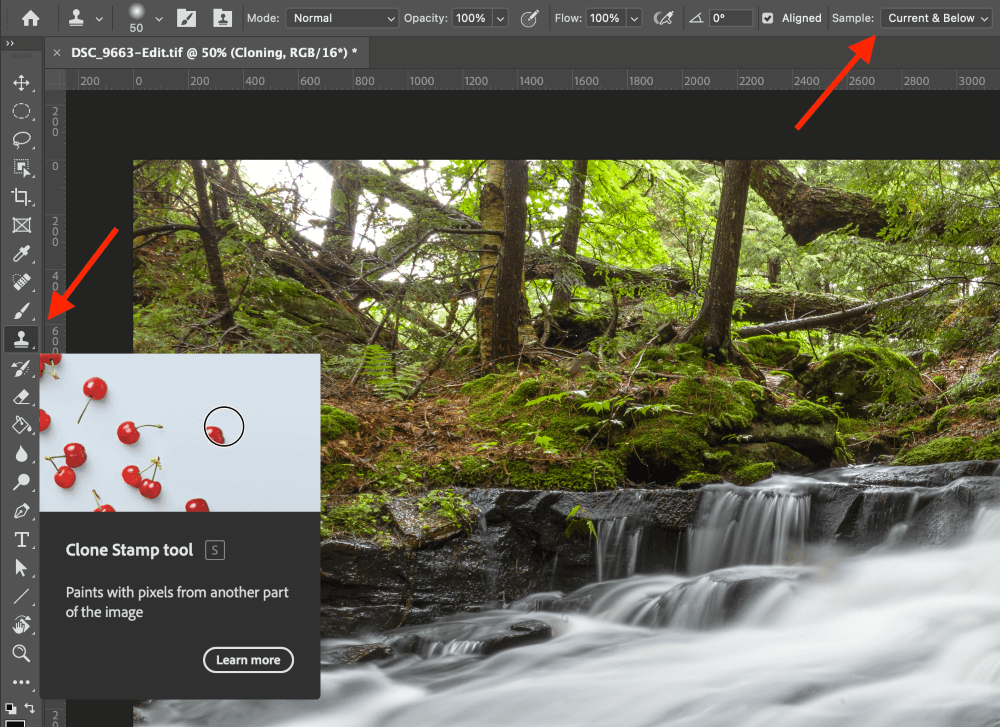
Next, switch to the Clone Stamp tool using the toolbox or the keyboard shortcut S. In the Options bar above the main document window, make sure that the Sample setting is set to Current & Below.
This will allow you to clone pixels from your main image onto the blank new layer, preserving the original content in case you need to go back and re-edit the image later.
Choose an area of your image that has a similar color to the area containing the watermark, hold down the Option key (use the Alt key on PC), and click to set the source point for the Clone Stamp tool.
Make sure that your new blank layer is selected in the Layers panel, and then click and drag to begin cloning the pixels from your source point onto the new layer. Gradually clone these pixels over the watermark until it’s completely hidden.
You can always set a new clone source point at any time using the Option or Alt key, and you may also want to use the Healing Brush tool to polish up any additional traces of the original watermark.
This process can be very time-consuming if your watermark is over a section of the image with a complex texture. The more detail there is in the background pixels, the harder it will be to hide the watermark seamlessly.
Removing A Watermark With Content-Aware Fill
If you’re in a hurry and you don’t want to mess around with the Clone Stamp tool (or if you don’t care about the quality of the finished image too much), then you can try using Photoshop’s amazing Content-Aware Fill tool to hide your watermark automatically.
In case you’ve never tried it before, Content-Aware Fill is one of my favorite features of Photoshop. Using the existing image data in your document, Photoshop will attempt to create what it thinks you’re looking for.
There’s no need to create a new layer in advance with this method because the Content-Aware Fill tool allows you to output the new image data to a separate layer automatically.
Use one of the selection tools to create a rough selection marquee around the watermark you want to remove. You’ll have to use your own judgment about which selection tool is best for the job since every watermark will be different.
Don’t be too worried about creating an exact selection, since that can sometimes make your cover-up efforts even more noticeable.
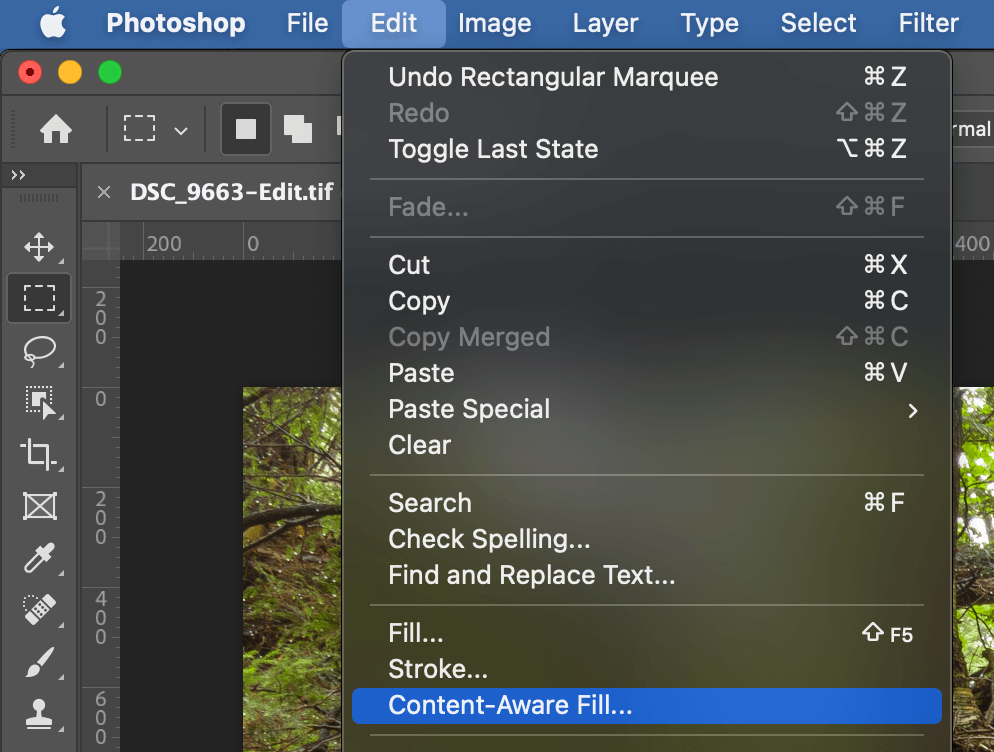
With your watermark selected, open the Edit menu and select Content-Aware Fill… Photoshop will open the Content-Aware Fill workspace, which allows you to specify which areas of the image should be used as source content for the automatic image creation process.
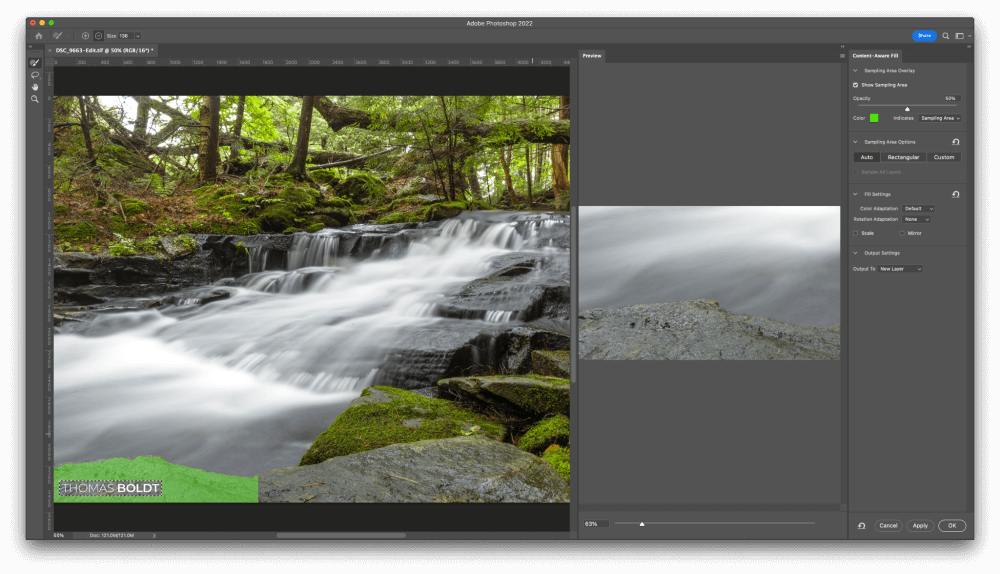
In the Output Settings section, make sure that the Output To option is set to New Layer.
Click the OK button, and Photoshop will attempt to automatically fill your selection area with new image data that seamlessly blends with the existing image. It doesn’t always work properly, but it can be a huge timesaver when it does.
Even if it doesn’t create a perfect result, you can use the output as a starting point and then finish polishing the edit by hand using the Clone Stamp method that I described earlier.
A Final Word
Now that you know how to get rid of watermarks in Photoshop, be sure that you only use your newfound powers for good and not for evil! Artists deserve credit and recognition for their work, so don’t remove watermarks from any image that you don’t have the copyright to.
After all, you want them to be able to create more art that you love, so make sure they get the recognition (and payment) they deserve!
About Thomas Boldt