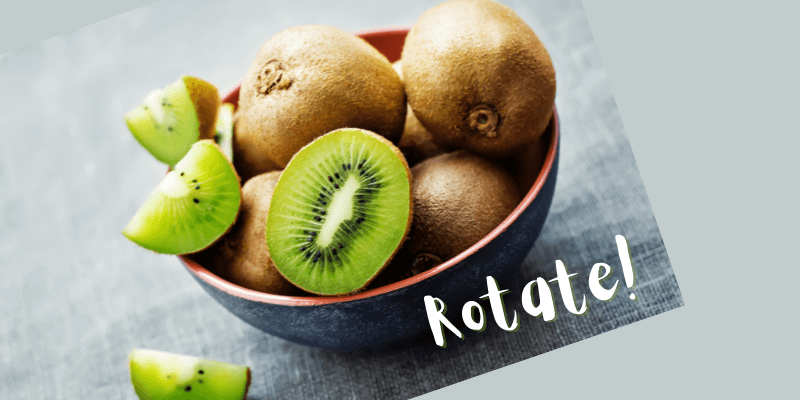
Well, that’s the wrong way! What do you do when your image or a layer is crooked or flipped on its side?
Hi there! I’m Cara and as a photographer, I often need to polish up my images in Photoshop. Rotating images is a basic task and there are several easy ways to accomplish it in Photoshop.
In this tutorial, I’m going to show you three ways to rotate an image in Photoshop.
Note: the screenshots below are taken from the Windows version of Adobe Photoshop, if you’re using the Mac version, the navigations may look slightly different.
Method 1: Image Rotation Settings
What if your image is in a horizontal orientation and you want to switch to vertical (or vice versa)? You can do this quickly with the Image Rotation command in the Image menu.
Simply go to Image in the menu bar, hover over Image Rotation, and choose the option you want.
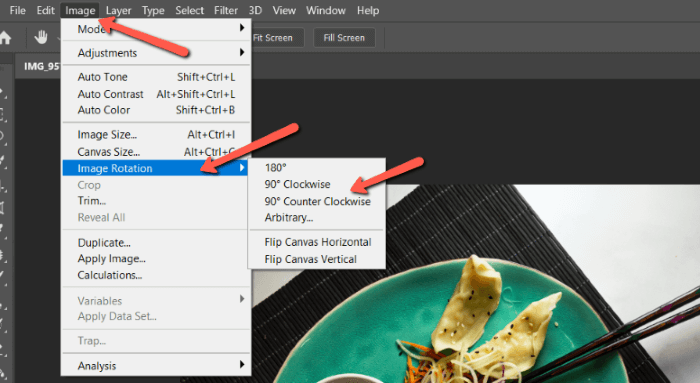
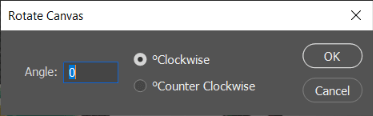
You can rotate it all the way around with the 180° option or 90° in the clockwise or counter-clockwise direction. The Arbitrary option allows you to choose your own exact angle to rotate in either direction.
You can also flip the canvas vertically or horizontally, which will flip the image either left to right or top to bottom. Learn more about how to flip images in Photoshop here.
Method 2: Crop Tool
But what if you don’t want to rotate the image 90°? And maybe you don’t know the exact angle you want to use. You need to eyeball it, which you can do easily with the crop tool.
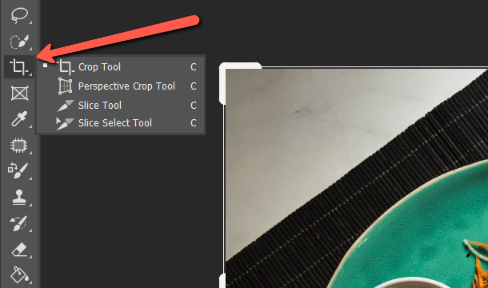
Access the Crop Tool from the toolbar on the left or hit C on the keyboard.
You’ll see the crop marquee border appear around the image. Hover your cursor outside the border near one of the corners and it will turn into a double-ended arrow with a 90° bend. Make sure that the cursor icon appears, otherwise, you’ll change the size of the image instead.
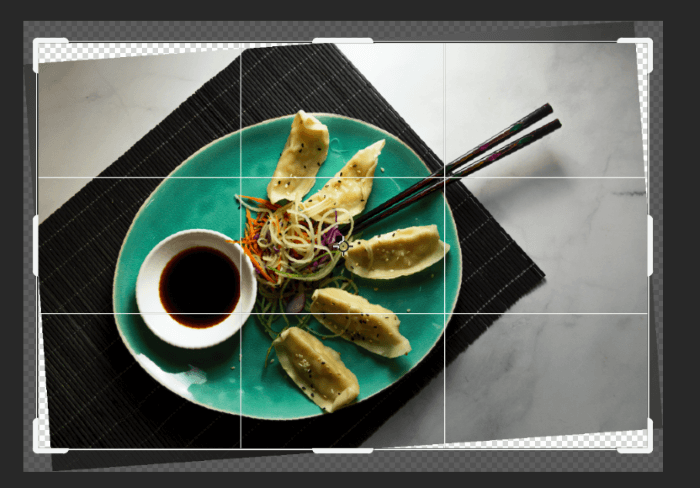
Click and drag the cursor to slowly rotate the image .1 degree at a time. Hold the Shift key and the image will rotate 15 degrees at a time.
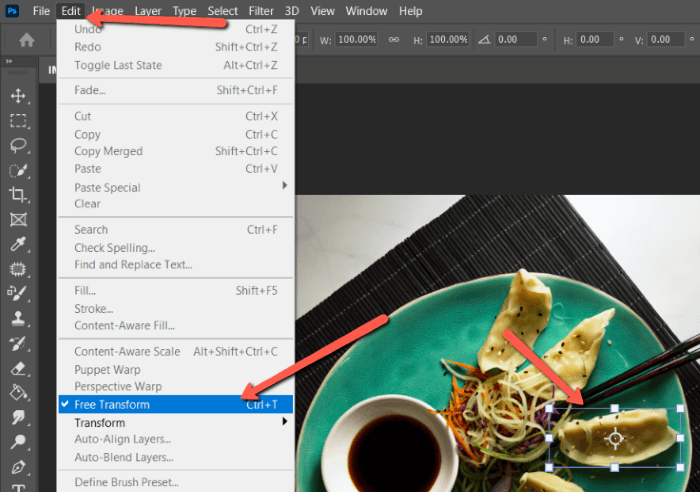
Method 3: Free Transform Tool
With the previous two methods, you can rotate an image any way you want. But what if you only want to rotate part of the image or a background layer?
You can use the Free Transform tool to rotate a layer in Photoshop. To demonstrate, I’ve made a selection around one of the gyoza and copied it to its own layer.
Select the layer you want to rotate, then rotate (Transform Tool) keyboard shortcut Ctrl + T or Command + T on a Mac. The Free Transform toolbox will appear around the selection. Alternatively, you can go to Edit in the menu bar and select Free Transform.
Hover the cursor near one of the corners and you’ll see the double-ended arrow icon with a 90° bend appear. Click and drag to rotate the gyoza.
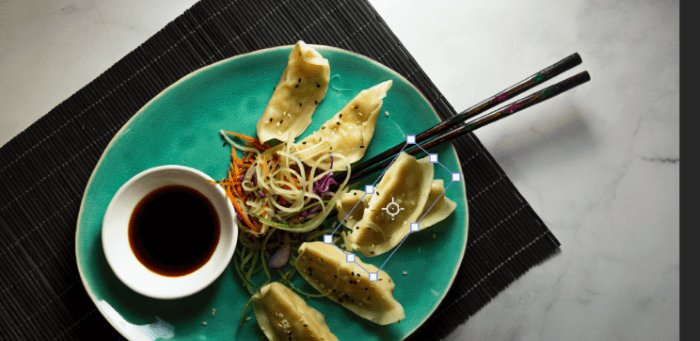
If you need to rotate multiple layers, hold down the Ctrl or Command key as you select layers to select multiples. Then you can use the Free Transform tool to rotate them together.
Super simple!
Interested in more tips on how to use Photoshop? Check out more of our tutorials, such as this one on how to change the canvas size.
About Cara Koch