
Ever wanted to put a border around your image in Photoshop? Or maybe add some space for text or graphics to the top, bottom, or side? The solution is to resize the canvas.
Hey there! I’m Cara, and as a photographer who creates my own marketing materials, I’ve run into this issue a few times. There are five easy ways to change the canvas size in Photoshop. Which one you choose will depend on your end goal.
In this tutorial, I’m going to show you five methods. Don’t worry, they’re all super easy!
Quick note: the tutorial below is based on the Windows version of PhotoshopCC. Mac users will see slightly different screenshots.
Table of Contents
Method 1: Choose Dimensions With the Canvas Size Command
The first method is to go up to Image in the Menu bar and choose Canvas Size. You can also hit Alt + Ctrl + C (Option + Command + C on a Mac) to select the command.
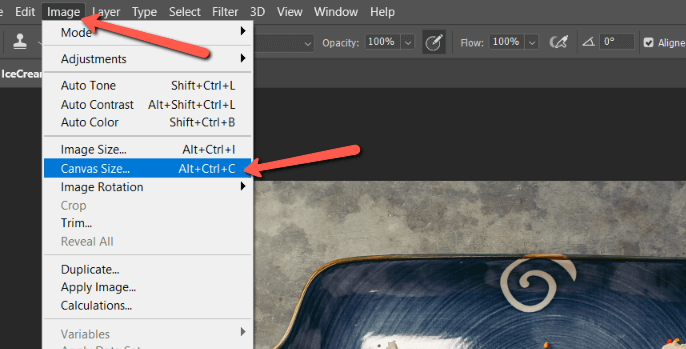
Make sure you choose Canvas Size and not Image Size. Image size will resize the image itself and potentially distort or destroy pixels. Canvas size will change the size of the canvas the image is sitting on without touching the image itself.
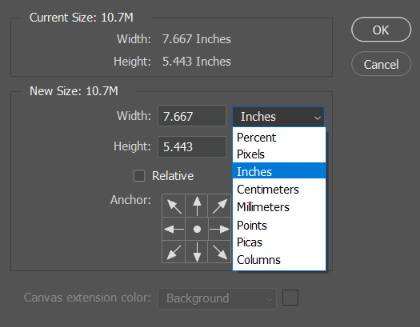
In the panel that pops up, choose the new width and height. This can be measured in various ways such as pixels, inches, points, and so on, as you can see in the dropdown menu.
Now it’s time to pick an anchor point. You can choose the circle in the center to center the image or any of the corresponding arrows to put the image in one of the corners, sides, top, or bottom.
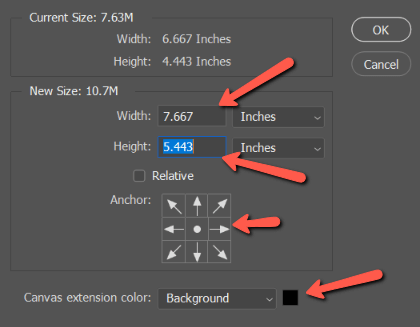
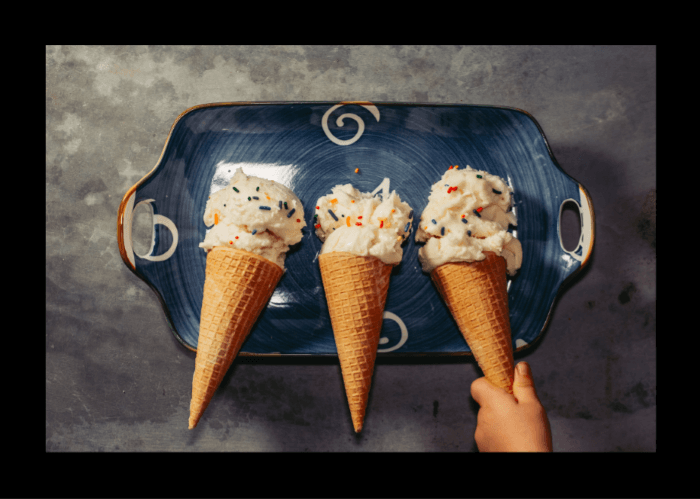
At the bottom of the panel, You can choose the color of the canvas. For example, I chose black. Click OK and as you can see, there’s a black border around my image.

Method 2: Add Transparent Canvas
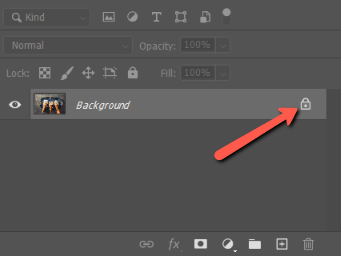
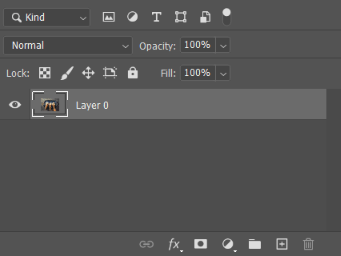
What if I want the added canvas to be transparent? I’ll need to click the lock symbol on the background layer in the Layers panel and the background image layer will turn into a normal layer. In this case, you will change the canvas size without resizing the image.
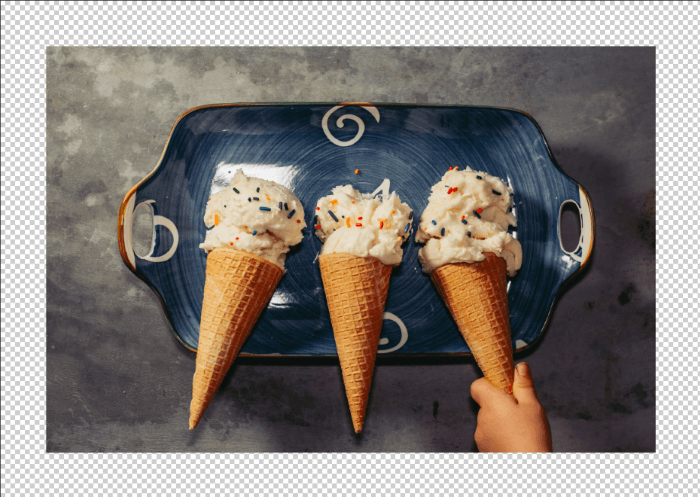
Now perform the same step with the Canvas Size command, the added border is transparent. This is evidenced by the checkered pattern Photoshop uses to indicate transparency.
Method 3: Avoid the Math
Want to add an even border around the image? You could do it by adding the same amount to both the height and the width and anchoring the image in the center. But there’s some math involved in that.
A faster way is to check the Relative box. It will change the width and height values to zero.
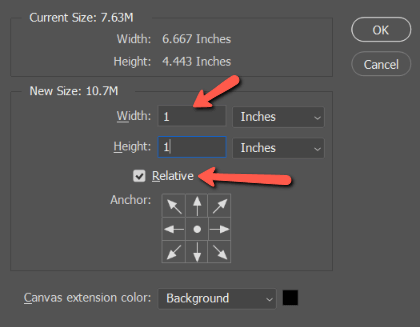
If you want a half-inch border then put 1 inch in the width and height boxes and choose the center anchor point. The program will divide the 1 inch in half and put half an inch on each side.
Method 4: Crop Tool
Another way to enlarge the canvas is to use the Crop Tool. Hit C on the keyboard or choose the Crop Tool from the toolbar on the left.

You’ll see these handles appear around the image. You can click and drag to enlarge the canvas as you see fit.

Make sure that the Content-Aware box is deselected in the options bar. Otherwise, Photoshop will try to fill in the pixels to match the background. (Unless that’s what you want, then leave it selected).

Then hit the checkmark to accept the changes.
Note that the background layer automatically unlocks to let you do this and the new canvas is transparent. If you want it to be colored, simply color it in with the Paint Bucket tool.

Method 5: Automatic Size Changes
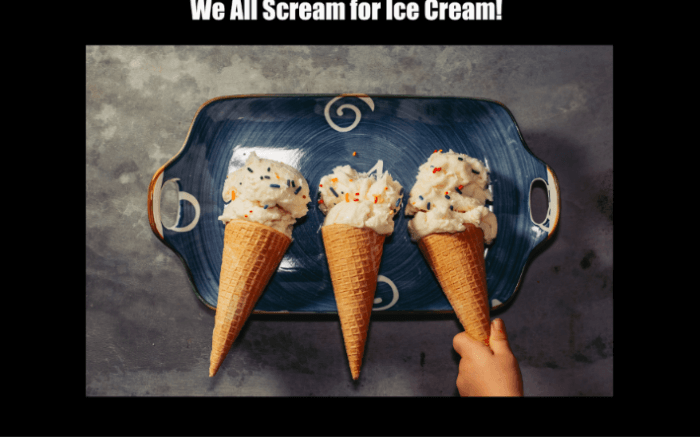
Now let’s say that I want to add this text to the image. I want to trim off the excess but I don’t know exactly how many inches it is. I can use the Trim command to figure it out for me.

Go up to Image in the menu bar. Instead of hitting Canvas Size, this time choose Trim.

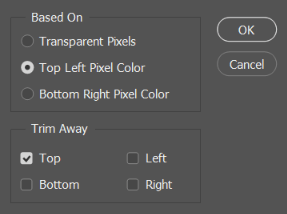
You’ll get this box, which gives you options about how you want to trim the canvas. I want it to trim away just the top border so I uncheck the boxes for the bottom, left, and right.
I also want it to trim away the black so I base it on the top-left pixel color. In this case, I could also choose the bottom right pixel color since they are the same. The program will perform the same function. Click OK.
Here’s what it’ll look like.
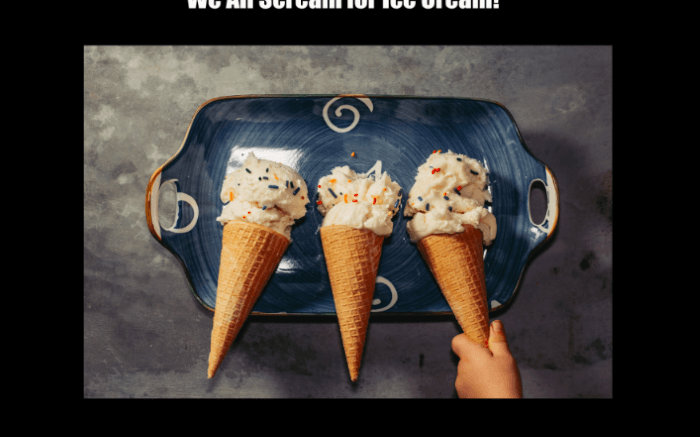
If you trimmed off a little too much. You want to enlarge that top border. You can use one of the other methods we’ve talked about, or you can drag the words to where you want them. Ignore for now that it cuts off part of the lettering.
Head back up to Image and click Reveal All.
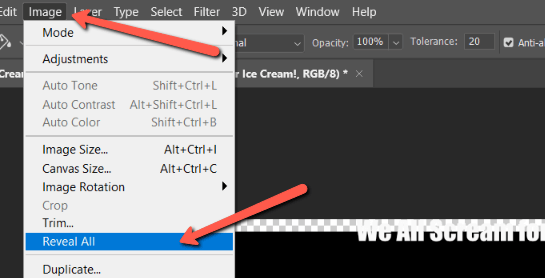
This will add extra canvas size. Again, it’s transparent so you have to fill it in with the Paint Bucket tool.

Voila!

Looking for more great tips and tutorials on how to use Photoshop? Check out more of our posts, like this one on how to flip a canvas in Photoshop!
About Cara Koch