Using the Dodge Tool in Photoshop, you may make certain sections of your image lighter while using the Burn Tool to make certain areas of your image darker. These tools can be combined to enhance contrast in specific areas of a photograph and help the viewer focus on those areas.
I have over five years of Adobe Photoshop experience and am Adobe Photoshop certified. In this article, I’ll show you two easy ways to dodge and burn in Adobe Photoshop.
Table of Contents
Key Takeaways
- The Dodge and Burn tool will help to lighten and darken certain images without editing the entire photo.
- Utilizing this method will give your imagery a three-dimensional feel since we are focusing on specific areas.
Method 1: Brush Tool
I’m going to you how to use a brush to dodge and burn in Photoshop by following the steps below.
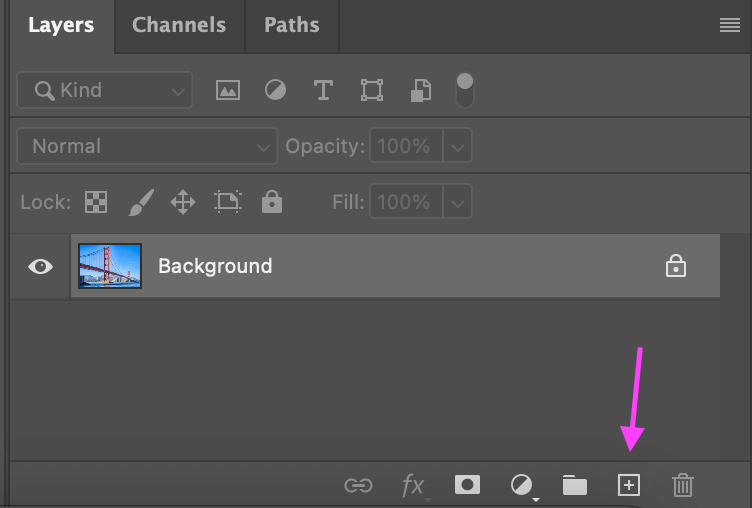
Step 1: Open the image in Photoshop that needs editing, then, while holding down the Alt (Windows) or Option (Mac) key, select the New Layer icon at the bottom of the Layers palette, or use the keyboard shortcut Control + Shift + N (Win) or Command + Shift + N (Mac).
We will be doing this twice to create two new layers.
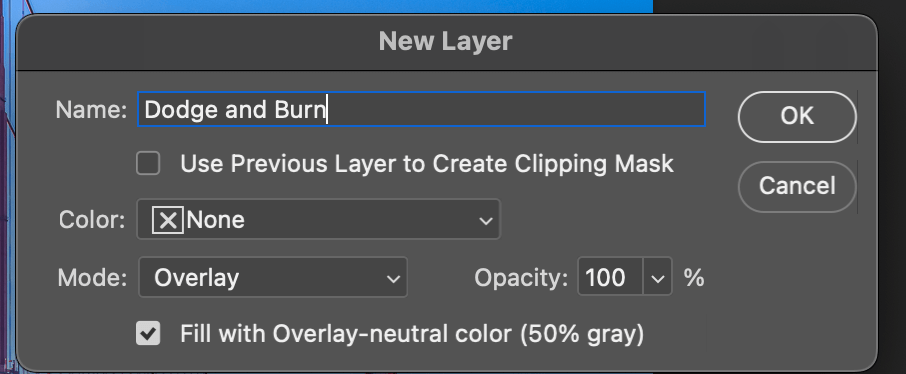
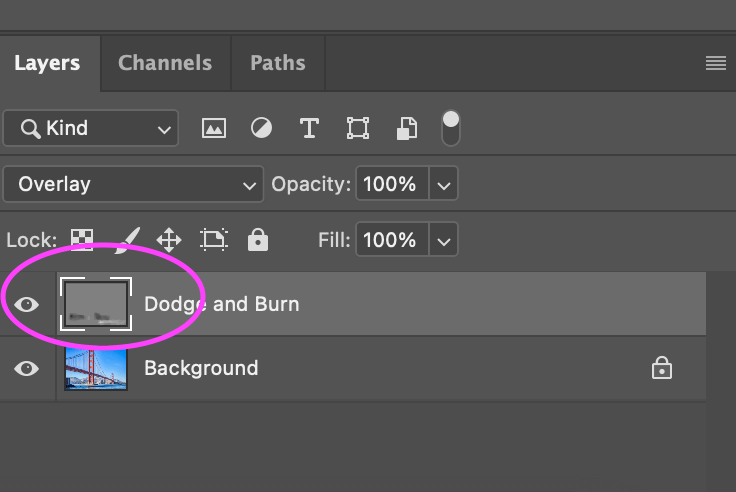
Step 2: The New Layer box will open on your screen. I am going to name the first layer “Dodge,” but feel free to name it whatever you would like. It’s important to name our layers so we know which layer needs editing.
At the bottom of the New Layer box, you will see a Mode option. You will need to change that to Overlay.
You will need to check the box underneath Mode, where it says “Fill with Overlay-Neutral Color (50% gray).” Make sure it’s checked, and then go ahead and click OK.
Step 3: By simply painting over certain portions of the image with either black or white, we’ll be able to lighten and darken them. If we paint something white, it will become lighter, and if we use black, it will become darker.
Once more, this is because we’ll be painting on a layer with the Overlay blend mode selected. But before we can paint over anything, let’s select the Brush Tool from the toolbar or use the shortcut by pressing the letter B on your keyboard.

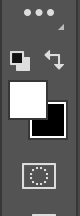
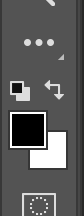
Step 4: Your keyboard’s D key will restore the foreground and background colors to their original settings. White becomes the background and black becomes the foreground as a result.
Pressing the letter X on your keyboard will switch them so that white is now the foreground color. White is now the Foreground color, as can be seen by looking at the Foreground and Background color swatches at the bottom of the toolbar(the left swatch).
Step 5: Make sure that the Brush Tool is selected, go to the Options Bar at the top of the screen, and decrease the Opacity setting to anywhere between 10 and 20%. Mine will be set to 10%.

Besides changing the opacity, you can also change the brush size at the top left of the screen, next to the opacity.
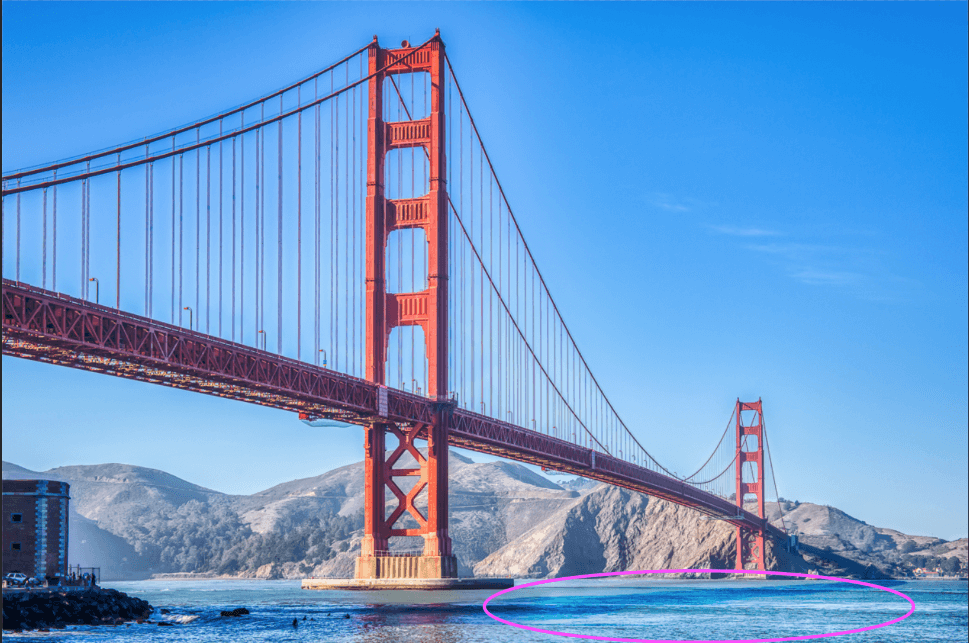
Step 6: Paint over any sections of your photo that need to be made lighter by using the Brush Tool, making white your foreground color, and lowering the opacity of your brush.
Due to the low brush opacity, the effect will initially be faint, but if there are any spots that might benefit from additional lighting, simply paint over them several times to increase the intensity of the effect.
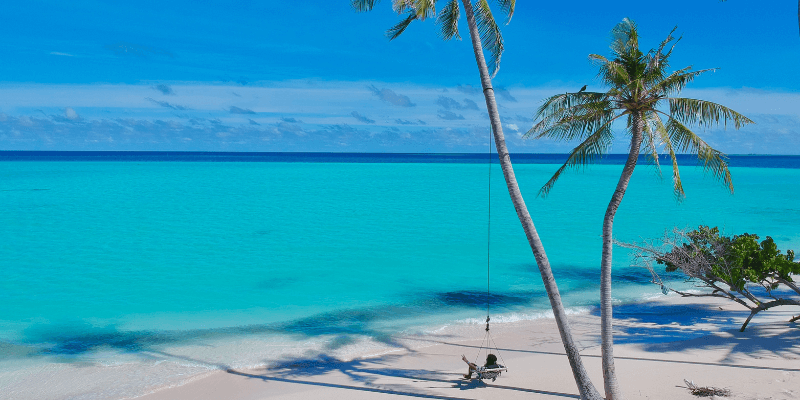
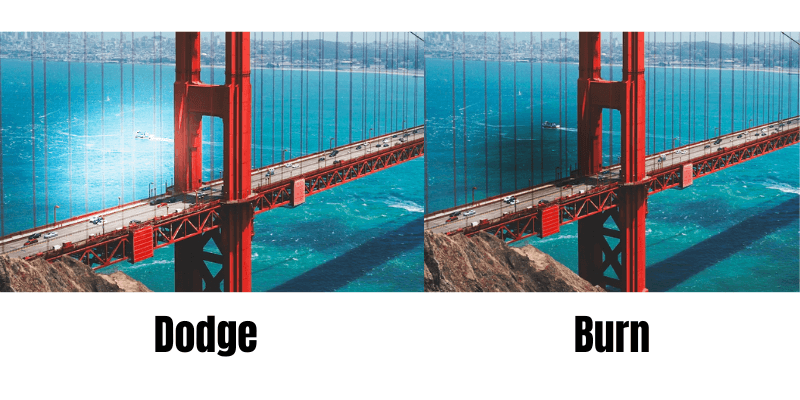
As you can tell from my example, the water on the right-hand side is much lighter than on the left.
Step 7: Once you’ve finished highlighting the necessary places, press the letter X on your keyboard to switch the foreground and background colors so that black is now the foreground color.
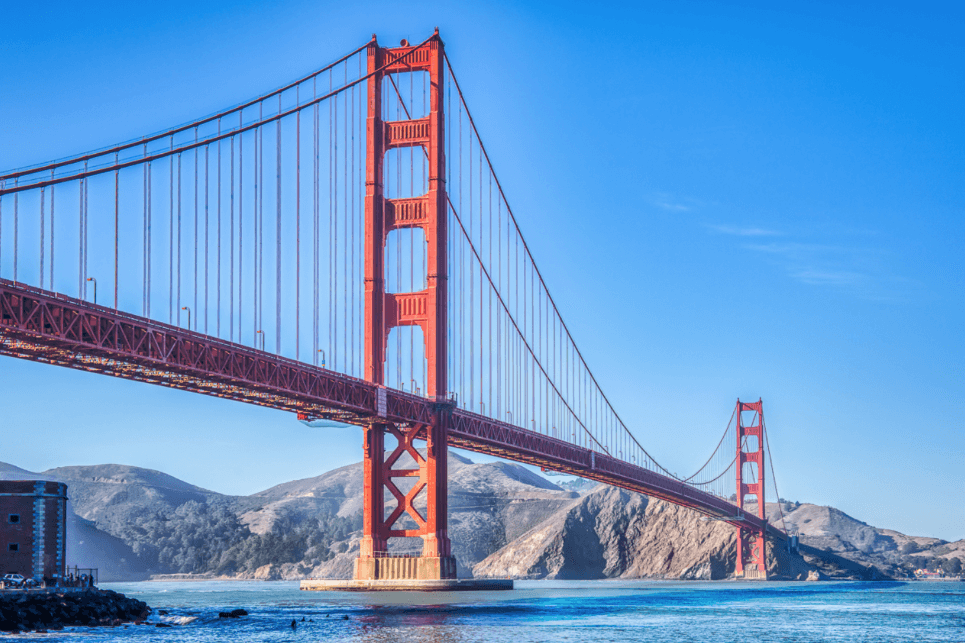
Step 8: Paint over any portions of the image that require darkening now that your foreground color is set to black. Remember that you will apply more darkness each time you paint over the same spot.
From my example I painted over the mountains in the background, I went over them a few times to make them as dark as I needed.
The “Dodge and Burn” Layer photo shows where all you made edits to the image, you will see the darker spots on the image.
Method 2: Dodge and Burn Tools in Photoshop
If you want to directly edit the image without adding a new layer, you can also choose the Dodge tool to make the image brighter/lighter or use the Burn tool to darken the image.
It’s basically the same way as you would use a paintbrush, simply select the Dodge or Burn and paint over the area you want to brighten or darken.
Final Thoughts
Without changing a single pixel of our original image, we were able to properly modify the exposure levels in various regions of the picture by manually painting over them with black or white.
Photoshop’s blending modes are excellent for many kinds of photography. Take some time to explore this tool and see what amazing results you can create, no matter what kind of creative style you have!
Any questions about dodge and burn in Photoshop? Leave a comment and let me know.
About Aly Walters