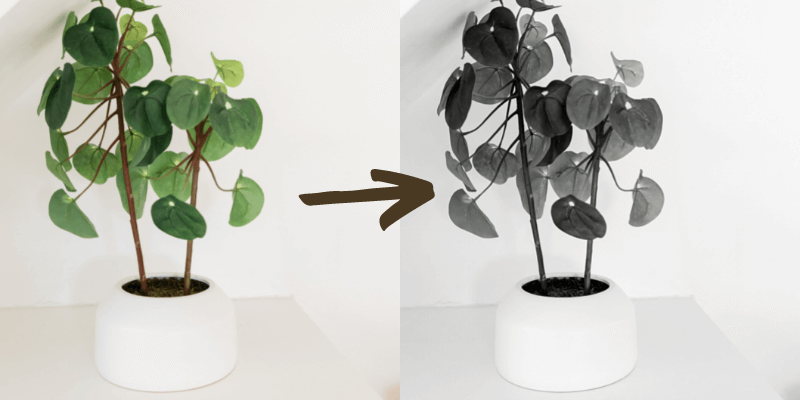
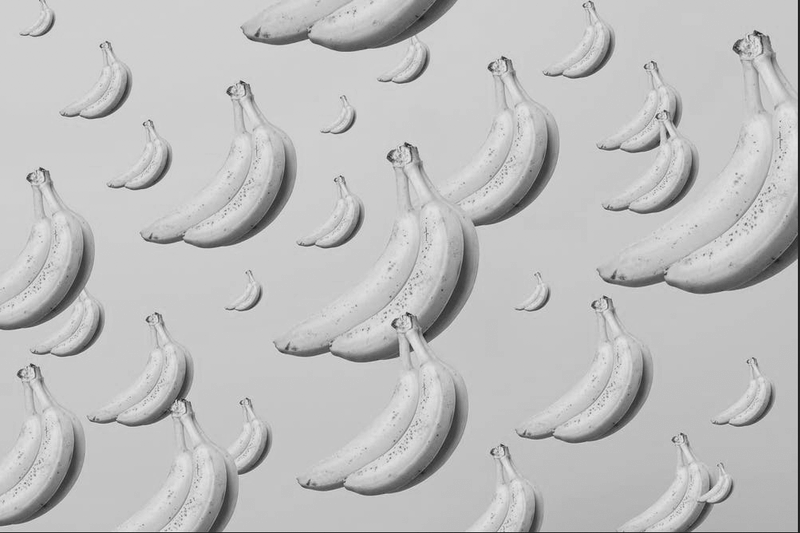
Black and white photography is never old fashion, actually, it’s classic and elegant. A black and white image is also great for using as a poster background. You can simply desaturate the photo or edit it from grayscale color mode.
Making an image black and white is such a simple step and there is a lot you can do to manipulate it. In this tutorial, you’ll learn three quick ways to make a color photo black and white in Photoshop.
Note: All screenshots are taken from Adobe Photoshop CC Mac version. Windows or other versions can look different.
Method 1: Adjustments Panel
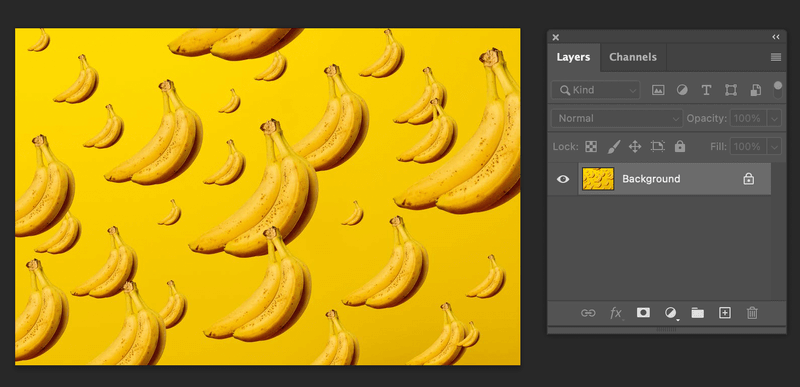
Step 1: Open your image in Photoshop.
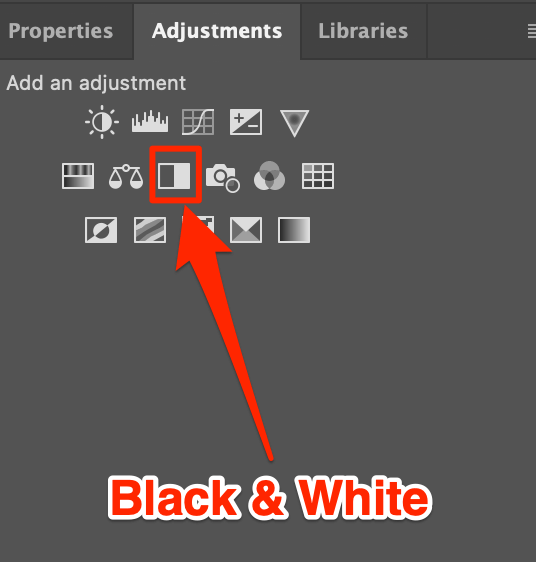
Step 2: Find the Adjustments panel on the right side of your canvas, usually, it’s next to the Properties panel.
Step 3: Click on the Black & White icon to add an adjustment layer.
Now your photo should be black and white.
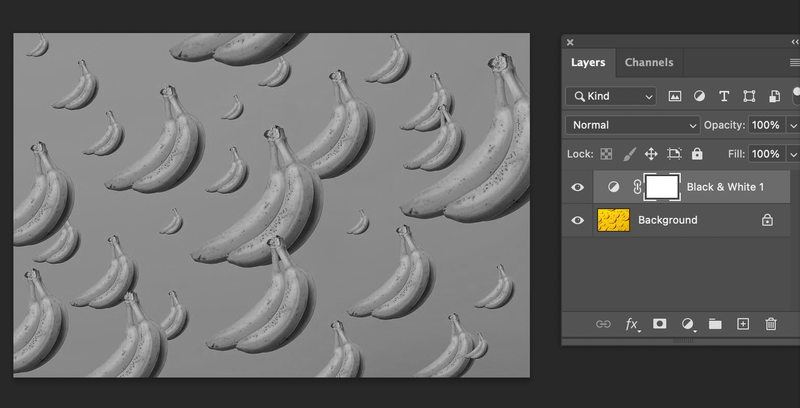
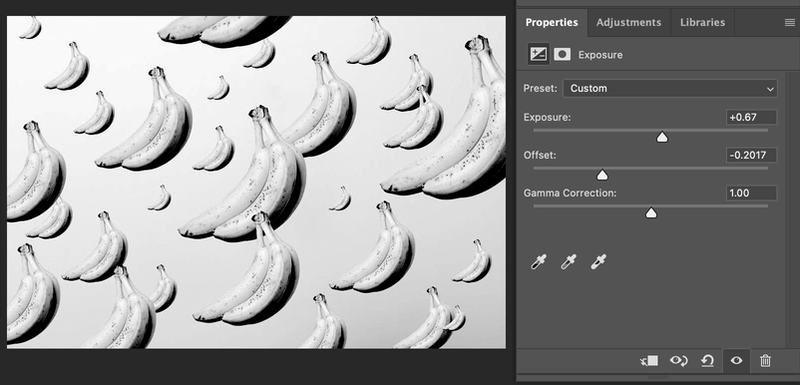
Is it too dark? Does a certain area need more light? You can move the slider and explore the specific colors to get the perfect black and white effect you want.

Or you can always go back to the Adjustments panel and choose another adjustment to edit your image. For example, I did a couple of adjustments to brighten up the photo.
Method 2: Desaturate
This is a quick method that you can finish in one step. After opening your image in Photoshop. Simply use the keyboard shortcut Command + Shift + U to desaturate your image. If you want to adjust the lightness, follow the steps below:
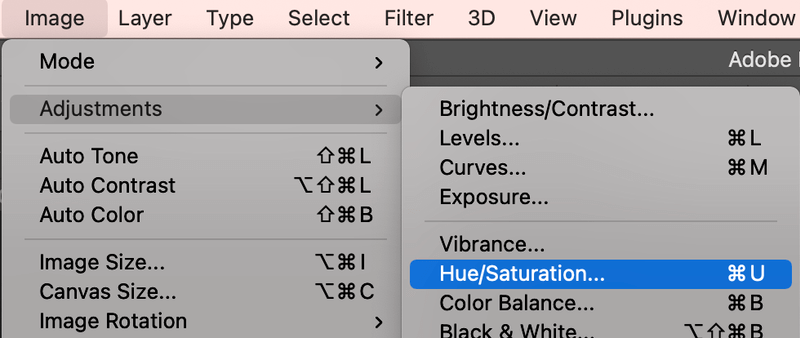
Step 1: Go to the overhead menu Image > Adjustments > Hue/Saturation.
Step 2: Move the Saturation slider to the end of the left side (-100) to desaturate the photo and you can adjust the lightness accordingly.
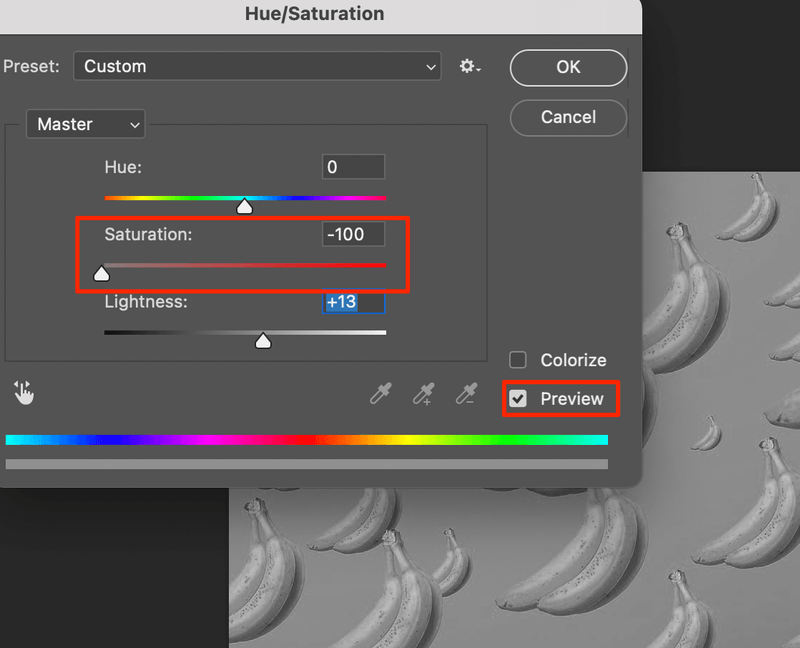
Tips: Check the Preview box to see the changes as you adjust.
Step 3: Click OK once you’re satisfied with the look. If not, you can always add an adjustment layer from the Adjustments panel.
Method 3: Color Mode
Another way to make a color image black and white is by changing the color mode of your Photoshop document by following the steps below.
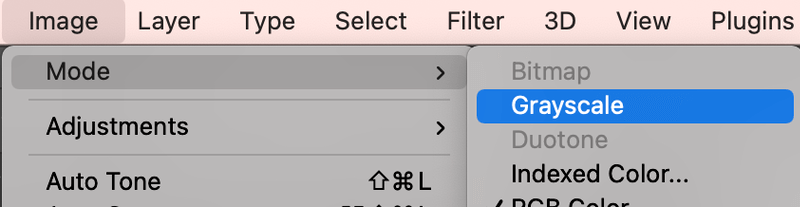
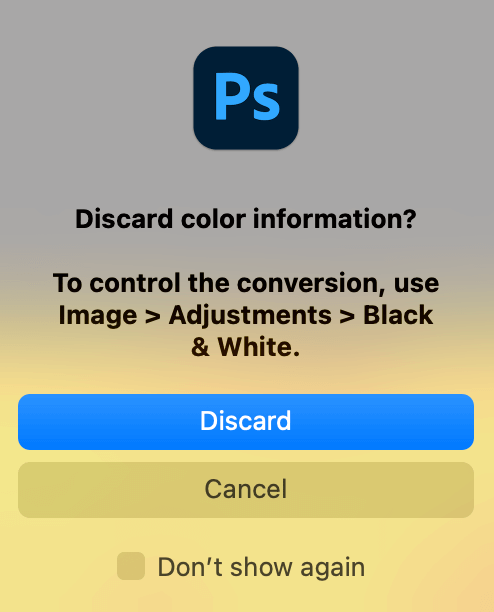
Step 1: Once you have your photo opened, go to the overhead menu Image > Mode > Grayscale.
Step 2: Click Discard on the pop-up window.
Same as with the other methods, you can add an adjustment layer and manipulate the photo.
Conclusion
There are certainly more than three ways to convert a color photo into black and white, I’ve just listed a few that are most commonly used and easy to apply. No matter which method you use, you can always add an adjustment layer to manipulate the image.
Hope you find this tutorial helpful.
About June
June
Thanks for sharing your final pic Myriam, love the effect of having the 2 pics reflected 🙂