How do I get an element from one photo into another?
You won’t get far into photo manipulation before you start asking this question. Even within the same document sometimes you want to copy and paste items. For example, you might make a selection of a kiwi, then copy and paste it into other parts of the image to add more kiwis.
Hey! I’m Cara and as a product photographer, copying and pasting layers is a necessary part of my work. Photoshop makes the process super easy. Let me show you!
Note: the screenshots below are taken from the Windows version of Adobe Photoshop, if you’re using the Mac version, the navigations may look slightly different.
Table of Contents
How to Duplicate a Layer in the Same Document
Duplicating a layer is a common action in Photoshop. As you get deeper into photo manipulation, you’ll find yourself doing it all the time.
Because it’s used so often, Photoshop assigns the action a shortcut on the keyboard. Simply hit Ctrl + J (Command + J on a Mac) on the keyboard.
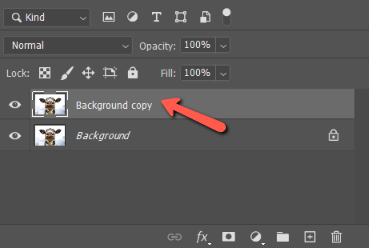
This is the fastest way to copy a layer, but it only works within the same Photoshop document. Next, let’s look at how to copy a layer and move it to another image.
How to Copy Layers From One Image to Another
There are a few ways to do this. Which one works best will depend on what you’re trying to do (or which one is the easiest to remember!)
Keep in mind that size compatibility depends on the images. If you take a small piece of a small image and paste it onto a large image, it might not appear as large as you would like.
Simply resizing the layer can present a problem with information loss. Check out how to resize a layer without losing quality for more info.
Method 1: Click and Drag
The click and drag method is super easy. Open the document that contains the layer you want to copy and move. Click next to the layer’s name and hold.
Drag the layer up and hover over the name of the destination image.
Move down into the image and let go. Now you can resize the layer or move it as needed for the composition.
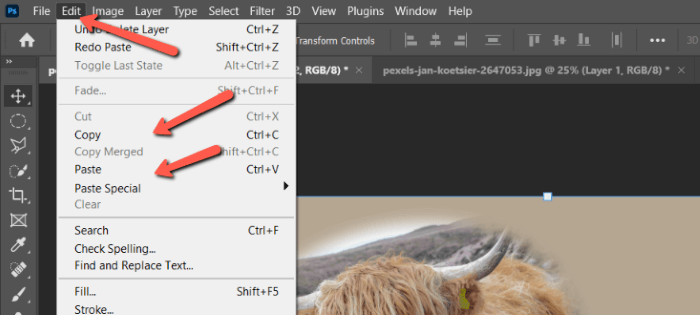
Another method is to use the menu commands. Select the layer you want to move, then go to Select in the menu bar. Choose All to select all the pixels located in the layer. Go to Edit, also in the menu bar, and select Copy.
Open the destination image. Then, go back to Edit, in the menu bar and select Paste.
You can also use keyboard shortcut keys for all these commands. Ctrl + A (Command + A on a Mac) for selecting the whole layer, Ctrl + C (Command + C on a Mac) to copy, and Ctrl + V (Command + V) to paste.
Method 3: Move Tool
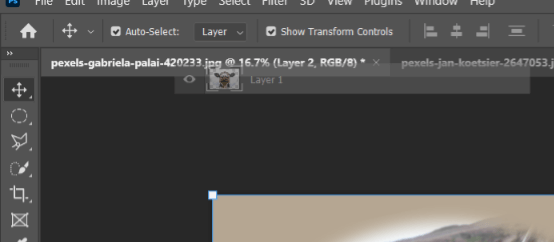
The final method we’ll discuss is using the Move tool. Begin with the source image active. Select the Move tool from the toolbox on the left.
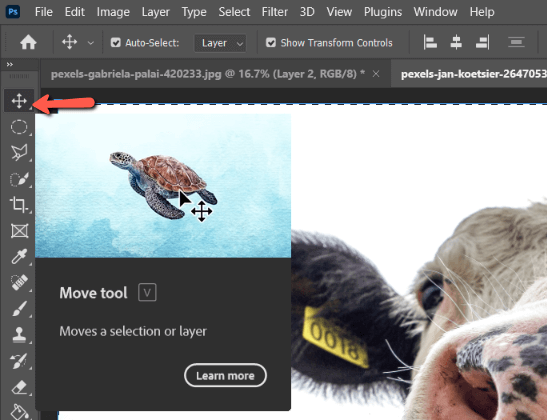
Click anywhere on the image. Hold and drag up to hover over the title of the destination image. Move down into the image and let go.
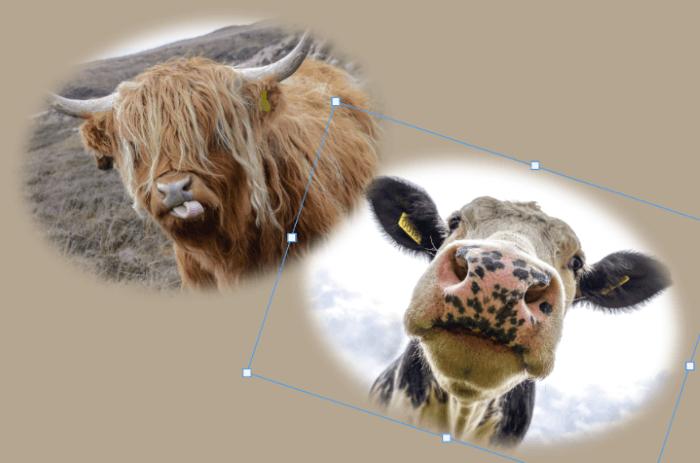
With all of these methods, the Transform tool will automatically be active to resize and reposition the layer as needed. Furthermore, the pasted layer will appear above the active layer in the destination image.
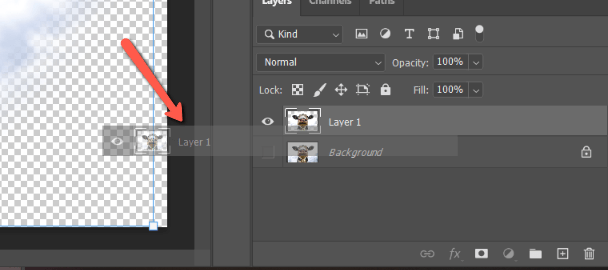
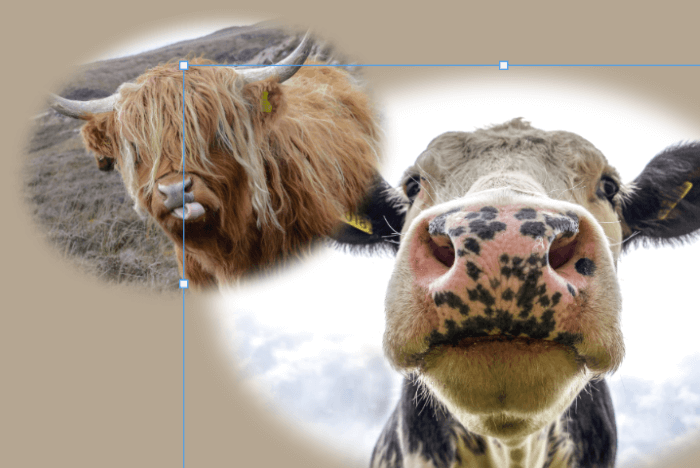
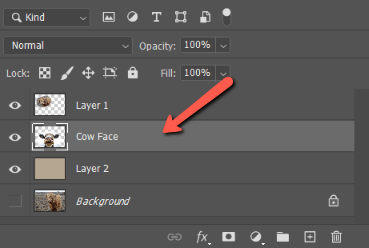
For example, see how Layer 2 is selected?
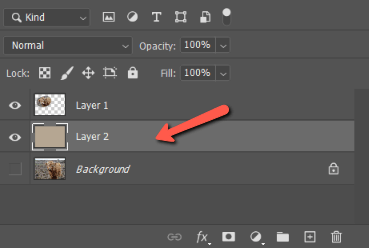
When I paste the Cow Face layer, it will appear above the selected layer. And below any other layers that were on top (Layer 1 in this case).
How was that? Easy as pie! Now you can start cutting and pasting images together to create amazing new images!
Eager to learn more? Check out more of our information tutorials such as how to extend a background in Photoshop.
About Cara Koch