
Oh no! The orientation of my photo is wrong. If only it were a tiny bit wider or taller!
Has this ever happened to you?
Hi! I’m Cara and this happened to me just the other day. I took this gorgeous shot of a waterfall in portrait orientation. But to post it on Instagram, I would have to crop out the top or the bottom or a little of both.
Or…I could whip out Photoshop and extend the background touch to the sides instead! Isn’t that amazing? There are two ways to extend the image background in Photoshop. Let me show you how it works!
Note: the screenshots below are taken from the Windows version of Adobe Photoshop, if you’re using the Mac version, the navigations may look slightly different.
Table of Contents
Method 1: Content-Aware Scale Tool
There are a couple of methods to extend the canvas in Photoshop – the content-aware scale tool and content-aware fill. We’ll talk about both here so you are aware of the tools.
Which method you use will depend on the image you want to extend. Sometimes you may need to use a combination of these methods to accommodate the image.
Keep in mind these methods won’t work for all images. You need a clean background or a background that can be repeated without looking weird. These methods won’t work very well with busy backgrounds.
Likewise, if the original image is cropped in tight on the subject, it will be hard for the program to find pixels to copy and fill in the extra space.
Step 1: Extend the Canvas
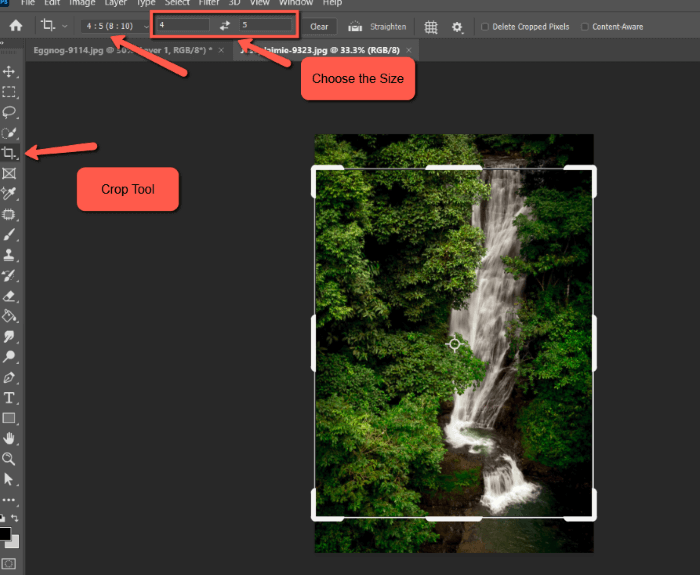
In the image below, I have selected the Crop Tool from the toolbar on the left. Or you can hit C on the keyboard. Then I chose the Instagram aspect ratio from the dropdown menu at the top, which is 4 by 5. You can also choose custom values in the boxes to the right.
If I just crop to that 4 by 5 area, I’ll have to cut off the tip-top of the waterfall as well as lose that gorgeous green pool at the base.
Instead of doing that, I’m going to extend the canvas. Grab the handle on the right or left, click and drag out the crop box until it snaps to the top and bottom of the image.
Then, click on the image and drag it to where you want the subject in the frame. I lined up my waterfall roughly following the rule of thirds.
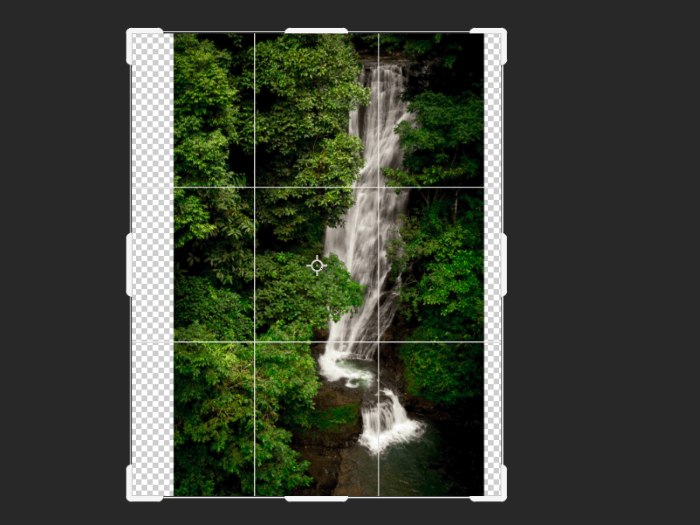
Hit Enter or the checkmark in the options bar to accept the change.
Step 2: Protect the Subject
I’m going to use the Content-Aware Scale Tool to stretch the background, but I don’t want Photoshop to stretch my subject.
Photoshop will detect the subject and avoid stretching it as much as possible. It does a pretty good job when there is a defined subject.
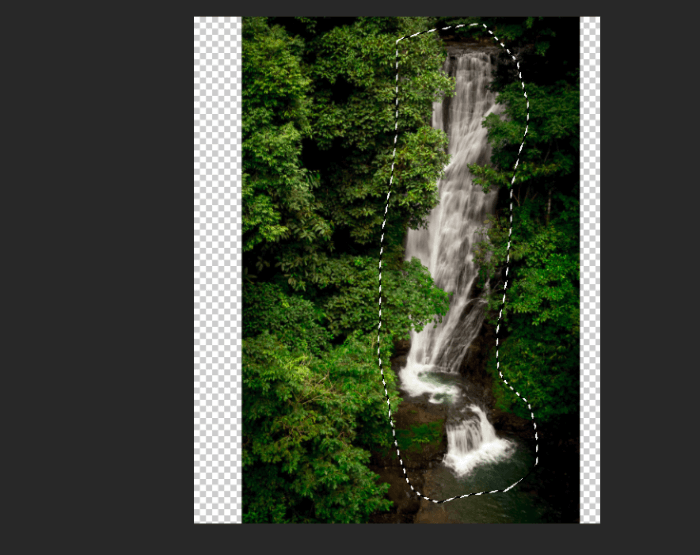
In this case, the subject is a little more ambiguous for Photoshop. Thus, I’m going to help the program by telling it which part of the image should stay intact.
To do this, I’ll grab the Lasso Tool from the toolbar on the left and create a loose selection around the waterfall.
Then I’ll click on the Channels tab next to the Layers Panel. I’ll click the Mask icon at the bottom of the panel. This will create a new channel which is automatically named Alpha 1.
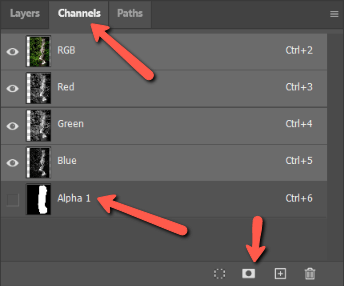
Make sure to deselect the selection by hitting Ctrl + D (Command + D).
Step 3: Content-Aware Scale Tool
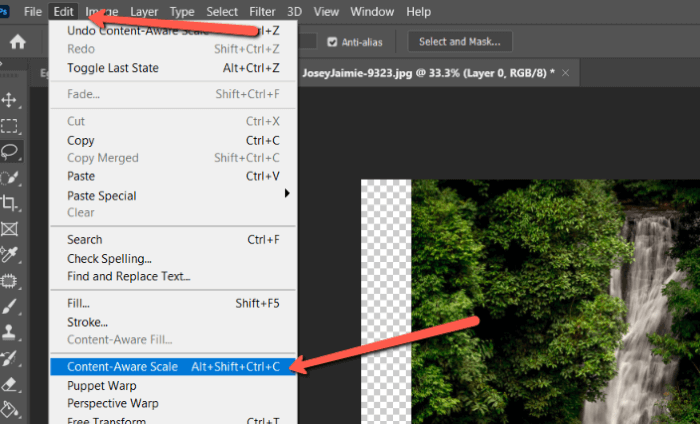
Now I’ll open the Content-Aware Scale Tool. Get there by going to Edit in the menu bar and selecting Content-Aware Scale. Or hit Alt + Shift + Ctrl + C (Option + Shift + Command + C) on the keyboard.
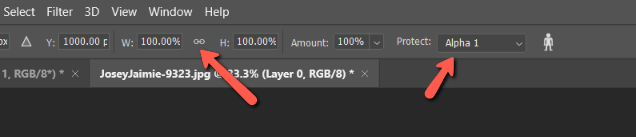
When the tool opens, be sure to deselect the link between the width and height boxes. If you don’t, the program will maintain the same aspect ratio. You might want that in some situations, but it doesn’t work for our purposes here.
In the Protect box, choose the Alpha 1 channel we just created from the dropdown menu. Now Photoshop knows not to stretch the waterfall, just the jungle.
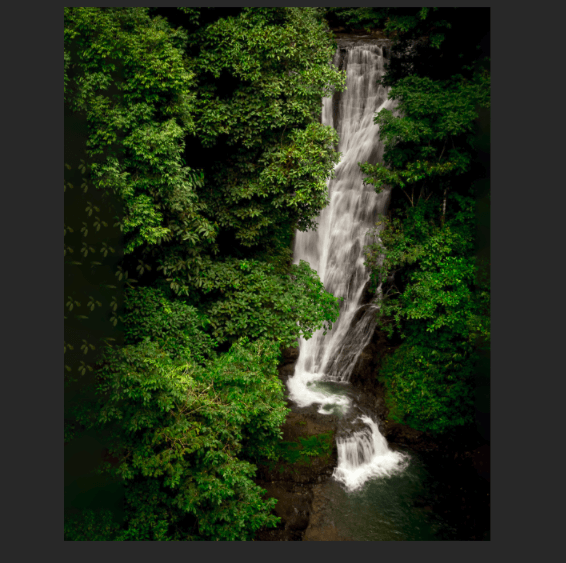
Now I’ll click and drag the edges of the image to the right and left until it fills the transparent area.

Boom! My image is now ready to post to Instagram in 4 by 5 without losing the top and bottom of the falls!
Method 2: the Content-Aware Fill
The Content-Aware Fill option is even easier than the last method. However, it doesn’t work as well on all photos. For example, it didn’t work too well on my waterfall image. It struggled to fill in that jungle on the sides.
This will work best on an image with a clean background. Let me show you.
Step 1: Select the Crop Tool
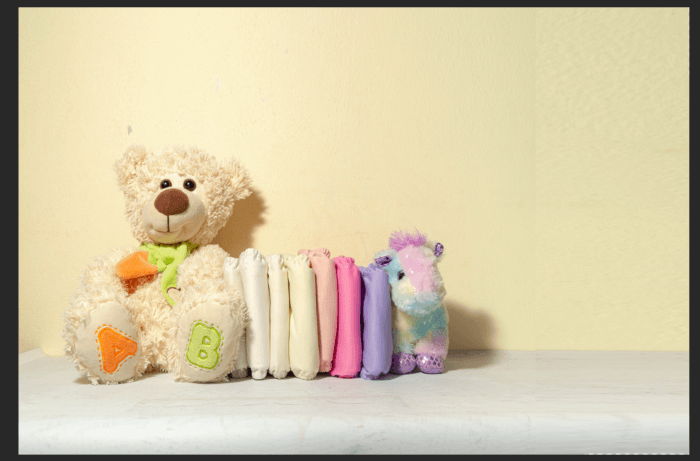
Again, we start with the crop tool so hit C on the keyboard. I want to extend this image up and out to the right to allow more negative space. So I grabbed the top right corner and pulled it out.
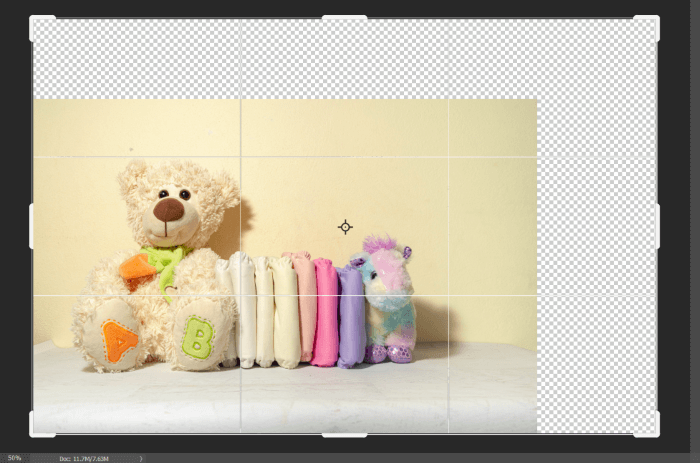
I chose to keep the Original Aspect Ratio in the box in the options bar.

Step 2: Crop With Content-Aware
Make sure that the Content-Aware box is checked. Then hit Enter to accept the changes.
Not too shabby!
Alternate Step 2: Select the Fill Area
On this nice clean background, the automatic selection worked well. This won’t always be the case, so here’s what you can do when the background ends up a little funky.
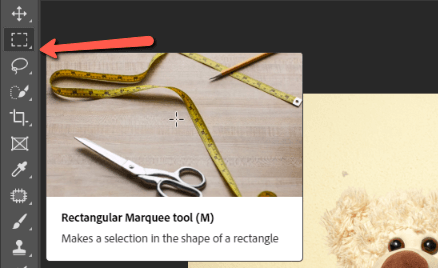
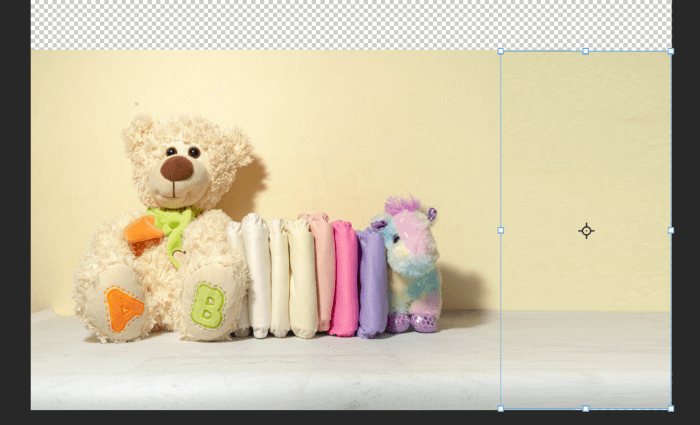
Instead of allowing the program to choose what to replicate, you choose. To do this, select the Rectangular Marquee Tool from the toolbar.
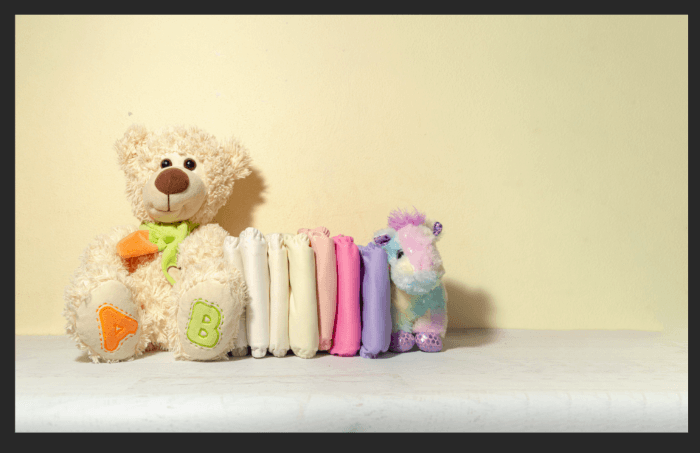
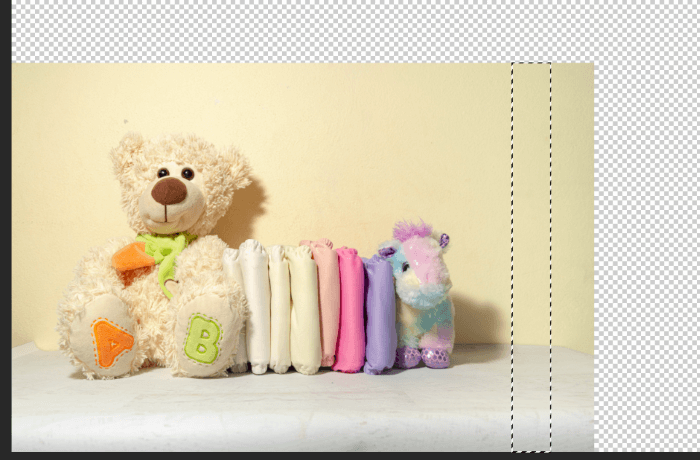
Then make a selection over an area you want to duplicate. I’m going to grab this strip, taking care not to include the shadow or the edge of the table in the selection.
Then I’ll copy it to a new layer with Ctrl + J (Command + J). Now I hit Ctrl + T (Command + T) to access the Free Transform Tool.
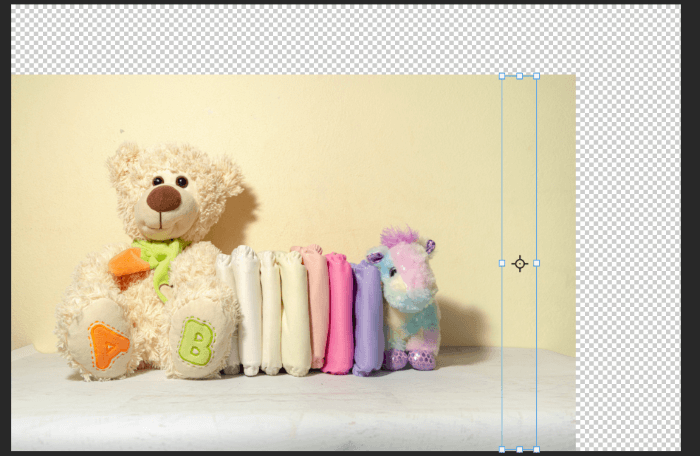
With this tool active, you can grab that handle on the right and pull it out to fill in the space.
You can do the same on the top real quick and boom! Now I’ve got some copy space to work with. Or I can just pull it out to the side to make a long banner image for the top of my Facebook page, whatever I need!
Interested to learn more tricks like this in Photoshop? Check out more of our tutorials, such as how to stitch images together to create a panoramic image.
About Cara Koch