
Photoshop gives you the opportunity to divide an image into its individual components so that you can modify each one separately. If you use Photoshop frequently for editing, there’s a good possibility you’ve moved one layer only to discover that other layers relied on it.
When editing your photographs, you may prevent this from happening to you by using Photoshop’s link layers tool. You can link specific layers together to maintain alignment or visibility when you add more layers to a project.
When layers are linked, they all move together when you move numerous levels about the screen while still retaining their own identities. Additionally, you can combine linked layers with a single command.
I have over five years of Adobe Photoshop experience and am Adobe Photoshop certified. In this article, I’ll teach you how to link layers in Adobe Photoshop.
Table of Contents
4 Steps to Link Layers in Photoshop
You can divide up your photographs into distinct layers so that you can edit isolated portions of the image without altering the overall design. Follow the steps below to link layers in Photoshop.
Step 1: Using the Ctrl key or the Shift key, select the layers you want to link. The number of levels that can be linked together is unlimited, but you must link a minimum of two layers.
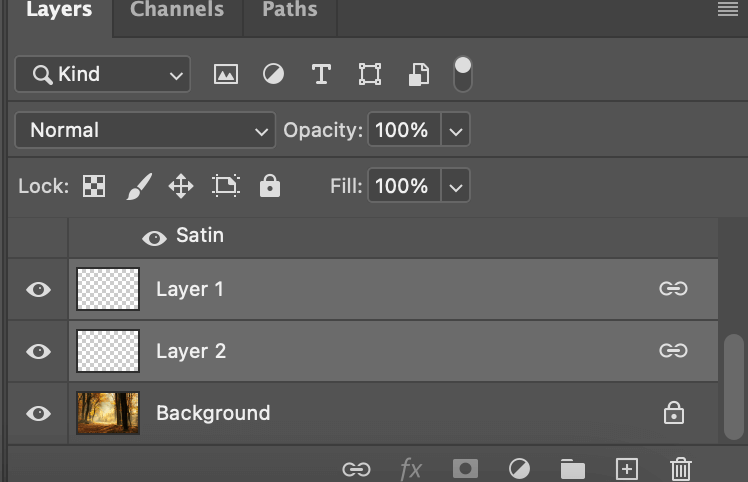
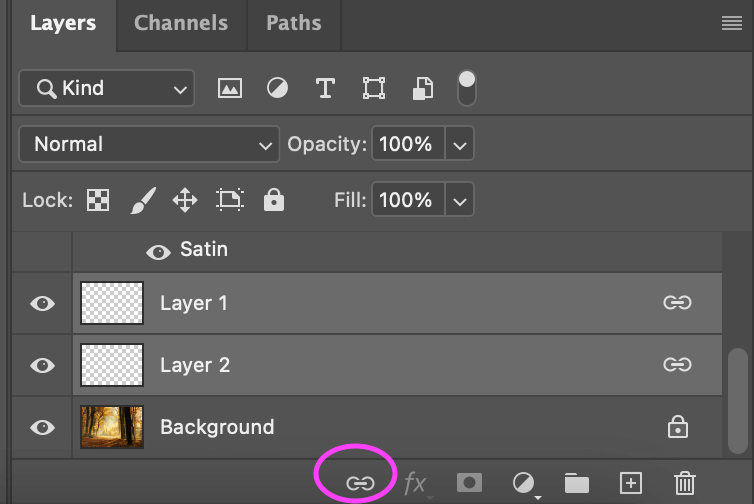
Step 2: Select the tiny chain link icon at the panel’s bottom. The selected layers will have comparable icons displayed next to them. You can select all linked layers by right-clicking on one of them and then choosing Select Linked Layers.
Step 3: Now your two layers are linked to each other, so every time you edit one, the other one will also be affected.
If you need to unlink your layers from each other make sure that they are selected, hold the Shift key, and just go ahead and click the link button to the right of them to disable linking and that’s it!
Select all of the earlier linked layers plus the additional layer you wish to add if you want to add an additional layer to the link group. To add the extra layer in the link group, simply right-click and select Link Layers.
Step 4: Saving your image! It’s time to flatten the image so you may save the file in its finished form. This procedure drastically reduces file size by deleting hidden, useless layers and merging all of the levels into one.
Make sure to first save a copy of the PSD file since you won’t be able to change the layers that have been flattened. You can then choose Flatten Image from the Layer menu.
Bonus Tips
- You can link more than two layers together, just select the ones you would like and press the link button.
- It should be noted that the link icon will show up to the right of the layer name in a Photoshop file when layers are linked.
- You can also right-click to link layers, instead of clicking the link icon.
- Make sure to unlink your layers if you don’t need to modify them together any longer to prevent surprises.
Final Thoughts
Learning how to join layers in Photoshop has some important advantages over using a group. You may keep relevant layers together while maintaining their individuality in your Layers panel by connecting layers.
I hope this article was helpful to anyone wanting to link their layers in Photoshop. As this is a very simple tool to learn it is quite important when working with layers, I’m confident even a beginner would be able to achieve this.
Any questions about How to Link Layers in Photoshop? Leave a comment and let me know.
About Aly Walters