Making an image black and white in Photoshop only takes one step, Command (Ctrl for Windows users) + Shift + U, but adding color back to it is not as easy. I mean, it’s still easy, but it takes more time and steps.
There are plenty of ways to manipulate image color in Photoshop, actually, it’s what it’s best known for, and today I’m going to share with you two of the easiest techniques to color a black and white photo. I often combine both when I need to change or add colors to photos.
You can literally just paint color on top of the image and blend it in. Trust me, it’s going to look real. Another option is to adjust the hue & saturation. It’s up to you. How about check out the options first and decide?
Table of Contents
2 Ways to Color a Black & White Image in Photoshop
You can add a Hue & Saturation layer to colorize the image, or you can directly use the brush tool to paint and select a blending mode to blend in the color. Let’s combine two methods to color this black and white photo.
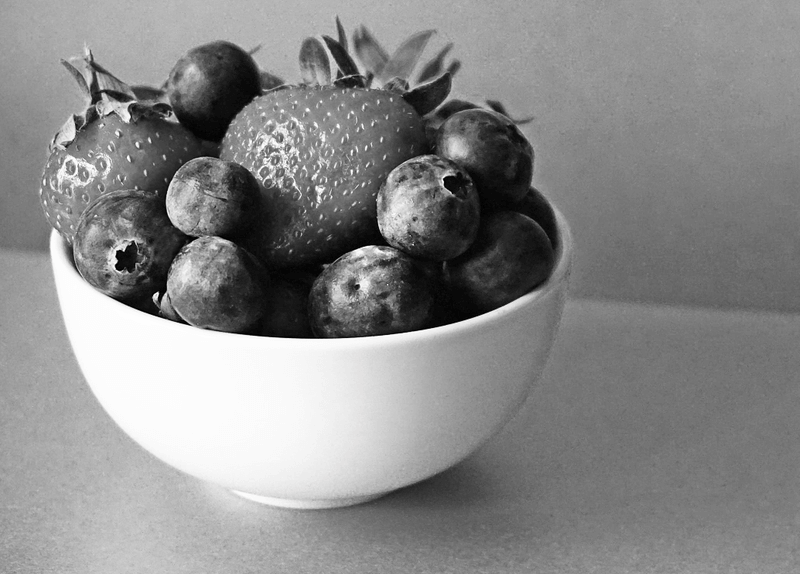
Note: All screenshots are taken from the Adobe Photoshop CC Mac version. Windows or other versions can look different.
Method 1: Brush Tool
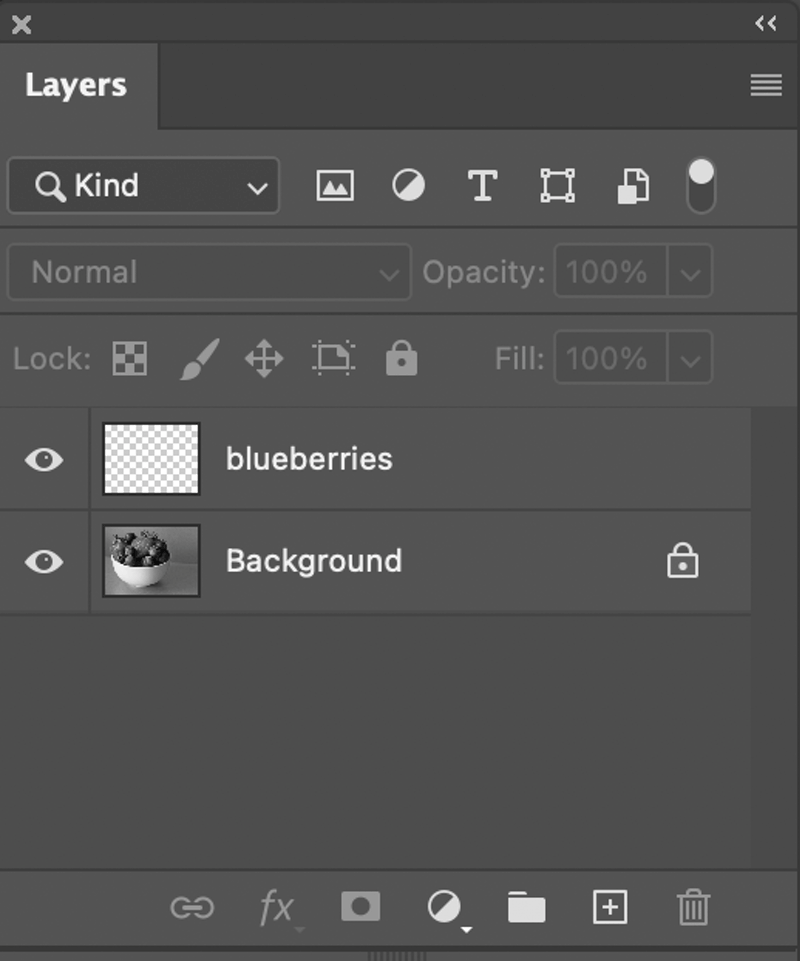
Step 1: Create a new layer on top of the background image and name it. I highly recommend you create a new layer for each color. For example, I’m going to color the blueberries first, so I’ll name this layer blueberries.
Step 2: Select the Brush Tool from the toolbar, and choose a foreground color for the blueberries.
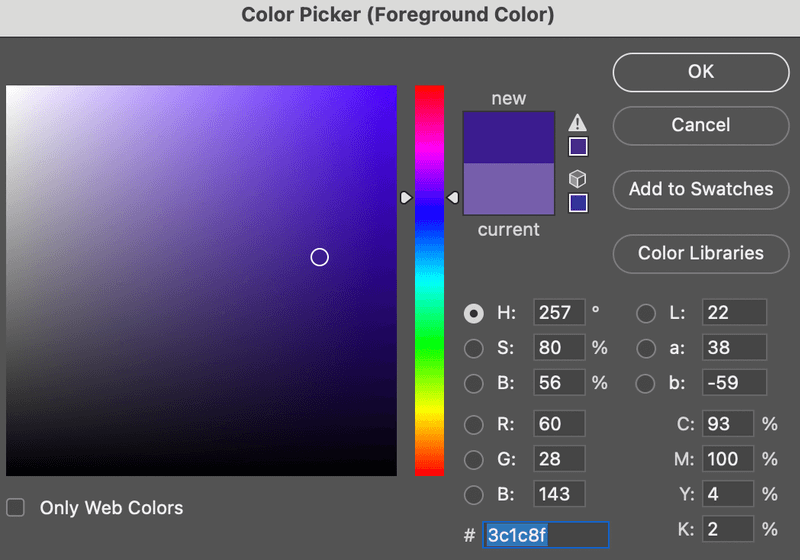
Start drawing on the blueberries. Set the brush hardness to 100% for precise edges.
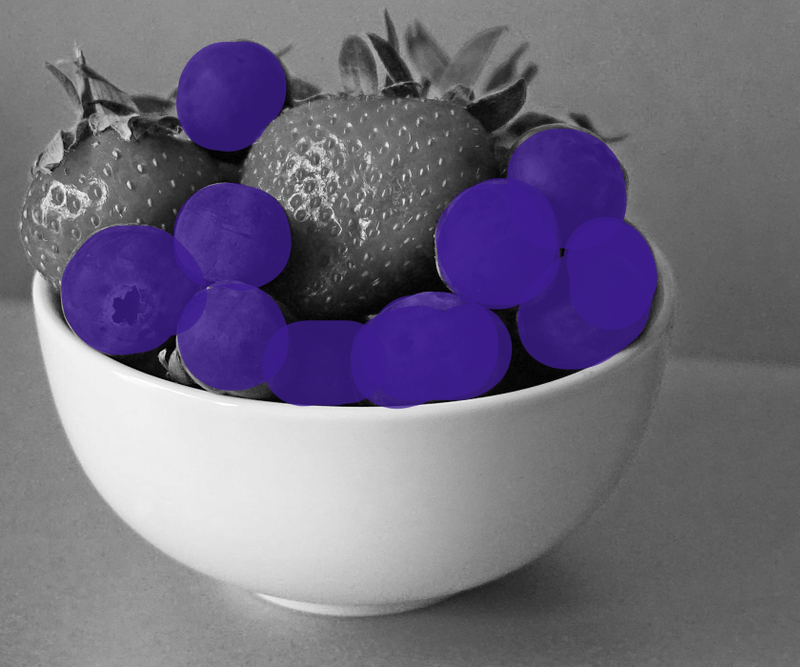
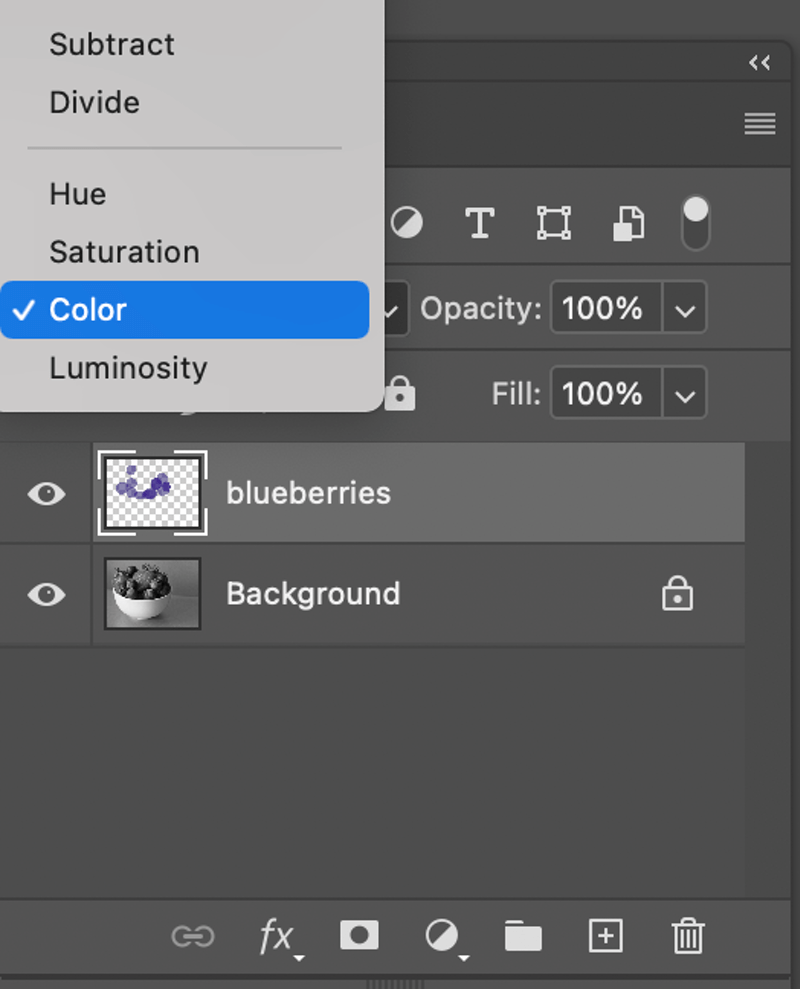
Step 3: Go back to the Layers panel and change the blending mode to Color.
Most of the blueberry areas should be colored. If not, zoom in on the image and use the brush tool to paint it again on the same layer.
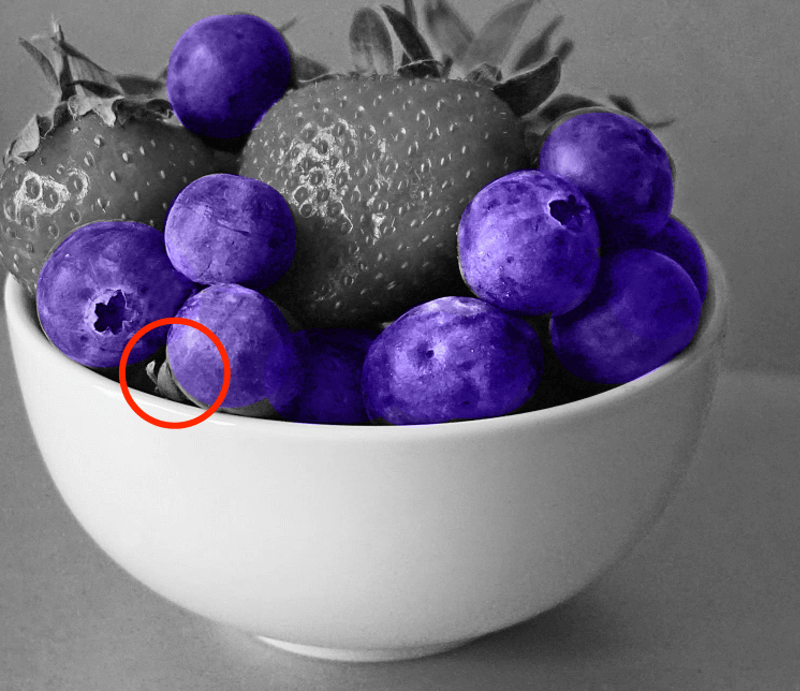
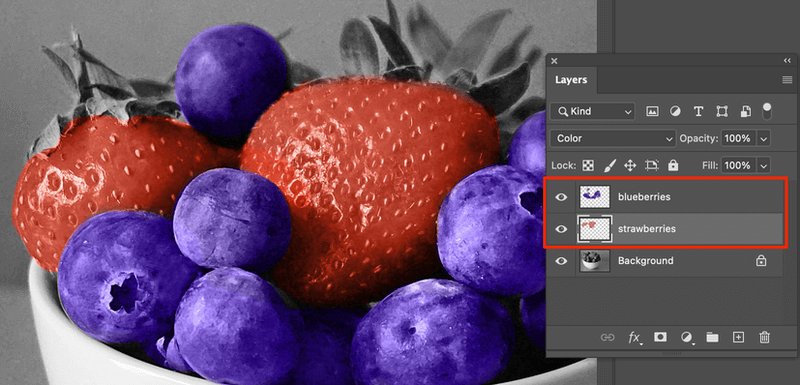
Got the idea? Repeat the same process for the strawberries. Create a new layer to draw the red part of the strawberries.
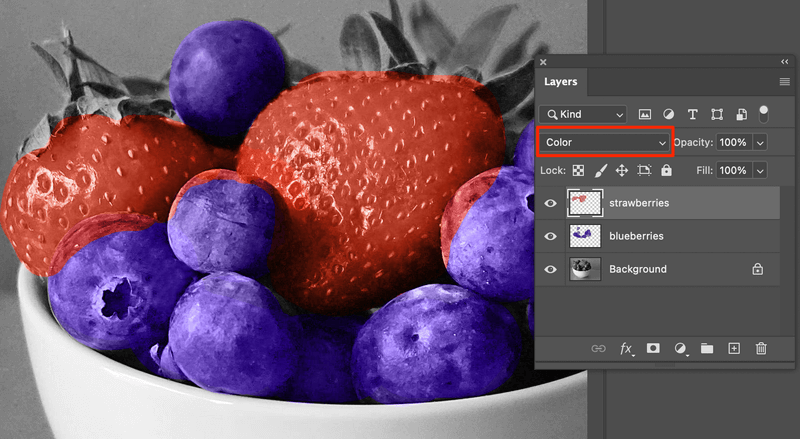
Don’t worry if you colored part of the blueberries by accident. You can drag the strawberries layer underneath the blueberries layer. See? All good.
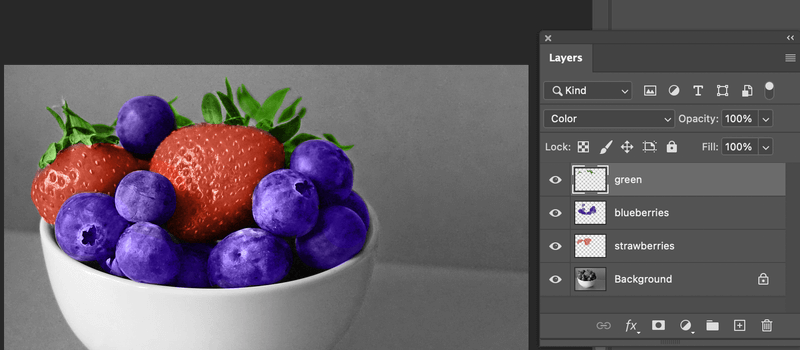
You can use the same method to color the green leaves of strawberries. I used the same method (brush tool) to color it but if you want you can try Method 2 that I’m going to show you right now.
Method 2: Hue/Saturation
Let’s color the bow and background by adjusting the Hue and Saturation. We’ll need the help of the Quick Selection Tool or Object Selection Tool.
Step 1: Select the object (in this case, the bow) using the Quick Selection Tool. If you selected an unwanted area by accident, hold the Option key and drag on the area to deselect. This step might take some extra time if there are rough edges on the image.
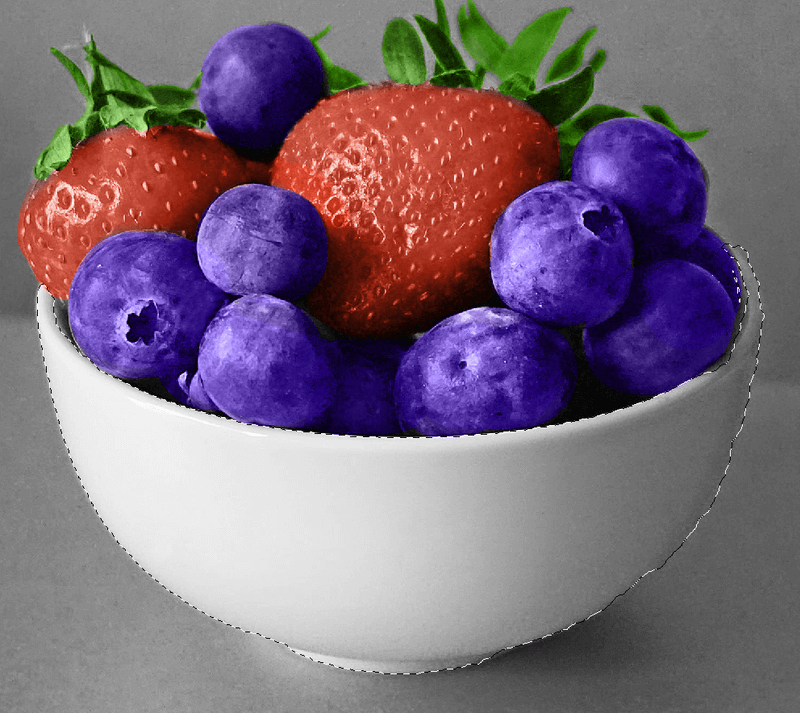
Step 2: Add a new adjustment layer and select Hue/Saturation.
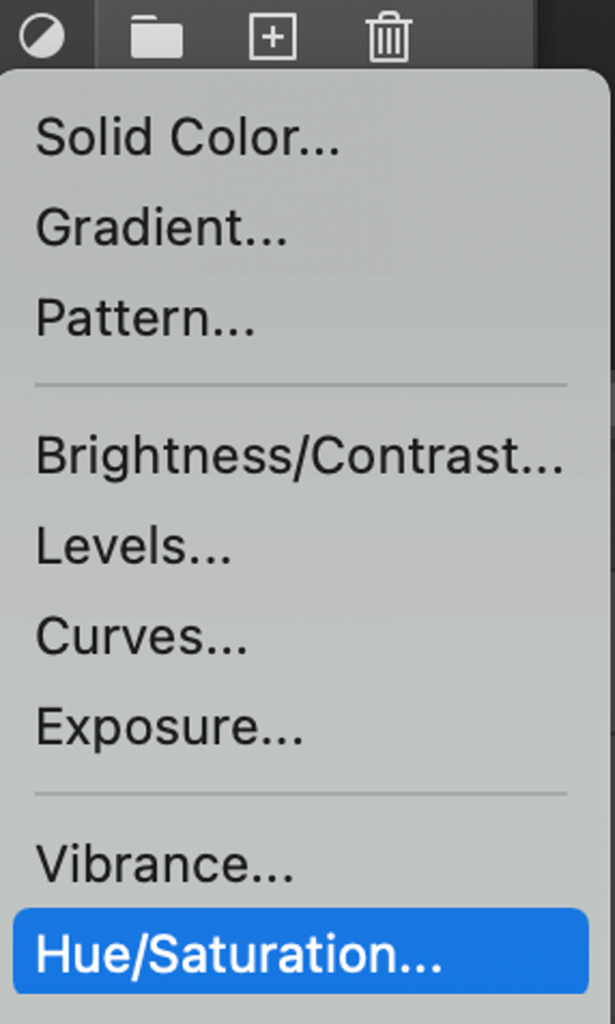
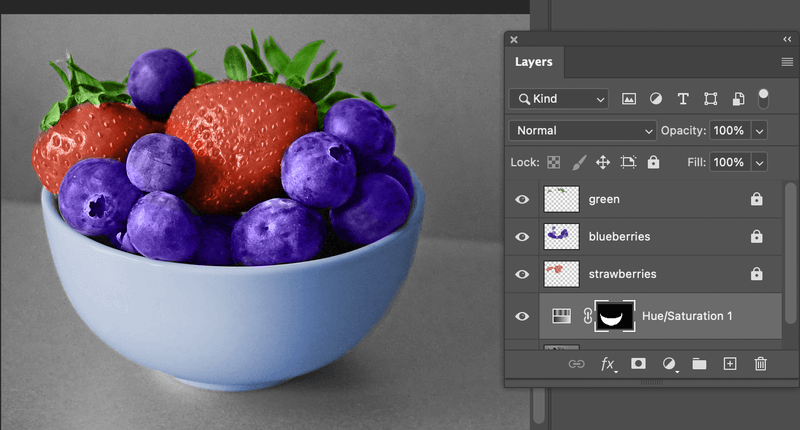
In the Properties window, you can adjust the hue, saturation, and lightness to find the color you want to add and check the Colorize option at the bottom.
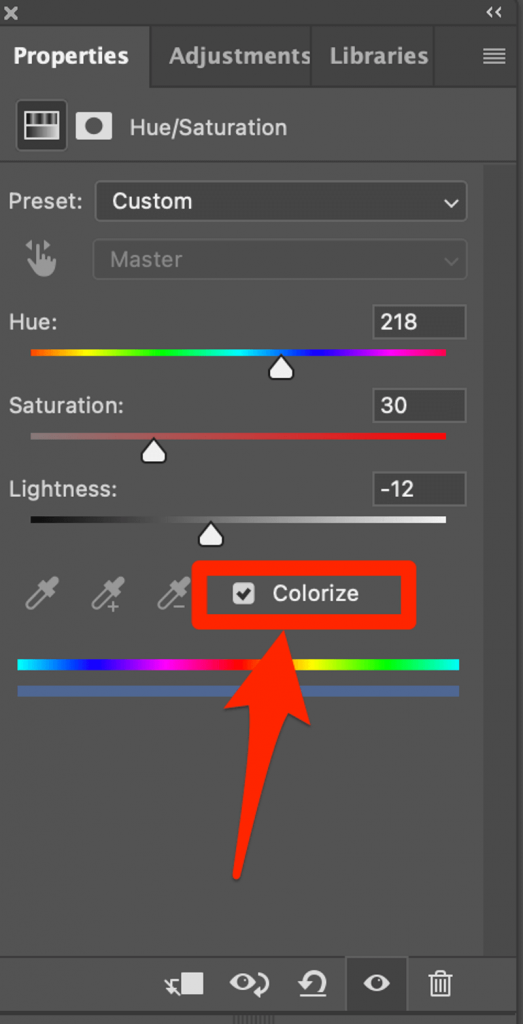
I added a light blue color to the bow.
Now you can use the same method to color the background.
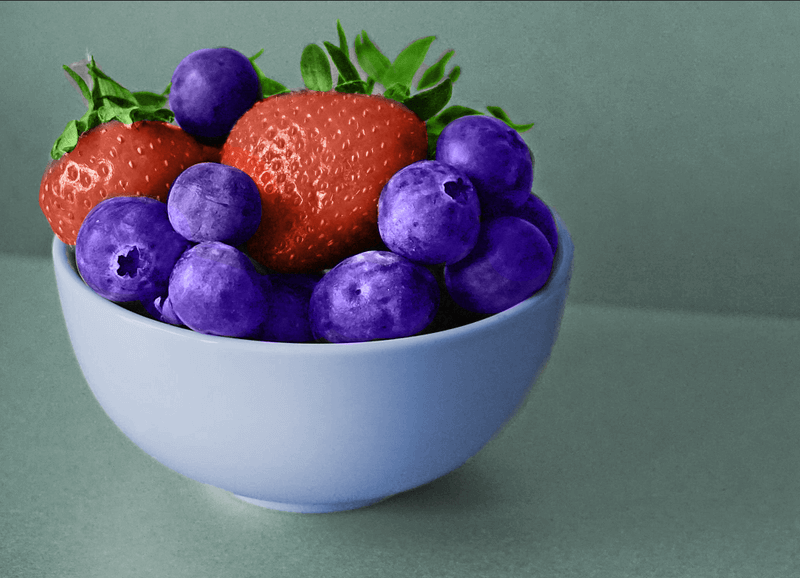
That’s It
It’s not one way or another, actually, in most cases, combining both methods gets you better results. You can use add an adjustment layer to colorize large areas and use the brush tool to work on edges or small areas.
Both methods are simple but you’ll need patience when you work on the details. Which method worked best for you? Let me know in the comments below.
About June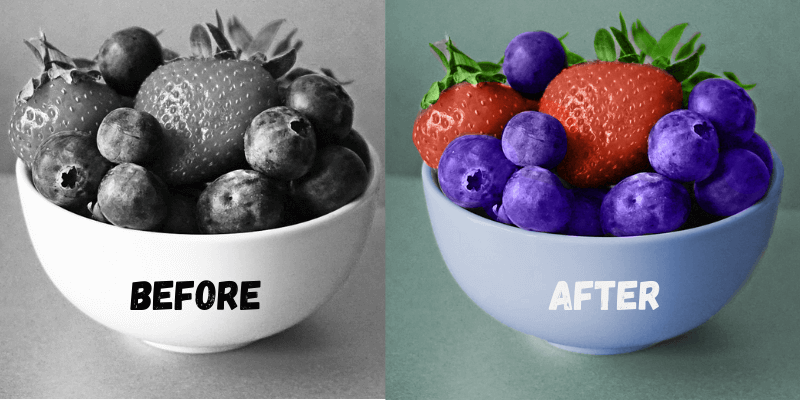
JOHN w YOUNG
to change b/w to color