Do you like low-quality designs that look a little cartoonish or out of date?
Didn’t think so. However, if you’re just starting in the world of graphic design, you might think that your efforts kind of fall into these categories.
Hey there! I’m Cara and though I don’t claim to know it all, I have taken quite a few steps down my photo editing and digital design journey.
One thing I noticed is that always using solid colors tends to add to the low-quality feel of a design.
In the modern day, we are used to seeing sophisticated graphics where colors blend together beautifully and naturally. There is a place for solid colors, but sometimes they just don’t look right.
There is more than one way to bake this cake (come on, it’s Photoshop!). So let’s dive in and look at flour methods to learn how to blend colors in Photoshop!
Quick note: the screenshots and tutorial below are based on the Windows version of Photoshop CC. If you are on the Mac version, they can be slightly different.
Table of Contents
Method 1: Mixer Brush
Let’s start with the Mixer Brush tool. Before we get it out, we need to get a couple of colors on the palette.
Press Ctrl + J or Command + J to duplicate the layer. Then, open the Rectangular Marquee tool at the top of the toolbar on the left.
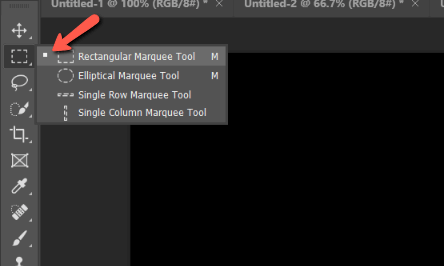
Draw a rectangle on the copied layer. Open the Brush tool by selecting it from the toolbar or pressing B on the keyboard.
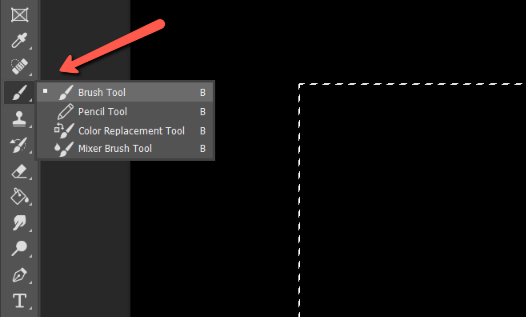
Choose your color by clicking on the foreground color and picking one from the color picker. Paint in half the rectangle. Press X on the keyboard to switch to the background color and click on it to pick a new color from the color picker. Paint in the other half of the rectangle.

Here’s where it gets fun! Right-click on the brush tool to open the options and choose the Mixer Brush tool.
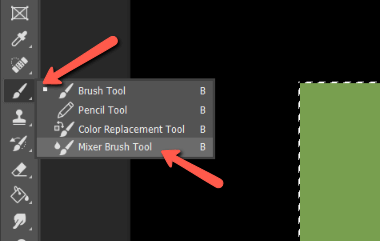
Choose an appropriately sized brush for your project and make it soft by lowering the hardness.
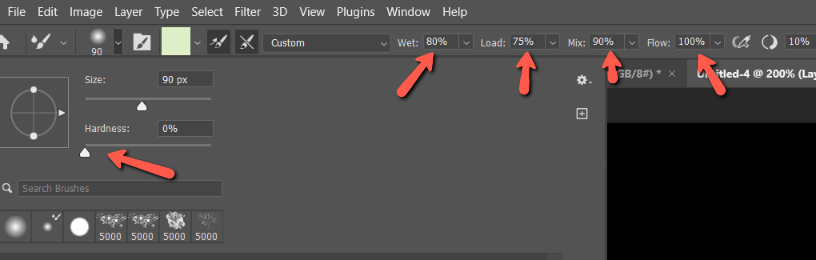
Then drag the brush back and forth to mix the colors together. It’s almost like finger painting – without the mess!

Method 2: Blend Mode
Changing the blend mode is another great method for blending colors together. It also works to blend a new color into an existing image while retaining the lights and shadows needed to make the image look realistic.
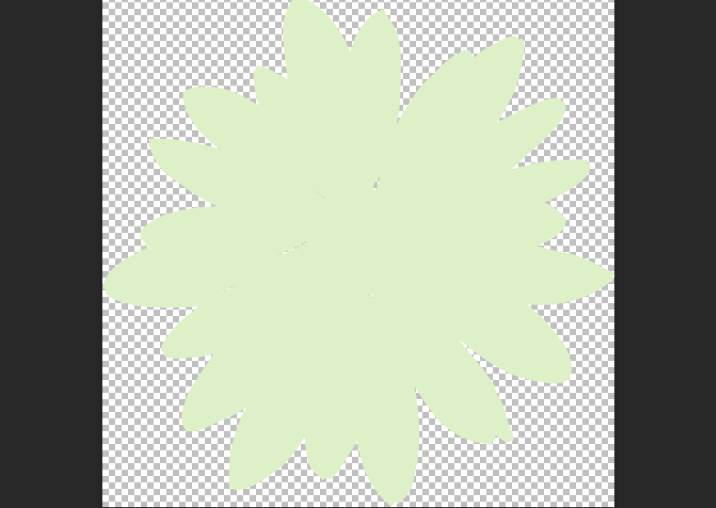
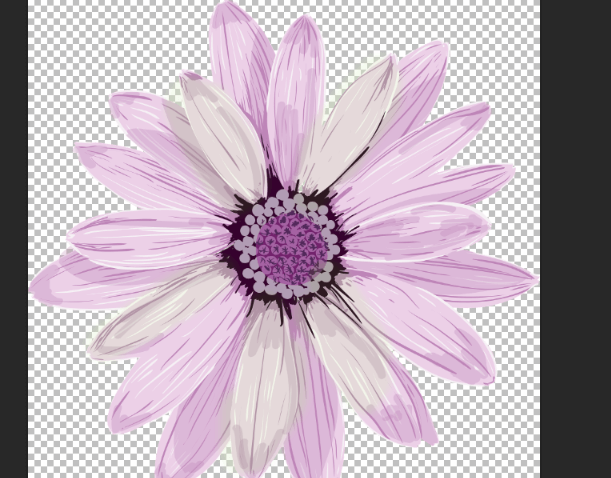
Let’s take this flower for example.
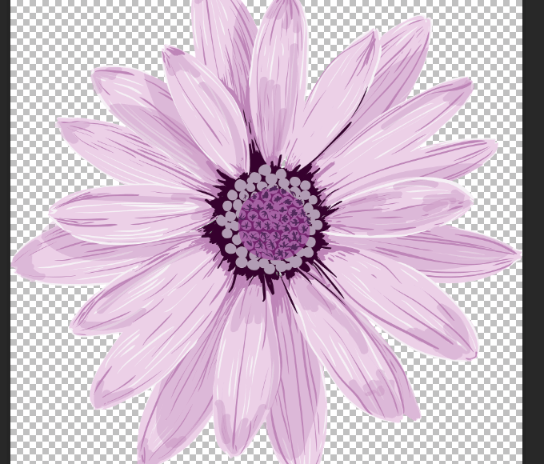
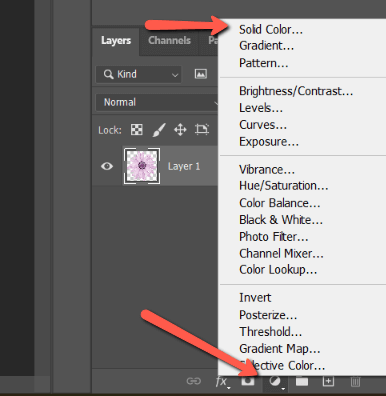
Let’s put a Solid Color adjustment layer on it with the half-filled circle at the bottom of the Layer’s panel.
Hold the Alt or Option key and hover over the line between the two layers until you see your cursor turn into a box with an arrow next to it.
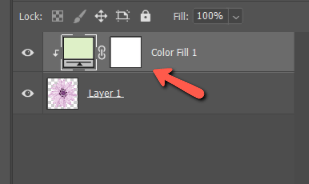
Click to create a clipping mask that will limit the color to only the flower. However, we get this very unrealistic result.
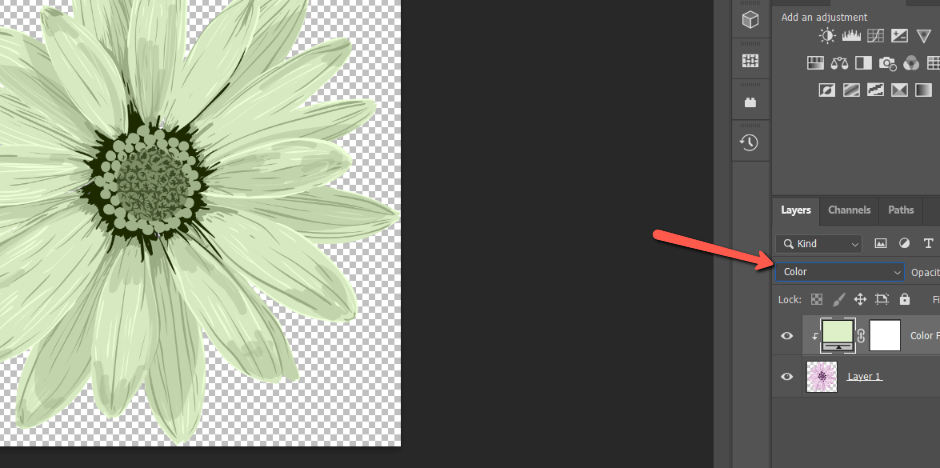
So, let’s change the blend mode near the top of the Layer’s panel. There are 27 blend modes to choose from. As you hover over each one in the menu, a preview will appear in the work area so just scroll until you find the one you like.
Here’s an example of the blend mode Color to replace the color entirely but keep the lights and shadows.
Other blend modes will mix the colors together like this.
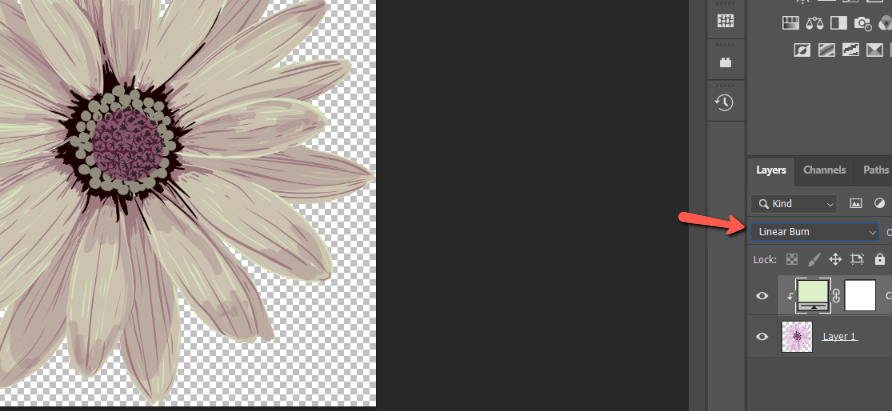
Find what works for you!
Method 3: Blend Mode with Brush
Pairing a blend mode with a brush creates a pretty cool effect for blending colors. Let’s look at this method next.
Let’s stick with the flower but get rid of the Solid Color adjustment layer. Click the New Layer button at the bottom of the Layers panel to open an empty layer on top of the flower. It looks like a square with a plus sign inside it.
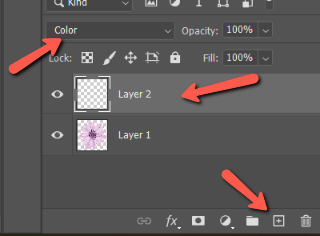
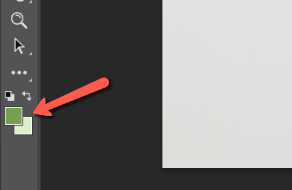
Set the blend mode to Color. Click on the Foreground color option at the bottom of the toolbar on the left. The color picker will open and you can choose the color you would like to blend into the image.
Choose the brush tool from the toolbar on the left or by pressing B on the keyboard. Bring down the hardness and choose a size that works for your image.
Bring down the Opacity of the color layer to tone down the effect.
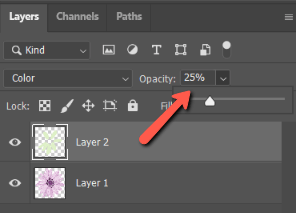
Make sure that the color layer is selected and paint on the image anywhere you would like to apply the new color. Adjust the Opacity as needed to work best for your image.
Method 4: Smudge Tool
We’ve talked about using the Smudge tool for reshaping facial features and adjusting imperfections. However, we can also use this tool to smudge only colors and not affect the other details of the image.
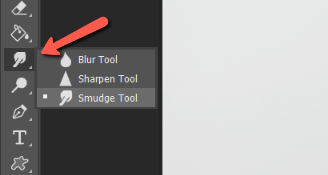
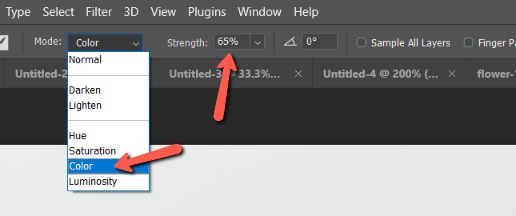
Choose the Smudge tool from the toolbar. It may be hidden behind the blur tool.
Up in the Options bar, change the mode to Color. This will ensure the tool only smudges the colors and leaves the other details alone. Set the Strength to what works. This is how strongly the tool will smudge the colors.
Then you can start painting where you want to smudge the colors. Notice how it seems to pull the orange off the flowers and smear it across the background?
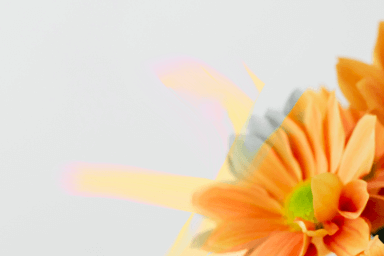
There are some really interesting effects you can create with this. Have fun experimenting with different images!
Curious about how to do other tasks working with color in Photoshop? Check out how to change the background color here!
About Cara Koch