How do I change that color?
Colors are an integral part of images, even black and white ones! One of the amazing tools that Photoshop gives us is the ability to change the original colors in the image to something else. We’ve talked about this before in tutorials such as how to change eye color or how to make the grass greener.
Hello! I’m Cara, and today I would like to show you a couple of interesting tricks for changing the color of a layer in Photoshop. You can even easily switch it around to affect different layers, which can be pretty cool. Check it out!
Table of Contents
Method 1: Create an Adjustment Layer
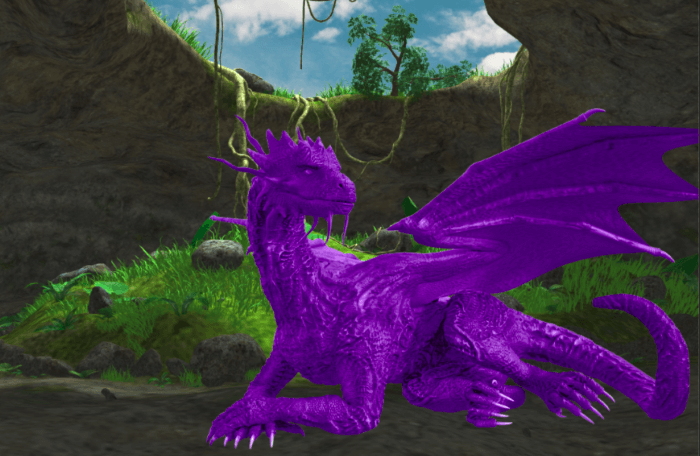
The first method is to use a Hue/Saturation adjustment layer. I’ve put together a simple and not well-blended design (don’t judge, lol!) to show you how it works.
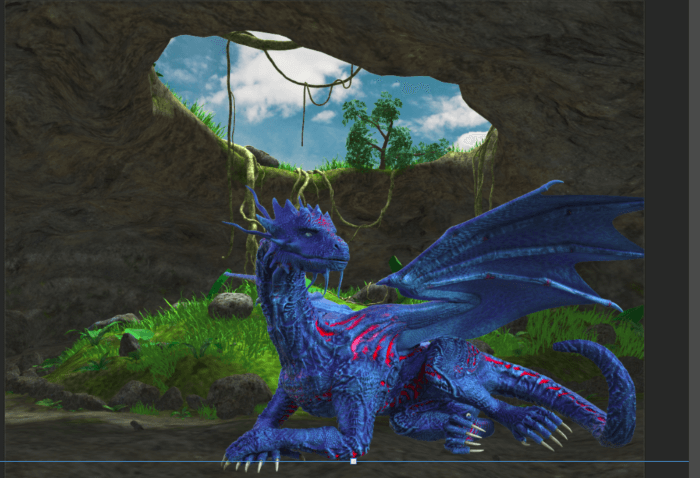
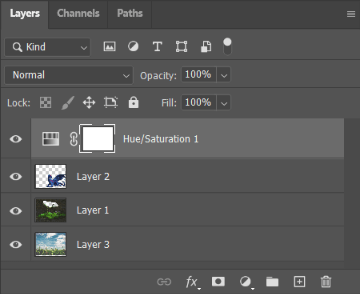
There are three layers in this image. The dragon, the cave, and the sky outside are each on their own separate layer.
Step 1: Open a Hue/Saturation Adjustment Layer
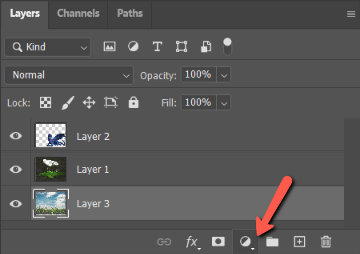
To get started, click on the adjustment layer icon at the bottom of the Layers panel. The icon looks like a half-filled circle.
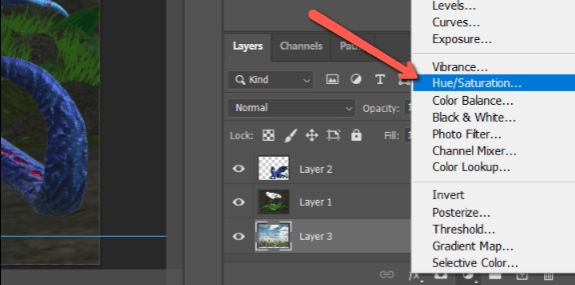
Then click on Hue/Saturation in the menu that opens.
Photoshop will open up a Hue/Saturation adjustment layer like this.
Step 2: Choose the Layer to Affect
Notice that the Hue/Saturation layer is above all the other layers. When you make adjustments, the change will affect all the layers.
Like this, notice how the colors have changed in all the layers?

Step 3: Create a Clipping Mask
So that this doesn’t happen, use a clipping mask. Simply position the adjustment layer directly above the layer you want to affect.
Then click the clipping mask icon at the bottom of the hue/saturation adjustment panel. Or hit Ctrl + Alt + G or Command + Option + G with the target layer selected.
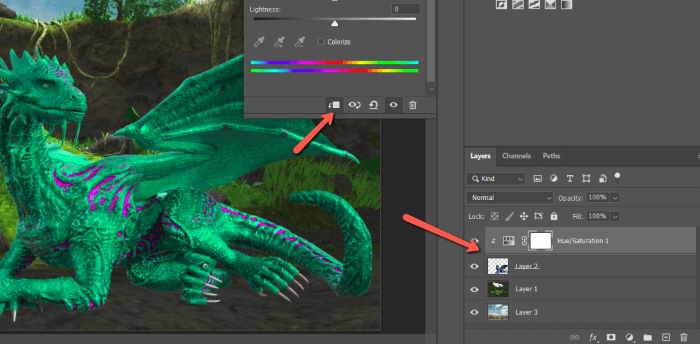
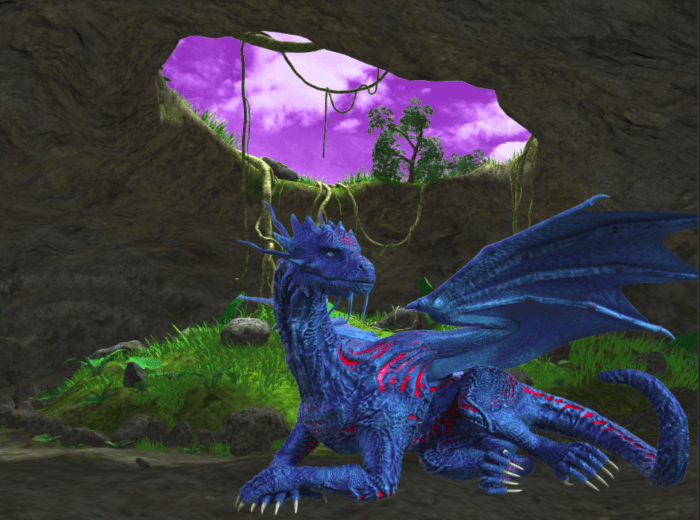
Now the color change only affects the dragon. Check out what happens when I move the hue/saturation layer directly over the cave layer and use a clipping mask.
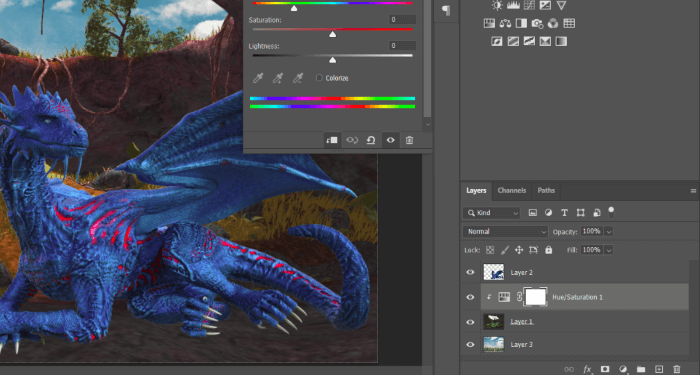
Now, the color change affects the cave only and not the dragon or the sky.
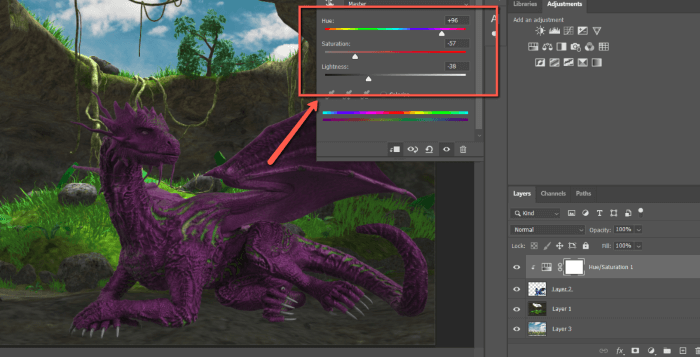
Have fun playing with the Hue, Saturation, and Lightness sliders to create the color change you want.
Method 2: Create a Fill Layer
Another way to change the layer color in Photoshop is to work with a fill layer. It creates a different look so you can play around with which method works for your project.
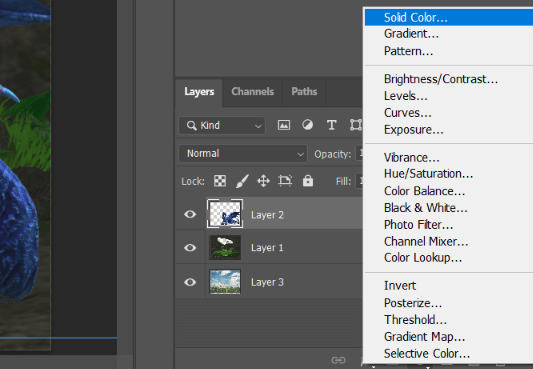
Step 1: Create a Solid Color Adjustment Layer
Click on the half-filled circle adjustment icon at the bottom of the Layers panel. This time, choose Solid Color.
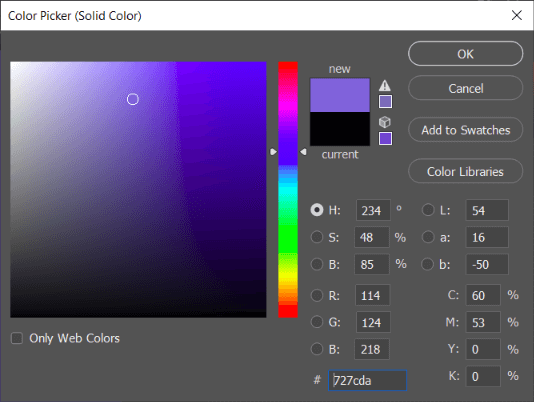
Choose the color you want for the fill layer from the color picker panel that appears. Click OK when you’re happy with your selection.
Step 2: Change the Blend Mode
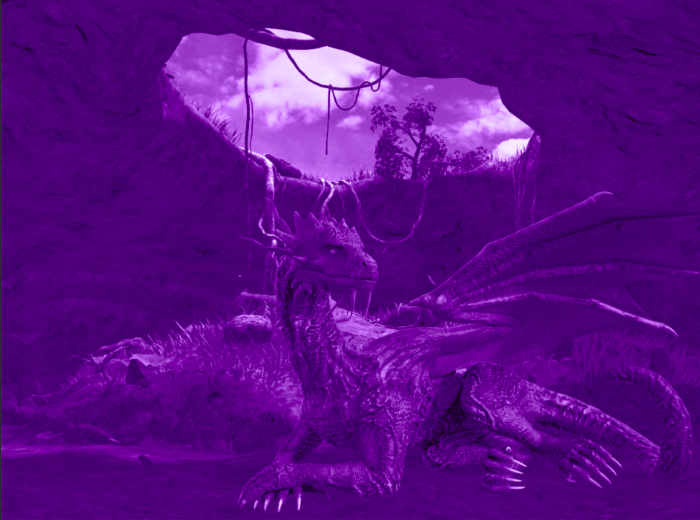
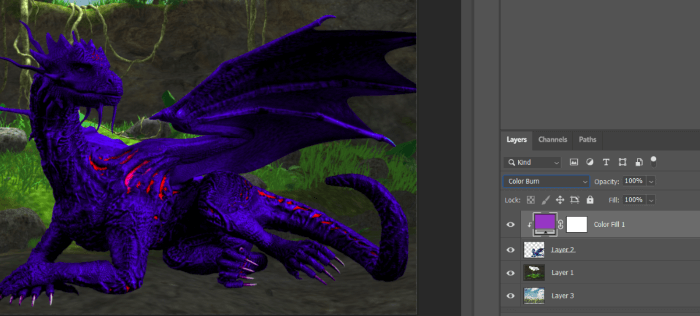
You’ll notice that your entire project is covered. Switch the blend mode to Color with the dropdown box near the top of the Layers panel.
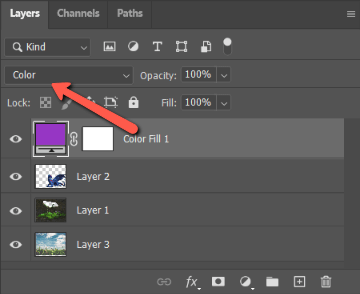
This will color in the image with your selected color.
Because the fill layer is on top of all the layers, all layers are affected. To make the color fill layer affect only a single layer, you need a clipping mask.
Step 3: Create a Clipping Mask
To get to it from here, right-click on the fill layer. Then select Create Clipping Mask from the window that opens. Alternatively, you can hit Ctrl + Alt + G or Command + Option + G on the keyboard with the target layer selected.
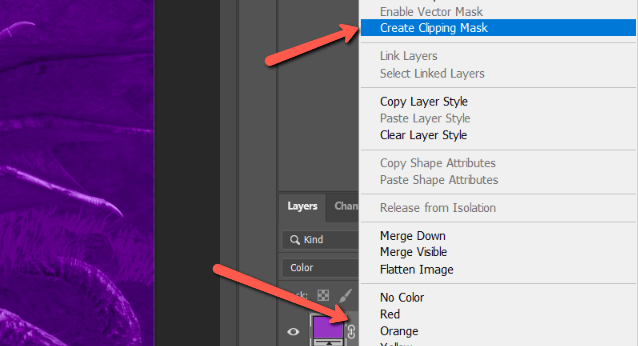
Now the color only affects the dragon layer of the image.
Notice that it has a different effect than changing the color with the Hue/Saturation adjustment layer? This gives you a couple of different look options. You can also play with different blend modes with this color fill layer.
Again, you can play with the positioning so that the color fill layer affects different layers in the image.
Don’t forget to add the clipping mask as needed so the color change affects only one layer.
Pretty cool, right? Have fun with it! Photoshop gives you so many easy tools to make wonderful images!
Eager to learn more? Check out more of our tutorials, such as how to mirror or reflect an image in Photoshop!
About Cara Koch