
Ever wished you could give your text a bit of texture? Even without color, texture can add a different feel to your text-based designs without using graphics.
Hey there, I’m Cara and I can tell you that with Photoshop there’s no reason why you can’t create exactly what you see in your head. The program allows you to do so much! And once you know how to do things, the techniques really are quite simple.
There are four essential steps to give texture to text in Photoshop. Let me show you how it works!
Note: I took these screenshots from the Windows version of Photoshop CC. If you are working with a Mac you will find that the workspace looks a little different.
Table of Contents
Step 1: Find a Picture of a Texture
Adding texture to text is as simple as grabbing a picture and applying it to your text. We talk about this technique in our tutorial on how to fill text with an image but let’s walk through it here so you can understand how it works with textures.
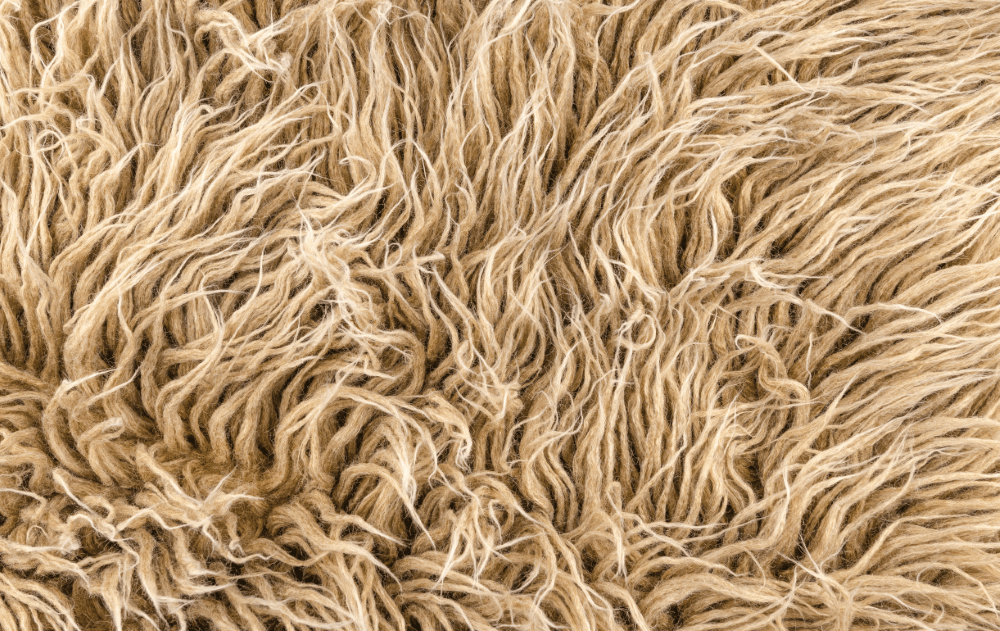
First, find a picture of the texture you want for your text. I’m using this one I found on Pexels.com.
Step 2: Open a Document and Add Text
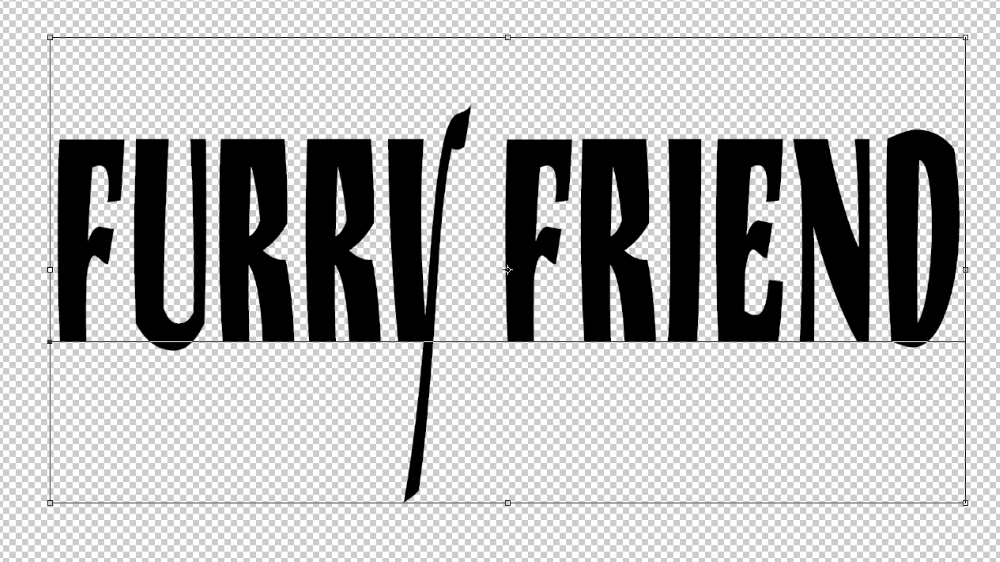
To add the texture, you need a project with some text in it. Open a new document in Photoshop. For this example, I’ll just open a blank document with a transparent background.
Go to the toolbar on the left and choose the Horizontal (or Vertical) Type Tool.

Click somewhere in your document and add text to the canvas. Hold Ctrl or Command so the sizing box appears around your text. Click and drag the corners to resize. Click and drag on the text itself to reposition.
Step 3: Add the Texture Photo
Once you’re happy with the text, it’s time to add your texture photo as a new layer. There are a few ways you can add a photo to Photoshop. Use your preferred method or follow the instructions here.
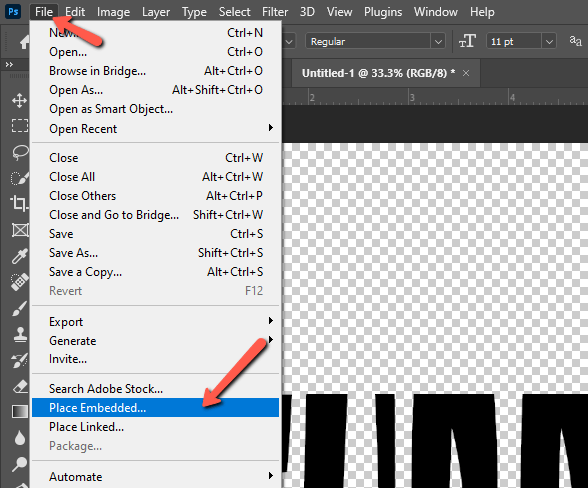
Go to File and choose Place Embedded. Make sure you aren’t selecting the text layer anymore or this option will be grayed out.
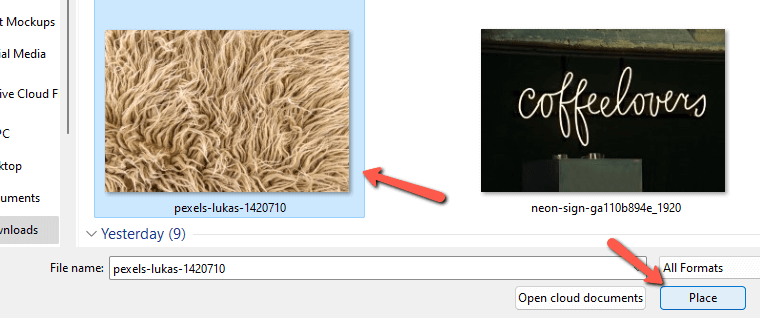
Navigate to the image you want to use and click Place.
The image will cover your entire project, but that’s okay. We’ll fix it!

Step 4: Add a Clipping Mask
Now let’s limit the texture to the text only. Hold Alt or Option and hover over the line between the text layer and the image layer in the Layers panel. Your cursor will turn into a little box with a 90-degree arrow next to it. Click to add the clipping mask.
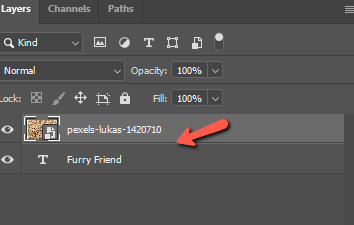
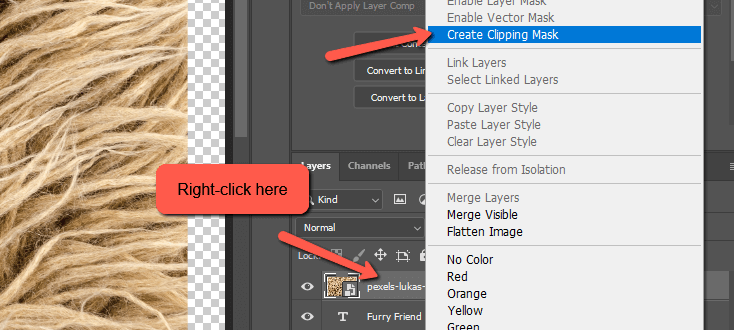
Or you can Right-click on the image layer and choose Create Clipping Mask.
Either way, you’ll end up with this.
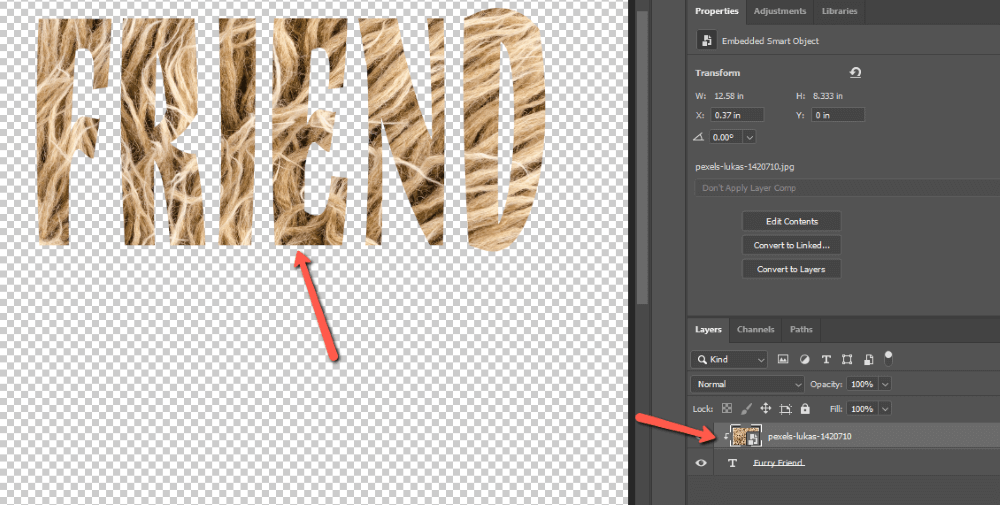
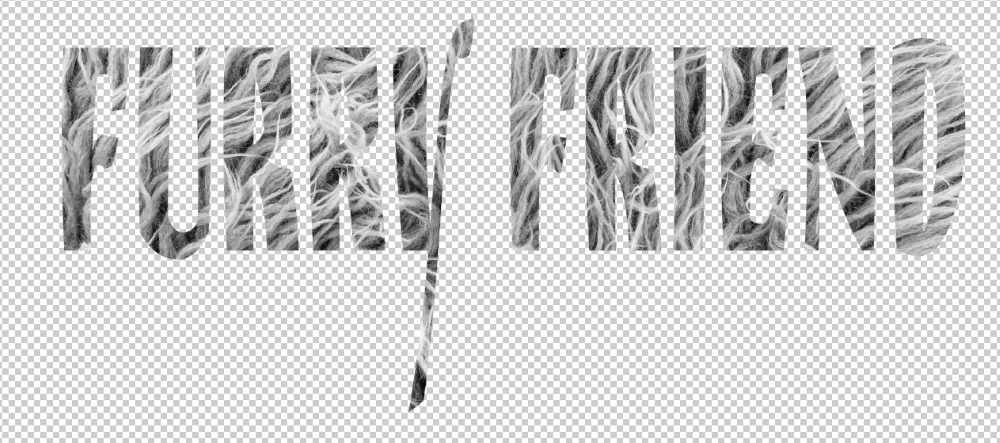
Voila! Check out your textured text!
In this example, you may not want the color but removing it is a piece of cake. With the image layer selected, go to Image in the menu bar and hover over Adjustments. Choose Black and White from the list.
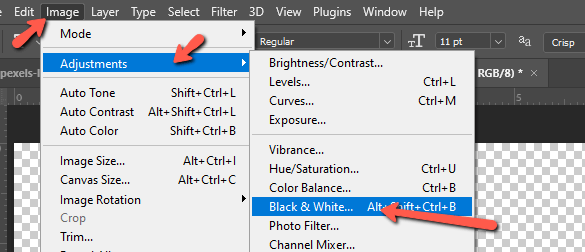
You can make adjustments to how the black and white filter is applied in the box that opens. Once you’re done, click OK and your textured text is ready!
I told you it was easy! To learn more cool effects you can do with text in Photoshop, check out our other tutorials. For example, ever wanted to know how to wrap text in Photoshop? Check it out!
About Cara Koch