
Photoshop lets you do some pretty amazing stuff with photos – but that’s not all. You can also create some really cool text-based designs. If you learn how to distort text in Photoshop, you can create interesting effects or force text to fill a certain space.
Hello, I’m Cara! The easy tricks I’m about to show you will help you elevate any design including text in just a few moments. I love how Photoshop makes everything so easy!
Of course, the techniques are only easy if you know where to find stuff. So let’s look at how to warp and distort text in Photoshop in this tutorial.
Note: I took these screenshots from the Windows version of Photoshop CC. Those working with a Mac will find that the interface looks a little different.
Table of Contents
2 Ways to Distort Text in Photoshop
Create a new document in Photoshop or select the text from an existing document, then you can either distort text manually or use Photoshop presets.
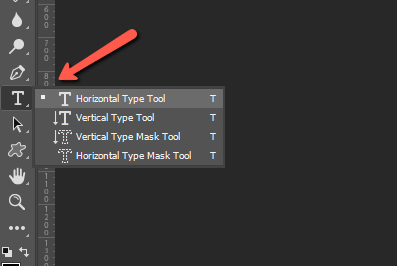
First thing first, open a new document in Photoshop, choose the size of your project, and click Create. Choose any of the Text tools from the toolbar on the left.
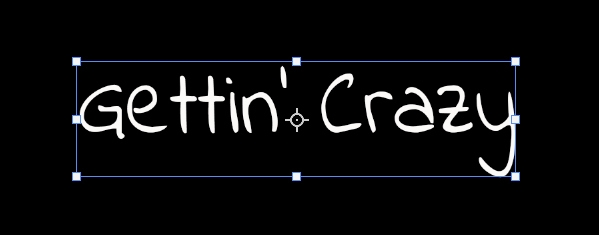
Click somewhere in the project canvas and add text. If you want to resize, just hold the Ctrl or Command key and you’ll see a box appear around the text. Click and drag the corners to resize as you need.
Once you have the text ready to play with, choose a method below to distort the text.
Method 1: Warp Text
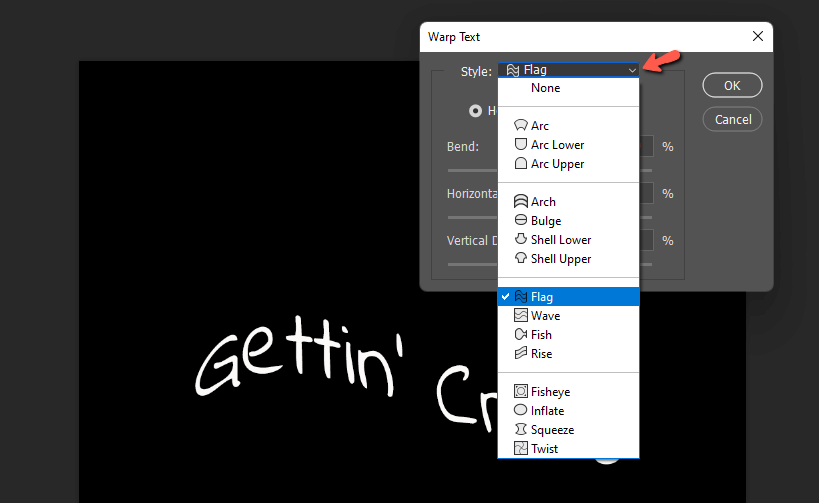
With your text layer selected, go to the Options bar and choose the Warped Text tool.

The box that opens gives you the options to work with. Click the dropdown arrow next to the Style box to pick the style of distortion you want.
You can also choose whether you want the style to be applied horizontally or vertically with the radial buttons.
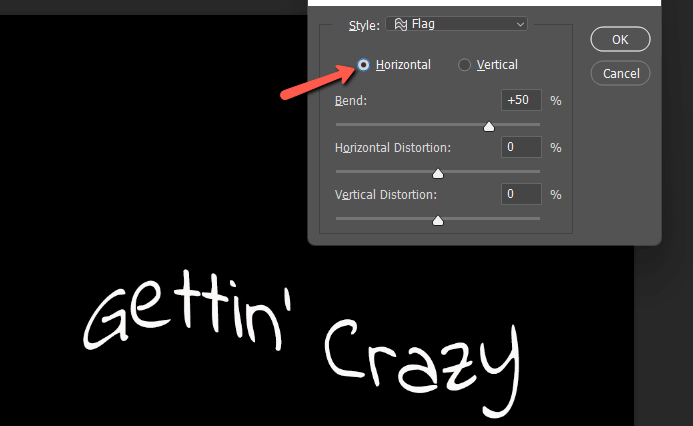
Then, you can customize the look with the sliders.
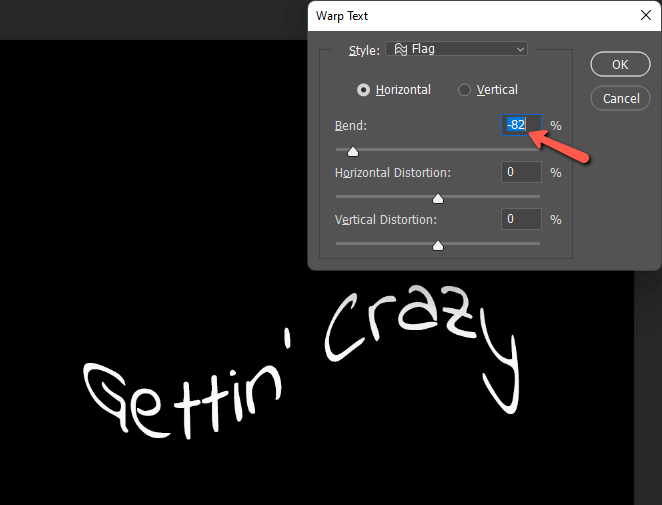
Change the Bend from a positive to a negative value to change the direction of the distortion. Also, the bigger the number the more drastic the effect. Thus you can distort the text a tiny bit or a lot up to 100%.
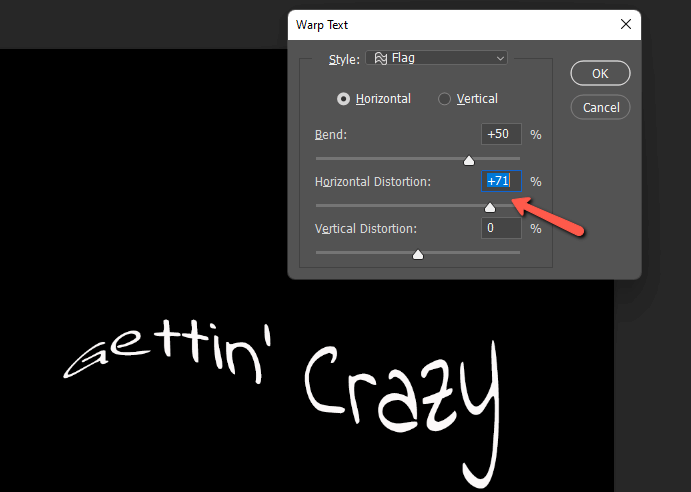
The Horizontal Distortion slider makes the text bigger on one side and smaller on the other. Which side depends on whether you choose a positive or a negative value.
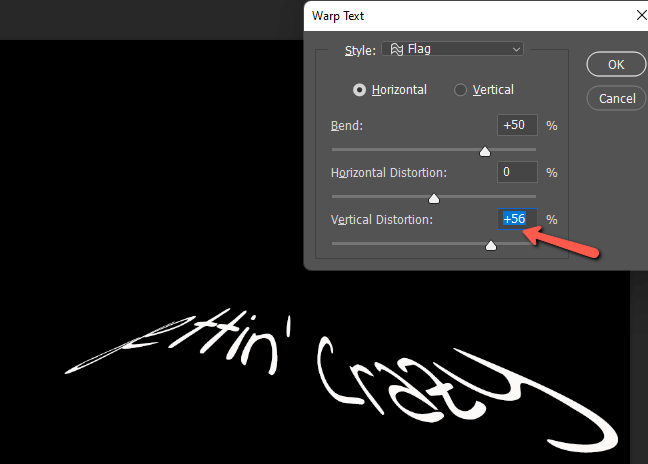
The Vertical Distortion slider leans the text backward or forward depending on which direction you go.
Play around with the styles and sliders until you find the look you want.
Method 2: Distort the Text Manually
What if you want more control over how the text distorts? Photoshop lets you do that too!
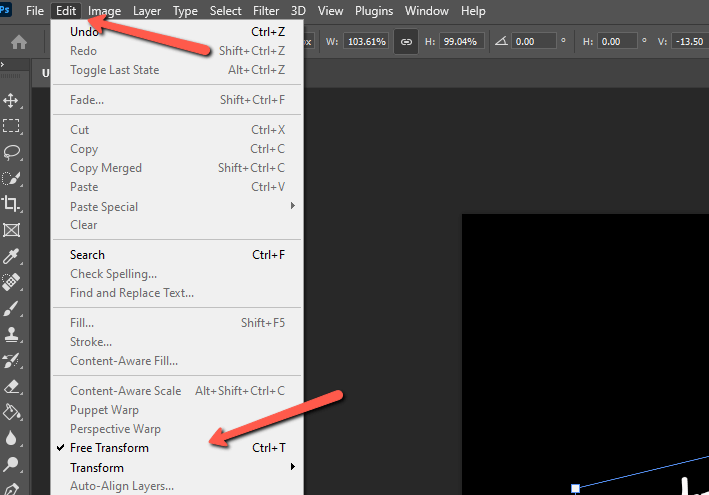
Select your text layer and press Ctrl + T or Command + T to open the Transform tool. Alternatively, you can go to Edit in the menu bar and choose Free Transform from the menu.
Normally, if you click and drag the corners, you can resize the text. But if you hold down the Ctrl or Command key while dragging you can slide the text up and down:
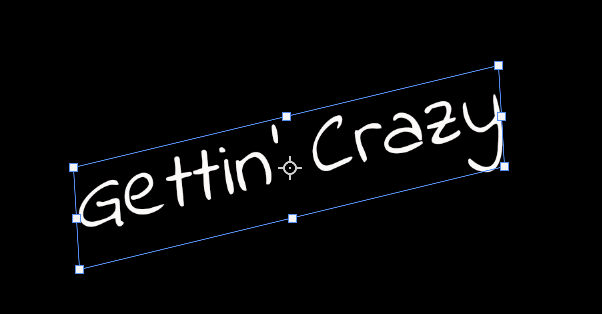
Or side to side:

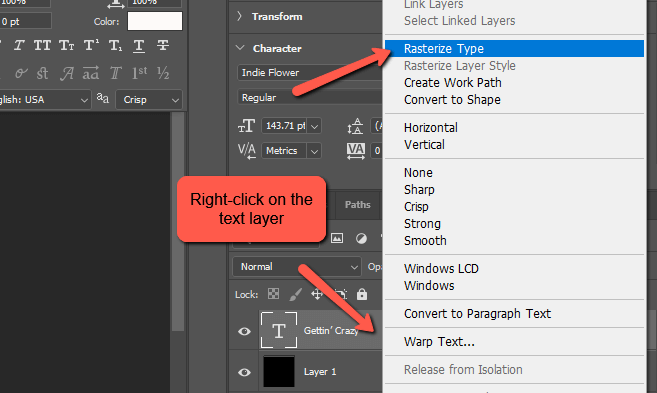
Looking for more freedom? You’ll need to rasterize the layer.
Over in the Layers panel, right-click on the text layer. Then choose Rasterize Type from the menu that appears.
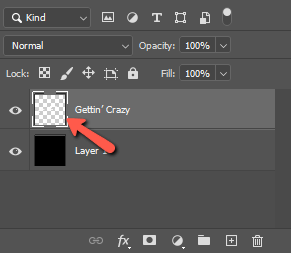
The text box thumbnail turns to a gray and white checkerboard.
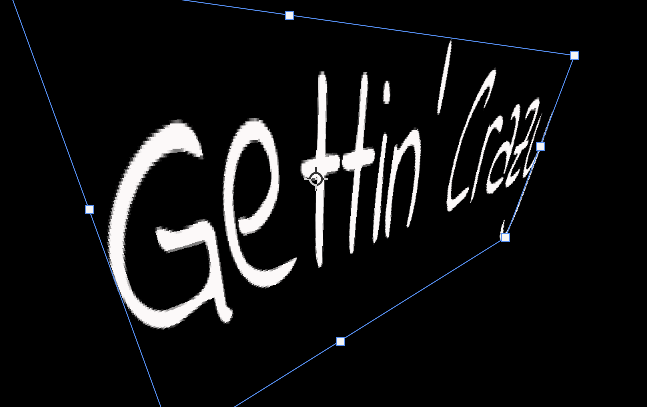
Now let’s try the same thing. Activate the Transform tool with the menu command or Ctrl + T or Command + T.
Hold the Ctrl or Command key while dragging on the corners. You can create all sorts of different looks, depending on which corners you pull and in what direction.

Play around to see what sorts of crazy combinations you can make. It’s really fun!
Now that you know how to distort the text in Photoshop, you can create all sorts of interesting designs and get your text to look exactly how you want it. Want to learn more about working with text? Check out our tutorial on how to wrap text in Photoshop here!
About Cara Koch