
Want to thicken the letters, but the chosen font doesn’t have a bold option? Although it might seem simple, not all typefaces are compatible with Photoshop’s bold feature.
When your downloaded font doesn’t support bold or italic font styles, you may occasionally find yourself in a situation where you need to find another means to bold your text in Photoshop.
In this tutorial, I am going to show you my favorite way to bold text, which is also the easiest and quickest way in my opinion, perfect for beginners.
If you’ve utilized an unsupported font type in your design, that’s the main reason you’ll need an alternate bold text simulation. By implementing one of these techniques, you can now escape the frustration of being unable to find a bold font style.
I have over five years of Adobe Photoshop experience and am Adobe Photoshop certified. In this article, I’ll teach you how to make text bold in Adobe Photoshop.
Key Takeaways
- Bolding text is something that you should always know how to do since many downloaded fonts aren’t transferable with Photoshop.
- Bold text is great for adding appeal to your text.
- There are multiple ways to bold your text in Photoshop. Make sure you practice how to use them.
The Easiest Way to Bold Text in Photoshop
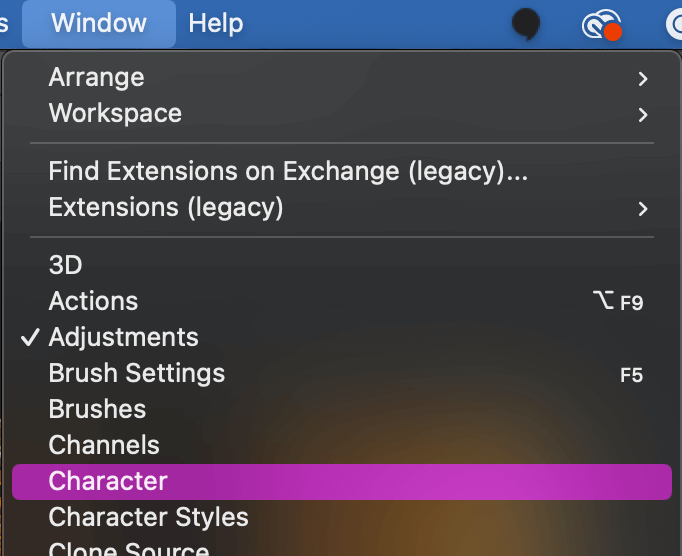
Step 1: Open the Character panel. It can be turned on by selecting Character from the list of available options under Window in the Menu bar. The related panel is already active and can be seen on the screen if there is a checkmark next to it.
As an alternative, you can use the Type Tool to click on the little Character and Paragraph panels toggle icons in the Options Bar.
Step 2: Select the Type tool from the toolbar. By tapping the T key while utilizing Photoshop keyboard shortcuts, you can activate it more quickly.
The Horizontal Type Tool is typically chosen by default. It is required for the horizontal addition of text. In Photoshop, change the text’s color by selecting an appropriate option.
Use the same tool but select the Vertical Type Tool from the context menu if you want to add text vertically. Highlight the necessary words and sentences as you type the text. Locate the menu icon in the upper right corner of the palette and click it to access the menu.

Step 3: Now that you’ve found the type tool, go ahead and click down on your screen where you would like your text to be placed. A rectangular box will appear with default text inside of it. You will want to click on the box, delete the default text, and then add the text that you need to be in bold.

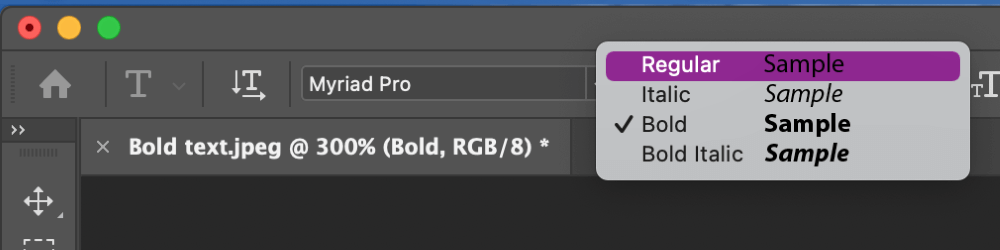
Step 4: Now that you have the text you want in bold, you will want to highlight that text, go up to the top of your page, find the text options, and switch it from Regular to Bold this will now make your text bold. You can find the bold options at the top of the page or in your character list as mentioned in the previous steps.
Bonus Tips
- You can also find specific bold text options in the Photoshops font book.
- Command + B (Mac) or Ctrl + B (Windows) is the shortcut to bolding text.
- If the Bold option isn’t available, the easiest way to make the text look thicker is by adding a stroke, but try to set the stroke weight thin.
Final Thoughts
Bolding text is a simple technique and adds a pop of excitement to your designs and edits. It’s also great to know the multiple ways to get to bold text on Photoshop just in case you forget one.
Any questions about the bold text in Photoshop? Leave a comment and let me know.
About Aly Walters