
Blue skies are beautiful and make us think of sunny, summer days. But, in pictures, blue skies are kind of boring. There isn’t much going on up there. A few clouds would be nice to break up the monotony.
Hey! I’m Cara and as a photographer, I’m always looking for ways to spruce up my images and take them from plain Jane to epic Eric! Since I can’t control the weather, sometimes that requires a little bit of Photoshop magic.
In this case, I’ll show you how to easily add clouds to a boring blue sky using two methods. For the first method, we’ll use a filter in Photoshop to apply fake clouds. For the second, we’ll take real clouds from another image and add them in for a more realistic effect. Check it out!
Note: the screenshots below are taken from the Windows version of Adobe Photoshop, if you’re using the Mac version, the navigations may look slightly different.
Table of Contents
How to Add Fake Clouds to a Photo in Photoshop
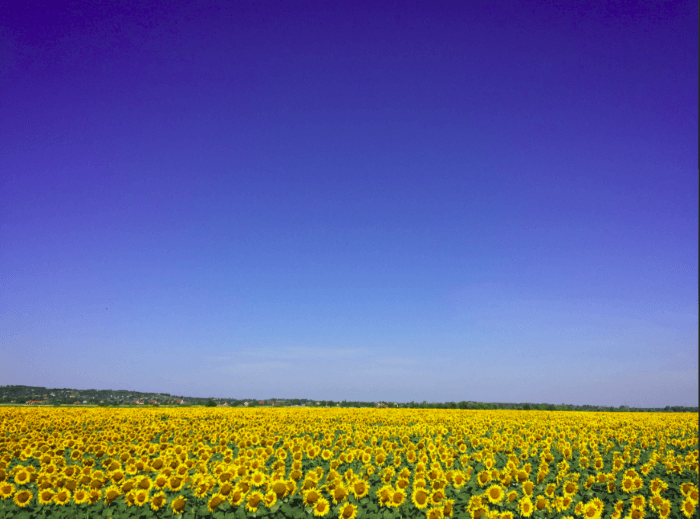
Photoshop has a pretty handy tool within the program that allows you to quickly add fake clouds to an image. It doesn’t require any other images and is only a few simple steps. Let’s look at how with this image.
Step 1: Open the Cloud Filter
Hit Ctrl + J or Command + J on a Mac to duplicate the background layer. Basically, we just need a new layer to apply the filter to.
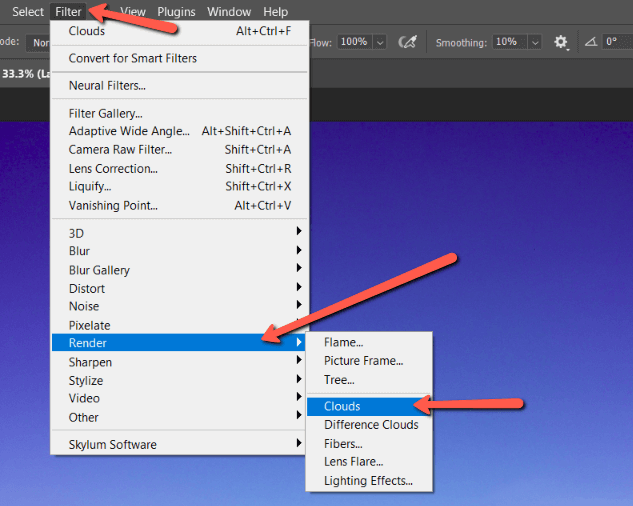
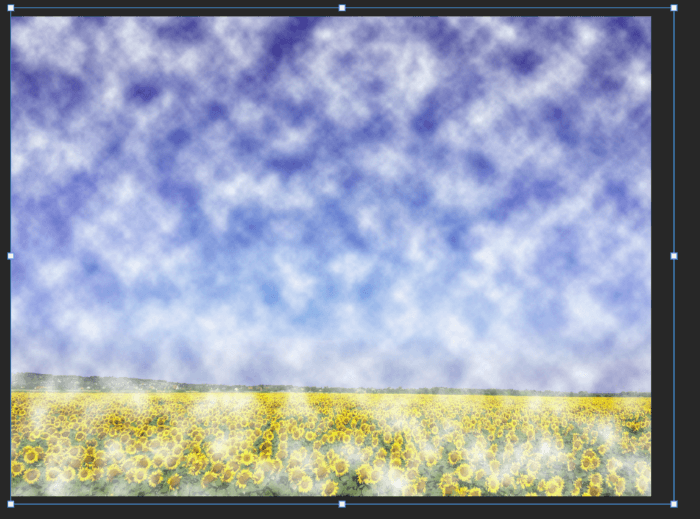
Then go to Filter in the menu bar at the top, go down to Render, and select Clouds.
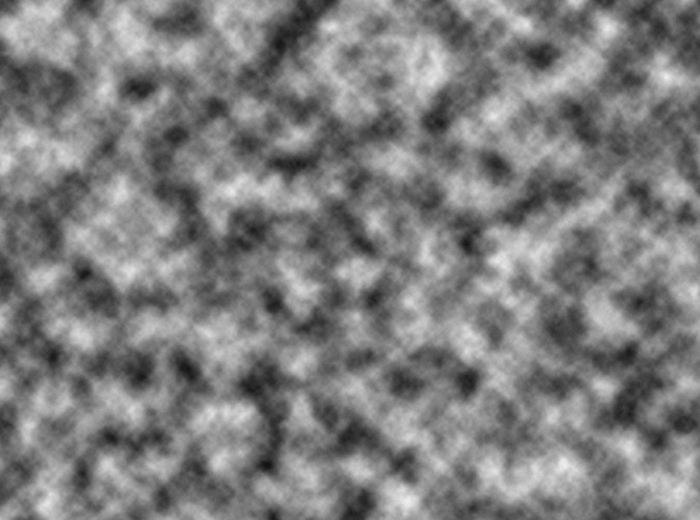
Don’t worry when your image is covered over with this fluffy image. That’s supposed to happen!
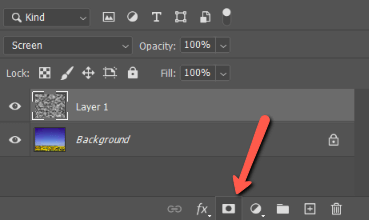
Step 2: Change the Blending Mode
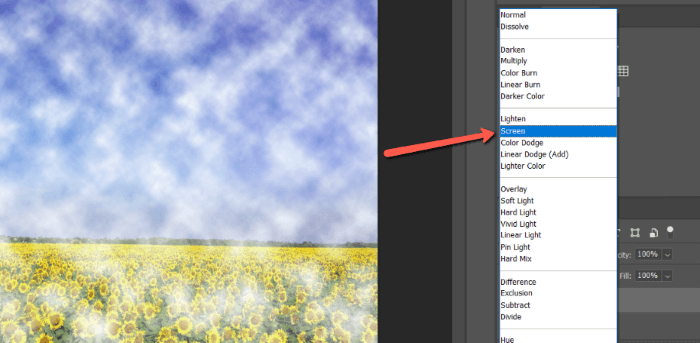
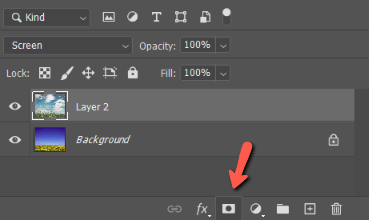
To peek through the dark parts of this image, go to the blend mode box in the layers panel (it will say Normal by default). Click on the arrow to open the blending mode menu and choose Screen. The light parts of the image (the clouds) stay and the dark parts disappear.
For variety, you can change the size of the cloud filter. Hit Ctrl + T (Command + T) on the keyboard to activate the Transform tool. When the box appears around the cloud image, just click and drag the handles to adjust the image size.
Step 3: Brush Away the Unnecessary Areas
With the cloud layer selected, create a layer mask by hitting the layer mask icon at the bottom of the Layers panel.
Now hit B on the keyboard to open the Brush Tool. Choose the appropriate-sized brush and paint with black over the parts of the image where you don’t want the clouds.
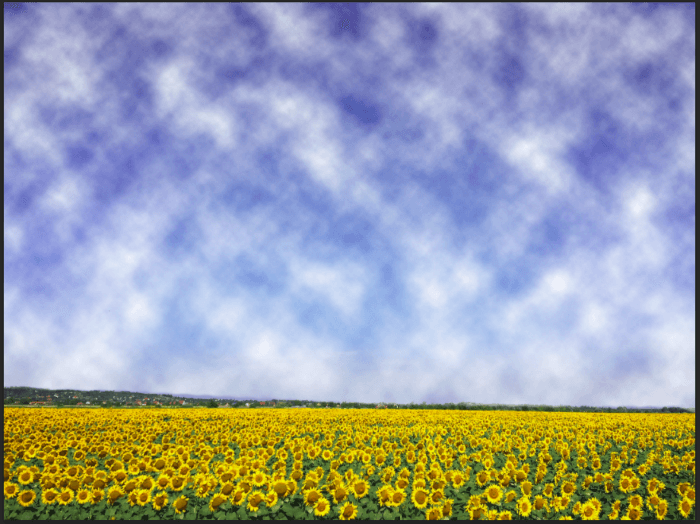
This looks pretty good for a quick job, but the clouds are a little uniform to look like real clouds in my opinion. This filter method would probably work best on images with only a little bit of blue sky.
So, let’s look at how to add some real clouds with more diversity to the image.
How to Add Real Clouds to a Photo in Photoshop
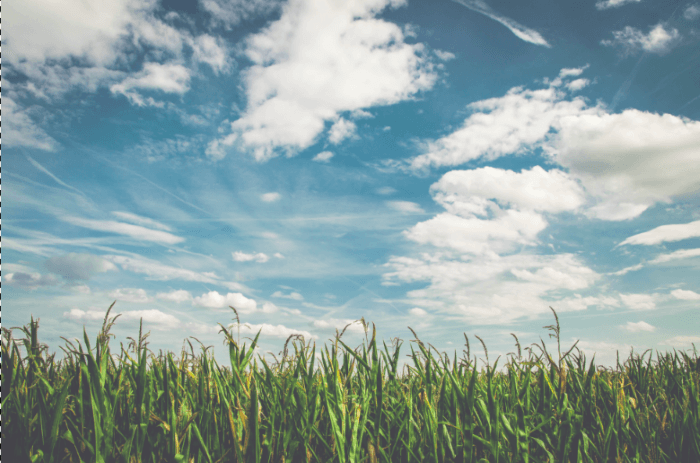
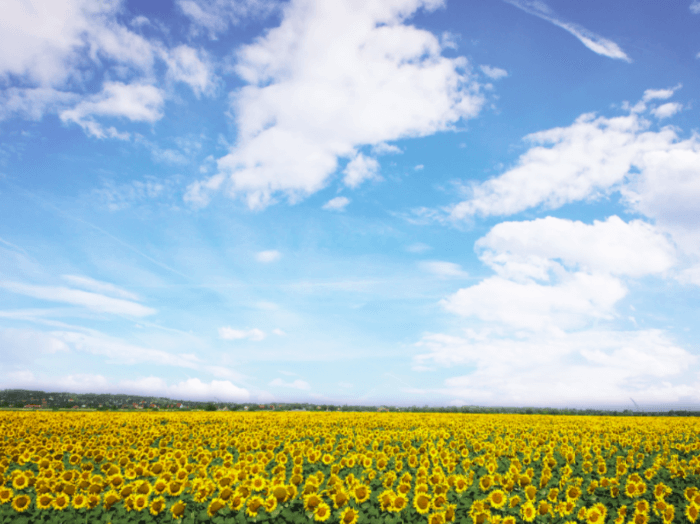
For this example, we’ll take real clouds from this picture and apply them to our sunflower field image.
Step 1: Overlay the Cloud Image
The first step is to put the cloud image on top of the sunflower field. Learn more about overlaying images with this tutorial.
With the cloud image open, hit Ctrl + A (Command + A) to select the whole image. Then hit Ctrl + C (Command + C) to copy it.
Go to your base image, the sunflower field in my case. Hit Ctrl + V (Command + V) to paste the cloud image on top. If you have trouble copying this over, check out our more in-depth tutorial on moving selections here.
Again, it will cover the image completely, but don’t worry. Just change the blending mode to Screen as we did in the previous example.
Step 2: Adjust the Size
Whereas changing the size was optional in the last example, it will probably be necessary with this method. Hit Ctrl + T (Command + T) to open the Transform tool. Grab the handles and resize until the clouds in the overlay image fit in the right spot over the base image.
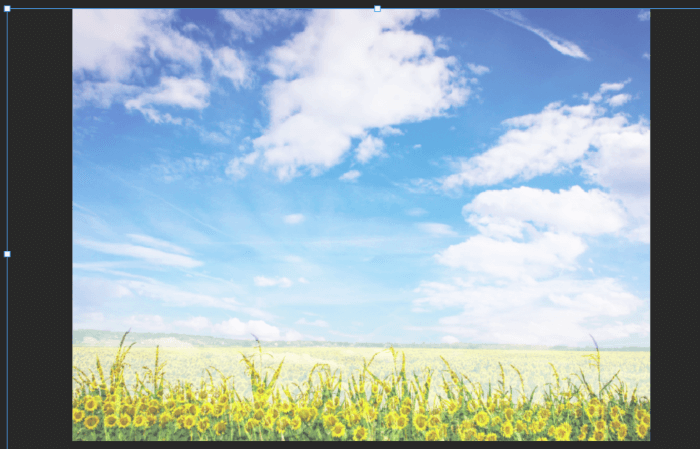
Make sure that any unwanted parts of the cloud image will be masked off in the base image. In my case, I need to make sure that all the blades of grass are in the sunflower field where I will be removing the top image.
Hit Enter to accept the changes when you’re happy with the positioning.
Step 3: Brush Away the Unnecessary Areas
Now we just need to get rid of the parts we don’t need. Add a layer mask to the cloud image with the layer mask button at the bottom of the Layers panel.
Open the brush tool by hitting B on the keyboard. Paint black over the parts of the image you want to remove.
Now, I’ve got a much more realistic scene and the cool thing is that it’s super easy!
Want to learn how to do more amazing feats in Photoshop? Check out more of our tutorials like how to make eyes glow!
About Cara Koch