After going to the trouble of painstakingly making a selection in Photoshop, you usually want to move it somewhere else. But how do you do it?
Hi! I’m Cara, an avid photographer who loves image manipulation. Today I’d like to show you how to use the Move Tool and other methods of moving selections in Photoshop.
Check it out!
Note: the screenshots below are taken from the Windows version of Adobe Photoshop, if you’re using the Mac version, the navigations may look slightly different.
Table of Contents
Move a Selection With the Move Tool
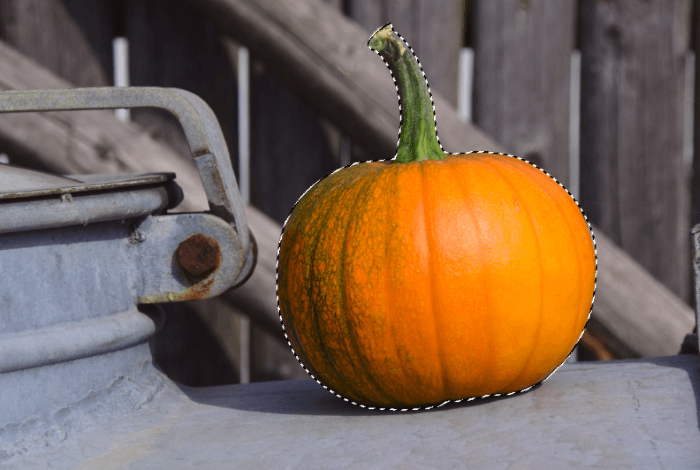
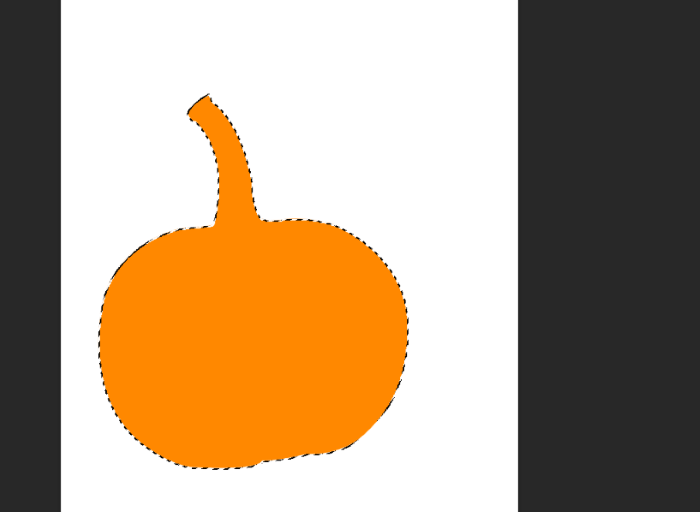
Before moving a selection, you need to select the object. For example, I’ve already selected a pumpkin. To see how I did it, check out our tutorial on how to use the pen tool. Alternatively, you can also use the Object Selection Tool, Quick Selection Tool, etc.
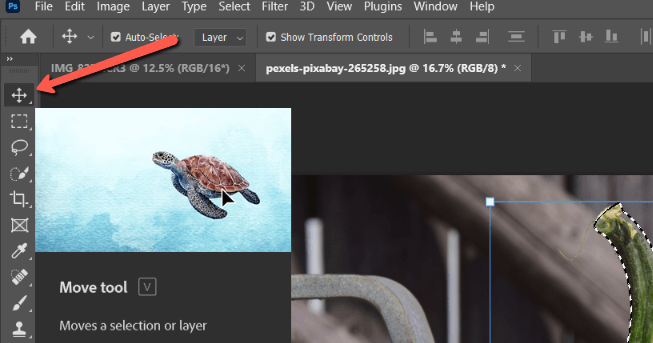
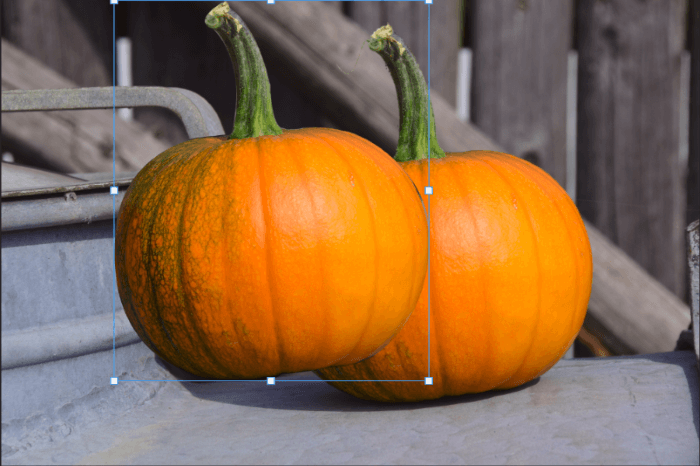
The first step is to select the Move Tool from the top of the toolbar on the left side of the screen. Or I can hit V on the keyboard.
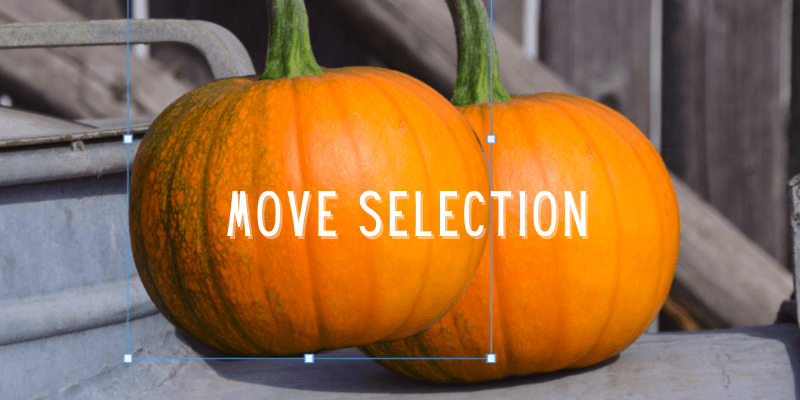
When you do this, an empty blue box with little solid boxes appears around the pumpkin. Now you can click anywhere within the empty blue box and drag the selection to a new location. You can also use the solid boxes to resize or rotate the selection.
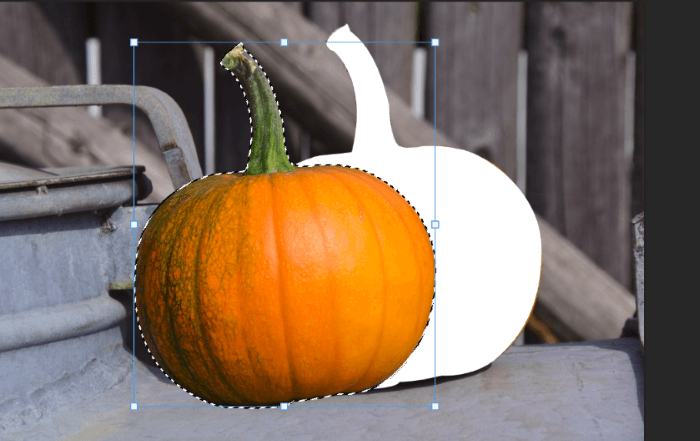
In this case, I’ve cut out the pumpkin and moved it to the left. My background color, white, appears in the hole that is left.
If you don’t want to leave a hole, you need to make a copy of the selection first. Do this by clicking Edit in the menu bar and choosing the Copy command. Or hit Ctrl + C (Command + C on a Mac) on the keyboard.
Then paste it by choosing the Paste command from the Edit menu or hitting Ctrl + V (Command + V) on the keyboard.
It will look like the selection went away, but don’t panic. With the move tool active, I click the pumpkin and move it to the left. Now I’ve got two pumpkins!
Move a Selection to Another Image/Document
What if I want to use this pumpkin in another image or document? How do I move it over there?
I’ve got two images open in Photoshop which you can see in the tabs right under the Options bar at the top of the workspace. One is my pumpkin image, the other is the image to which I would like to move my selected pumpkin.
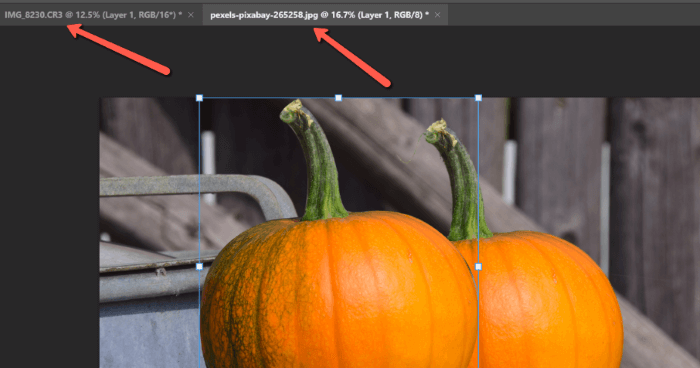
With the pumpkin image open, I grab my selection and drag it up to the top. I’ll hover over the image I want to move it to until it opens. Without letting go of the mouse, I drag down into the image.
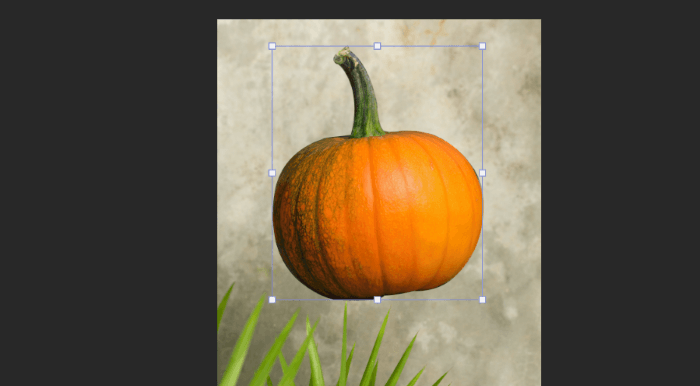
A little plus sign in a box appears next to the cursor, indicating it’s going to add my selection to the image. Now I finally release the mouse. The program drops my pumpkin onto the image.
Move a Selection Outline
What if I want just the shape of the selection? Maybe I want to put pumpkin-shaped stamps on a Halloween card or something. I don’t want the actual pumpkin, but I do want the shape.
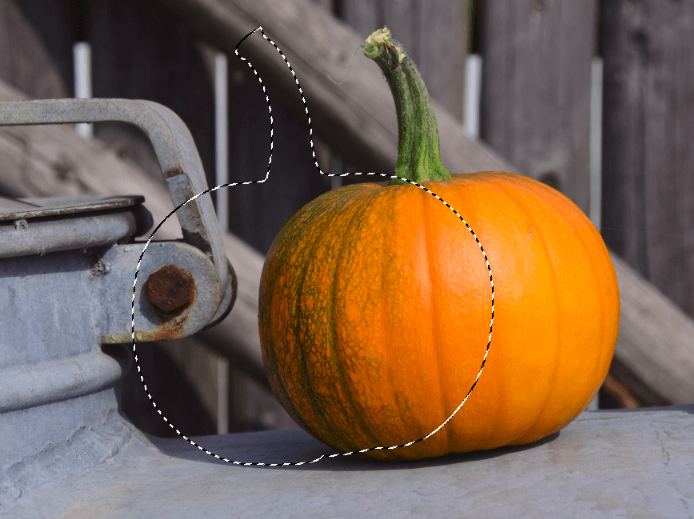
Let’s go back to the selected pumpkin as it was at the beginning of this article. Instead of choosing the Move Tool, leave the Pen Tool active, or whatever selection tool you used.
When you hover inside the image, a broken line box will appear next to the arrow cursor, that’s what you want. If that box doesn’t appear, try selecting the Marquee tool instead. Once the box appears, click and drag.
If you want to move it to a different document or image, you can use the same trick I already explained. Drag the selection up to the tabs, hover over the new document, then drag it down and drop the selection.
You can fill it in with the Paint Bucket Tool to get a perfect pumpkin-shaped stamp!
What can you create? Check out more of our tutorials like how to use the Lasso Tool to learn more about the wonderful world of Photoshop!
About Cara Koch
hpum
How to remove the original pumpkin and just keep the moved one at the same document?
June
You can use the selection tool to select the pumpkin, and then duplicate pumpkin to a new layer.