One of the fun things about Photoshop is how easy it is to play with colors. We’ve talked before about inverting the colors of an image to create some fun effects.
But what if you want to invert black and white?
Hello! I’m Cara and I find it fascinating to dive into the myriad of things that Photoshop can do. Inverting black and white might not be a common task, but it can be useful for some applications.
Let me show you how to do it!
Note: the tutorials and screenshots below are from Photoshop CC for Windows, other versions can look different.
Table of Contents
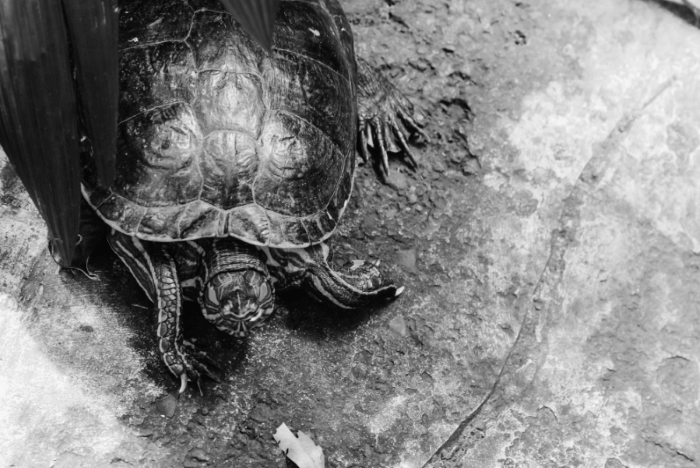
Step 1: Open a Black and White Image
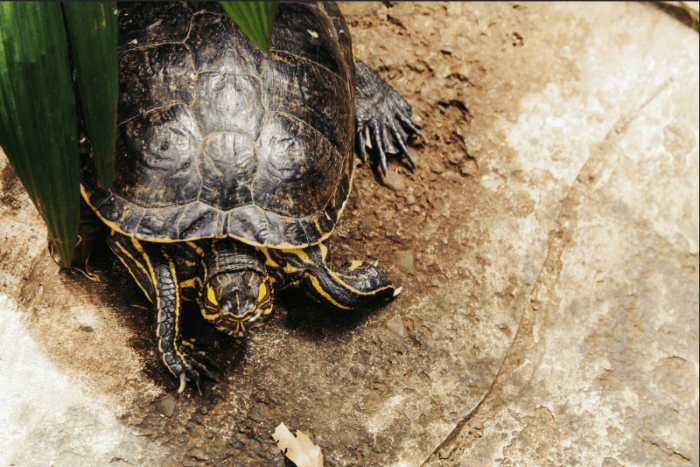
I’ve got this fun image of a turtle that I took at the zoo a while ago. Obviously, it’s not black and white, so removing the color is the first step.
There’s more than one way to do this. I usually start by duplicating the layer with Ctrl + J (Windows) or Command + J (macOS). This gives me something to come back to if I run into trouble later.
Then, I chose the method for turning to black and white.
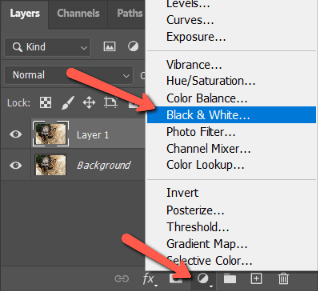
Black and White Adjustment Layer
Click on the half-filled circle icon at the bottom of the Layers panel. Choose Black and White from the list of adjustment layers that opens.
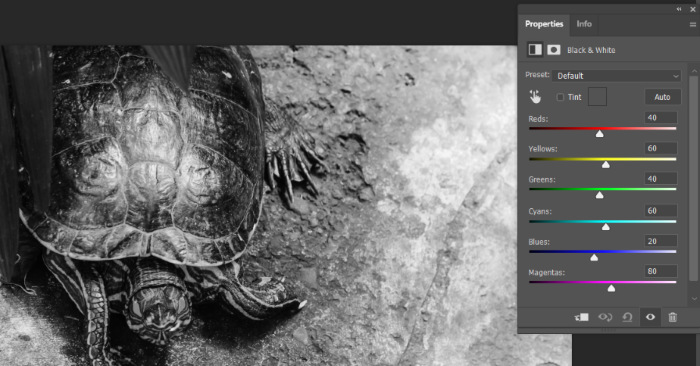
The image turns black and white and you get this panel where you can adjust each color individually.
Hue/Saturation Adjustment Layer
Another option is to use a hue/saturation adjustment layer, found in the same menu as the black and white one.
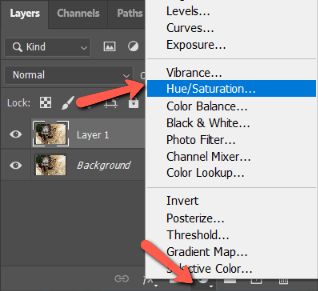
Drag the Saturation slider all the way to the left to desaturate the image.

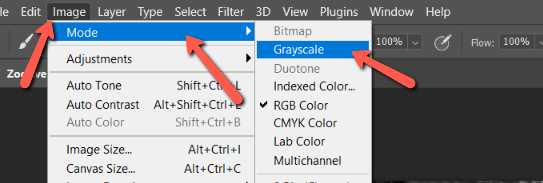
Grayscale Mode
You can also convert the image to Grayscale mode through the Image menu. However, you can’t make adjustments to the image or revert to color.
There are other methods, but we’ll leave it at that. Pick your poison based on what you want to do with your image.
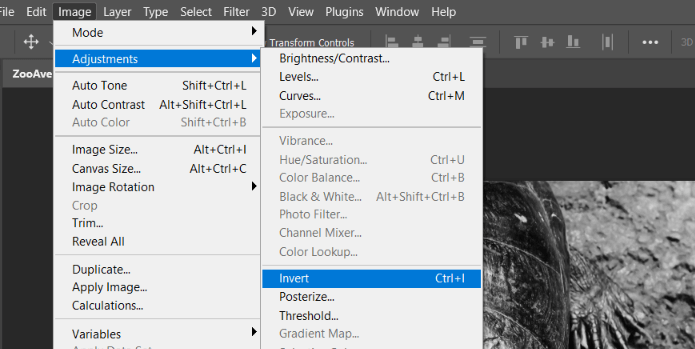
Step 2: Invert the Image
Once you have your black and white image, it’s time to invert it. Inverting a color image leaves you with an image that looks like the old film negatives.
Inverting black and white means black turns to white and white turns to black. Let’s look at what happens to our turtle as an example.
Go to Image hover over Adjustments and choose Invert from the menu. Alternatively, you can press Ctrl/Command + I on the keyboard.
Let’s compare the two images.
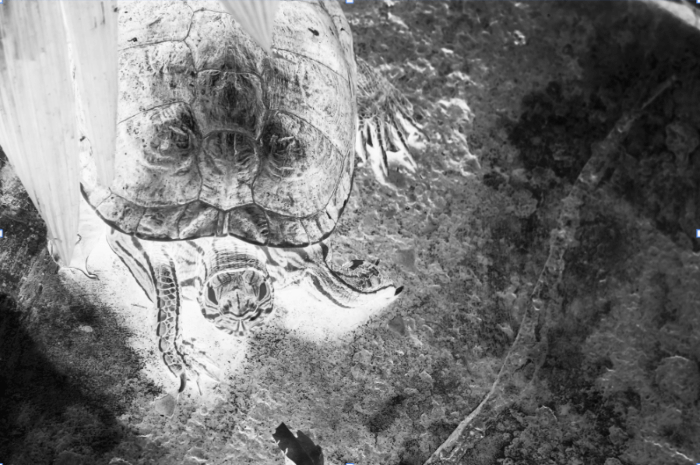
Cool! The black parts became white and the white parts turned to black. And all the grays in between flipped from light to dark and vice versa.
Is it just me or does the turtle look more creepy in this image?
Let us know in the comments below what you come up with when reversing black and white photos in Photoshop. And if you want to learn more cool tricks, check out how to create a circle crop here!
About Cara Koch
peter
thank you Cara!