One of my very first Photoshop projects way back in The Land Before Time was to edit a photo of myself into a picture of a notable yet entirely fake event, and it’s always stuck with me (though that could just be because teenagers love pictures of themselves – some things never change).
Regardless of why you’re doing it, adding a person to a photo is a great way to sharpen your image editing skills and have fun at the same time. You can also use these techniques on any kind of image compositing project, not just for adding people.
Table of Contents
The Quick Guide to Photoshop Someone into a Picture
If you’re already familiar with Photoshop and you just want a quick refresher on how this type of edit works, here’s the general outline:
- Step 1: Open both photos in Photoshop.
- Step 2: Copy and paste the person’s photo into your main photo.
- Step 3: Use a layer mask around the person’s photo to hide the unwanted background.
- Step 4: Adjust size, exposure, colors, and other image elements to create a seamless edit.
Step 4 is optional, but if you want to make the composite seem realistic, then you may find yourself spending a lot of time making adjustments.
If you want to learn about the composting process in more detail and get some great tips for easier masking and final color matching, then read on!
The Detailed Guide to Photoshop Someone into a Picture
This kind of edit is a lot faster to describe than it is to actually do, so let’s take a closer look at how it all works so that you can get back to Photoshop and finish your project.
Step 1: Prep Your Photos
The first step is to get your photos into the same Photoshop document.
To get started, open both of your photos in Photoshop. Switch to the model/subject photo, and hit Command + A (use Ctrl + A on a PC) to select all the pixels in the image.
Press Command + C (use Ctrl + C on PC) to copy them to the clipboard, then switch back to your main photo and press Command + V (again, use Ctrl + V on PC) to paste the pixels onto a new layer.
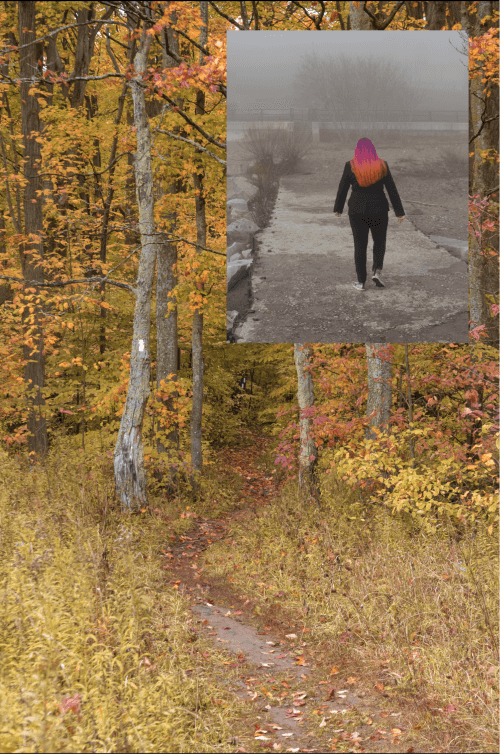
As you can see in the Layers panel, this places your model/subject photo over top of your main background image. You’re already on the way!
If you don’t want to mess around with keyboard shortcuts, there’s another way you can do this. Switch to your model/subject photo, right-click on the appropriate layer in the Layers panel, and click Duplicate Layer.
In the Destination section of the Duplicate Layer dialog box, select your main/background image and click OK.
No matter how you do it, the easy part is now over 😉
Step 2: Hide The Unwanted Background
Now that you’ve got your two images together in the same Photoshop document, it’s time to get rid of all the unwanted parts of your model/subject photo so that the person actually looks like they belong in the main image.
It’s possible to simply use the Eraser tool to remove all the unwanted parts of your model/subject background, but this approach is out-of-date and has a few drawbacks.
The biggest problem is that you’ll be unable to make adjustments or refinements later on since the Eraser tool permanently deletes pixel data.
The modern method uses a non-destructive editing technique called layer masking to hide all the unwanted parts of your image instead of actually deleting them.
This makes it much easier to create your mask in the first place since you don’t have to constantly use the Undo command, and you can always tweak your layer mask if you notice any issues with your edit in the future.
In case you’re not already familiar with layer masks, a layer mask is actually an invisible layer linked to your pixel layer that tells Photoshop which parts of the layer to hide and which to show.
Wherever you paint white pixels on your layer mask, the corresponding parts of your pixel layer will be visible, while painting black pixels marks the area as transparent.
Grayscale tones allow you to create soft edges and smooth transitions, depending on the brightness value of the pixels.
There are plenty of ways to create a layer mask by hand, but Adobe has recently added the Select and Mask workspace to Photoshop in order to streamline the whole process a little bit.
Masks and selections actually work very similarly on a technical level, so it makes sense to combine the two processes in one handy workspace.
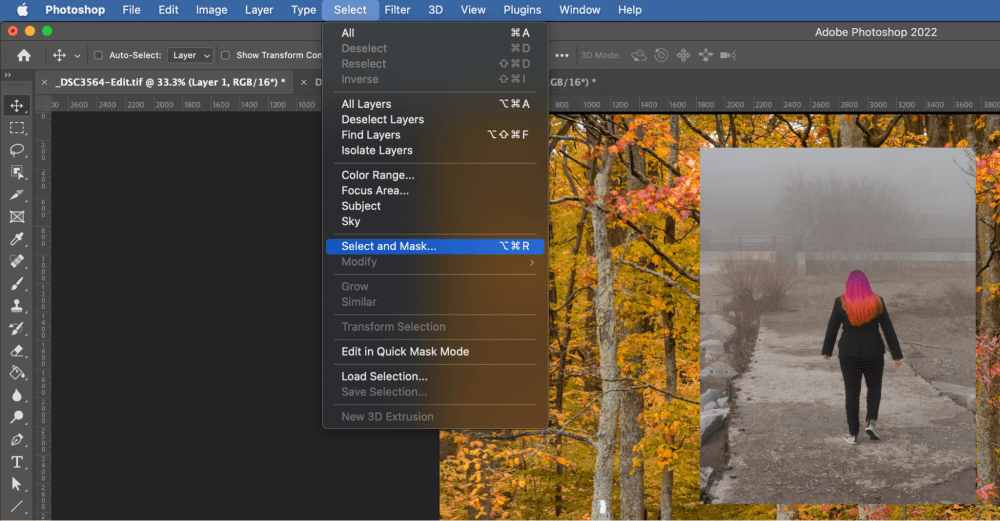
To launch Select and Mask, make sure that your model/subject layer is selected in the Layers panel, then open the Select menu and click Select and Mask. You can also use the keyboard shortcut Command + Option + R (use Ctrl + Alt + R if you’re using Photoshop on a PC).
The Select and Mask workspace layout is fairly simple and similar to the overall Photoshop layout you’re familiar with: tools are on the left side, your main image is in the center, and your options and settings are available along the top and to the right.
You’ll create a selection within the Select and Mask workspace but set the output setting to create a layer mask instead of a selection once you’re ready (more on that later!).
You may want to start by clicking the Select Subject button at the top of the workspace. It uses Photoshop’s machine-learning abilities to automatically create a selection around the main subject of your image – or at least, what Photoshop thinks is the main subject!
It doesn’t always work properly, but it can be a quick and easy way to start so it’s worth a try.
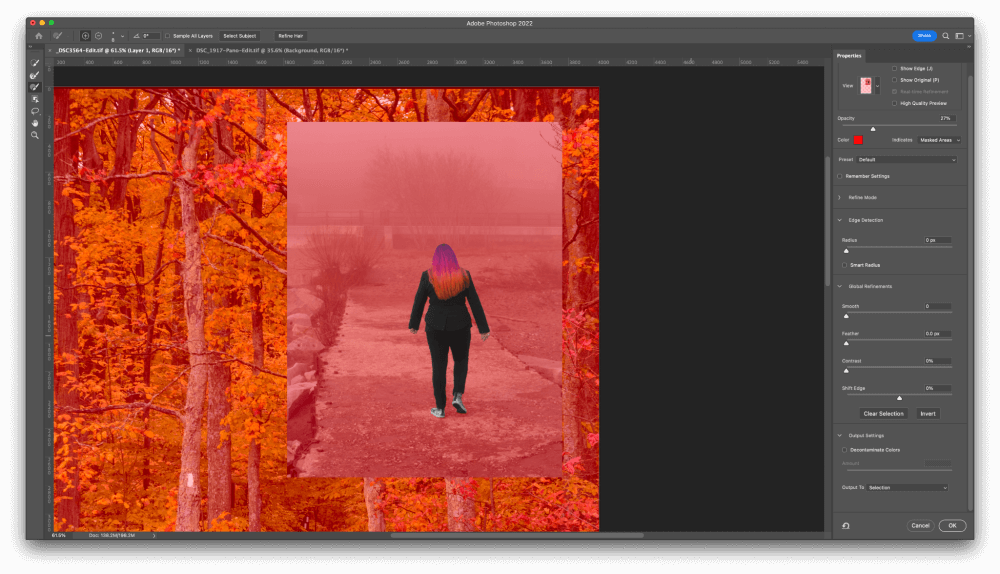
To refine your selection, use the Quick Selection Tool and the Brush tool. Simply clicking with one of these tools will add to your existing selection, but you can hold down the Option / Alt key to subtract from your existing selection.
You can also use the + and – buttons in the Options bar at the top of the workspace, but the keyboard shortcut is much faster.
I won’t lie to you: this can be a very painstaking process, depending on the exact contents of your image, so be prepared to spend a fair amount of time working on this step. Masking hair is especially difficult, so you might want to try the Refine Hair button at the top of the workspace.
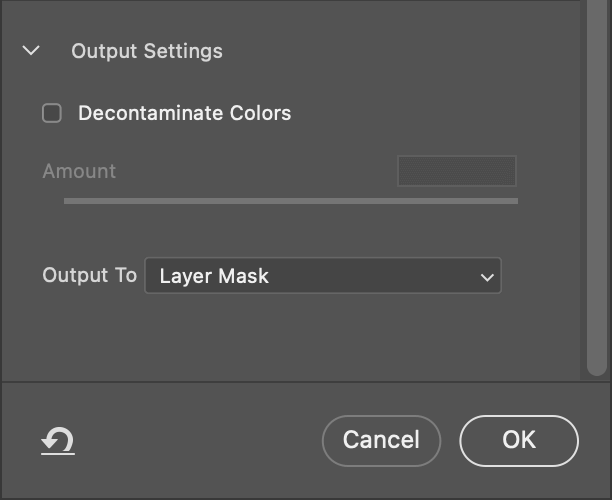
Once you’re happy with the results of your selection, locate the Output Settings section on the right side of the workspace. Change the Output To option to Layer Mask and click OK.
Photoshop will exit the Select and Mask workspace and create a new layer mask using the selection you’ve just made, which you can confirm by checking the Layers panel.
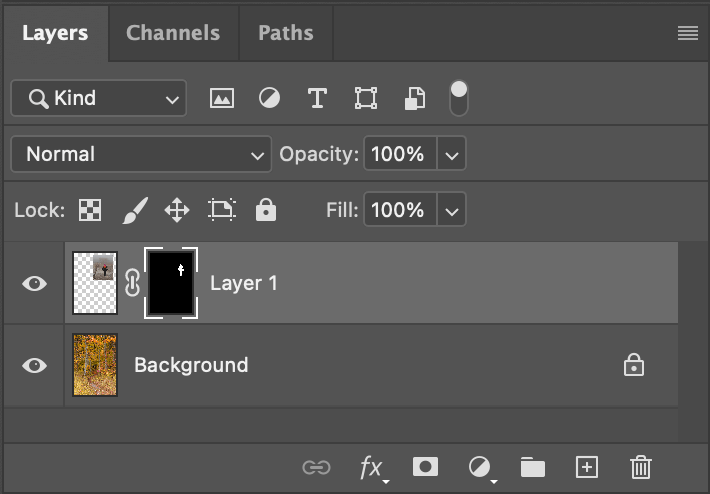
Your unwanted background should now be invisible, and your subject should look a bit more like they belong in the main photo – but there’s still more to be done.
Note: if your mask isn’t perfect, you can still edit it. Click the layer mask in the Layers window to select it, and use the Brush tool to paint white, black, or gray pixels onto your layer mask to show or hide any part of the image that didn’t get masked properly.
Step 3: Image Matching
Once your masking is finished, it’s time to start adjusting your transplanted subjects so that they actually look like they are part of the main photo.
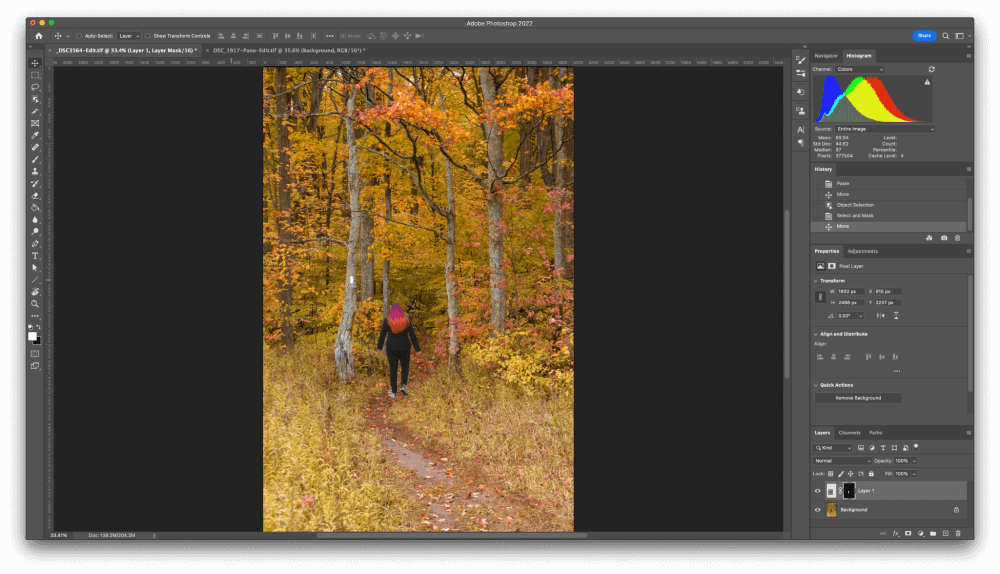
This step can often be the hardest of all, and it can require quite a lot of adjustments to complete in a realistic manner. I also recommend that you duplicate your model/subject layer and then hide it so that you’ve got a backup copy complete with your painstakingly created layer mask.
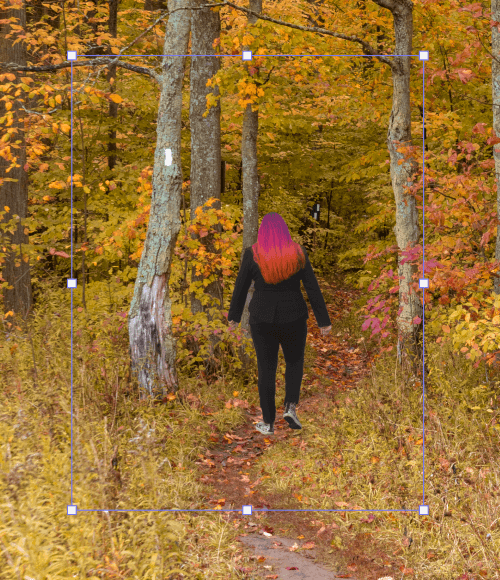
First and foremost, press Command + T to enter Free Transform mode (use Ctrl + T on PC), and then scale and reposition your transplanted subject so that it fits naturally into the main image background (or unnaturally if that’s what you want!).
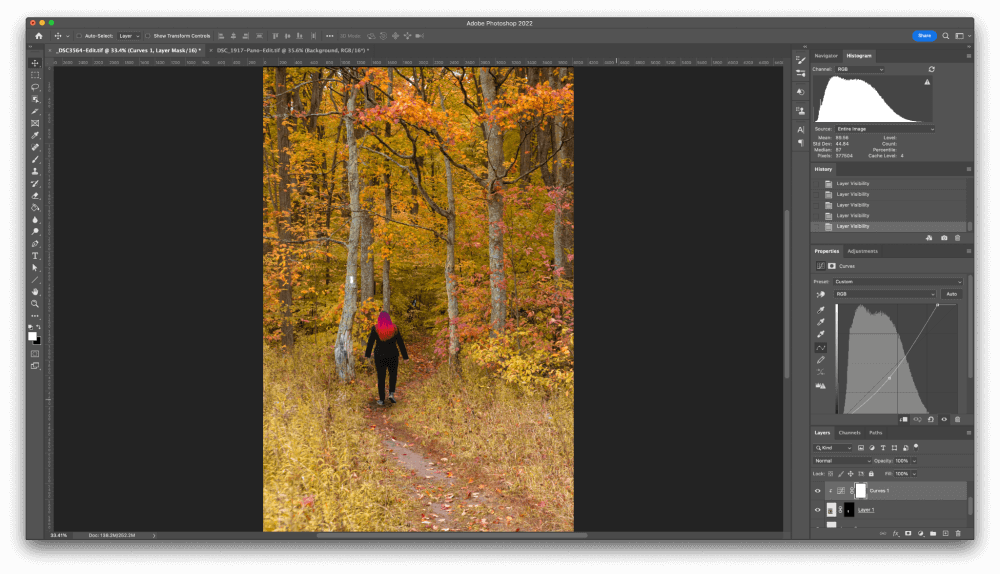
Next, adjust brightness and color. You can use a Curves adjustment layer to tweak brightness, and use a Hue/Saturation adjustment layer to adjust the colors.
Alternatively, you can also try using the Match Color tool, although it can be a bit complex to use so my colleague Cara has written up a guide on how to match colors in Photoshop.
Last but not least, check for variations in the noise levels between your two layers. Use the Add Noise filter or the Reduce Noise filter as needed to get a realistic-looking balance between the two.
Because every photo is different, you’ll have to make the final decisions about how to adjust your subjects so they look as natural as possible in their newfound background image. It can be difficult to get right, but it’s extremely satisfying when you finally do!
A Final Word
While it’s impossible to fit everything there is to know about image compositing into a single article, you now know how to photoshop someone into a picture. This can be a fun project, but it’s important to remember that you should only use your Photoshop skills for good!
Photos are powerful tools, and as an image editor, you always need to be aware of the impact of your work.
Happy composting!
About Thomas Boldt