There’s always that one person when you’re taking a group shot. You took a few images to choose from and in the one where everyone looks great…so-and-so has her eyes closed! What do you do? Is your image ruined?
Hey there, I’m Cara! Working as a family photographer, I take a lot of images of big groups. But I don’t worry about making sure that everyone looks perfect at the same time. While that is ideal, it isn’t always possible, especially in group shots with small children.
Instead of stressing about it in front of my clients, I simply whip out my not-so-secret weapon when I get home. Photoshop helps me ensure that the group shot is as perfect as can be. To help you, let me show you how to open closed eyes in Photoshop!
Note: I use the Windows version of Photoshop. If you are using a Mac, the workspace will look slightly different from the screenshots displayed here.
Table of Contents
Get a Photo with Their Eyes Open
There are a few ways to perform an eye swap, but for all of them, you need an image of the person with their eyes open. When I am photographing large groups, I always take several shots.
I’m not worried about them all looking great in the same picture (though that’s ideal). My main concern is that everybody looks good in at least one.
On the rare occasion that doesn’t happen, I may have to take their eyes from another image somewhere else in the shoot. It’s harder to get the right angle and lighting, but not impossible.
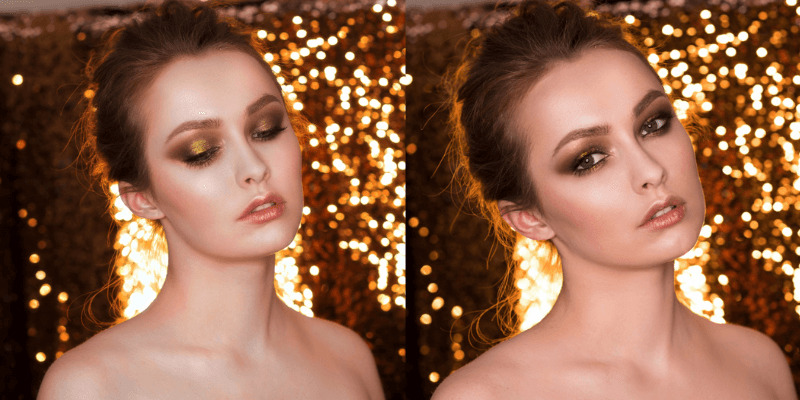
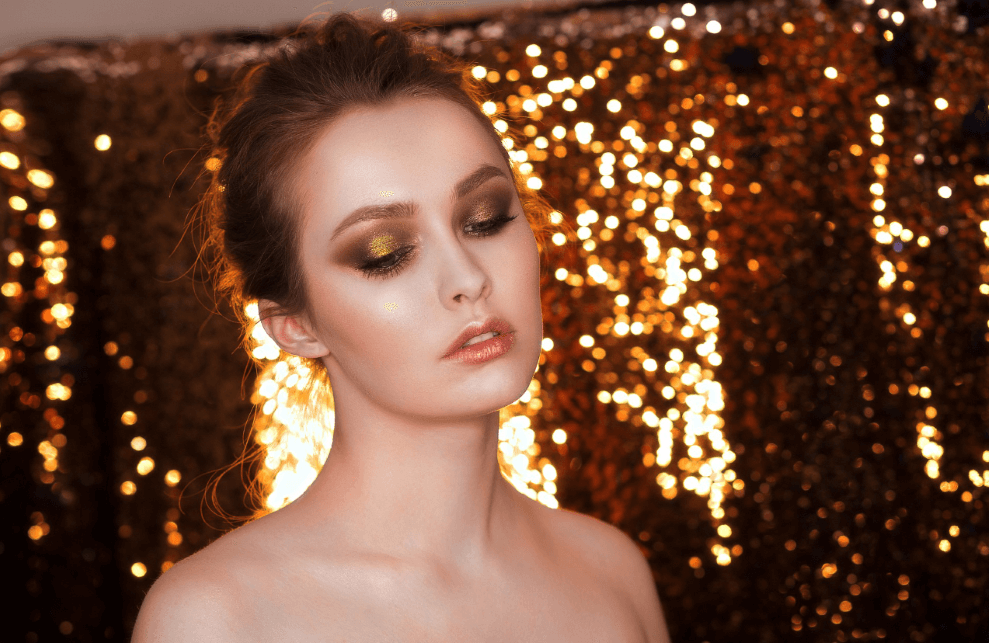
Once you have your two images, let’s open them in Photoshop. I’m going to use this image I downloaded from Pixabay.com.
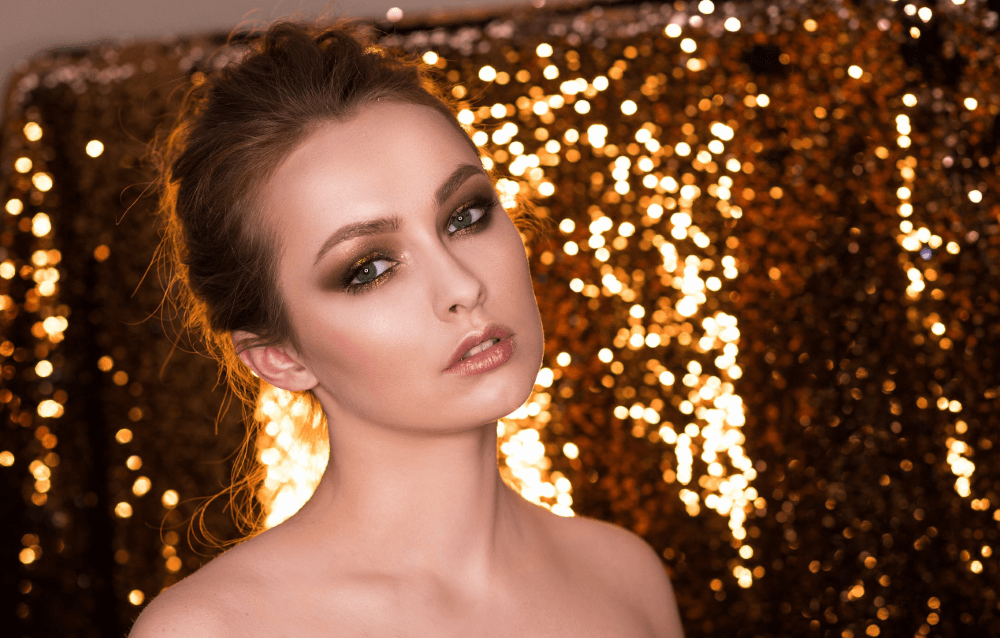
And I’ll use this one for the open eyes, also downloaded from Pixabay.com.
Method 1: The Lasso Tool
Basically, we’re just copying pixels from the open-eye image and placing them over the closed eyes. There are a few tools in Photoshop that allows us to do this. Which you use is somewhat personal preference, but also dependent on what you’re trying to do.
For example, the Patch tool will automatically adjust the lighting to match and the Clone Stamp tool gives you the most control. We’ll talk about these tools in a moment, but we’ll start with the method I use most often – the Lasso Tool.
I find it to be quick and effective in most situations. Let me show you how it works!
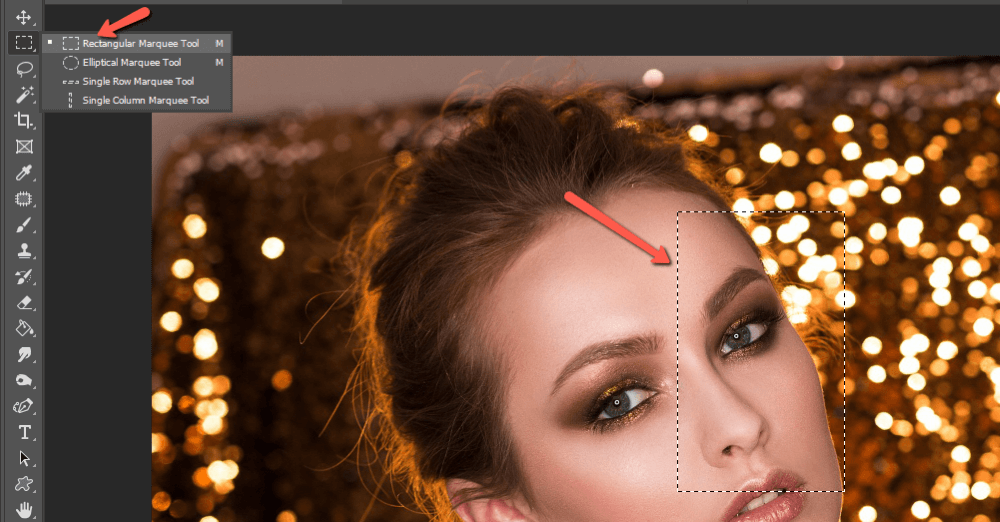
Step 1: Make a Selection
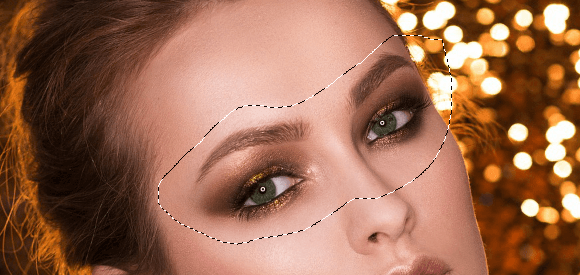
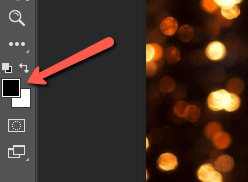
With both images open in Photoshop, start with the open-eye image. Grab the Lasso Tool from the toolbar on the left.
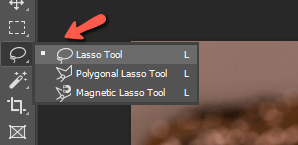
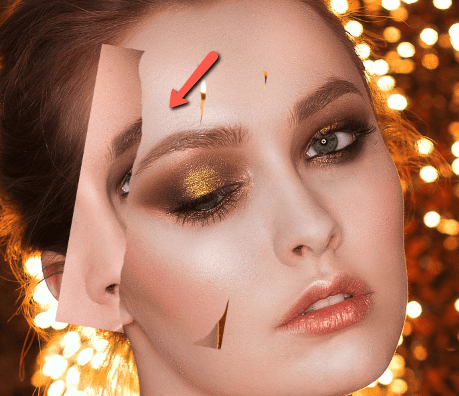
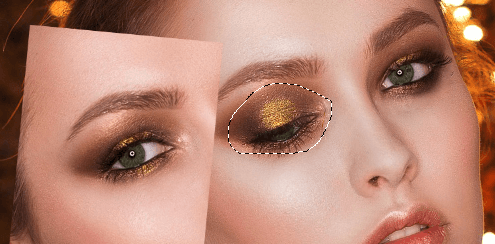
The Lasso Tool allows you to make a freeform selection. So let’s draw a selection around the eyes. Depending on the model’s position, you may need to do one eye at a time. For this one, I’m going to grab them both. Make sure to leave lots of space around the eyes for blending.
Step 2: Copy and Paste
Now, press Ctrl + C or Command + C to copy your selection. Switch over to your closed-eye image and press Ctrl + V or Command + V to paste.
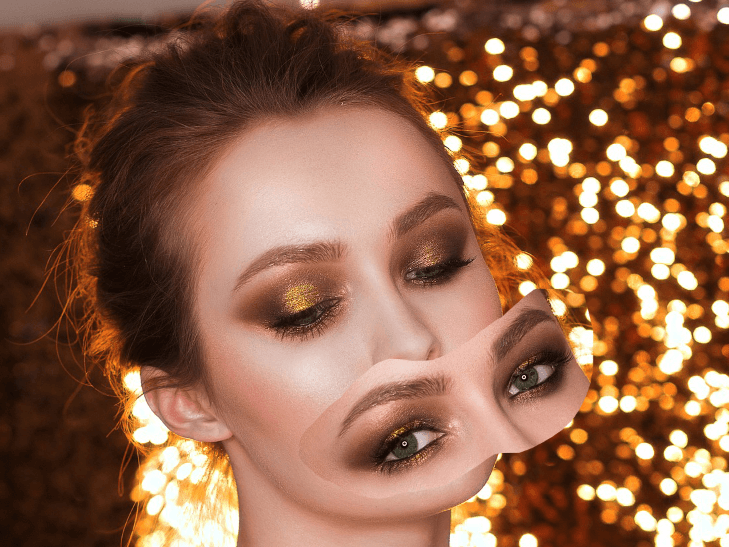
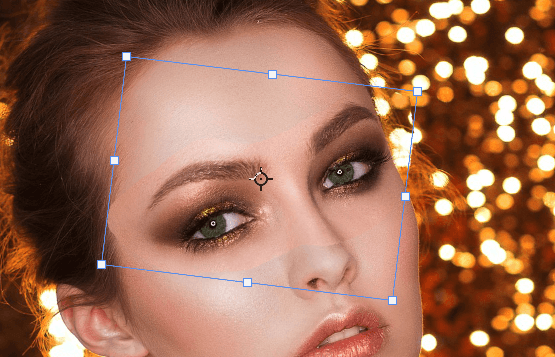
Step 3: Position the Open Eyes
The Transform tool should be automatically activated once you paste. If it’s not, just press Ctrl + T or Command + T to activate it. Rotate and resize the eyes as needed and drag them into position.
Step 4: Blend
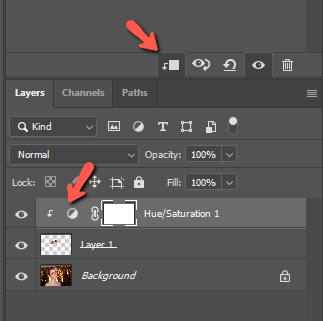
The selection will not always match the image perfectly. Sometimes, it will be darker or lighter, in which case you can use a Brightness/Contrast Adjustment Layer to fix it. In this case, the selection is pinker than the image.
To fix that, we’ll use a Hue/Saturation Adjustment Layer. Click the half-filled circle at the bottom of the Layers panel and choose Hue/Saturation from the menu.

In the properties panel, make sure to check the clipping mask button so that the adjustments only affect the selection.
Then, using the Hue and Saturation sliders, you can adjust the color of the selection. Remember that you can select certain colors with the dropdown menu at the top. Since we’re working with pinkish skin tones, I’ll need to adjust the Reds in my selection.
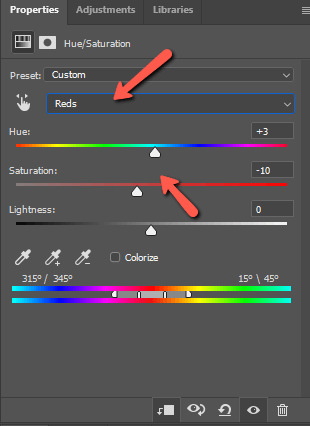
It might not be exact but get it as close as you can.
Select the selection layer and click the layer mask button at the bottom of the Layers panel. It looks like a rectangle with a circle inside.
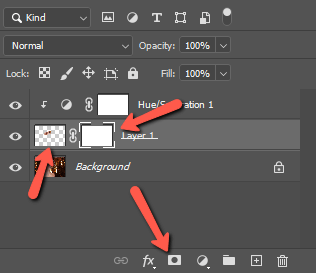
A layer mask will appear attached to the selection.
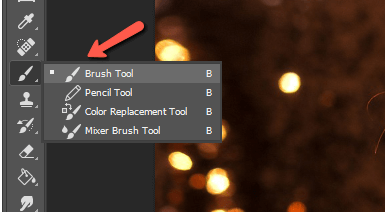
Press B on the keyboard or open the Brush tool from the toolbar.
Make sure the layer mask is selected and the foreground color is set to black.
Choose a soft round brush in an appropriate size and make sure the Flow and Opacity are turned up, though you can adjust as needed for your image. Then paint along the edges of your selection to blend into the image.

If you’re doing one eye at a time, repeat with the other eye and you’re done!
Method 2: The Patch Tool
Using the patch tool is handy because Photoshop will help you with blending and trying to match the lighting, etc. It’s easy to do but you have to keep track of the layers.
Step 1: Make a Selection
Start by making a copy of the closed-eye image with the keyboard shortcut Ctrl + J or Command + J. Then move over to the open-eye image and make a selection. This doesn’t have to be precise at all so you can just grab the Marquee tool and make a quick selection.
Step 2: Copy and Paste
Copy the selection with Ctrl + C or Command + C and switch back to the closed-eye image. Press Ctrl + V or Command + V to paste. Position the selection so that you can see the eye that you’ll be opening. Use the Transform tool to adjust the size or rotate as needed.
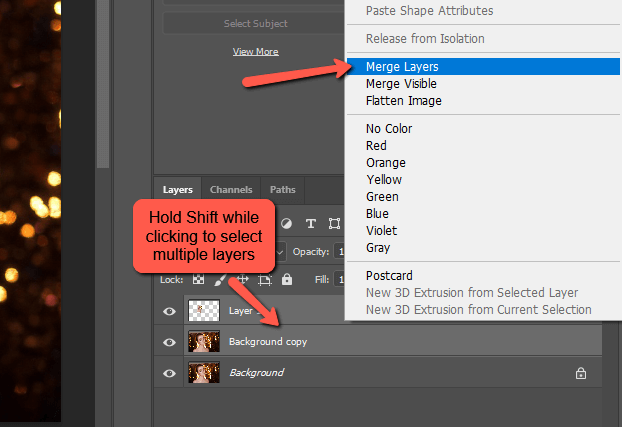
Step 3: Merge the Layers
In order for the Patch tool to work, the selection and the image need to be on the same layer. Select both your background layer copy and the selection layer by holding Shift while clicking. Then right-click and choose Merge Layers.
Step 4: Use the Patch Tool
Select the Patch Tool from the toolbar on the left.
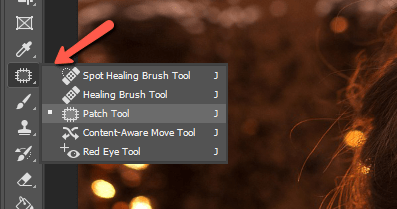
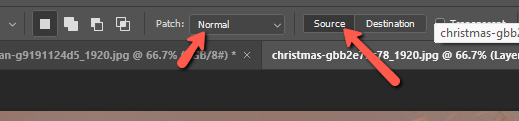
Make sure the tool is set to Normal and Source in the Options bar.
Then draw a small selection around the eye and drag it over to the open eye. You’ll see how the patch tool will fill in your selection in real-time. So slide it around until it fits in the right spot.
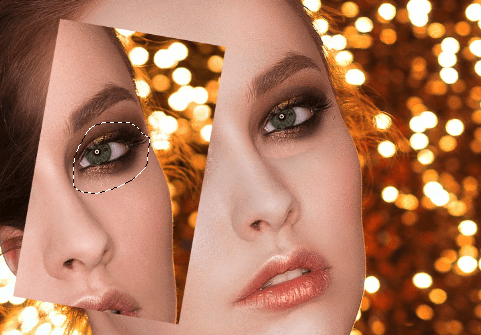
When you let go, Photoshop automatically matches the patch to its surroundings.
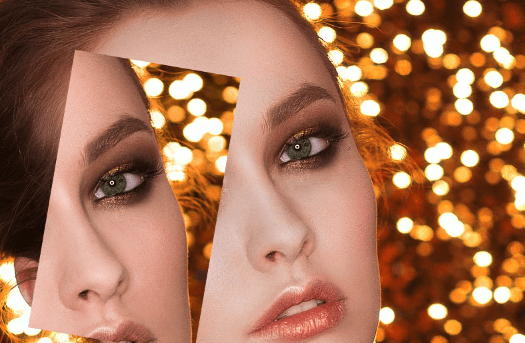
Step 5: Remove the Selection
Choose the Eraser Tool from the toolbar.
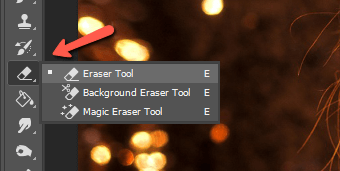
And erase the selection you brought in with an open eye. Remember that there’s another copy of the background layer underneath, so it will come through and we’ll still have an intact photo.
Repeat with the other eye.
And voila!

Method 3: Clone Stamp Tool
If you want full control, you can use the Clone Stamp Tool to copy over the pixels. In my opinion, the other methods are easier and faster and will work in most situations. But if you need more precision, you can use this method.
To copy pixels from one image to another, simply set the source using the open eye picture and switch over the to closed eye picture to paint.
AI and Eye Swapping
There are rumors flying around the Internet of editing programs using AI to open people’s eyes. The process works by using eyes from other people’s photos to automatically fix the one you’re working on.
As of now, the results are still somewhat Frankenstein-esque. So, we photographers will have to stick with our tried-and-true eye swaps in Photoshop for now. But photo technology gets more impressive every year and I imagine that AI eye-swapping will eventually get the kinks worked out.
Wondering how to swap the whole face? The idea is the same, check out in-depth instructions here!
About Cara Koch
Chris Christodoulou
Hi Cara,
Thank you for an exemplary explanation and demo, 1st class.
Chris