Why did you have to blink at that second!? Have you ever screamed this at your computer when reviewing group shots?
You have fourteen images of a group but in every picture, at least one person is blinking. Not to mention Uncle Mike looks weird in this one but looks great in that one where Aunt Jan was yelling at Cousin Frank.
Wouldn’t it be nice to have one image where everybody has their best face on?
Hello there! I’m Cara and in my work as a professional photographer, I’ve taken a lot of pictures of groups. However, I’ve never been overly frustrated by blinking Betty because I can just swap her head for one where her eyes are open.
Of course, for this technique to work, you have to have another image where Betty’s eyes are open. Always take more pictures of a group than you think you’ll need because I can’t help you if you don’t have at least one good shot of everyone.
In this tutorial, you’ll learn how to head swap in Photoshop in four easy steps!
Let’s get to it!
Note: the tutorials and screenshots below are from Photoshop CC for Windows, other versions can look different.
Table of Contents
Step 1: Open Both Images in Photoshop
Take a look at your images and decide which image you’ll use as your base image and which image(s) you’ll cut heads from. If you have a few people blinking, you might end up face-swapping a few heads.
I’ve got these two images from a wedding I shot recently. In one, the groom’s eyes are closed and in the other, the bride’s attention is elsewhere.
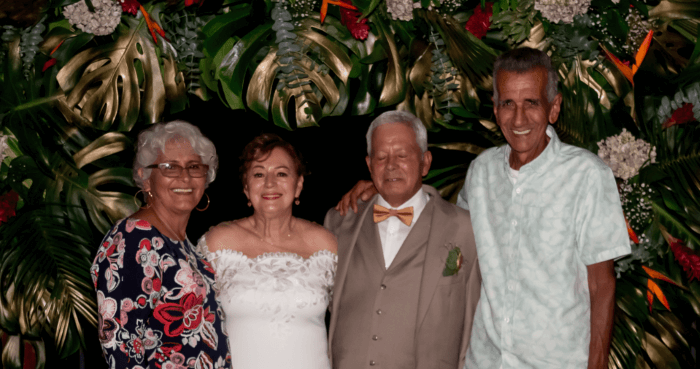
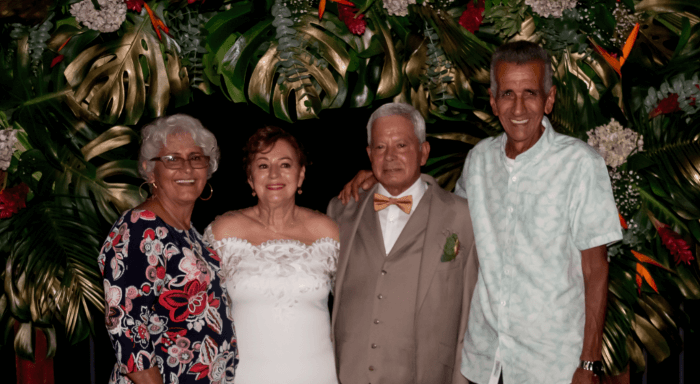
For these images, I’m going to use the first one as the base image. I’ll take the groom’s head from the second one to create one image where everyone is looking at the camera with their eyes open.
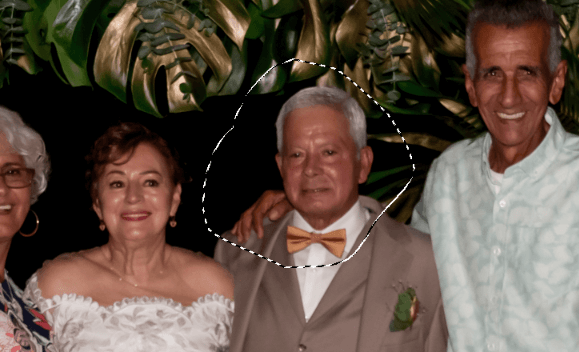
Step 2: Select the Head with the Lasso Tool
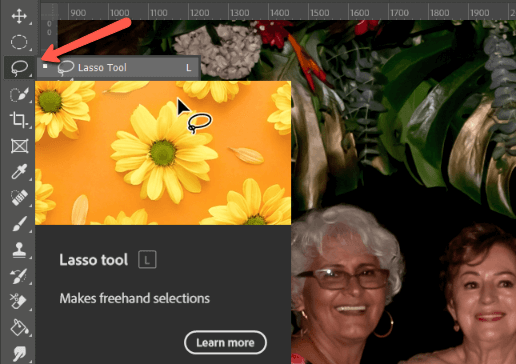
Since the groom is standing in the same place, his head is in the same position and the background behind him is the same. There is no need to be precise with the selection so we’ll use the Lasso tool.
Find the Lasso tool third down from the top in the toolbar on the left. Alternatively, access the tool by pressing L on the keyboard.
Click and drag a rough selection around the head you want to use. Bigger is better than smaller to give us more room to blend when we mask it off later. But don’t go too crazy.
Step 3: Move the Head to the Base Image
Press Ctrl + C or Command + C to copy the selection. Switch to the base image and press Ctrl + V or Command + V to paste the head onto the base image.
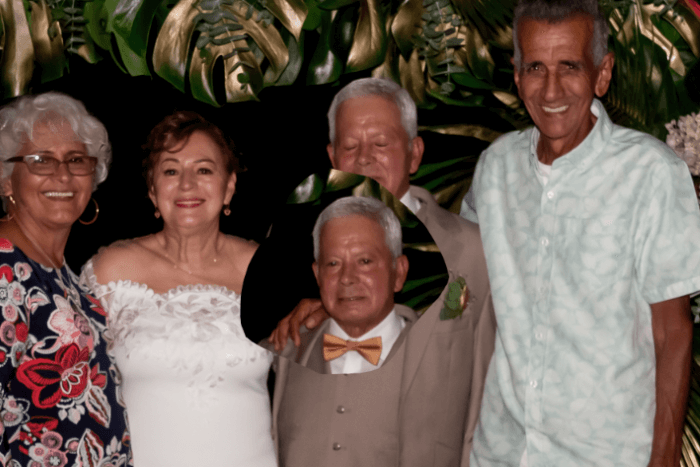
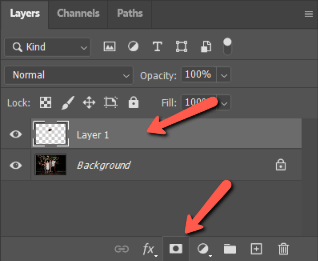
It will appear as a new layer on top of the background layer. To be able to see what you’re doing, lower the opacity with the slider in the Layers panel.
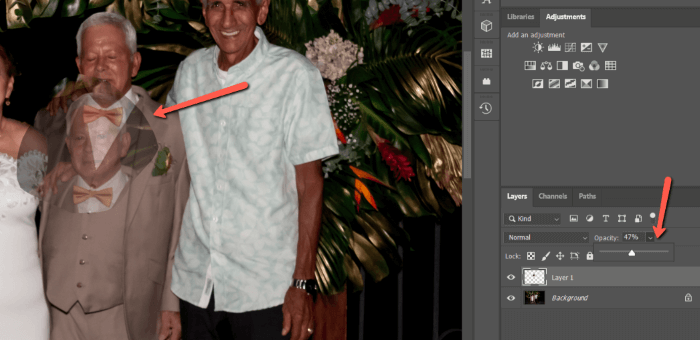
Press V on the keyboard to activate the Move tool. Click and drag to position the head, taking care to line it up perfectly with the background.
Once you get it close, you can nudge the selection into place using the arrow keys.
Once you’re happy, turn the opacity back up.
Step 4: Mask and Blend
To avoid a hard line around the selection, let’s mask it off and blend the images with a brush. With the selection layer active, press the mask button at the bottom of the Layers panel. It looks like a rectangle with a circle inside.
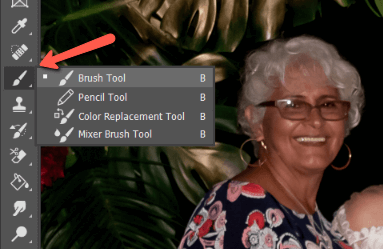
Choose the Brush tool from the toolbar. You can also get there by pressing B on the keyboard.
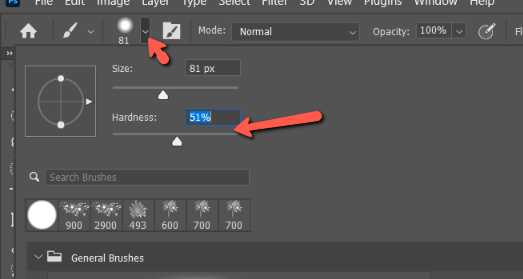
In the Options bar, you can choose the size and hardness of your brush. You’ll want a soft, round brush in an adequate size for your project.
Now, carefully brush around the edges of your selection to remove the obvious edges.
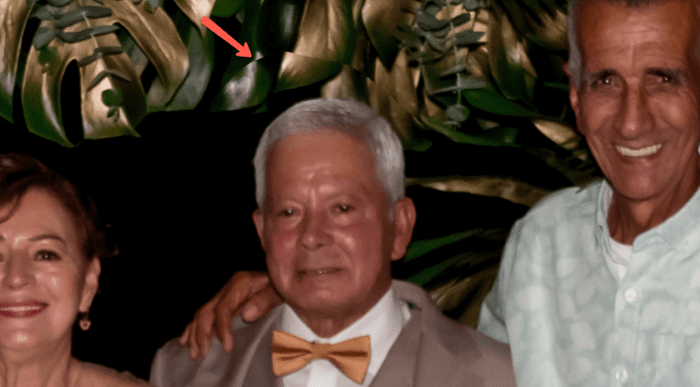
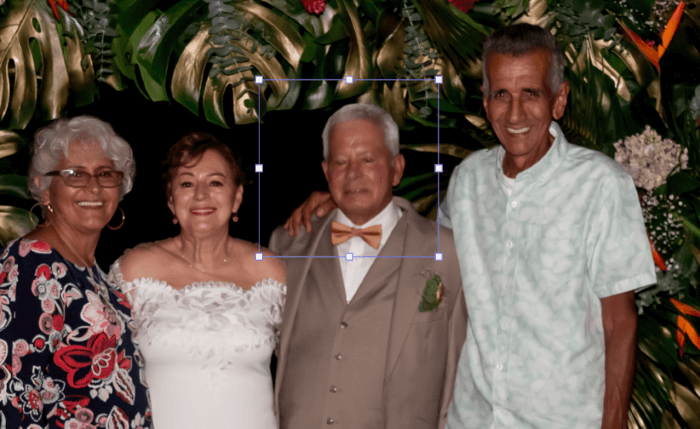
That’s better!
And there we have it! Face swapping is invaluable in large groups where it is nearly impossible to get everyone looking at the camera at once.

Interested to learn more Photoshop tricks of the trade? Check out more of our tutorials such as how to fade an image in Photoshop!
About Cara Koch