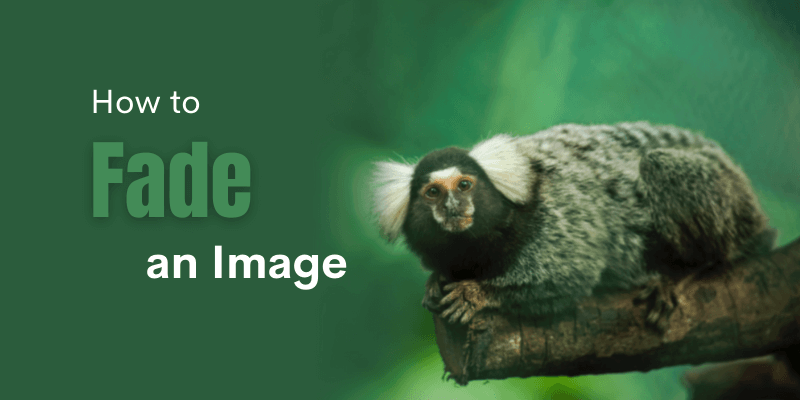
Have you ever wanted to gently blend an image with a solid color or even another image? This fading effect is a great way to create all sorts of designs for collages, flyers, image manipulation, and more!
Hi! I’m Cara and as an avid photographer, I get excited about interesting little tricks like the one I’m about to show you.
Stick with me and check it out!
Table of Contents
Fading Images in Photoshop
There are a couple of different ways that you can fade an image in Photoshop. One is to simply lower the opacity of an image to allow another image, color, or texture to peek through. Learn more about the opacity slider here.
Another way is to create a gradient so that the image gently fades into a solid color or another image. Let’s look closer at how to do this type of fading.
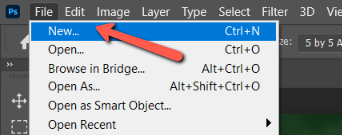
Step 1: Open a New Document
You need to have something to fade into so you’ll need to mount your image on top of a background. Hit Ctrl + N or Command + N on the keyboard or select New from the File menu.
Choose an appropriate size for your project and hit Create.
Step 2: Place Your Image in the Document
There are a few ways to do this, but the simplest is to navigate to your document in the computer’s files. Then, drag and drop it onto your Photoshop project. Resize the image and reposition as needed.
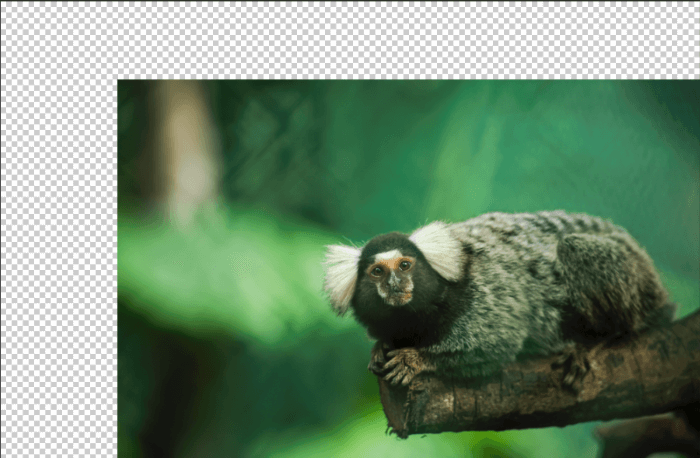
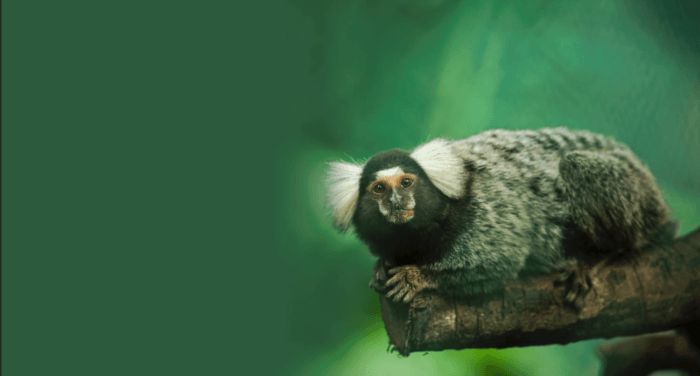
We’re going to work with this image of a cute marmoset that I photographed a few weeks ago.
Step 3: Add a Color Fill Layer
Now we need to add the image, texture, color, or whatever it is that we want to fade our image into. We’ll go with a color fill layer for this example.
In the Layers panel, make sure the image layer is selected. Click the adjustment layer icon at the bottom of the Layers panel. It looks like a half-filled circle. Select Solid Color from the menu that appears.
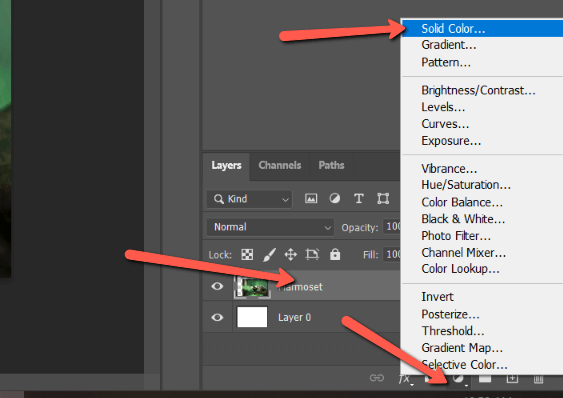
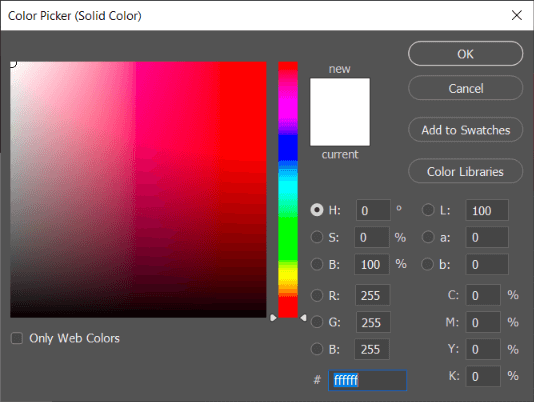
The color picker panel appears where you can select whatever color you want to fade the image into. Let’s leave it white for now. We can be more precise about picking the color later on. Click OK to accept.
Step 4: Add the Gradient
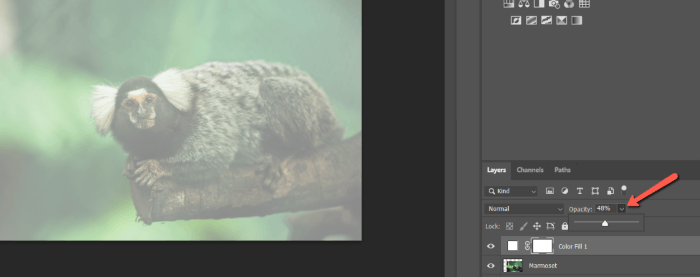
Let’s notice a couple of things here before we move on. The main thing is that our image disappeared because it is being blocked by the fill layer we just added.
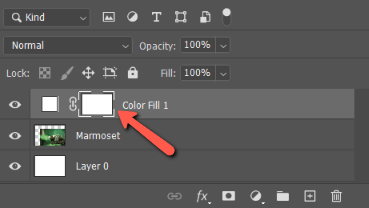
You’ll also notice that the fill layer comes with a built-in mask, which is what we will use to create the gradient. Click on the layer mask to select it.
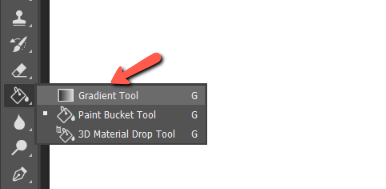
Open the Gradient Tool from the toolbar on the left. This tool may be hiding behind the Paint Bucket tool if you used the paint bucket last. Alternatively, you can hit G on the keyboard.
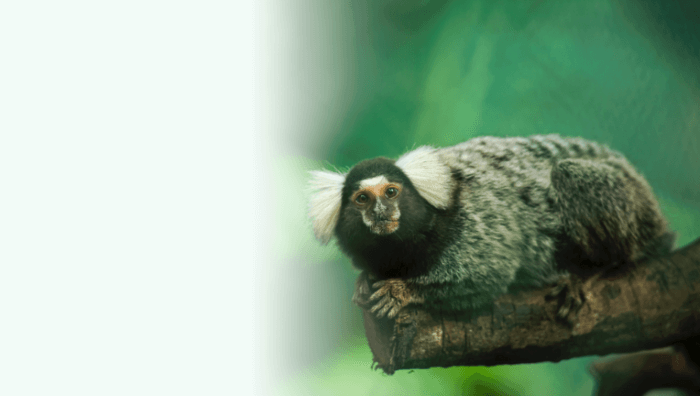
In this example, our image is on the right and the fill color we’re fading to is on the left. That means we need a gradient that runs from black to white (as opposed to white to black). The white side will be revealing the image while the black side will be covering over with a solid color.
Go up to the Options bar and click on the little arrow next to the gradient box.
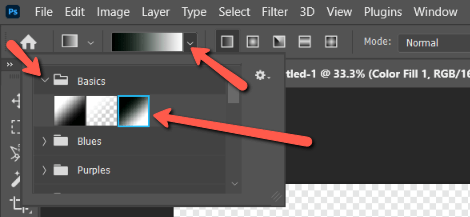
From the flyout menu, look in the Basics folder to find and select the black-to-white gradient.
Now we draw the gradient on the layer mask. This will mark where the transition should begin and end.
The fill layer is completely blocking our view, so let’s lower the opacity so we can see what we’re doing.
Click on the image where you want the gradient to start, then drag and let go where the gradient should end. It can be difficult to draw the line in the exact direction you want. Hold Shift to limit the direction to straight vertically or horizontally, or on the 45-degree angles.
Once you get the gradient where you want it, bring the opacity back up so you can see how it will look.
Step 5: Pick a Fill Color
Now, let’s pick the color we want. Double-click on the fill layer’s thumbnail to open the color picker. You can choose any color you want from this panel.
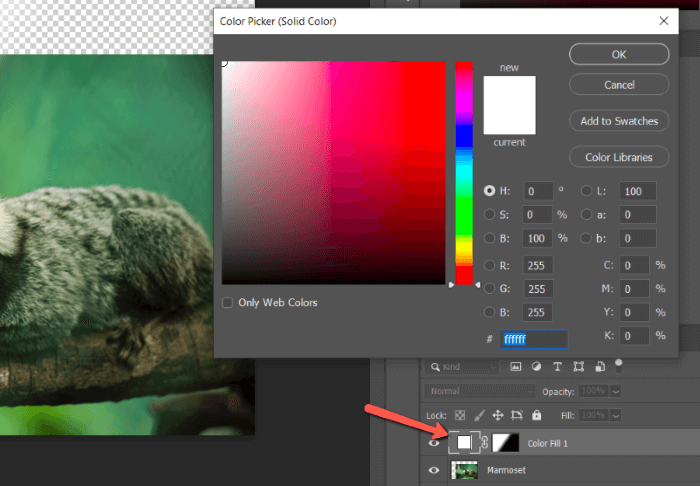
Alternatively, when you hover the mouse over the image, you’ll notice it turns into an eye-dropper icon. This allows you to click anywhere in the image and select the exact color.
For this type of thing, the sample size is important. You can find this setting in the Options bar. The default Point Sample will take the color from one single pixel, which can make it harder to get a blendable color.
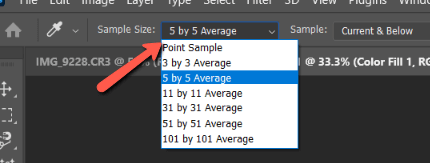
The other options take an average color from the corresponding sample size. Let’s choose a 5 by 5 Average so it will take an average from a 5 by 5 square of pixels.
Click around in the image until you get a result you like.
This is a great way to get creative with your photos, make the subject pop, or fade an image into its background.
Have fun with it and check out more ways to get fancy in Photoshop! We have tutorials on everything from merging two images to creating a multiplicity photo!
About Cara Koch
Shesadri
Strikingly simple steps! It did wonder to my editing. Thank you in Tera Bytes!!