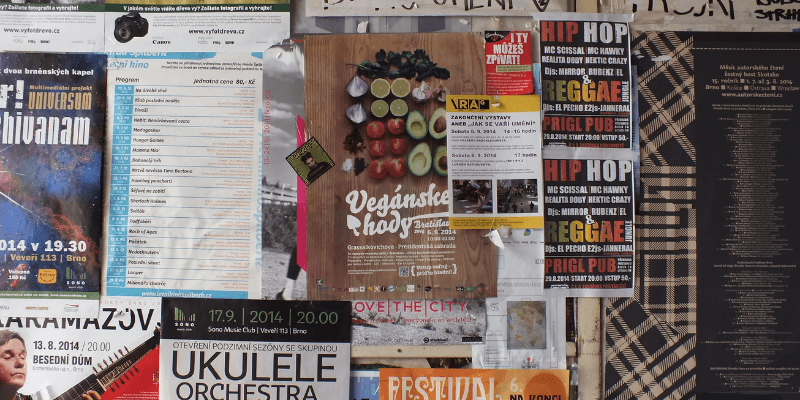
Would you love to hang your artwork on the wall? Or perhaps you want to create a poster for marketing or other purposes. Photoshop is one of the best tools to make posters!
Hey there! I’m Cara and let me show you how to create an awesome poster using only Photoshop.
Have you been reading other tutorials here on PhotoshopBuzz.com? You’ll need many of those skills as we go through learning how to create a poster in Photoshop. Don’t worry if you’re unsure how to do a step, I’ll be covering the detailed steps in this tutorial.
Let’s get started!
Table of Contents
Step 1: Open a Poster Preset
It’s best to design your poster specifically for the size you’ll need. This will ensure that everything turns out correctly. If you design a smaller poster and try to enlarge it, the print quality may be a little disappointing depending on the resolution.
So, start with the size you need. Standard poster sizes include 22″ x 28″ , 24″ x 36″, and 36″ x 48”.
You’ll also want to make sure that the resolution of your poster is high enough. Generally, 300 dpi is needed for high-end printing, although as low as 150 can be acceptable in some cases.
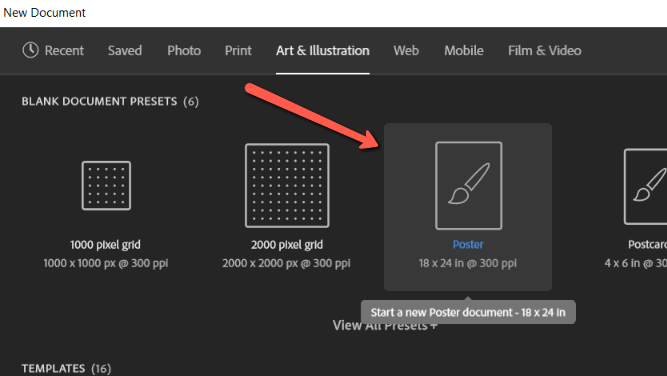
Photoshop gives us a helpful poster preset we can use so we don’t have to choose all the settings. Choose New from the File menu and click the Art & Illustration tab. Choose the 18 x 24 in @300 PPI preset.
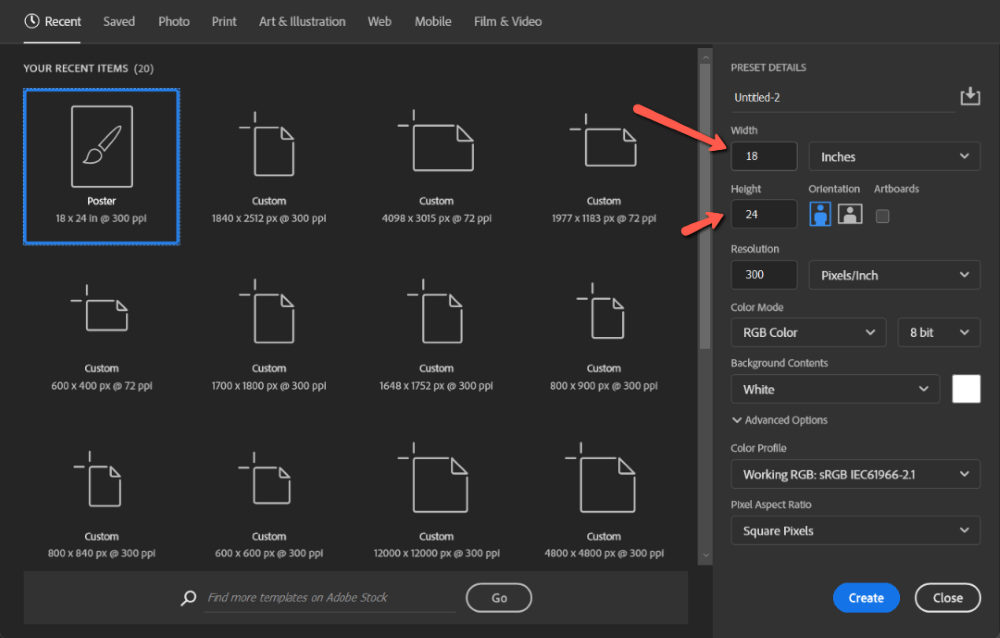
This will give us a starting place. If you need a different size, stick with the Recent screen that automatically opens. On the right, you can choose the exact dimensions you want for your poster. Make sure the resolution is set to 300.
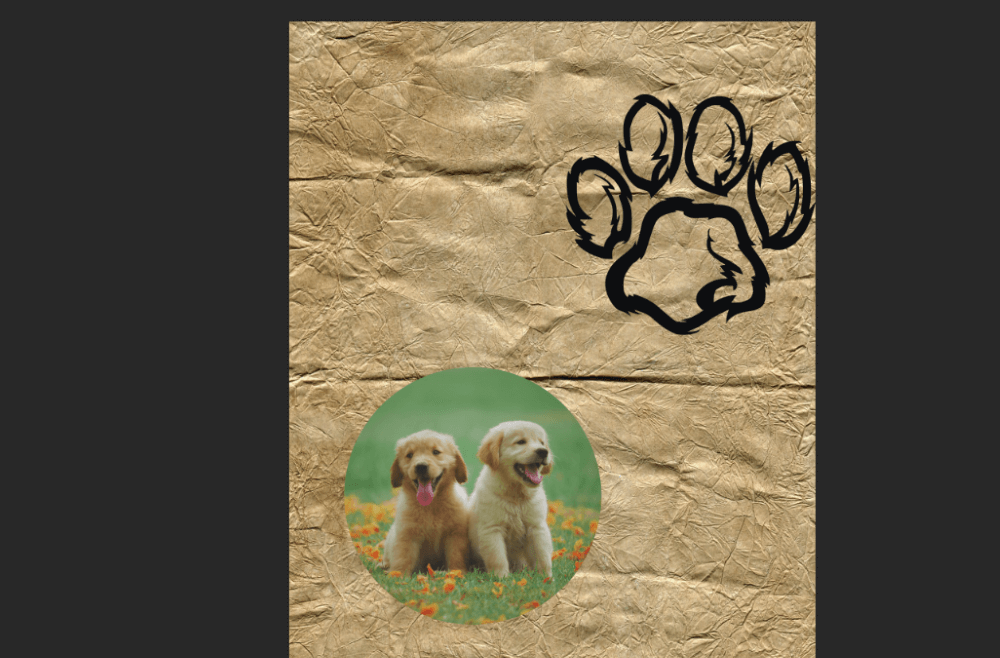
Step 2: Choose a Background
You have a few options here. You can choose a solid color or a gradient for the background. Or you can drop in a background or texture that you want to use.
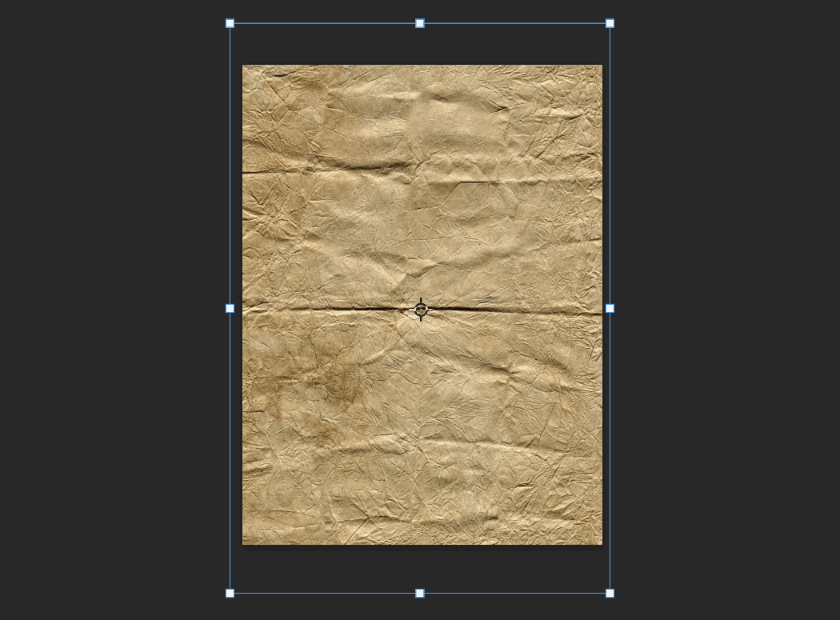
I’m going to use a colored texture image for my background. Go to File and choose Place Embedded to add the image to your poster.

The image automatically drops in as a smart object. This gives us the ability to resize the image without losing much quality – an important element when printing images.
It also drops in with the Transform tool active. Use it to rotate and resize the image as needed.
If you don’t like the color, you can always add a solid color adjustment layer on top and change the blend mode. This will change the color and allow the texture to show through at the same time.
Step 3: Add Some Images
We’ll use the same Place Embedded technique to drop a couple of images onto our poster.
Check out how to do the circle crop in this article. You have to use the mask method described near the end. The first method of deleting the background doesn’t work on a layer like this.
Step 4: Add Some Text
Now we need to tell our audience something so let’s add some words. Choose the Text tool from the toolbar on the left.
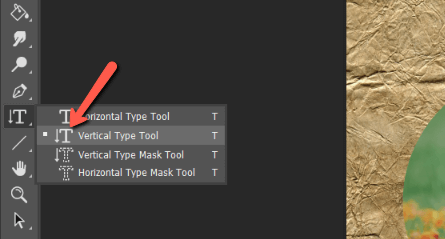
For this example, I’ll grab the Vertical Type tool first to add interest. Then I’ll use the Horizontal Type tool.
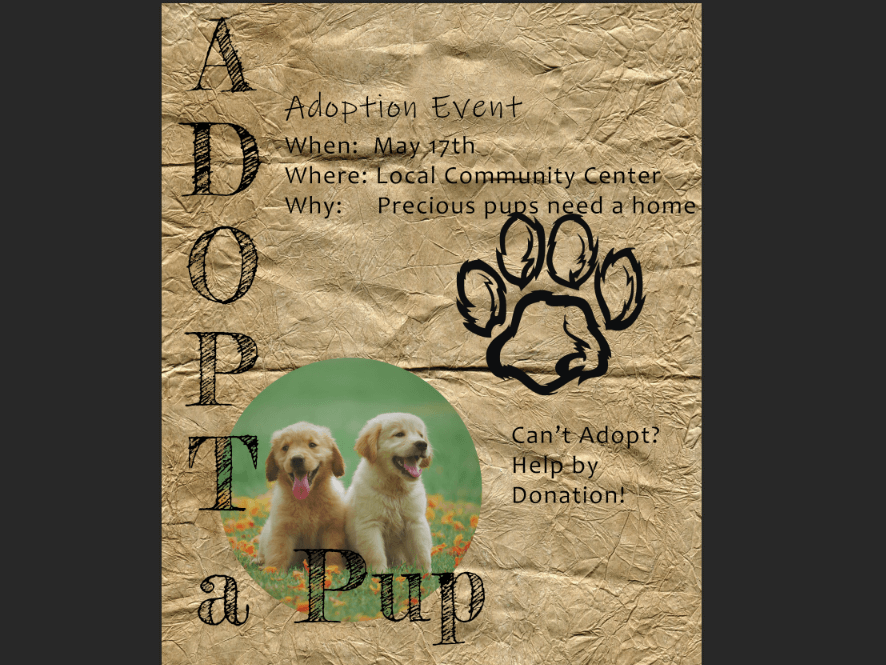
Remember that the Options bar allows you to format the text how you want. Choose the font, size, color, etc from the dropdowns.

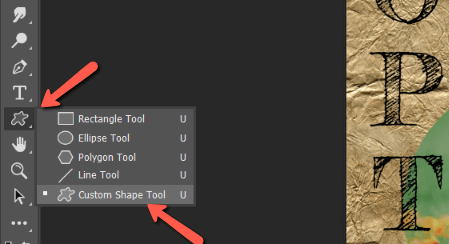
Step 5: Add Other Embellishments
How much stuff you’ll add here depends on how you want to design your poster. A great option is to add some shapes. Photoshop comes with a handful of shapes already built in. Or you can create your own following this tutorial.
To add your new shape to your poster, choose the Custom Shape tool near the bottom of the toolbar. It may be hidden behind the Rectangle tool. Right-click to open the flyout menu and choose the Custom Shape tool from the bottom.
Click the little arrow next to the shape box up in the Options bar. This will open up your shape options. Choose your desired shape from the list.
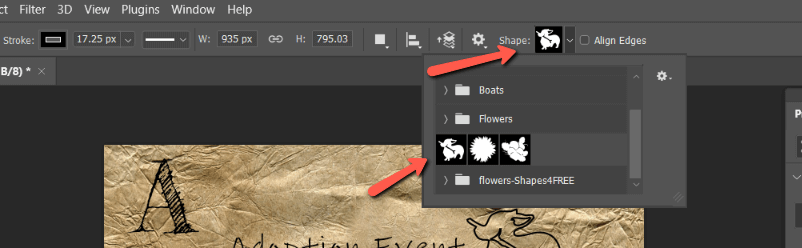
Click and drag to draw the shape onto your poster. Hold down Shift while dragging to maintain perfect proportions.
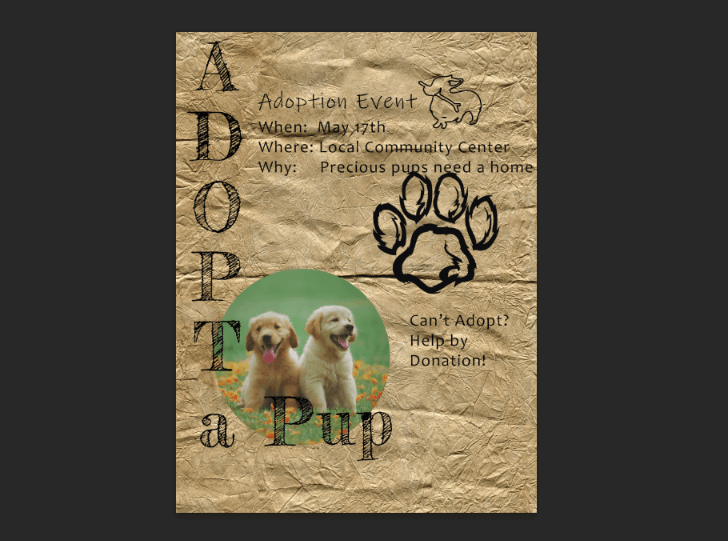
You can fill the shape with color, a gradient, or a pattern with the Fill box. Or click the Stroke box to create an outline only. I’ve chosen the Stroke option and picked black as my color.

If this were a real poster I’d probably add a few more contact details and other pertinent information, but you get the idea.
Now you have the basic information so you can create posters of your own! If you get stuck, such as needing to know how to write text in a circle or create a pattern, don’t hesitate to check out more tutorials here on PhotoshopBuzz.com!
About Cara Koch