What do you do to perk up a boring background? There are a number of things you can do in Photoshop and one of them is to fill it with a pattern.
Hey there! I’m Cara and I love creating designs in Photoshop for my clients. Plain backgrounds are great for letting the attention rest on the text or images in a particular design. But sometimes, plain backgrounds are too boring or the pattern itself might be the star of the show.
Today I’m going to show you how easy it is to create a pattern in Photoshop and use it to fill your background. Check out the steps below!
Table of Contents
How to Make a Pattern in Photoshop (3 Steps)
Note: the screenshots below are taken from the Windows version of Adobe Photoshop, if you’re using the Mac version, the navigations may look slightly different.
Step 1: Select an Element
A pattern is simply a repeating image or design. To create one, all you need to do is select something that you want to repeat.
This could be a single element, several elements that you put together, part of an image, or even a whole image! No matter what you use, the method of creating the pattern and using it is the same.
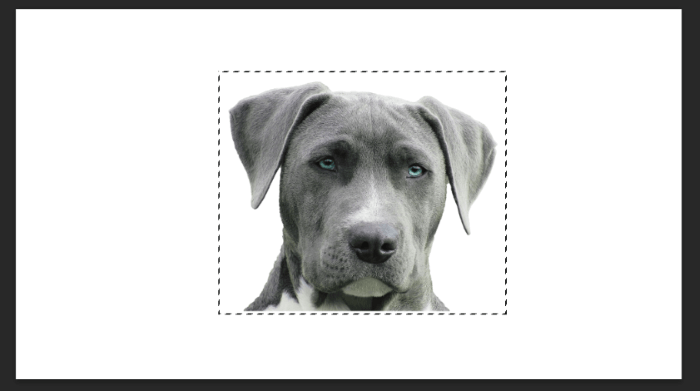
For our example today, I cut this handsome guy out of an image I got from pexels.com and pasted him onto a white background.

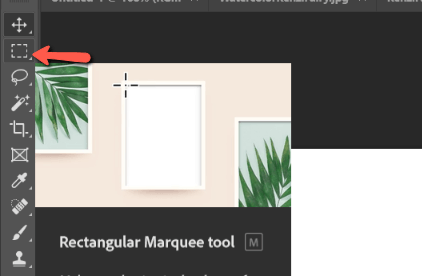
Photoshop will automatically make a seamless pattern from a selection. Let’s make our selection with the Marquee tool. Press M on the keyboard or choose the tool from the toolbar on the left. Make sure to choose the Rectangular tool, it won’t work with the Elliptical one.
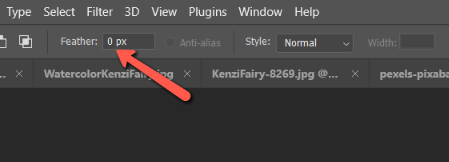
Check up in the Options bar to ensure the feather is set to 0 pixels.
Make a selection around the dog’s head.
Step 2: Make the Pattern
When you’re happy with your selection, go to Edit in the menu bar and choose Define Pattern. You can also use a similar technique to Define Brush Presets which allows you to make your own Photoshop brushes from anything.
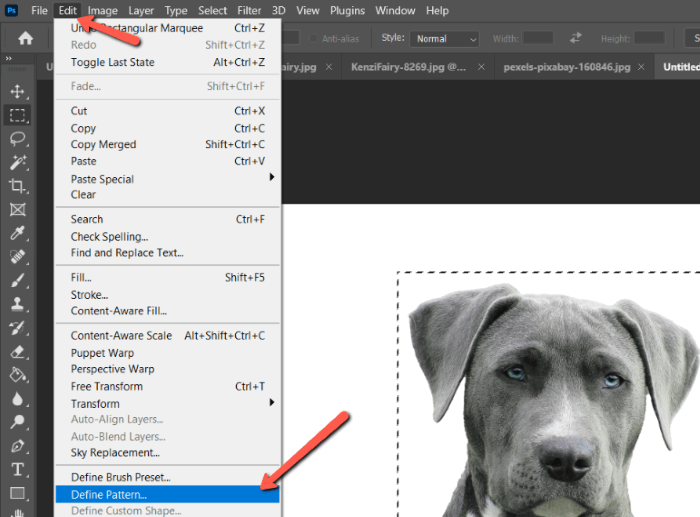
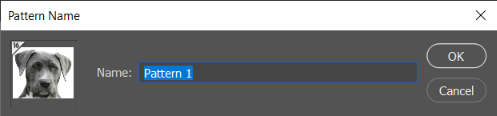
This little box will show up with a preview of one square of your pattern. Name it and click OK.
Step 3: Use Your Pattern
Open the document where you want to place your pattern. Go to Window and choose Patterns.
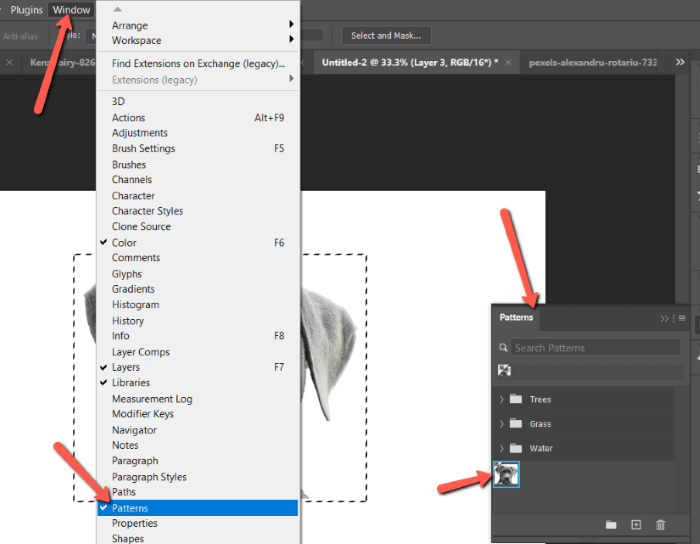
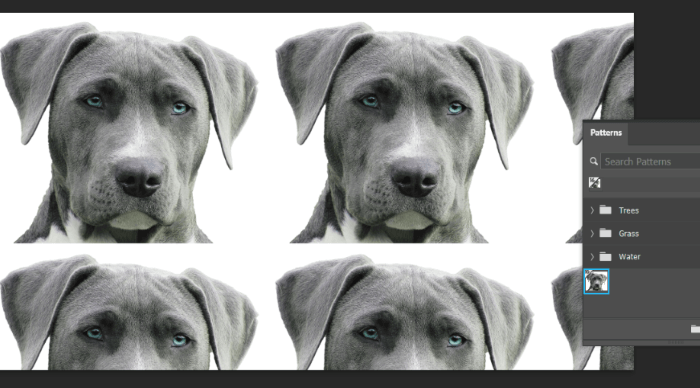
The Patterns panel will open up with the various pre-loaded patterns from Photoshop. You can see our dog head pattern there at the bottom. Click on it to fill your document with the pattern.
To adjust the pattern, Double-click on the pattern layer thumbnail in the Layers panel.
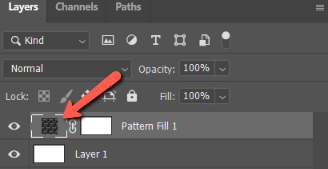
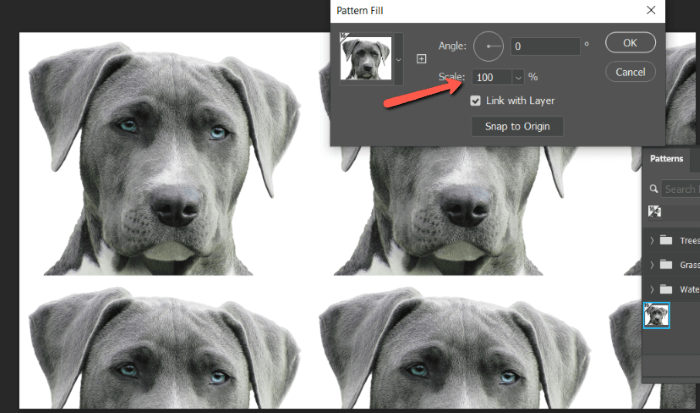
You’ll get this box where you can adjust the pattern to your liking.
Scale changes the size. Here it is at 100%.
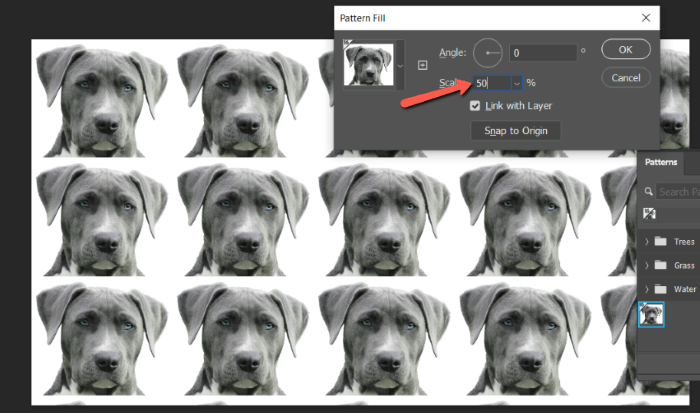
Here it is at 50%
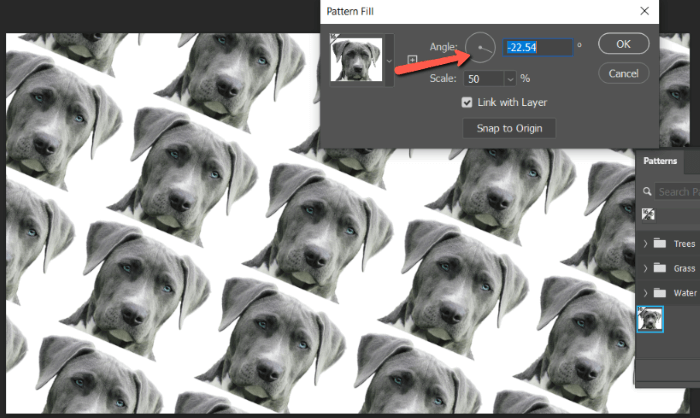
You can also change the Angle of the pattern.
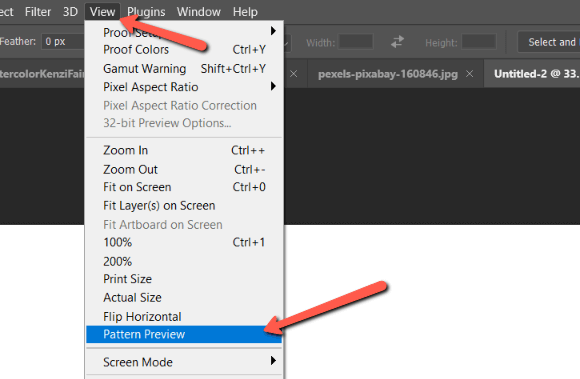
How to Use Pattern Preview in Photoshop
A pattern like the one we just created is super simple. It isn’t necessary to see how the pattern looks as a whole because there is only one element.
But what about when you are creating a pattern with several elements?
In the past, you had to work in your little square and try to imagine what your design would look like as a pattern. Now, you can see it in action with the Pattern Preview.
To enable Pattern Preview, go to View in the menu bar. Click Pattern Preview.
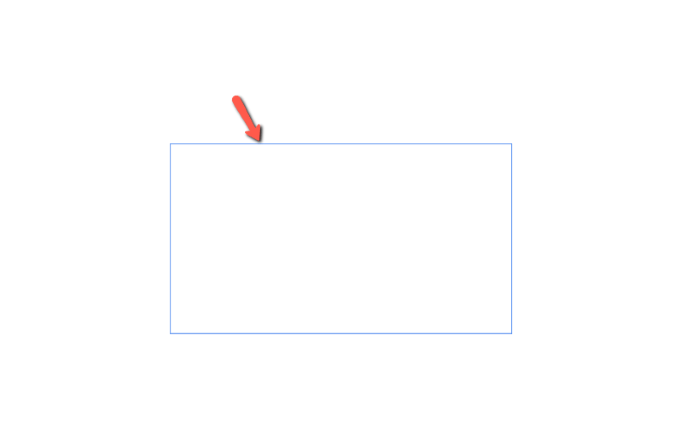
A blue rectangle will appear in the center of your workspace the size of your original document. The rest of your workspace is filled with your background color and everything you place in the rectangle will be repeated outside.
Now I’ll drop a few shapes on here so you can see how this works.
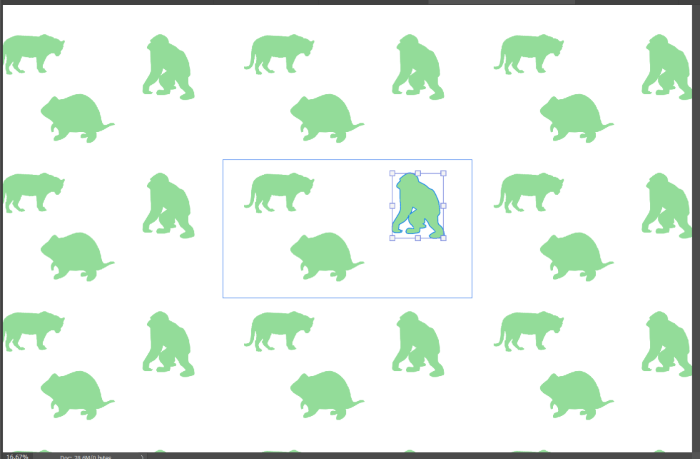
Everything that I place in the rectangle is repeated on the surrounding canvas. Watch what happens when I move the ape down. BTW learn about moving selections here.
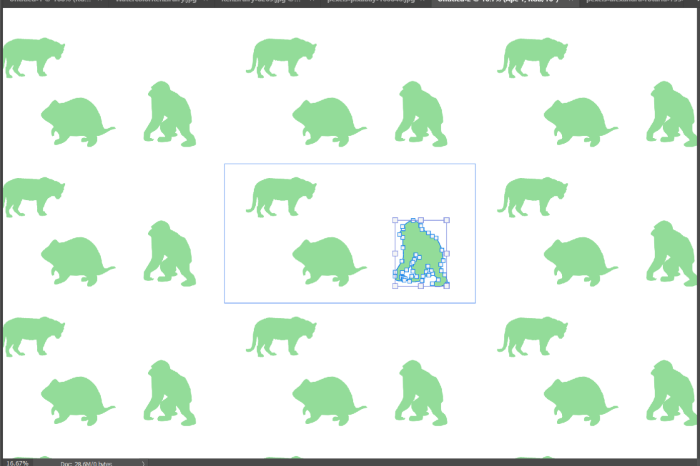
All the apes move down. As you can see this is super handy for visualizing how your pattern will look as a whole. Give it a try and see what you come up with!
There are a lot of interesting things to learn about Photoshop. For example, check out how to curve or bend an image here!
About Cara Koch