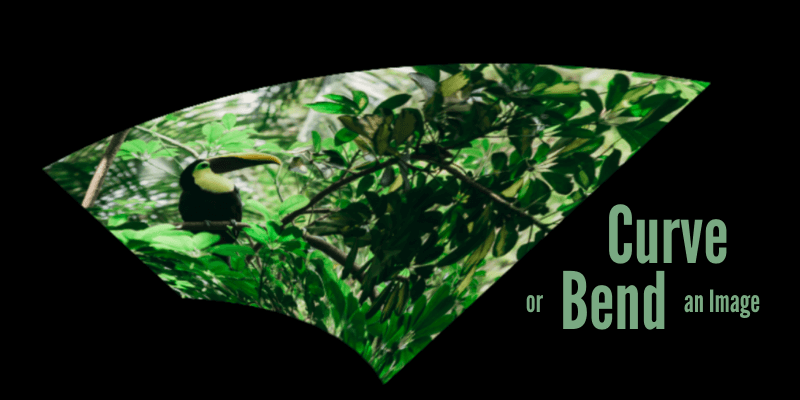
What’s a simple way to add more impact to an image? How about making it an interesting shape? For example, you could bend your image to appear as a banner at the top of a flyer or something similar. The unusual presentation is eye-catching and interesting.
Hey! I’m Cara and as a photographer, I’m always looking for new ways to make images more interesting. This technique of bending or curving an image in Photoshop is a quick way to do this.
Let me show you how!
Note: the screenshots below are taken from the Windows version of Adobe Photoshop, if you’re using the Mac version, the navigations may look slightly different.
Table of Contents
Step 1: Open a Blank Document
We’ll need a background for the image to rest on so let’s start by opening a new document. Go to File in the menu bar and select New. Or hit Ctrl + N or Command + N on the keyboard.
Select the size and orientation that works for your image.
Step 2: Place the Image
Now go back to File and choose Place Embedded from the menu.
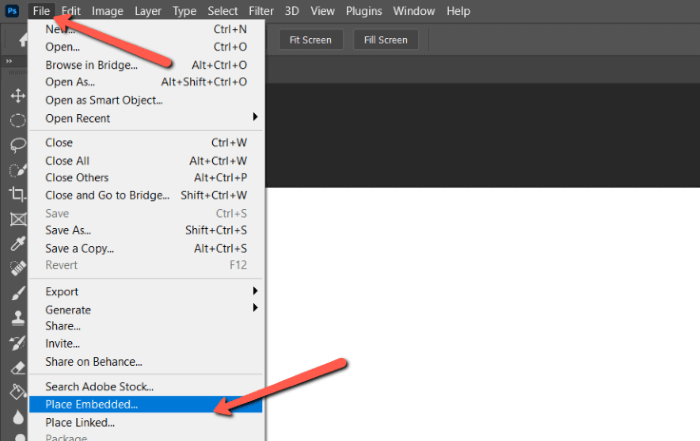
Browse your image, select it, and hit Place.
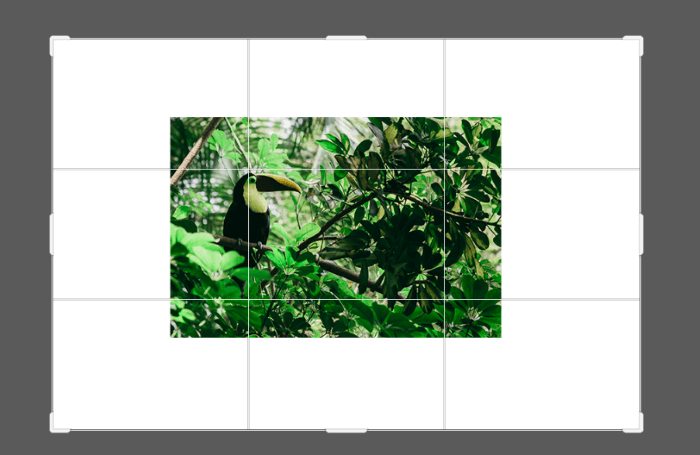
I might’ve given myself too much of a border but that’s okay. You can always go back and adjust it later after you see how the final image looks.
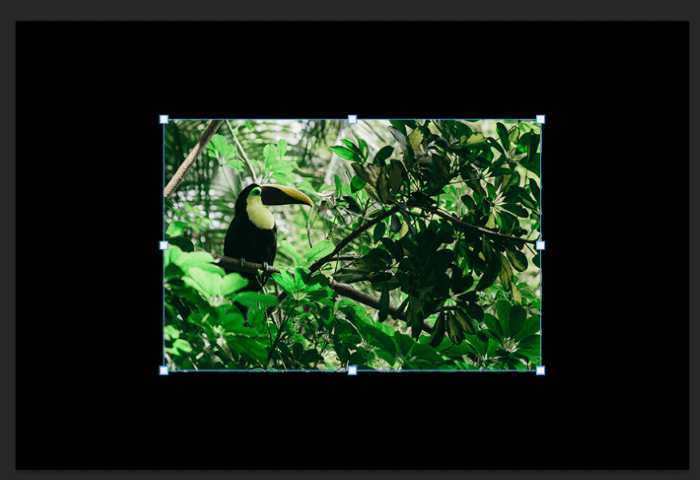
Make sure you’ve got the image centered in the middle of your canvas. Mine is slightly off to the left so I’ve adjusted it. Learn more about centering images here.
I also changed the color of my background to black to fit better with my image. You can do that by using the Paint Bucket tool. Learn all about the paint bucket here.
Step 3: Open the Warp tool
To create the bend, we’re going to use the Warp tool. The Warp tool is part of the Transform set of tools. Access it by going to Edit in the menu bar, hovering over Transform, and choosing Warp.
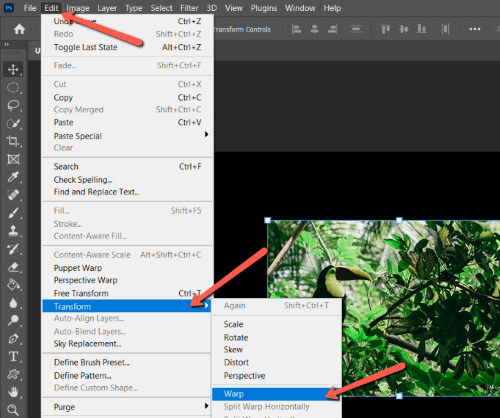
When the warp tool activates, you’ll notice a thin blue line appears around the image with filled circles. The circles are the handles you can grab to drag and manipulate the shape of the image freehand.

However, we’re going to start with a preset to curve this image in Photoshop. In the Options bar, you’ll notice a box marked Warp. The default option should say Custom. Click on the dropdown to access the various warp presets.
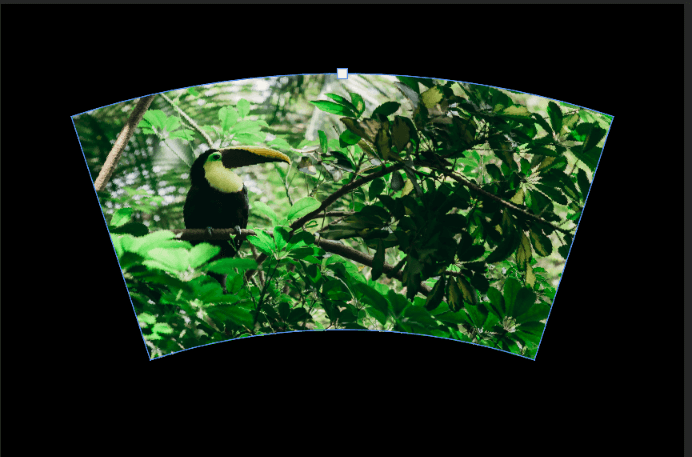
To bend our image, let’s choose the first one, Arc.
Step 4: Adjust the Arc Preset Settings
Depending on your image, the arc effect might be a little too extreme. You can adjust the bend of the image by changing the Bend percentage in the Options bar.
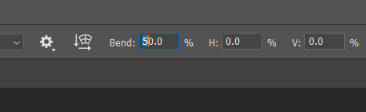
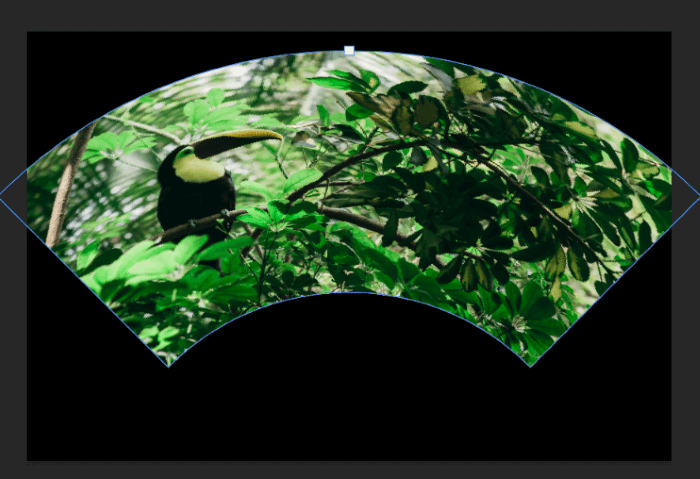
My default was set at 50%. For fun, let’s see what 100% does.
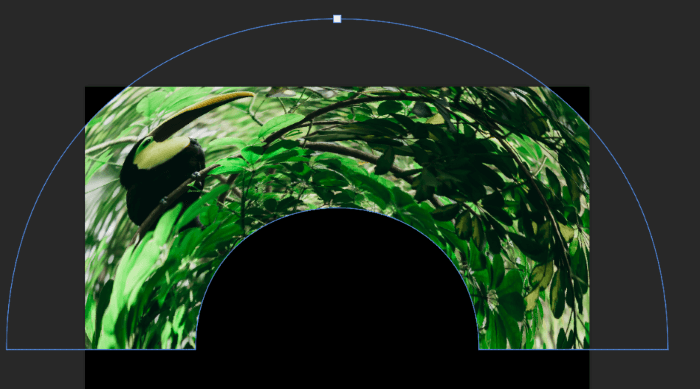
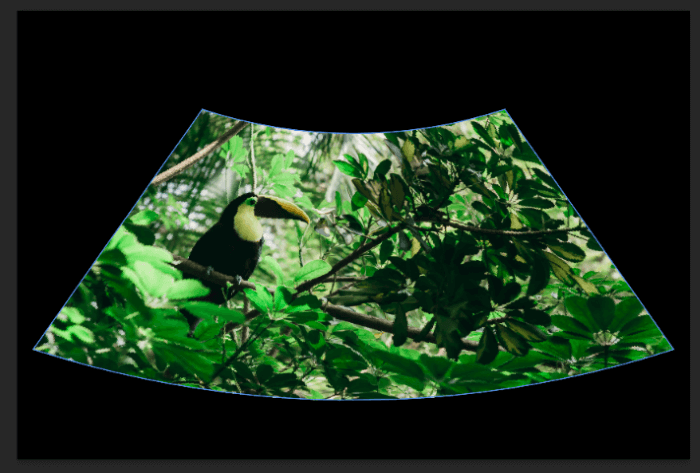
We get this cool, rainbow-shaped image. That could be fun for some creative applications. For our purposes, though, we want a less extreme curve to the image. Let’s go with 20%.
Play around with the settings in the options bar. There are quite a few different looks you can achieve just by adjusting these.
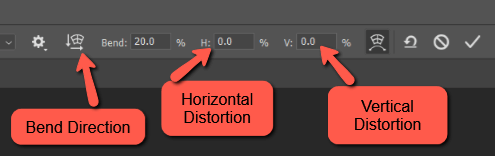
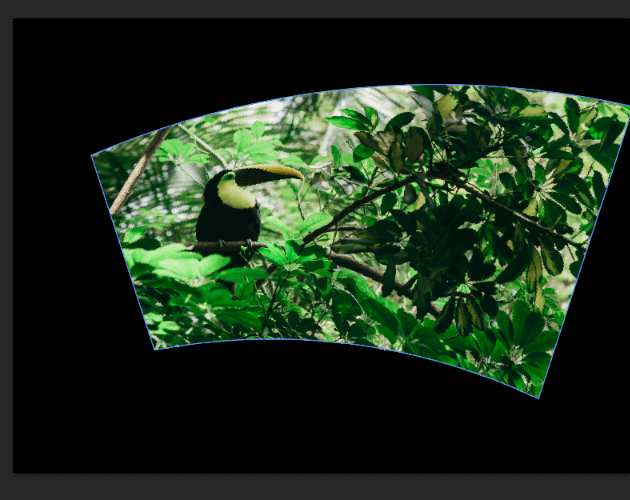
Horizontal Distortion allows you to make one side bigger than the other. Here’s what my image looks like at 20%.
Vertical Distortion makes the image look like it’s leaning backward.
Bend Direction changes the direction of the bend.

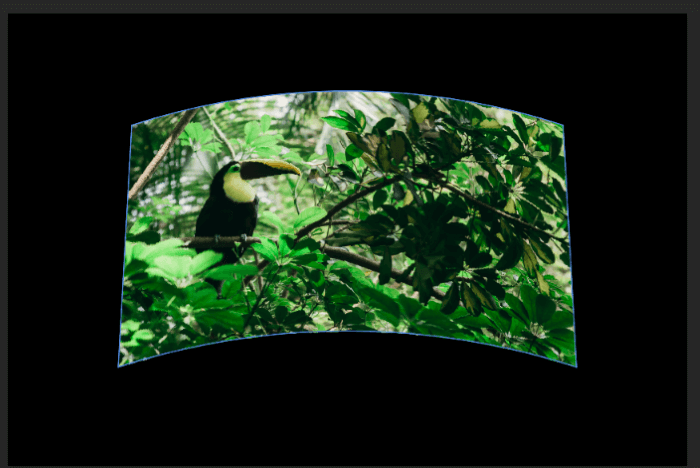
Flip any of these effects in the opposite direction by placing a negative sign in front of the percentage. Here’s -20% in the Bend box with a vertical bend.
Have fun with it and see what you can come up with! There are so many fun combinations to try. When you’re finished, simply crop the background to the size you want for framing your bent photo!
Interested in learning more fun things in Photoshop? Check out more of our articles, such as how to add a vignette in Photoshop here!
About Cara Koch
taisha
hey so im doing this project for school and was wondering if you have info on blend a image onto another image having a bit of trouble it is my first time so im not familiar with Photoshop obviously but if your willing to help that would be great please and thank you.
June
Hi Taisha,
Here are a couple of tutorials on blending images in Photoshop that create different blend effects:
https://www.photoshopbuzz.com/how-to-blend-edges-of-two-images/
https://www.photoshopbuzz.com/how-to-overlay-images/
Hope you find the perfect solution.