Chop! Snip! Perfect. One of the many incredible features of Photoshop is the ability to cut out elements and move them around.
There are many ways to cut out or crop images and objects in Photoshop. But what if you want to cut out a shape?
Hello! I’m Cara and exploring Photoshop is one of my favorite things. Whether I’m compositing photos or designing interesting patterns, knowing how to cut out a shape in Photoshop is super useful.
Let’s take a look at how to do it!
Please note that the tutorials and screenshots below are based on Photoshop CC for Windows. If you are on a Mac version, they can look slightly different.
Table of Contents
Cutting out a Shape in Photoshop
The basic process for cutting anything out in Photoshop consists of two parts.
- Make a selection with one of the selection tools
- Delete the background or mask it off to get the object by itself
You don’t have to select a shape because the shape is already on its own layer. There are various methods for cutting out images and cutting out objects.
But what if you want to cut out a shape within a shape? The basic method for cutting out shapes won’t work the way you expect.
Let’s look at how to cut out a shape in Photoshop as well as how to create a cutout shape within a shape.
Step 1: Create a Shape
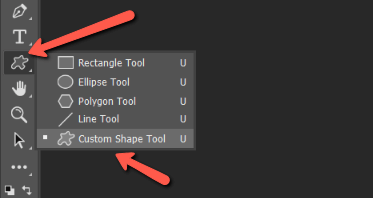
To get started, we need to create a shape. Choose the Custom Shape tool from the toolbar. Right-click to access the flyout menu if one of the other shape tools is on top. Alternatively, you can tap Shift + U to cycle through the shape tools.
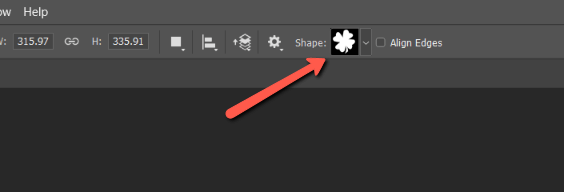
Choose the shape you want from the box in the Options bar. I’m going to choose this shamrock shape.
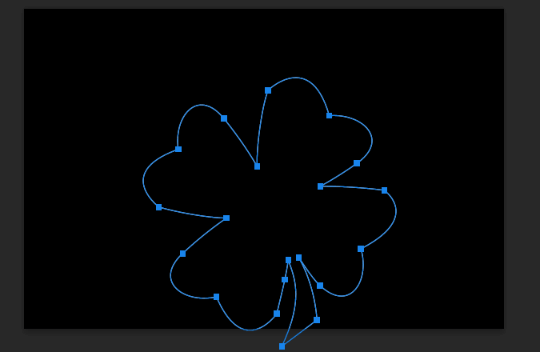
Click and drag in your project to draw the shape. Hold Shift if you want to maintain the aspect ratio.
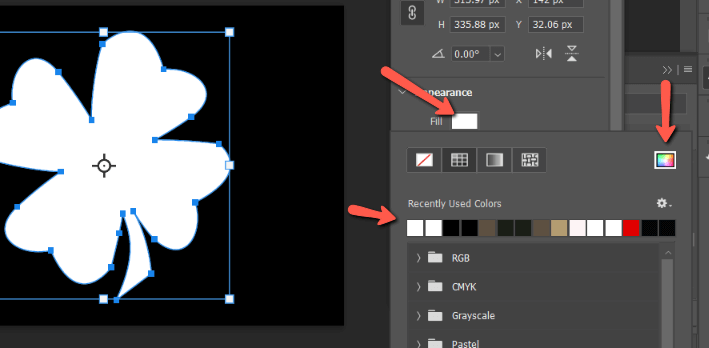
Color the shape by clicking on the Fill box and choosing the color you want from the recent colors. Or click on the color picker to choose whatever color you want.
Step 2: Select the Shape
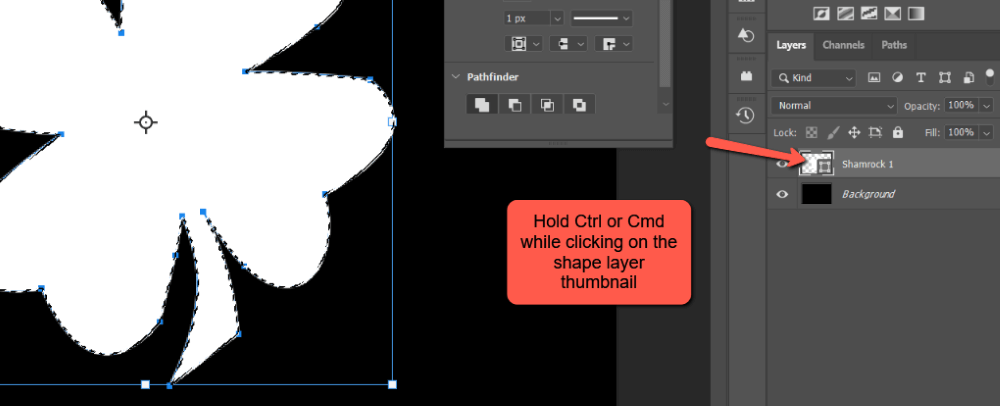
Selecting a shape is super easy in Photoshop. You don’t even need to use a selection tool since it is already on its own layer. Simply hold Ctrl or Command while clicking on the thumbnail in the Layers panel.
Step 3: Select the Deletion Area
Cutting out a shape as we explain in the cutting out an object article doesn’t really make sense for shapes. They are already on their own layer so there isn’t anything to mask off.
What if you want to delete or change the background? You can do this easily without cutting out the shape because they are already separate layers.
However, what if you want to delete or affect only a part of the background behind the shape? Then the process is the same. With the background layer active, select the area you want to affect and then you can mask or delete it as normal.
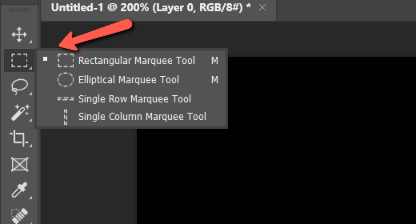
For a quick example, let’s grab the Rectangular Marquee Tool from the toolbar.
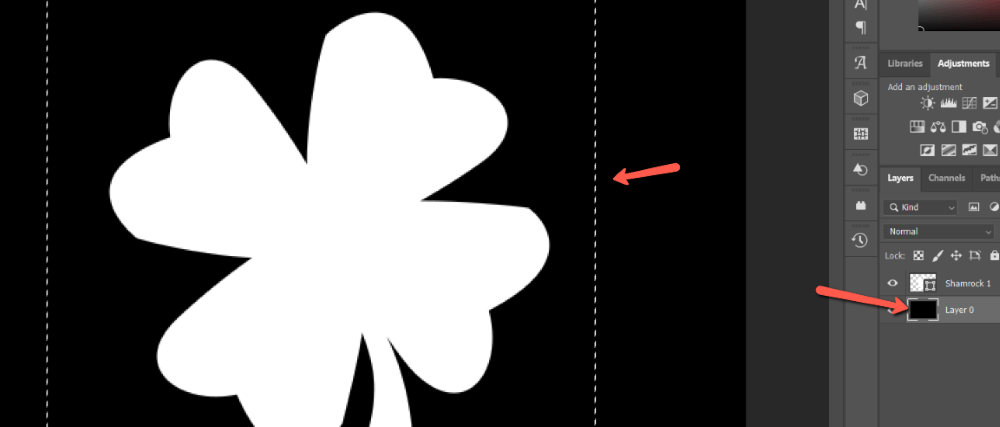
With the background layer active, make a selection where you would like to remove the background.
Step 4: Delete or Mask it Off
At this point, you can press the Backspace or Delete key to delete the pixels permanently.
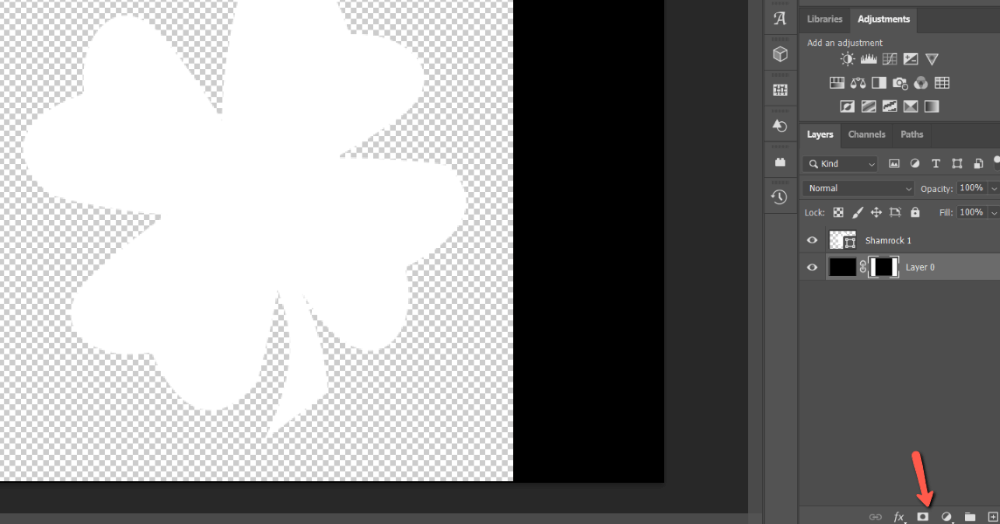
What if you want the option to come back and make adjustments? Then, invert the selection with Ctrl + Shift + I or Command + Shift + I and press the Mask button at the bottom of the Layers panel.
Cutting Out a Shape within a Shape
Now let’s take things one step further. How do you cut out a shape within a shape in Photoshop? The shapes will appear on separate layers, but how do you punch through the bottom shape? Let’s take a look.
We’ve already got the shamrock on the page now let’s add a second shape that we’ll cut out from the shamrock. Just like we did before, click on the custom shape tool and choose your shape from the Options bar.
Here I’ve placed this sun shape and turned it red so we can see it.

Method 1: Rasterize and Create a Layer Via Cut
There are a couple of ways that you can cut out the shape. For this first method, we’ll need to rasterize the shamrock layer.
Right-click on the shamrock layer and choose Rasterize Layer from the menu.
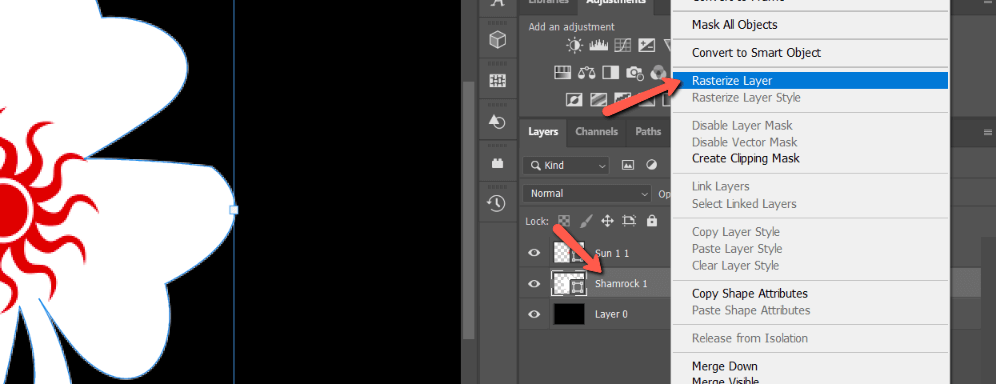
Wait to rasterize this layer until you’re reasonably sure you won’t be resizing the shamrock anymore. Rasterizing changes the shape from a vector, which is scalable without quality loss, to pixels, which are not.
Select the sun by holding Ctrl or Command while clicking on the sun shape thumbnail. Then, make sure to go back to the shamrock layer.
Activate the Marquee tool by pressing M on the keyboard or selecting one of the Marquee tools from the toolbar.
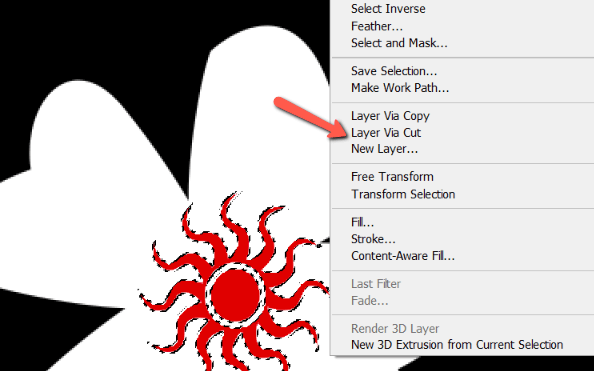
Right-click on the shape and choose Layer Via Cut from the menu.
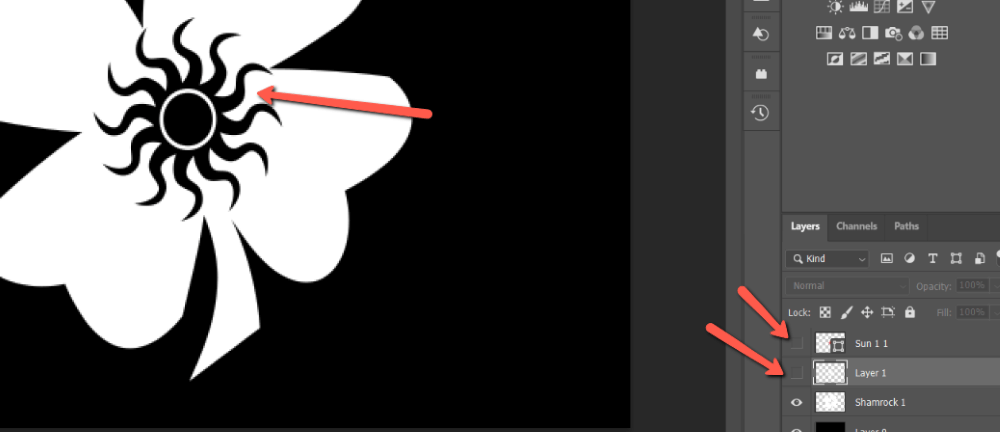
At first, it will look like nothing happened. That’s because the original red sun layer is still on top.
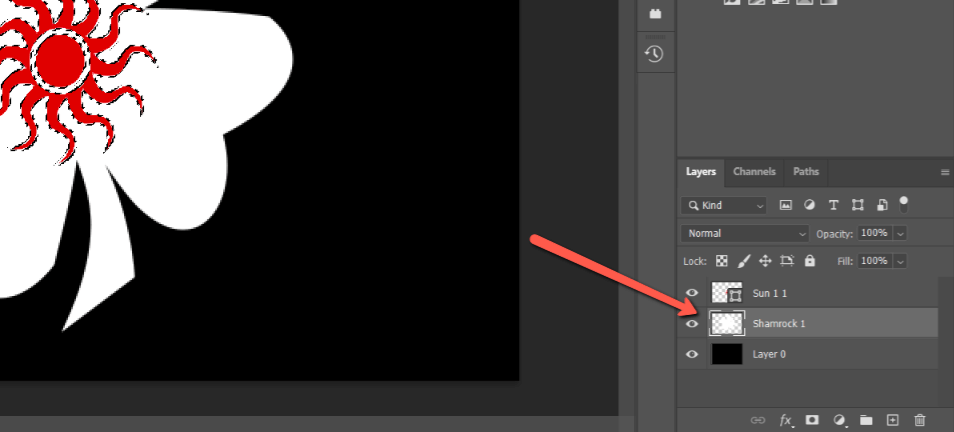
However, notice that there is a new layer between the shamrock and the red sun shapes. Turn off both the red sun layer and the newly created layer by clicking on the eye icons on the left side of the layer. Then, you’ll discover a sun-shaped hole punched through the shamrock.
Method 2: Subtract the Front Shape
Is there a way to cut out a shape in Photoshop without rasterizing? You may not want to lose the ability to scale your shapes without losing quality just yet. This next method is a fantastic way to cut out shapes without having to rasterize the layer.
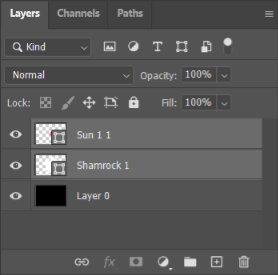
Select both layers in the Layers panel. To select multiple layers, hold down the Shift, Ctrl, or Command key while clicking on the layers you want to select.
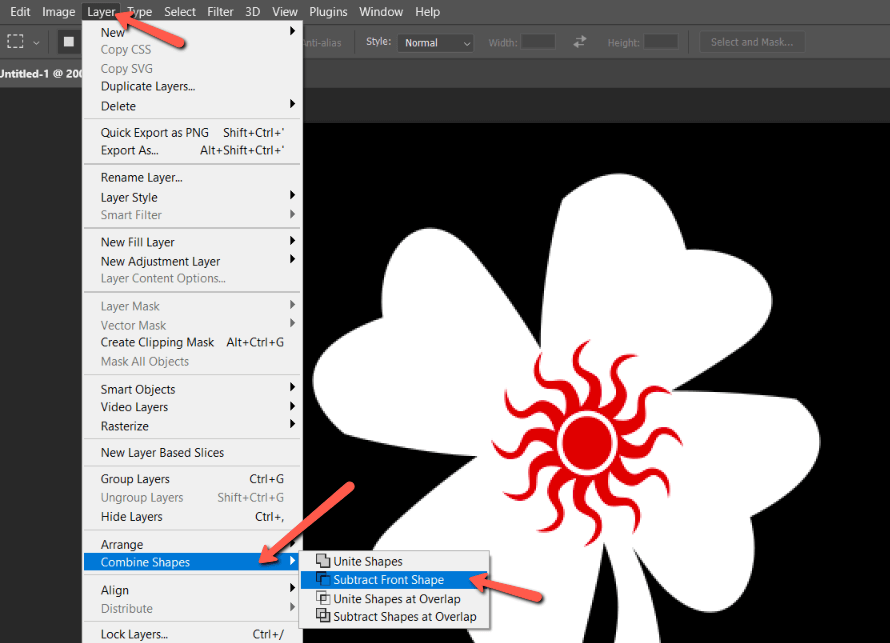
Then go to Layer in the menu bar, and hover over Combine Shapes near the bottom of the menu. We get a few options for how we can combine them. Choose the Subtract Front Shape option.
Photoshop then combines the two layers. The sun shape is cut out from the shamrock and the shamrock takes on the color of the sun shape.
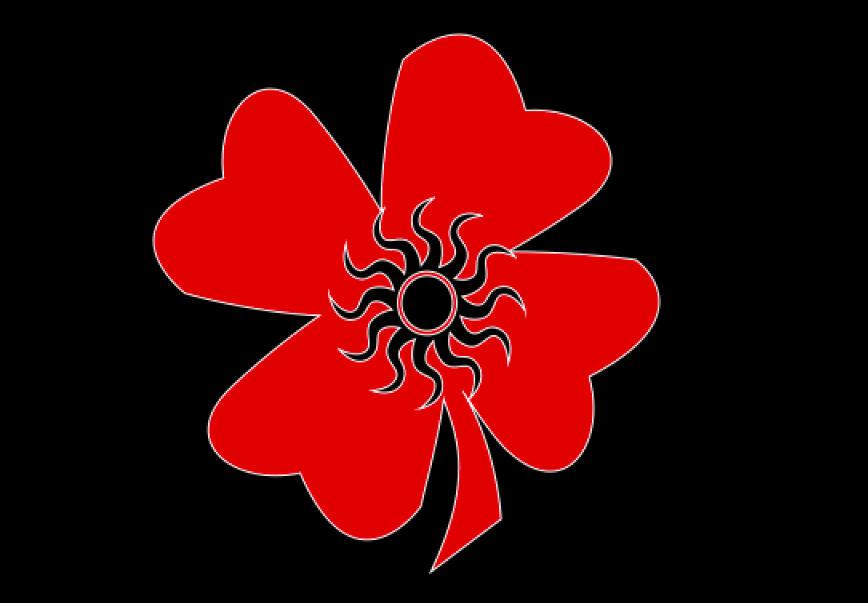
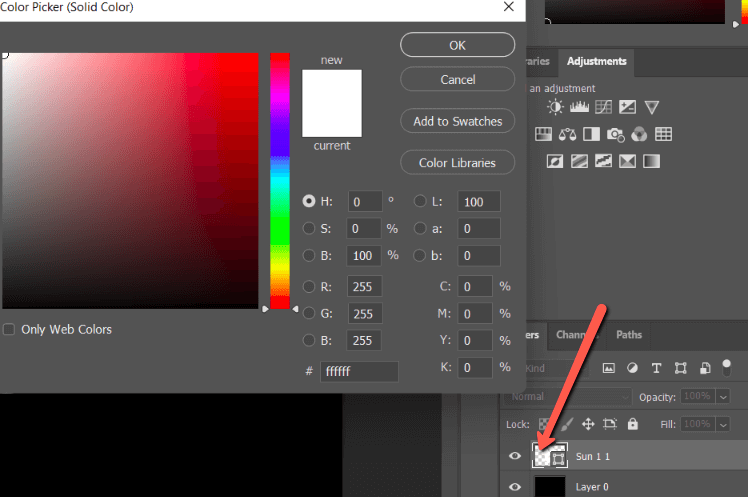
If you want to change the color back to white, simply double-click on the shape layer thumbnail. This opens the color picker and you can go back to white or choose whatever color you want.
Who knew cutting out shapes in Photoshop was such a big deal? Don’t worry, it seems complicated but once you’ve run through it a couple of times, you’ll be cutting shapes out left and right like a pro.
Give it a try and you’ll see what I mean!
Curious about what else you can do with shapes in Photoshop? Check out how to make a custom shape here!
About Cara Koch