
You won’t be successful in design without precision. If you don’t pay close attention to the details, your final product will always look a little off. For example, when you need to center a shape in Photoshop you can’t just get it close and call it good. If it’s not dead-center, it will look sloppy.
Hello! I’m Cara and I admit that sometimes I get impatient with the little details when I’m working in Photoshop. However, those little details really count if I want to produce a result that my clients love.
That being said, I love the fact that Photoshop has many features and tools that help cut down on tedious tasks and speed up your workflow. Let me show you a couple of tricks for how to center an object in Photoshop quickly.
Note: the screenshots and tutorial below are based on Photoshop CC for Windows, other versions might look slightly different.
Method 1: The Move Tool
The move tool provides a super quick way to center an object with just a couple of clicks. Here’s how it works.
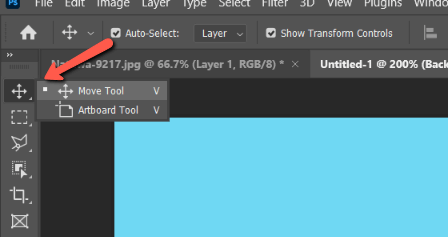
Open the Move tool at the top of the toolbar on the left.
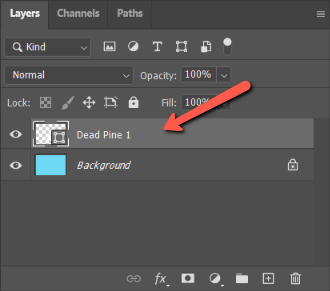
Select the layer of the object you want to move. As an example, I’ve placed a shape layer on the background. To center the shape, I’ll select the shape layer.
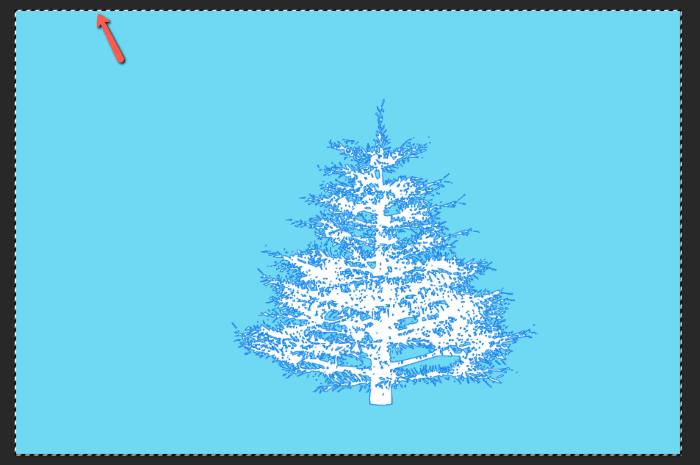
We also need to let Photoshop know what we are aligning the shape in reference to. If you want to center the object on your canvas, press Ctrl + A or Command + A to select the entire canvas.
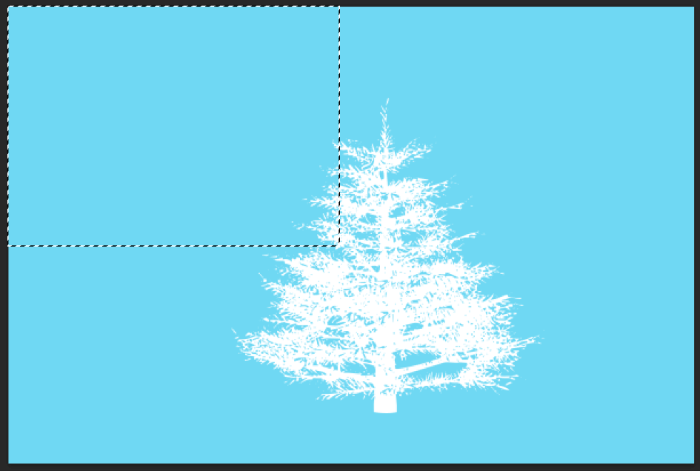
If you want to center the object to a certain part of the canvas, make a selection with the Rectangular Marquee tool.
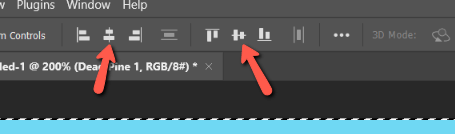
Up in the Options bar, you’ll find a set of alignment tools. If they are grayed out, it’s probably because you forgot to make a selection.
Click both the center vertical and center horizontal buttons.
This will quickly drop your object smack dab in the center

Method 2: Snapping and Guides
The second method is to drag your object close to the center and let Photoshop automatically position it. You have to make sure a couple of things are set up for this method to work.
Go to View in the menu bar and check out the Snap and Snap To options. Snap should have a checkmark on it to indicate that the feature is turned on.
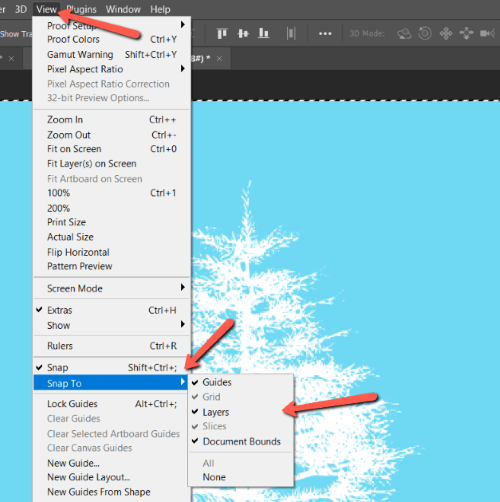
Snap To should have the Guides, Layers, and Document Bounds checked and active as well.
Now, with the move tool active, click and drag your object close to the center of your project. Purple lines will appear vertically and horizontally when you’ve reached the center of each direction.
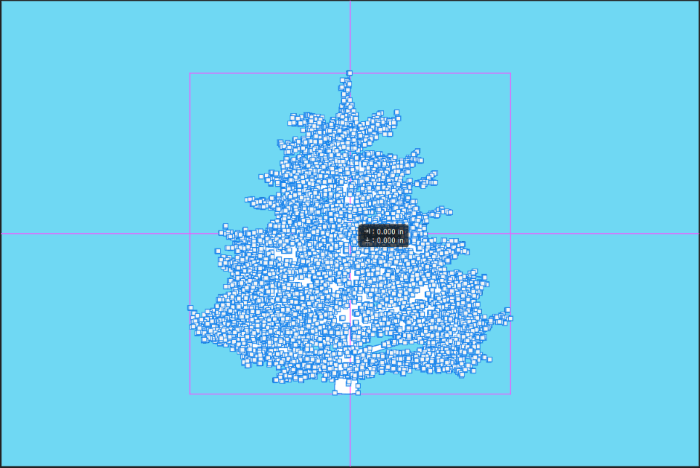
Once you’ve found one line, you can hold the Shift key to keep the object stuck to that guide. This makes it easier to drag until you find the second line. Release the mouse to drop your object in the dead center.
It sounds a little complicated when explaining it, but it’s super simple, I promise.
That’s all there is to it! With one of these simple methods, you can easily position any object in the center of your project super quickly.
Interested in more Photoshop tips? Check out any of our easy-to-follow tutorials including how to copy a mask in Photoshop!
About Cara Koch