
Rectangular and circular borders are fun to add around photographs in Photoshop. But wouldn’t it be cool if you could insert an image inside any kind of shape?
You can!
Hello, I’m Cara. In my work as a professional photographer, I’m always looking for interesting ways to spice up my photos. One such interesting technique is to fill a shape with an image. Using something unconventional is a sure way to grab the viewer’s attention.
Even better, this technique looks complicated but is super easy to use. Check it out!
Note: the screenshots and tutorial below are based on Photoshop CC for Windows, other versions might look slightly different.
Table of Contents
Step 1: Add a Shape
To get started, we need a document with a shape we want to use. To get there, choose one of the Shape Tools (Rectangle, Ellipse, Polygon, Line, and Custom Shape) from the toolbar on the left.
The Rectangle and Ellipse tools aren’t quite spicy enough for what we want to do. Let’s choose the Custom Shape Toll at the bottom.
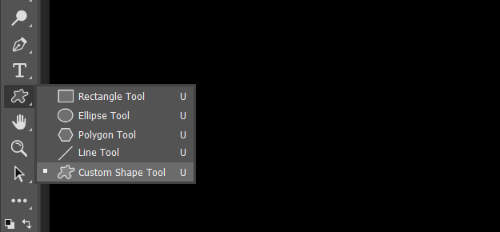
Look up in the Options bar on the right side. You’ll see a little box with an arrow next to it. Click on the arrow to open your shape options.
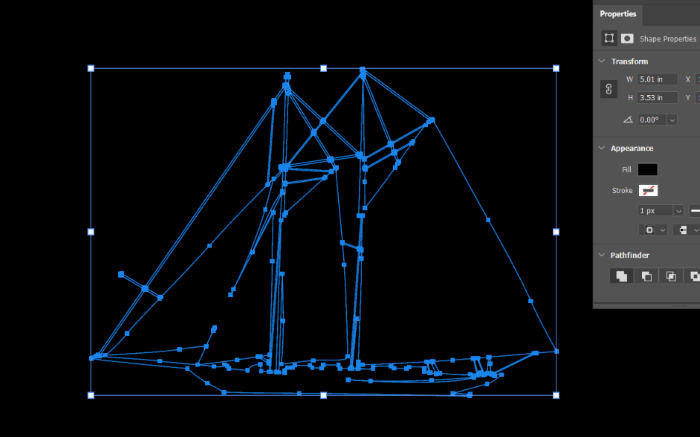
You can choose one of the ones that came with Photoshop or browse the Internet to download a particular shape. You can also create your own shapes.
Once you’ve got a shape, drop it on the canvas. Remember to hold Shift while dragging and dropping so the shape will maintain its aspect ratio.
Step 2: Add an Image
To fill the shape with an image, we’re going to place the image on top of the layer stack. Then, we’ll limit the image to the shape with a clipping mask. Let me show you how that works with this image from Pexels.com.
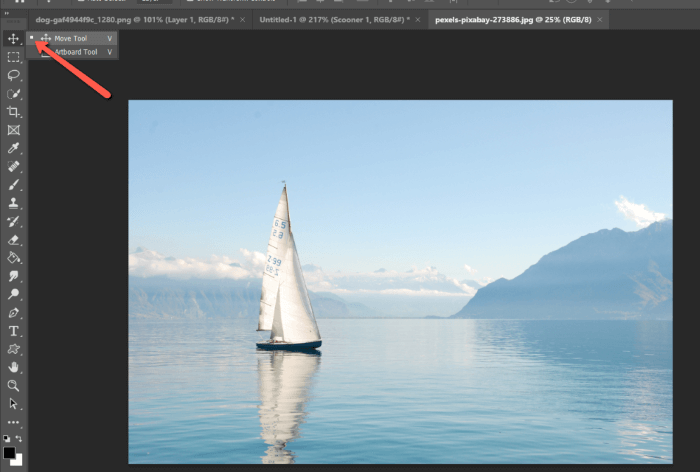
Open the image in Photoshop. With the Move tool active, click anywhere in the image and drag to the tab with your shape document.
Drop it on top. The image will cover your shape. Don’t worry about that for a moment.
Step 3: Resize the Image
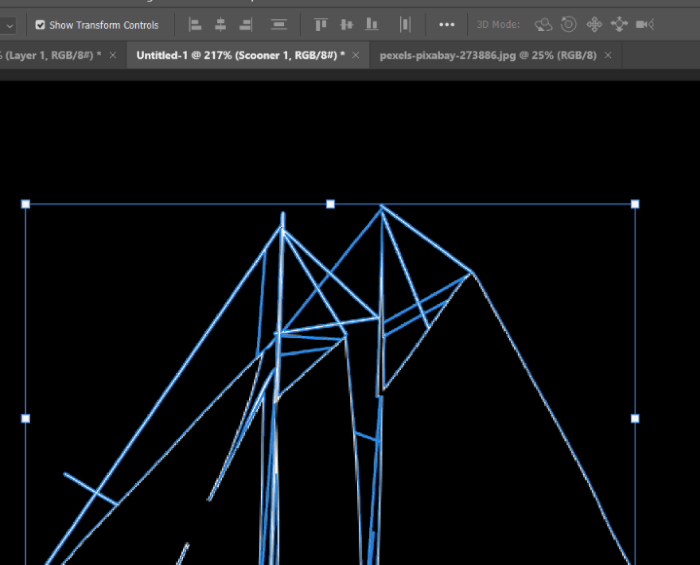
It’s likely you’ll need to resize and reposition the image where it makes the most sense. To do this, press Ctrl + T or Command + T to activate the Transform tool.
A blue box with handles will appear around the image. Click and drag to resize. If the photo is significantly larger than the shape, use the height or width boxes in the Options bar. Type in a percentage to cut it down dramatically.
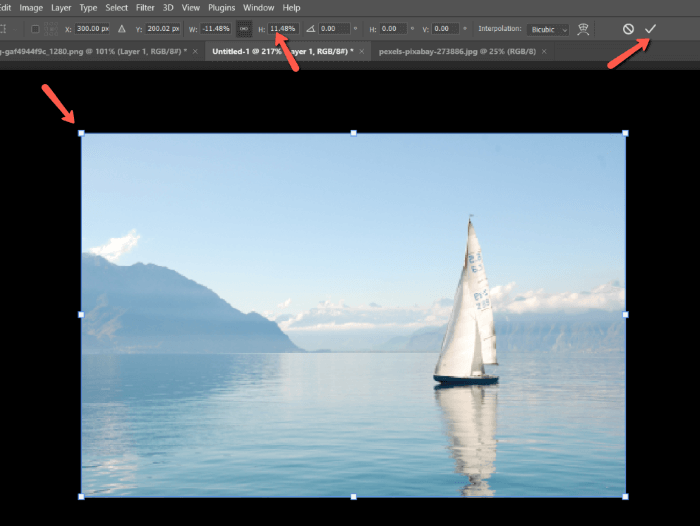
You can also rotate or flip the image to make it fit your shape better. Press the checkmark in the top right corner to accept your changes.
Step 4: Add a Clipping Mask
To limit the image to the shape, we’ll use a clipping mask. Right-click on the image layer and choose Create Clipping Mask from the menu.
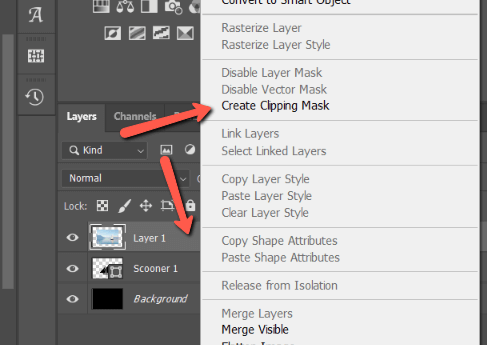
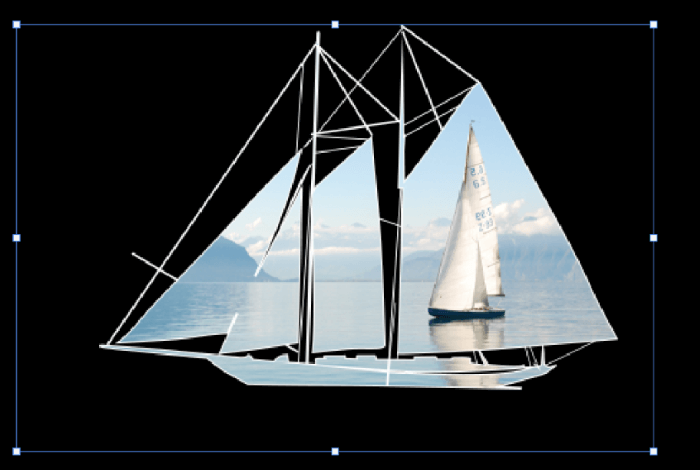
This will fill the shape with the image. You can grab the image and move it around within the shape as you please to get it perfectly positioned.
How easy was that?! This technique is awesome for decorating albums, creating flyers, and so many other applications. Let your imagination run wild!
Interested in learning more creative effects? Check out this tutorial for how to bend or curve an image in Photoshop!
About Cara Koch