
In a perfect world, things would always be lined up and down. Or would they?
Sometimes it’s fun to shake things up a bit. In the design world, you’ll definitely run into instances where you want to rotate shapes or objects in your project.
Howdy! I’m Cara and today I will be your guide as we learn how to rotate shapes/objects in Photoshop. Please keep all arms and legs inside the vehicle at all times!
Note: the screenshots and tutorial below are based on Photoshop CC for Windows, other versions might look slightly different.
Table of Contents
Step 1: Open a Shape
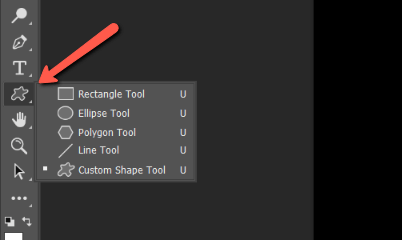
To get started, we need a shape to work with. The shape tools are located near the bottom of the toolbar on the left side of your workspace. There are five shape tools you can pick from, I’m going to go with the Custom Shape Tool.
With the shape tool active, you’ll notice a box with a dropdown arrow in the Options bar. Click on the arrow to open Photoshop’s selection of shapes. You can also download and install other shapes from the Internet or even create and save your own!
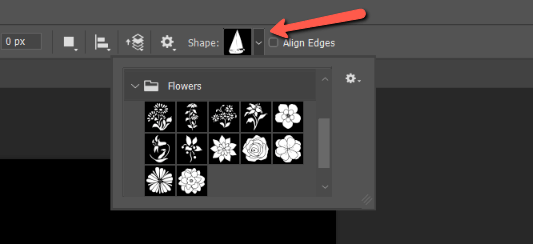
Choose the shape you want. Then, click and drag across your canvas to open the shape. Hold Shift while dragging to maintain the correct aspect ratio.
Step 2: Rotate the Shape
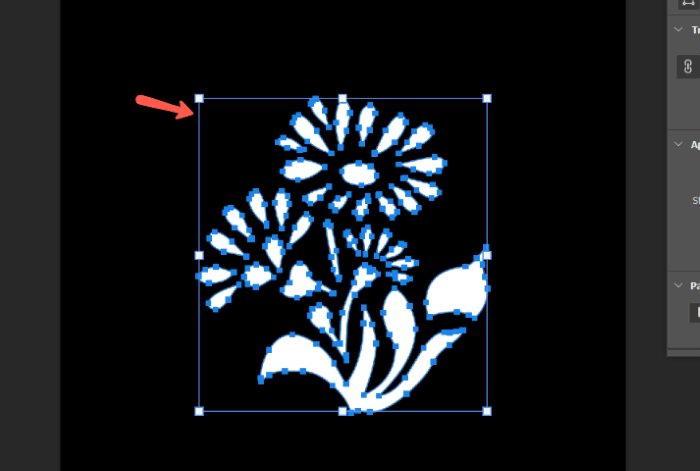
If you just open the shape and do nothing else, the Transform tool is automatically active. This is noted by a blue box with little blue squares around the shape.
Hover your cursor near one of the corners and it will turn into a double-sided arrow with a 90-degree bend. Click and drag and the shape will begin to rotate. Hold down the Shift key while rotating to limit the rotation to 15-degree intervals.
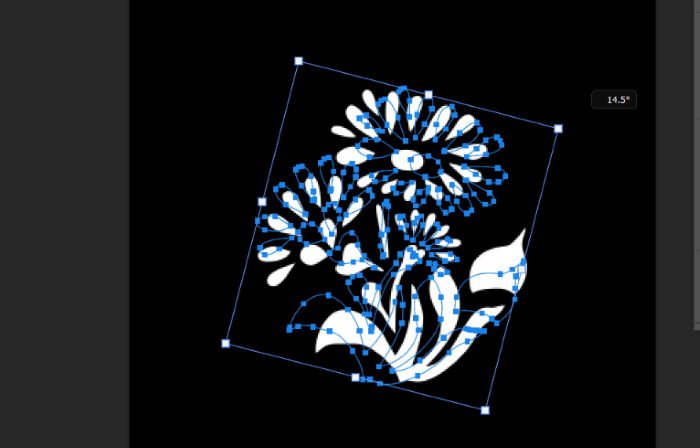
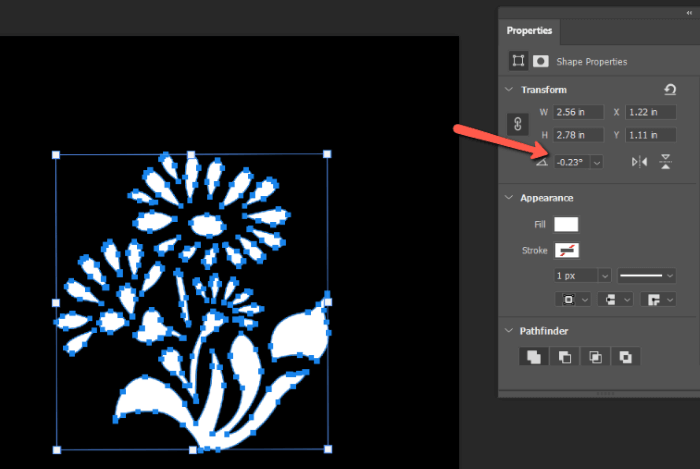
For a more precise angle, type the angle degree you want in the angle box in the Shape Properties panel. This panel automatically appears when you place the shape.
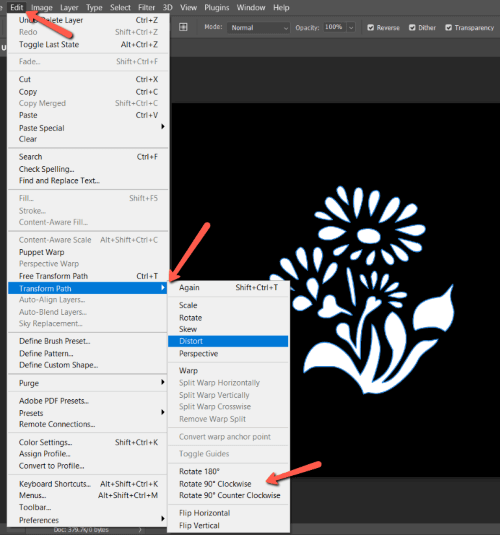
You can also jump to certain angles through the Edit menu. Go to Edit, hover over Transform Path, and choose from the various options to rotate 180 degrees, 90 degrees, etc. You can also flip the shape horizontally or vertically here.
Edit a Shape Later
This method is pretty automatic, the tool is already open for you when you place the shape. But what if you want to come back and rotate a shape after you’ve placed the shape and gone off to do something else?
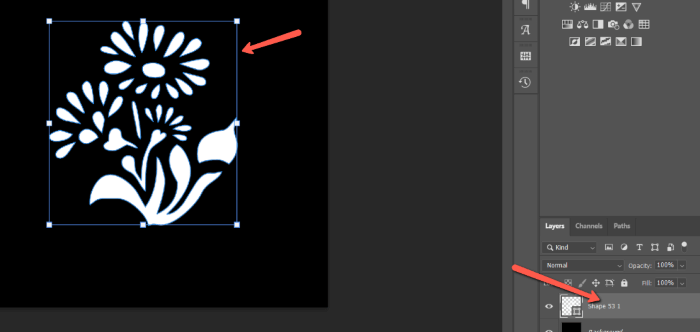
All you have to do is click on the shape layer in the layers panel. With the Move tool active, the transform tool will automatically appear and you can rotate the shape as described.
If another tool is active, the transform tool won’t activate on its own. You can open it by pressing Ctrl + T or Command + T on the keyboard or switching to the Move tool in the toolbar.
When you’re happy with your changes, accept them by pressing the checkmark in the Options bar.
Super simple! Now you can add rotating shapes in Photoshop to your repertoire and create some amazing stuff!
FAQs
Here are more questions related to shape/object transformation in Photoshop.
How to rotate a section in Photoshop?
If you want to rotate a selection in Photoshop, you’ll need to make a selection first, and then use the Transform Tool to rotate the part of the image you selected.
What is the shortcut to rotate an object in Photoshop?
If you want to use the Transform Tool to rotate an object, the shortcut to rotate an object would be Command + T (or Ctrl + T for Windows users).
To learn more tricks, check out more of our content. Start with how to undo in Photoshop here!
About Cara Koch