Careful cutouts are key when creating composite images. You can’t blend an object naturally into a foreign image if you have random bits and pieces of the old background stuck to it!
Hey there! I’m Cara and I’ll be the first to admit that learning to carefully cut out objects in Photoshop can be frustrating. However, Photoshop has blessed us with several tools to make this job easier, it’s just a matter of learning how and when to use them.
So, let’s look at some of my favorite methods for cutting out selected objects in Photoshop!
Table of Contents
The Basic Process for Cutting Out an Object
The basic process for cutting out an object is pretty much the same no matter what tool you use. You make a selection to tell Photoshop which area of the photo you want to keep (or get rid of). Then you mask it off or remove the background if you are 100% positive your selection is perfect.
(Note: I rarely, if ever, delete the background because it’s always nice to have the ability to go back and adjust your selection. It’s almost inevitable that later on, you’ll notice small imperfections you missed when first making and refining the selection.)
Photoshop offers several selection tools to choose from. Some selection tools work better in certain situations and sometimes the tool you use might be based on personal preference. You can also use a combination of the tools to wield the strengths of each.
Let’s get to it!
Note: the screenshots and tutorial below are based on Photoshop CC for Windows, other versions might look slightly different.
Method 1: Object Selection Tool
The Object Selection Tool is one of my favorites because I am impatient. Any time I can save time on a project, I’m happy.
This tool works well with well-defined subjects against a relatively clean background. You define an area and Photoshop detects edges and snaps the selection to those edges. It’s pretty impressive how powerful this tool is.
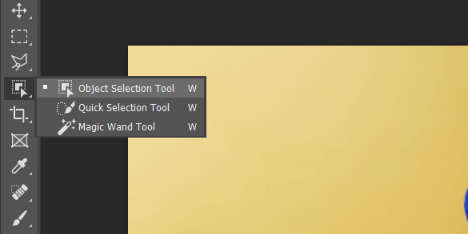
You’ll find this tool 4th from the top on the toolbar to the left. It may be hidden behind the Quick Selection Tool or the Magic Wand Tool. We’ll be visiting both those tools in just a moment.
Check this out, as you hover over areas of the image, Photoshop will highlight what it thinks you want to select.


Click on the highlighted object and Photoshop will make the selection.
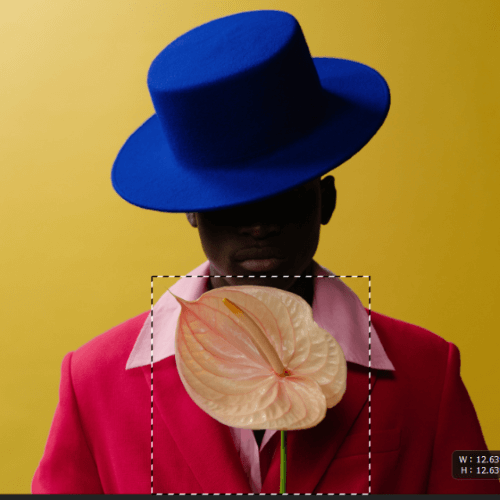
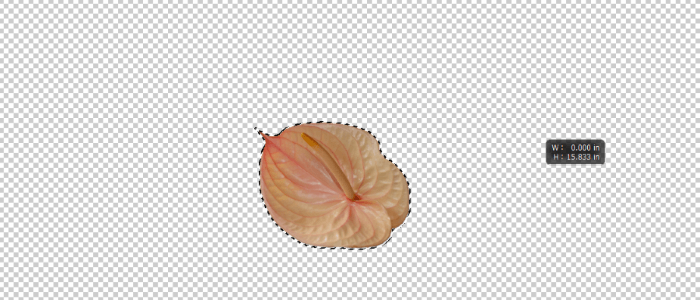
Alternatively, you can click and drag to draw a rectangle around the object and Photoshop will snap to the edges within your rectangle.

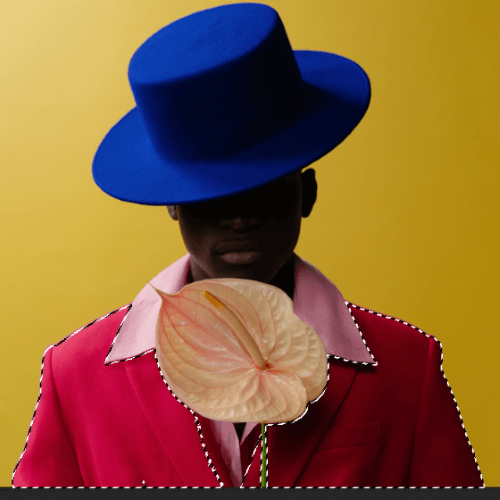
The selection won’t always be perfect, but it often does a pretty amazing job. Then all you have to do is clean up a couple of imperfections and you’re good to go!
Method 2: Quick Selection Tool
The quick selection tool is located within the same tool group as the object selection tool but gives you a little more control.
Select the quick selection tool from the toolbar.

Then, click and drag around the object you would like to select.
Method 3: Magic Wand Tool
The third tool in this family group is the Magic Wand Tool. This tool selects pixels according to color. If you have an object that is mostly all one color, this tool is very useful. Check out this tutorial on how to use the magic wand tool to get the best results.
A few clicks in various places on the jacket quickly gave me this selection.
Method 4: The Pen Tool
If Photoshop is having a hard time picking up the edges, the pen tool is helpful for making precise selections. It allows you to drop a point wherever you need around an object to draw a precise path.
However, because of its precision, the pen tool can be time-consuming to use. Of course, Photoshop has some built-in features that allow you to speed things up.
Method 5: Channels
What about small, difficult selections like…hair? Check out what the object selection tool did for this image.

It did a horrendous job around her hair and the other selection tools won’t do much better. In this case, we’ll use channels instead.
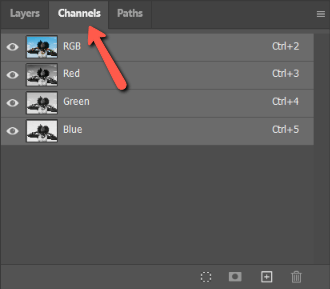
Your channels should be a tab next to the Layers panel in the bottom right of your screen.
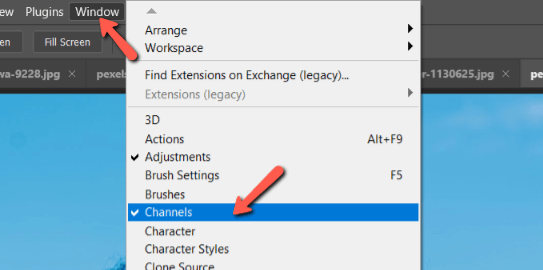
If they’re not there, go to Window in the menu bar and choose Channels.
Once in this space, click on each channel in turn. You’re looking for the one that offers the most contrast. In other words, the most black and white with as little gray as possible.
It won’t be perfect, but that’s okay, choose the closest one and right-click to Duplicate Channel. For my image, I’ll choose the Blue channel.

With your copied layer selected, press Ctrl + L or Command + L to access the Levels for the channel.
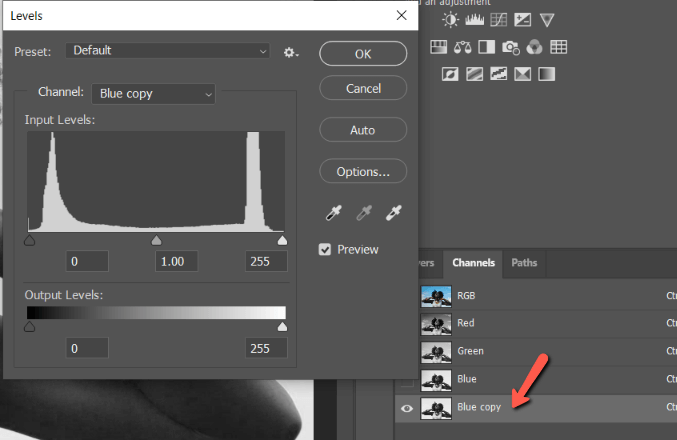
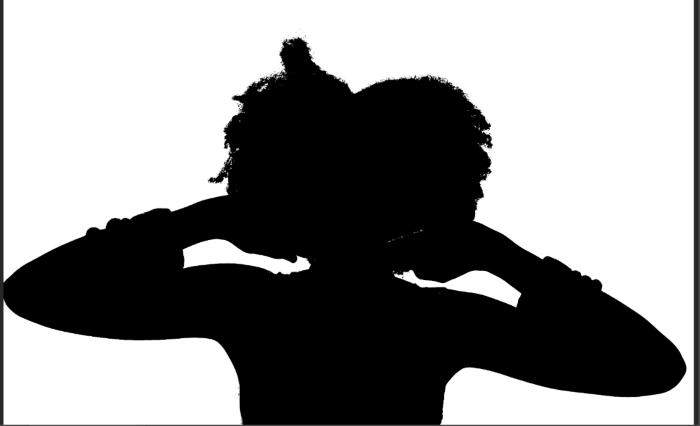
Drag the sliders to accentuate the contrast in the image as much as possible. You want as much black and white and as little gray in the image as possible.

Her white shirt and other areas didn’t get picked up in the selection. Press the B key to access the Brush tool. Using a hard brush with the foreground color set to black, paint over the areas you want to include in your selection.
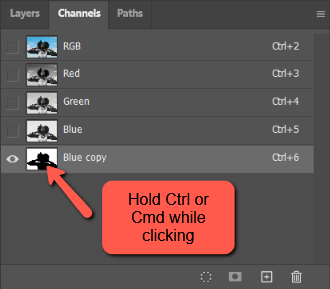
To turn it into a selection, hold Ctrl or Command while clicking on the channel’s thumbnail.
The Final Step to Cut Out an Object in Photoshop
There are different methods for making the actual cut. Here is a quick explanation of each.
Mask Off the Selection
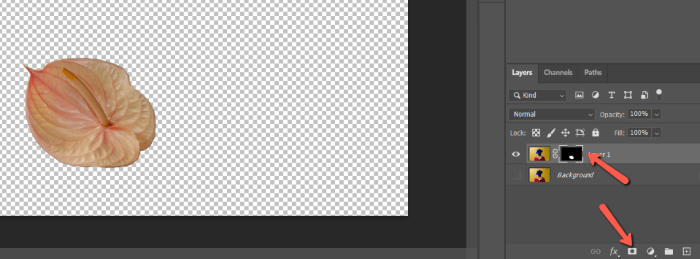
The best method is to use a layer mask. This one is useful because you can come back and make adjustments later.
To create a mask, press the mask button at the bottom of the layer’s panel. Photoshop will create a mask around your selection.
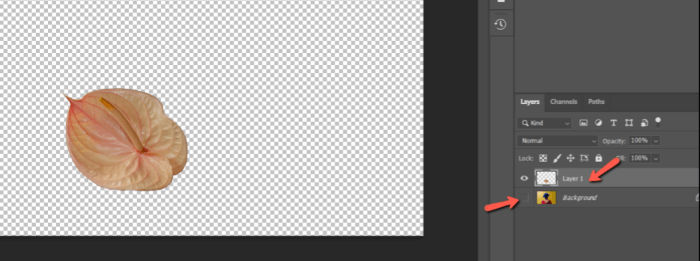
Duplicate the Selection
With your selection made, you can hit Ctrl + J or Command + J to copy the selection to a new layer. When you make the background layer invisible (eye icon in the Layer’s panel) you can see your cut-out piece.
Delete the Background
You can also just delete the pixels around your selection if you’re sure you won’t need them. If you hit the Backspace or Delete button while your selection is active, it will delete your selection. To delete everything but the selection, you need to invert it.
Press Ctrl + Shift + I or Command + Shift + I to invert the selection. You’ll notice the marching ants appear around the edges of the image as well.
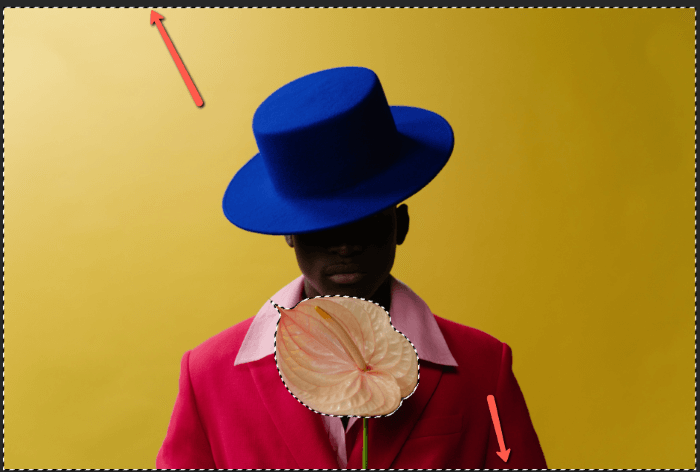
Then when you hit Backspace or Delete, the background will disappear.
Playing with Cutouts
Cutting objects with Photoshop couldn’t be simpler. The complicated part shows up when trying to make your selection. However, Photoshop’s tools are incredibly powerful and make this complicated task much easier in a lot of images.
Once you have your cutout, there are all sorts of things you can do with it. Let us know what you come up with in the comments! Check out more tutorials for other tips and tricks for working with Photoshop.
Curious about how to use the color replacement tool? Check it out here!
About Cara Koch
Rufina Bello
Amazing blog in your explanation and the photos you use for detailing just I lost my word that’s awesome.
Thanks for the blog
June
Thanks for your kind words!