
That’s not the color you wanted! It’s okay, Photoshop’s Color Replacement Tool can fix it for you. It’s super easy to do, you just have to know the right settings.
Hi! I’m Cara and as a product photographer, I need props that are a certain color to tie together my images. Unfortunately, the ones I have on hand aren’t always exactly the color I need.
The Color Replacement Tool in Photoshop comes to my rescue. Let me show you how it works.
Table of Contents
What is the Color Replacement Tool in Photoshop
The Color Replacement Tool is used to quickly changes the color of an image. It automatically accounts for highlights and shadows on the object and retains textures. This makes the new color look quite natural.
Keep in mind that the Color Replacement Tool creates a destructive edit. For ease of correcting mistakes later, it’s a good idea to work on a new layer with this tool.
Follow the steps below to use the Color Replacement tool.
Quick note: the tutorial below is based on the Windows version of PhotoshopCC. Mac users will see slightly different screenshots.
Step 1: Find the Color Replacement Tool
The Color Replacement Tool does not appear on the toolbar in Photoshop’s default view. You have to go look for it under the Brush Tool.
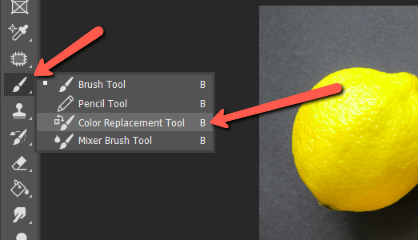
When you select the Color Replacement tool, it will replace the Brush tool on the toolbar. (Learn about resetting the toolbar here). Now when you hit B on the keyboard, Photoshop will open the Color Replacement tool instead.
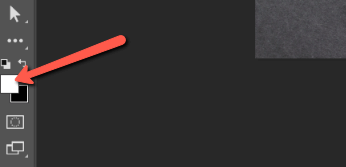
Step 2: Choose Your Color
With the Color Replacement tool active, choose your replacement color. Click on the foreground color box near the bottom of the toolbar.
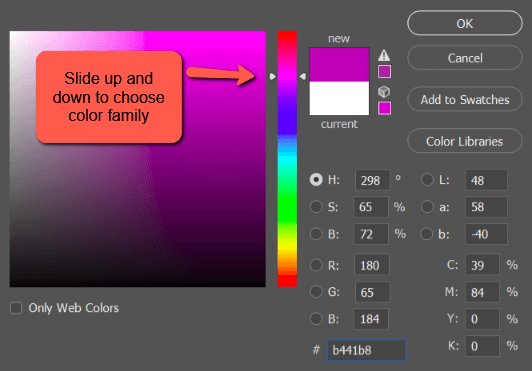
This opens the color picker window where you can choose the color you want. I’m going to get creative and turn a lemon purple in this image from Pexels.com.
With this color picker panel open, you can click anywhere in the image (or another image). The program will choose the color that exactly matches the pixels in the area you click on.
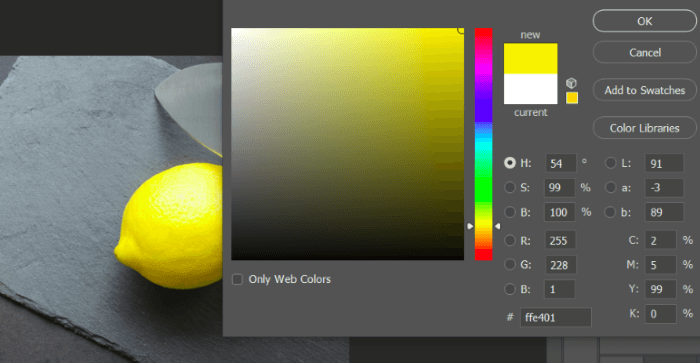
For example, clicking on the lemon gives me this lovely lemon yellow color.
Step 3: Paint in the Color
When the tool is ready to paint, your cursor turns into a little dot with a circle around it. The circle changes size depending on your brush size.
However, the dot is what is important. When you click, the program samples the color in the pixels under the dot. This is how it knows what color you want to change.
Now you can paint around without affecting the other colors in the image.
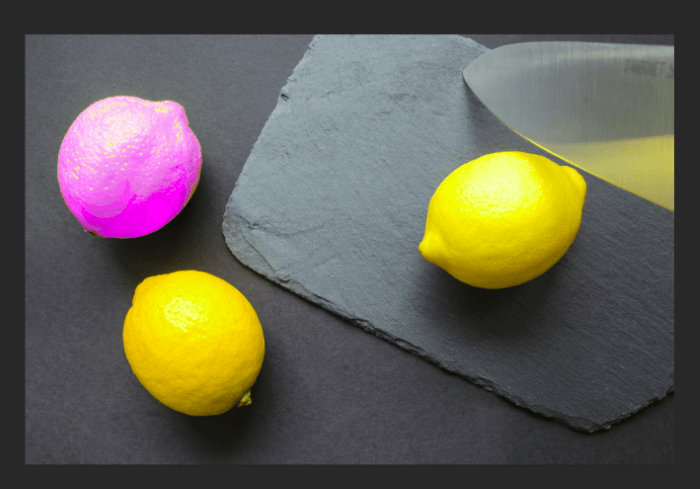
For example, once I sample the yellow, I can quickly drag the brush around over the rest of the lemon. The program only turns anything yellow to purple, so it leaves the background alone.
That’s the gist of using the tool. However, it is helpful to know a few settings to make sure the tool works best for you.
Color Replacement Settings
In the Options bar, you’ll notice a few settings that change the way the tool functions.

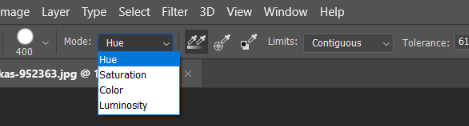
Mode
There are four modes you can choose from: Hue, Saturation, Color, and Luminosity. Which will you pick will greatly affect how the color is replaced.
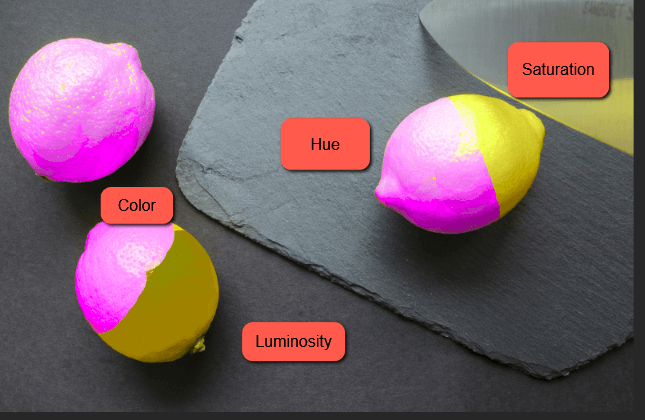
Color and Hue affect the colors in the image. Saturation deepens the yellow (makes it more saturated), regardless of the fact that I have purple selected.
Luminosity deals with bright/dark rather than the actual color. My purple is much darker than the original yellow, so it darkens the area I paint over.
Check out the image below for a quick visual.
Sampling Modes
Let’s look at continuous and once sampling modes.
What happens as you move your cursor around with continuous selection? The program will continuously make new samples from the pixels under that dot in the center of your cursor.
Choose once and the program will take one sample and leave it at that. This can be helpful when you want to restrict the color change to a certain color.
However, continuous is more useful in most cases. Because of highlights and shadows, colors aren’t exactly the same all over an object.
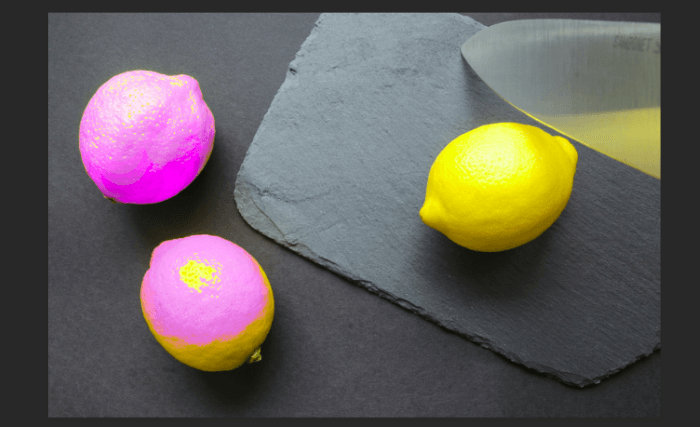
In this photo, I painted the bottom lemon with once selected. Notice that the lightest and darkest parts of the lemon didn’t change.
Limits
The Limits box gives you three options to work with: Contiguous, Discontiguous, and Find Edges.
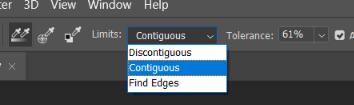
Contiguous will only affect the same colors that are touching. If another swatch of the same color is nearby, but not touching the sampled area, it will not be affected. You have to go over and sample in the second area for the color to change.
For example, what if I start painting on one lemon and slide over to another? The tool will have no effect on the second lemon, even though it is the same color.
Discontiguous allows you to change any pixels that are the same color, regardless of whether they are touching the originally selected pixels. Now I can jump over to that second lemon and the color will change without having to resample.
Find Edges tries to keep the edges of the object crisp. It works best when the object is fully in focus.
Tolerance

Tolerance is another important setting. The higher the number, the more “tolerant” the program is. It accepts more colors and changes them.
A lower number restricts the colors that will change to only the colors that are most like the sampled area.
Since there’s a big difference between grey and yellow, you can set the tolerance pretty high for this image. If you had a more similarly colored background, you should choose a lower tolerance to limit the color change.
It will take longer because you will have to sample more times. But the color change will be more precise.
Anti-Alias
By default, this box is checked and you generally should leave it that way. It helps smooth the edges of the object for a more natural look.
Have Fun With the Color Replacement Tool!
This is a pretty neat tool, isn’t it?
Enjoyed this tutorial? Check out more of our tool tutorials, like how to use the Magic Wand tool.
About Cara Koch