Shapes are fun to play within Photoshop. You can add them to designs or images and they’re especially helpful for those of us who can’t draw to save our lives.
Hello, I’m Cara! Though the pen-and-paper method of artistry was never my thing, Photoshop and photography are my jam. There is so much you can do with this program, the possibilities are endless!
It can also feel overwhelming to learn it all so we break it down into bite-sized pieces here on PhotoshopBuzz.com. Today, let me show you how to color a shape in Photoshop.
Quick Note: the screenshots in the tutorial below are based on Photoshop CC for Windows. If you are using Photoshop for Mac or other versions, they will look slightly different.
Table of Contents
Step 1: Select the Shape Tool
To get started, we need a shape. Access the shape tools by pressing U on the keyboard. There are several shape tools that you can use. To get to the 4 hidden ones, right-click whichever one is active on the toolbar and choose from the flyout menu.
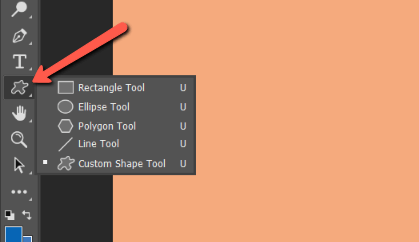
The first four are pretty basic so I’ll choose the Custom Shape Tool to liven things up.
Step 2: Place the Shape
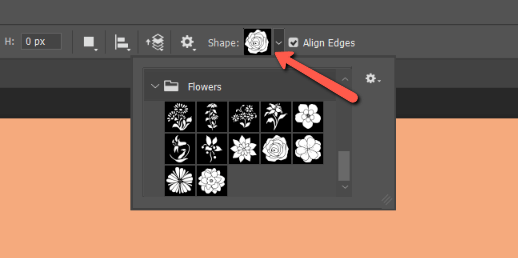
You can choose the shape you want from the Shape box up in the Options bar. Click the little arrow to the right to open the available options. You can also download and add more custom shapes if you need them.
Once you’ve chosen your shape, click and drag to expand the shape across your canvas. Hold down the Shift key while dragging if you want to maintain the aspect ratio.
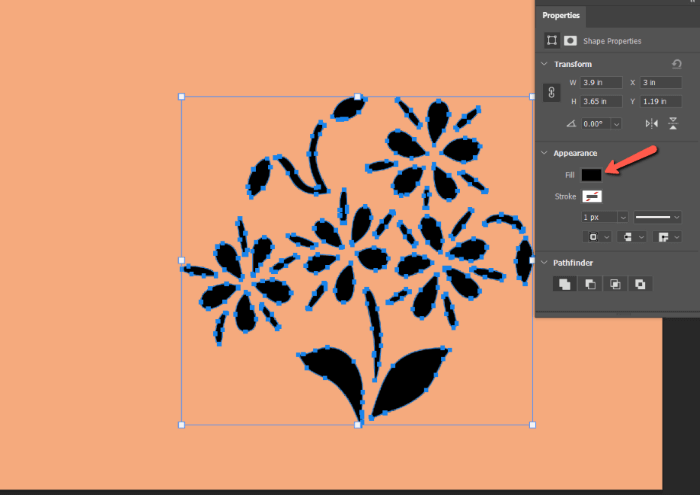
By default, the shape is automatically filled with whatever your foreground color is so mine is black.
Step 3: Change the Color
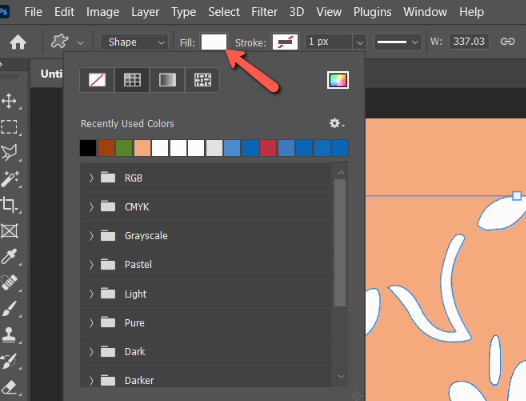
A Properties panel will appear when you add the shape. Under the Appearance tab, notice the box labeled Fill. This is the fill color.
Click on the swatch to open the color options. Choose one of the colors from the folders or click the multi-colored swatch in the right corner to open the color picker and choose a custom color.
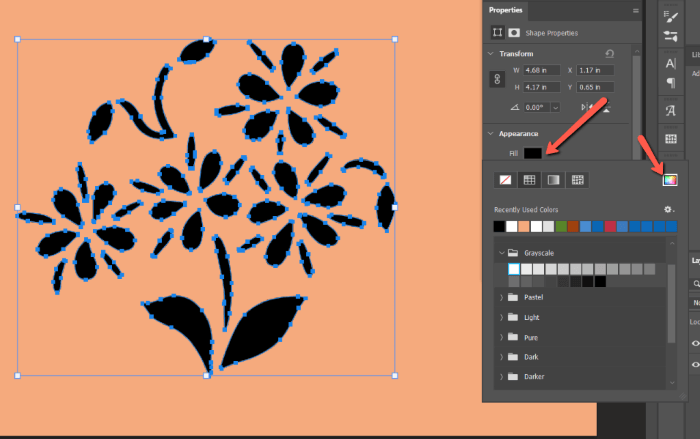
Whatever color you pick will replace the color in the shape.
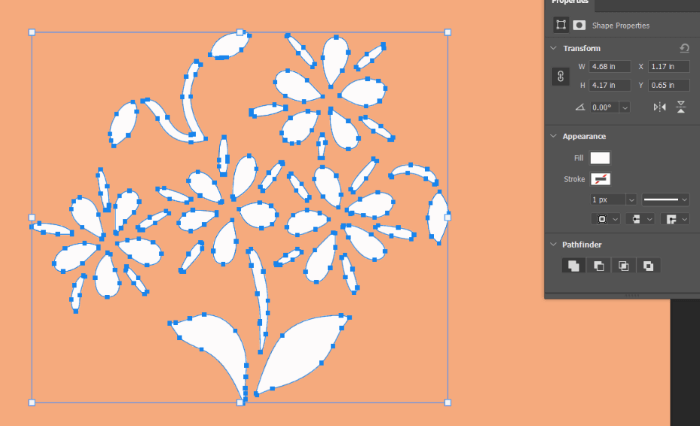
Press Enter or Return when you’re happy to commit to the change and place your shape.
Changing the Color of a Placed Shape
So that works to choose the color as you’re placing the shape, but what happens if you want to come back and change it later?
No problem! Simply select the shape layer in the Layers panel.
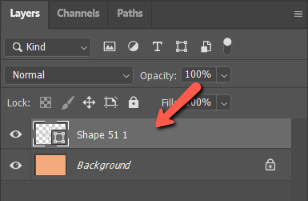
Look up in the Options bar on the left-hand side. You’ll see a Fill box up there as well. Click on it and you’ll get the same color options as was presented in the Properties panel. Choose the one you want and you’re all set!
Changing the Color of a Rasterized Shape
What if you try to change the color using this method and nothing happens? Most likely, your shape was rasterized at some point and this method will no longer work.
To change the color of this shape, we’ll need a Color Fill Layer instead.
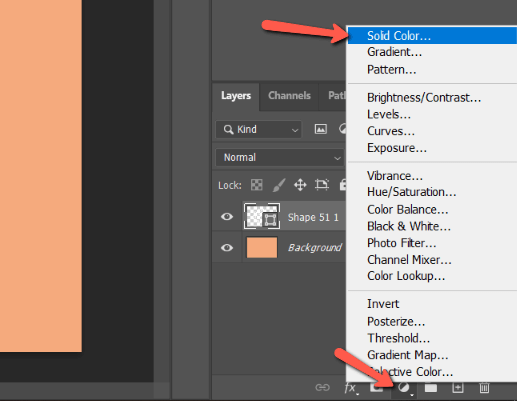
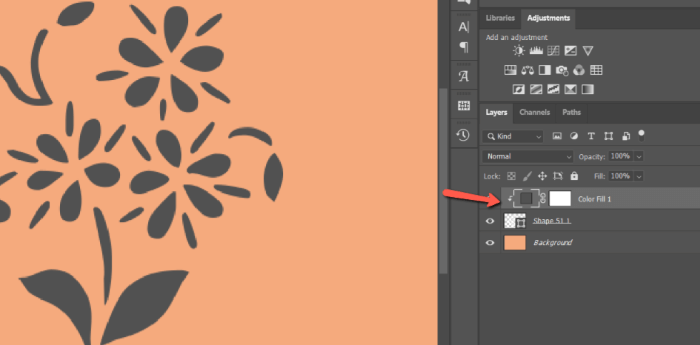
Click the half-filled circle Adjustment Layer icon at the bottom of the Layers panel. Choose Solid Color from the top of the list.
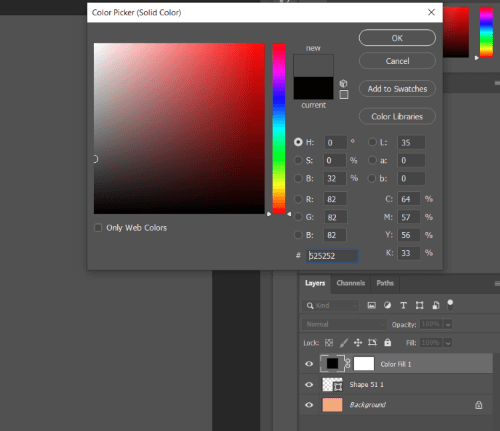
The color picker will open and you can choose whatever color you like. Click OK.
Make sure the Fill layer is above the shape layer in the Layers panel. Right-click on the fill layer and choose Create Clipping Mask from the menu.
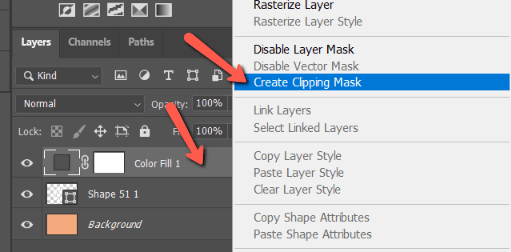
This will limit the color to only the shape. Learn more about clipping masks here.
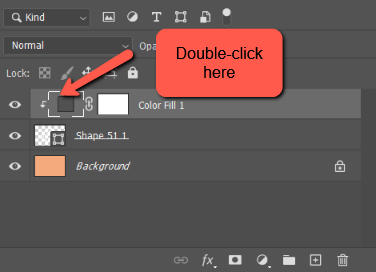
To change the color later, all you have to do is double-click the color layer thumbnail. This will open the color picker again and you can choose a new color.
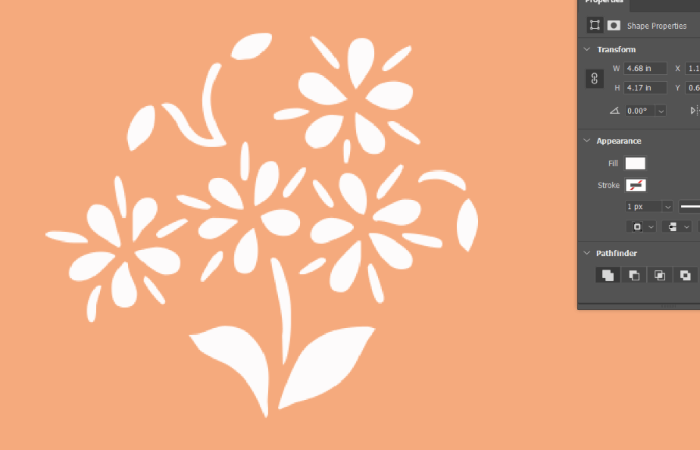
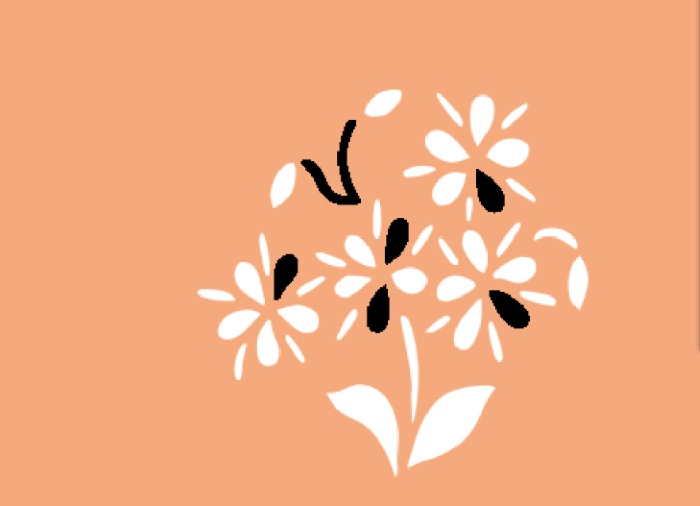
How to Color Part of a Shape
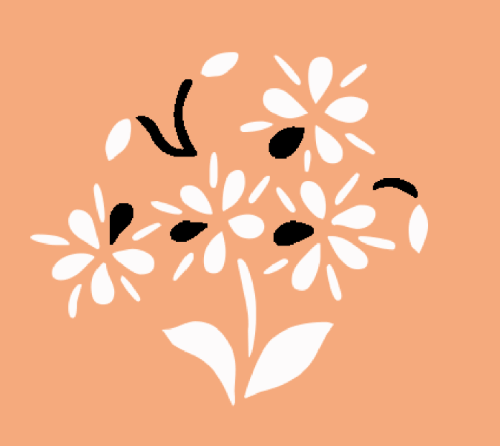
What if you only want to color part of a shape? Like this?
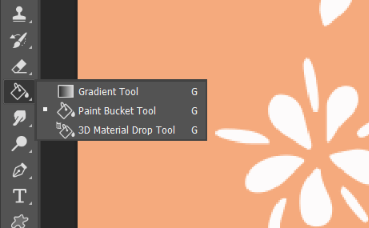
You can do this with the Paint Bucket Tool. Select the Paint Bucket tool from underneath the Gradient tool in the toolbar.
It will paint with your foreground color so click the little swatch at the bottom of the toolbar to choose the color you want. I’ll stick with black.
When you try to click on the shape with the paint bucket tool active, you’ll get this notification.
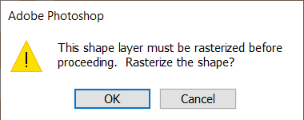
Click OK. Click on the shape again to fill it with color.
What if the whole shape fills in? Check the Options bar to ensure that the Contiguous box is checked. This will restrict the paint bucket’s effects to only pixels that are touching.
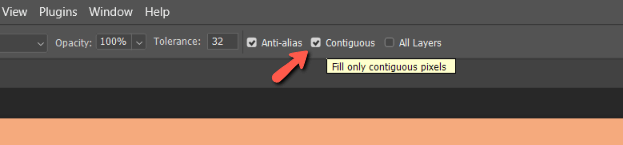
As long as this box is checked, you can click on individual pieces of the shape to change the color without affecting the other pieces.
I told you shapes were fun to play with! Let us know how your experimentation goes in the comments. And check out more fun tutorials like how to add stroke to text in Photoshop!
About Cara Koch