Text effects are a fun way to dress up your designs in Photoshop. However, some of them take a bit of creativity to achieve.
Thus, you’ll find many tutorials showing how to create the effects, but you’ll need to download their assets to do it. Plus, they have a handy ready-made pack for only $x.xx on sale today! Or you can make your own for free.
Hey there! I’m Cara, and I love messing around with images and designs in Photoshop. However, I like learning how to do things from scratch so I can create my own effects. For example, making something look metallic is one of the coolest effects I like to make in Photoshop.
So here we go, let’s learn how to create a metallic text effect in Photoshop!
Table of Contents
- Step 1: Create a Black Background
- Step 2: Add a Light Gray Layer
- Step 3: Add Noise
- Step 4: Add Motion Blur
- Step 5: Crop
- Step 6: Add Text and Resize
- Step 7: Move the Text Layer
- Step 8: Clip the Gray Layer
- Step 9: Add Bevel and Emboss
- Step 10: Add a Gradient
- Step 11: Add Random Shading with a Clouds Filter
- Step 12: Add Grunge with Noise
Step 1: Create a Black Background
We need a black background for this effect so let’s start there. Open a new document by hitting Ctrl + N or Command + N on the keyboard. Keep in mind when you’re choosing the size that you’ll need some space around the edges for trimming.
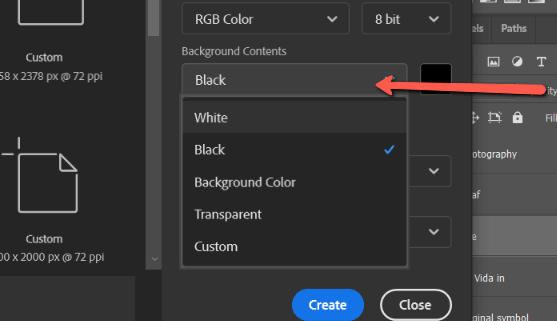
When you’re creating the document, you can choose the background color. We want black so let’s choose that right here.
Step 2: Add a Light Gray Layer
Now we want to put a light gray layer on top of the black background. Go to the Adjustment Layer icon at the bottom of the Layers Panel. Select Solid Color from the menu that appears.

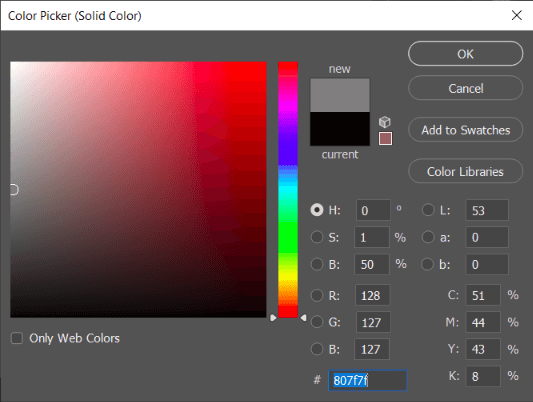
The color picker will appear. Select a lightish gray color by clicking on the correctly colored area.
Your project will now turn gray since this layer will cover the bottom one.
Step 3: Add Noise
Now let’s add some noise to this gray.
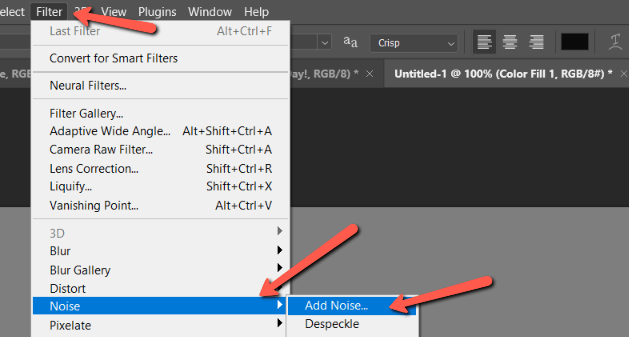
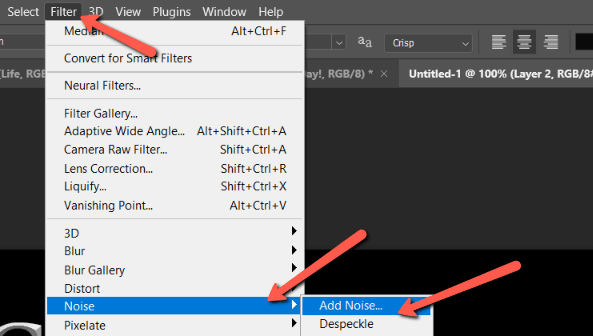
Go to Filter in the menu bar, hover over Noise, and click Add Noise.
You want to add a considerable amount of noise so turn the percentage up to around 150%. Also, make sure the Gaussian and Monochromatic options are checked.
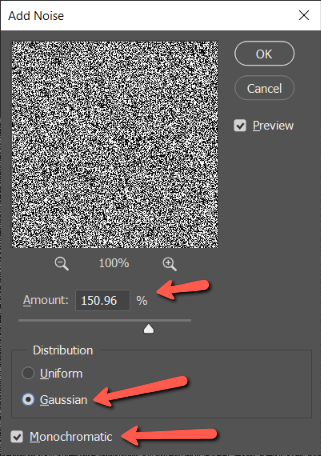
Click OK.
Step 4: Add Motion Blur
Now we need to smooth this out and make it look more like metal. We’ll do that with some Motion Blur.
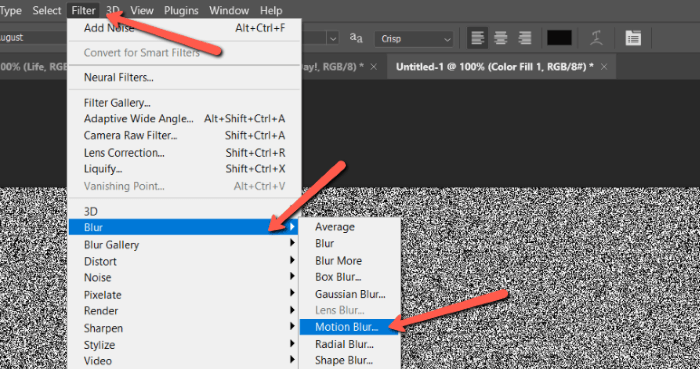
Go up to Filter again, but this time hover over Blur and choose Motion Blur.
In the box that appears, lengthen the blur in the Distance box to around 200 pixels. You can also angle the blur by changing the number in the Angle box. I’ll go with 15 degrees.
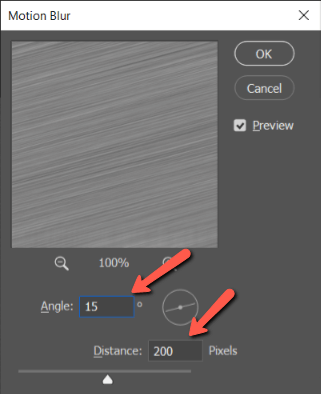
Click OK.
Step 5: Crop
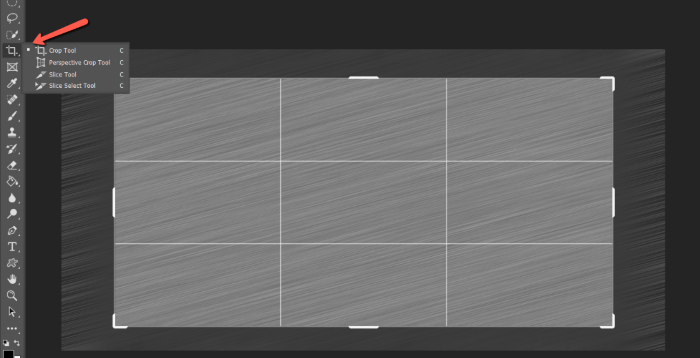
This is why we started with a canvas larger than we needed. Notice how the motion blur doesn’t do so well on the edges?
Hit C on the keyboard or select the Crop tool from the toolbar. Drag in to cut off the excess. Press Enter or Return or click the checkmark in the options bar to accept the changes.
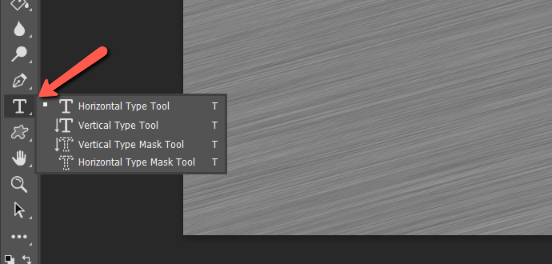
Step 6: Add Text and Resize
Hit T on the keyboard or choose the Type tool from the toolbar. Click on the image and type the text you want to use.
Click once in an empty spot on the text layer. If you forget to do this, the Transform command won’t work.
Next, hit Ctrl + T or Command + T on the keyboard to open the Transform tool. Grab the handles to resize and reposition as desired.
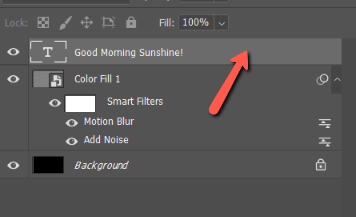
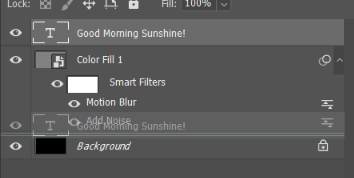
Step 7: Move the Text Layer
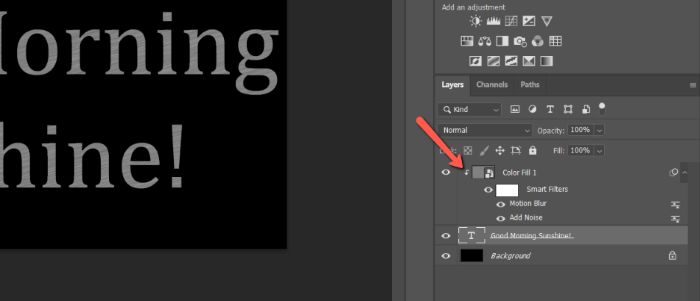
Now, the text layer needs to go between the black and gray layers. Click on the text layer and hold down the mouse button to drag the layer down. When you see the blue line appear between the layers, release the mouse button and the text layer will snap down.
Step 8: Clip the Gray Layer
Next, we’ll clip the gray layer to the text layer. Right-click on the gray layer and choose Create Clipping Mask.
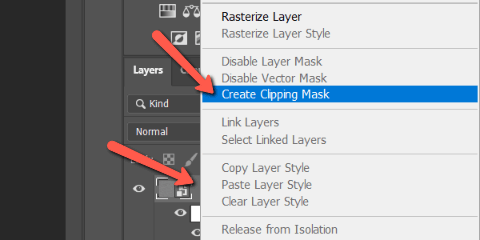
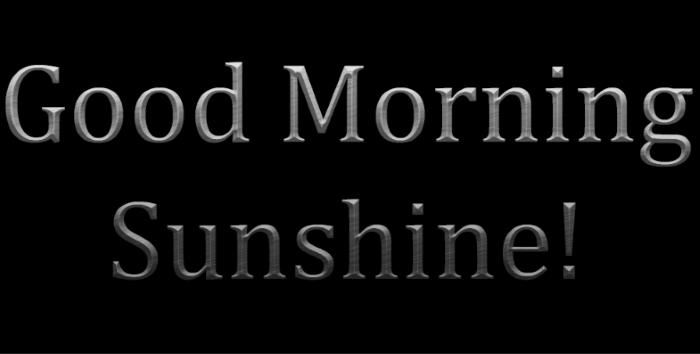
A little arrow will appear on the gray layer and the text will pop out against the black background.
Step 9: Add Bevel and Emboss
It’s looking pretty good at this point, but we’re not there yet. Let’s add a Bevel and Emboss layer style to pep it up.
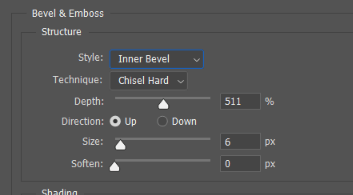
Click on the text layer to select it, then hit the layer styles (fx) button at the bottom of the Layers panel. Choose Bevel and Emboss.
You can choose the style you want but stick with Chisel Hard for the technique. Play with the other sliders to find what works for your text.
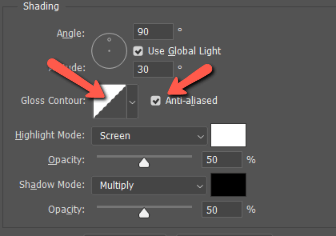
In the Shading section, make sure the Anti-Aliased box is checked. Double-click in the Gloss Contour box.
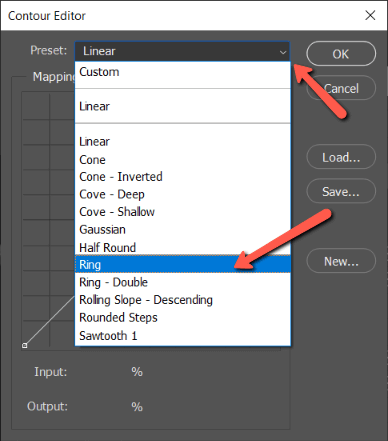
In the window that opens, choose the Ring preset. Click OK.
Step 10: Add a Gradient
You should still be in the Layer Styles dialog box. Click Gradient Overlay.
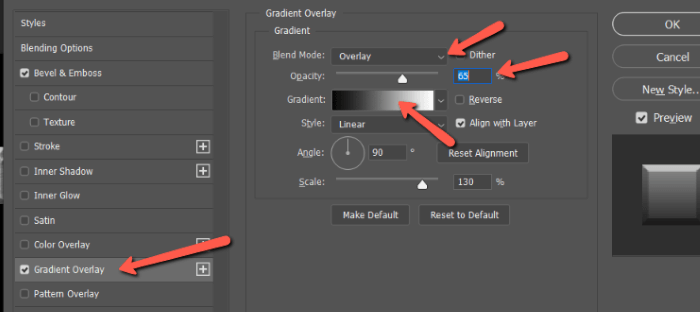
You want a black and white gradient in the box and this is typically the default. If you’ve been playing with gradients there might be other colors. Double-click within the box to choose a black and white gradient if necessary.
Change the Blend Mode to Overlay and bring down the opacity a little to soften the effect.
Still with me? The text is looking pretty good but let’s refine it a touch more.
Step 11: Add Random Shading with a Clouds Filter
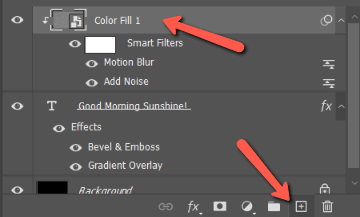
We need to add a new layer on top of the text but we want to set a couple of options as we open it. Highlight the gray fill layer, then hold Alt or Option while clicking the New Layer button at the bottom of the Layers Panel.
You’ll get this box. Change the Blend Mode to Overlay. We want this layer to only affect the text layer so check the Use Previous Layer to Create Clipping Mask option.
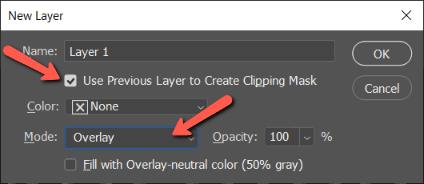
Click OK.
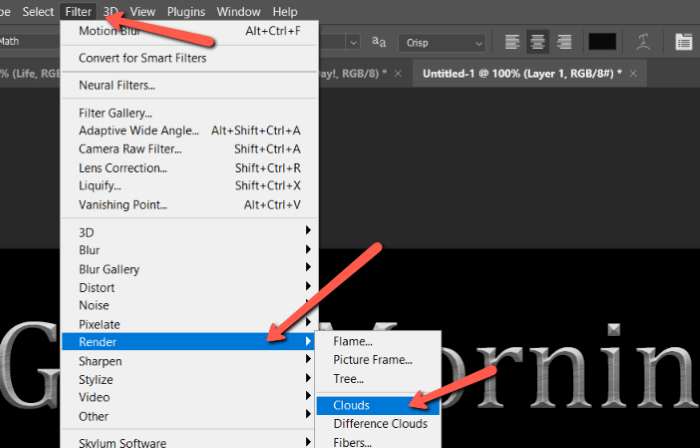
Go to Filter in the menu bar, hover over Render, and choose Clouds.
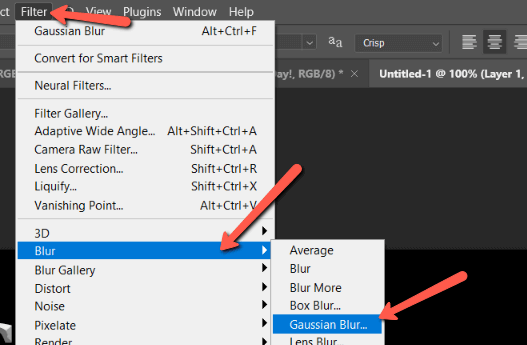
Let’s blur the clouds for a softer lighting effect. Head back to Filter, hover over Blur, and choose Gaussian Blur.
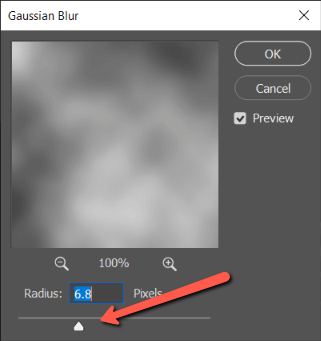
Move the slider around to change the Radius until you get a subtle effect you like.
Step 12: Add Grunge with Noise
To ding up the metal a bit, we can use another noise filter. Hold down the Alt or Option key while clicking on a new layer once again.
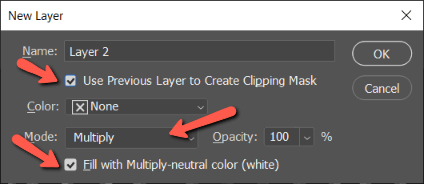
This time choose Multiply as your blending mode. Make sure to check the Use Previous Layer to Create Clipping Mask and Fill with Multiply-neutral color (white) boxes. Hit OK.
Go to Filter, hover over Noise, and click Add Noise. The dialog box will pop up with the same settings we used earlier. Accept those by clicking OK.
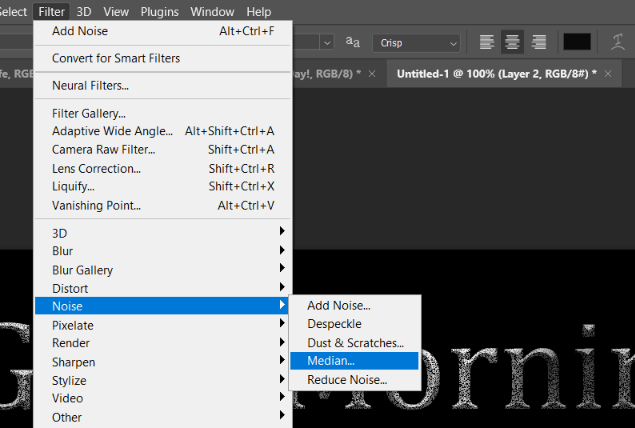
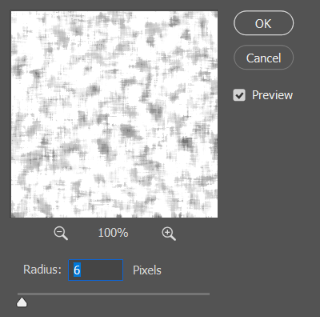
Now go to Filter, Noise, and choose Median. This filter will reduce the crazy amount of noise we just added to a believable amount for scratches and dings.
Move the slider around until you get a look you like.
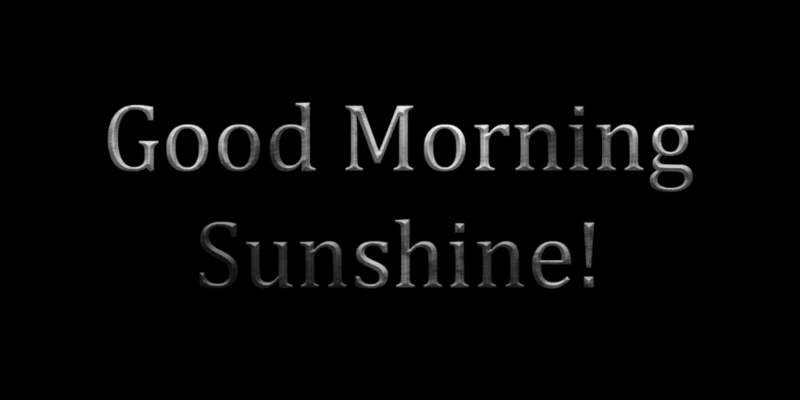
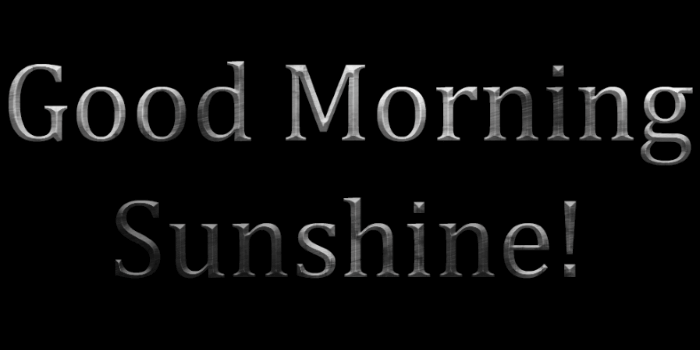
Whew! That was a lot to take in. There are a few steps to creating this text effect, but the results are well worth it! You can also play with different fonts to see how it changes the effect.
Don’t forget, you can create a Photoshop action so you don’t have to do all this every time you want to create the metal effect!
Liked this tutorial? Feel free to check out more!
About Cara Koch