How do you take a ho-hum picture of a person out for a leisurely bike ride and turn it into an exciting one where the person is racing by at top speed? It’s pretty simple. All you need is to add a touch of motion blur and voila! Instant excitement.
Hello, I’m Cara! Creating fun effects in Photoshop is one of my favorite things to do. And I’m going to let you in on a little secret. Many effects are not nearly as hard to create as they appear.
Don’t believe me? Stick around for this tutorial. I’ll show you how simple it is to add a touch of motion blur in Photoshop and completely transform the feel of an image.
Let’s get started!
Note: I took these screenshots from the Windows version of Photoshop CC. If you are working with a Mac you will find that the workspace looks a little different!
Table of Contents
Step 1: Choose an Image and Open it in Photoshop
You can add this motion blur effect to any photo. However, for a more realistic approach, it’s best to choose an image where the subject is (or could be) moving.
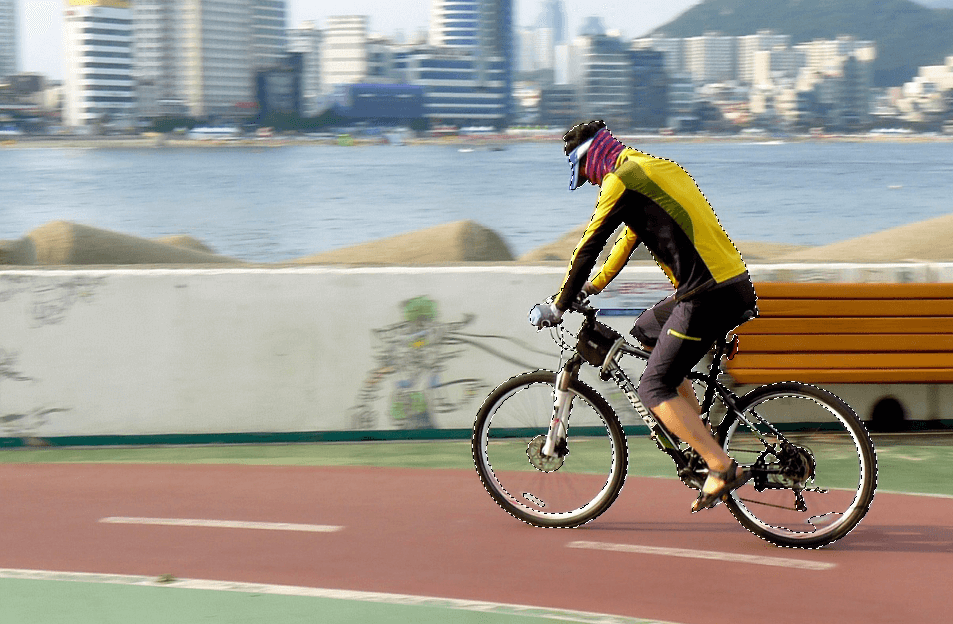
For this example, I’m going to use this image.
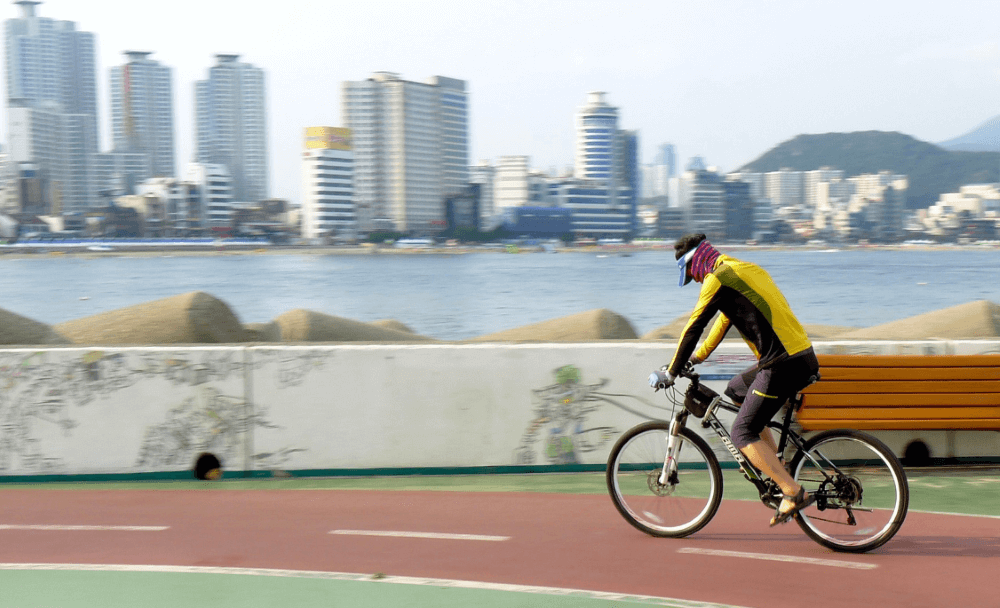
This photo already has a small amount of natural motion blur because the subject actually is moving. With a little extra blur, we can make this guy look like he is racing around the track at top speed!
Step 2: Create a Blur Layer
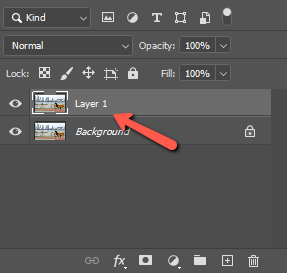
For this technique, we’re going to blur the image, then remove the blur from any parts of the image where it shouldn’t be (i.e. the subject). So we need to create a copy of the background layer to make this possible.
Press Ctrl + J or Command + J on the keyboard to duplicate the background layer.
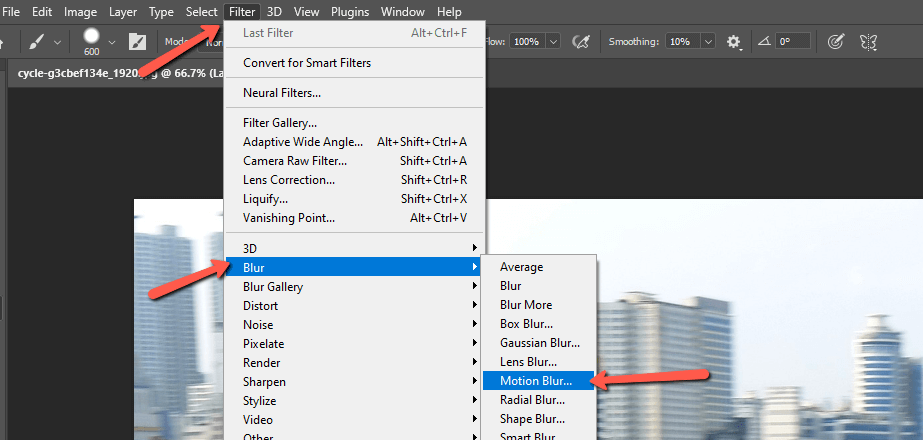
Lets’s blur this layer by going to Filter in the menu bar, hovering over Blur, and choosing Motion Blur.
In the box that appears, you can choose the intensity of the blur by adjusting the Distance slider.
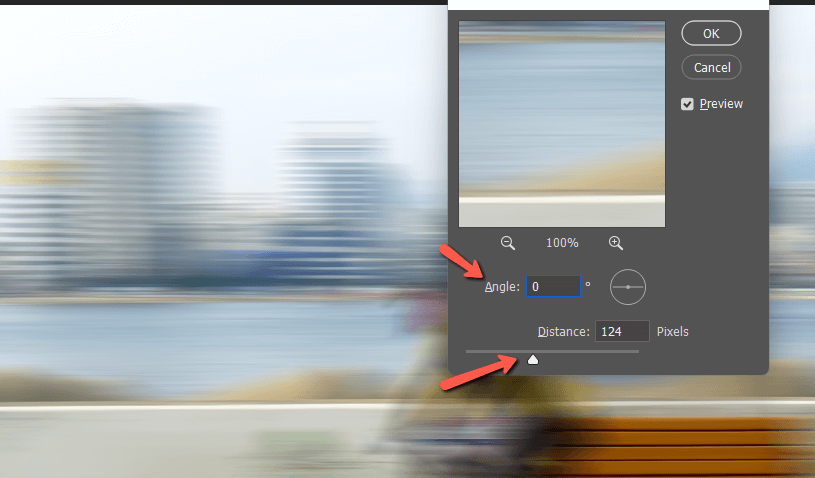
Also, take a look at the angle. If your subject is moving horizontally across the image, stick with 0 degrees as I have here. However, if your subject is moving upward or diagonally, you can adjust the angle of the blur to match.
Press OK when finished.
Step 3: Add a White Layer Mask or Paste a Properly Focused Subject on Top
There are two ways to ensure sharp focus for the subject while the rest of the image is blurred. Let’s look at using a layer mask first.
Option 1: Add a Layer Mask and Paint
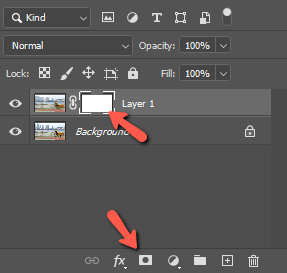
Press the button at the bottom of the Layers panel that looks like a rectangle with a circle in the center. This adds a layer mask to the image. It should automatically be applied as white so that it reveals everything underneath.
To remove the blur from our subject, we’ll paint black on the mask. This removes that portion of the blur layer and allows the unblurred background to peek through.
Check the foreground and background color swatches at the bottom of the toolbar on the left side of your workspace. If they aren’t black and white, press D on the keyboard to revert to the Default colors.
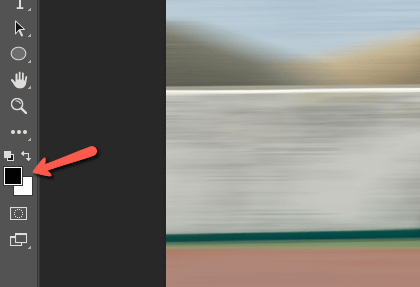
If black is not on top, press X to switch the colors.
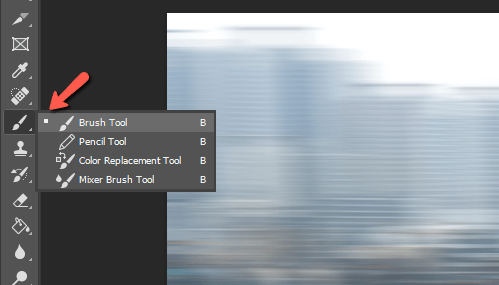
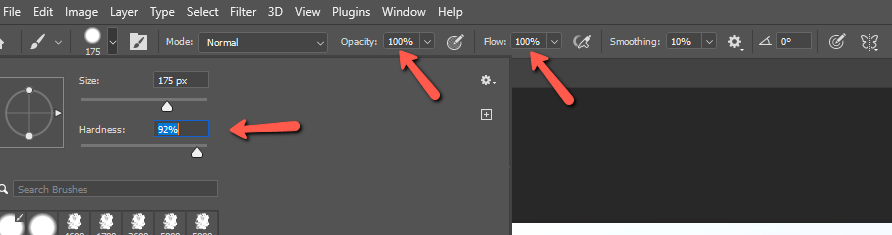
Now choose the Brush tool from the toolbar or press B on the keyboard.
Choose a size that works for your image and make sure the Opacity and Flow are set to 100%. You can play with the hardness a little, but generally, you’ll want to be on the harder end as there should be a defined line between the subject and the blurred background.
Now, paint the image anywhere you want to remove the motion blur effect.
Option 2: Paste a Properly Focused Subject on Top
Depending on your image, removing the blur with the previous mask method may not be practical. Another way to keep your subject in focus is to make a copy of it and place it on top of the blur layer.
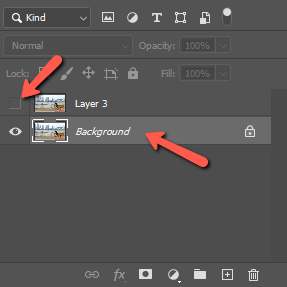
To do this, select the background layer. It may also be helpful to turn the visibility off on the blur layer. Click the eye icon on the left side of the layer you want to hide.
Now choose any of the selection tools, such as the Quick Selection Tool. Choose Select Subject from the Options Bar.
Photoshop will make a selection. You can make adjustments to the selection if you wish. However, it doesn’t have to be completely perfect.
Press Ctrl + J or Command + J to make a copy of the selection. Drag this layer to the top and turn the blur layer back on.
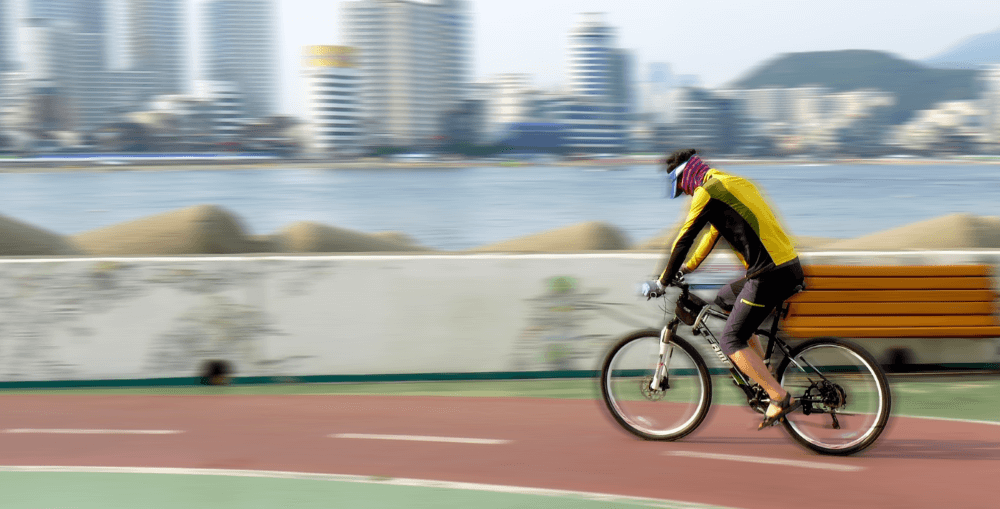
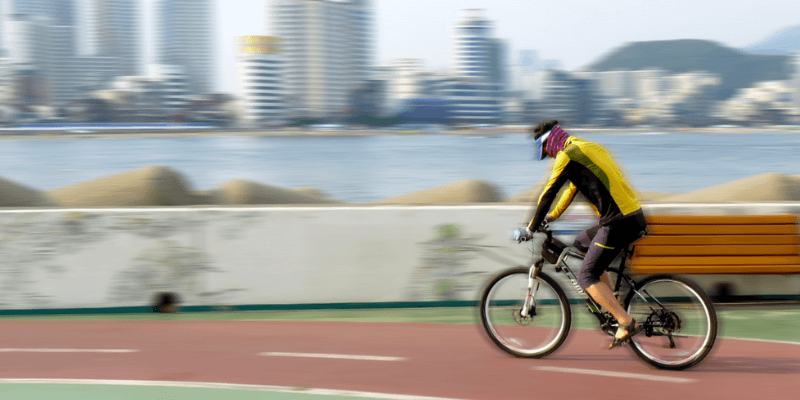
Now the subject is in focus while the background seems to be whizzing by. See? I told you it was easy! Have fun with this effect, there’s a lot you can do with it. And check out more tutorials on PhotoshopBuzz.com, such as how to blur a face!
About Cara Koch