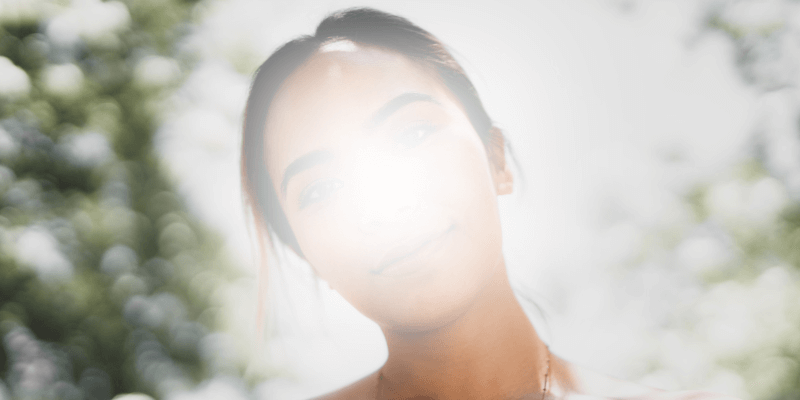
Identity is an important thing and sometimes you need to protect a person’s identity in a photograph. Once you know how to blur faces in Photoshop, it’s super easy.
Hello, I’m Cara! Photoshop offers several methods for blurring a face. The method I’m going to share with you here is non-destructive, which means it doesn’t make permanent changes to the image. This means you can come back and adjust later. Plus, it’s quite simple to do.
So let’s look at how to blur a face in Photoshop! There are four essential steps to blur faces in Photoshop. I’ll explain each step in detail.
Table of Contents
Step 1: Turn Your Image into a Smart Object
Right off the bat, this might sound confusing, but it’s not difficult, I promise. Turning the image into a smart object is what makes our edits non-destructive in this technique.
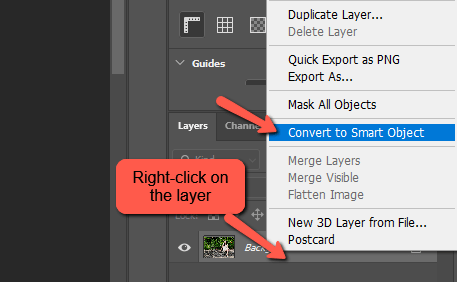
Right-click on the layer in the Layers panel and choose Convert to Smart Object.
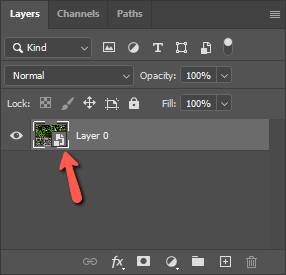
This little icon appears in the corner to indicate that it is a smart object. Plus, if you’re working with a background layer like I am, the layer will unlock and convert to a regular layer.
Step 2: Add a Blur Filter
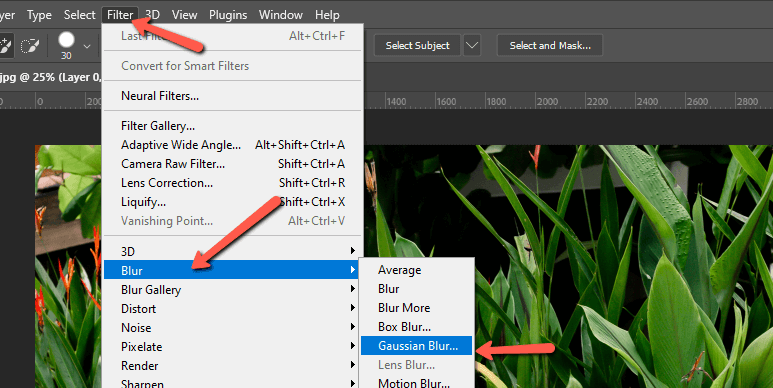
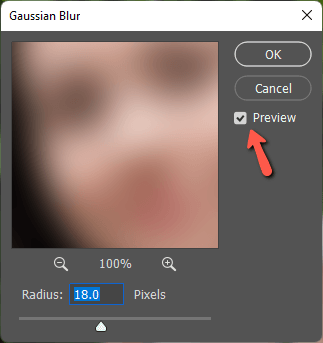
Next, go to Filter in the Menu bar. Hover over Blur and choose Gaussian Blur from the menu.
You can choose how blurry you want the face by adjusting the Radius. The bigger the number, the blurrier the picture. Press OK when you’re happy with the level of blur.
Note: if you aren’t seeing the preview in the box, make sure to check the Preview box on the right.
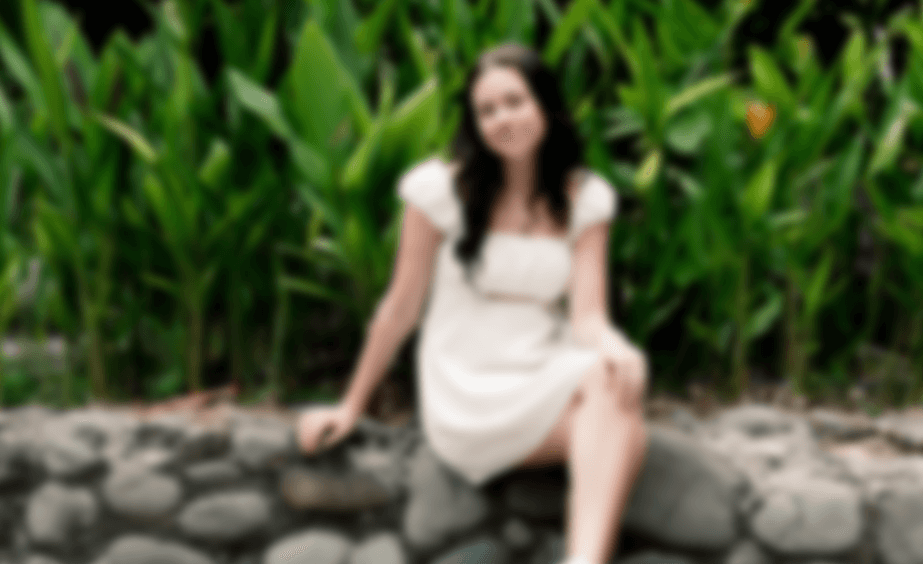
At this point, the whole image is blurry, which isn’t what we were going for.
Step 3: Invert the Layer Mask
But never fear because an inverted layer mask is here to save the day!
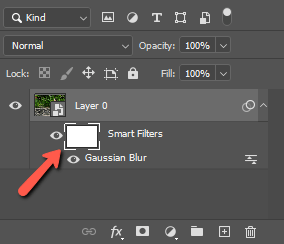
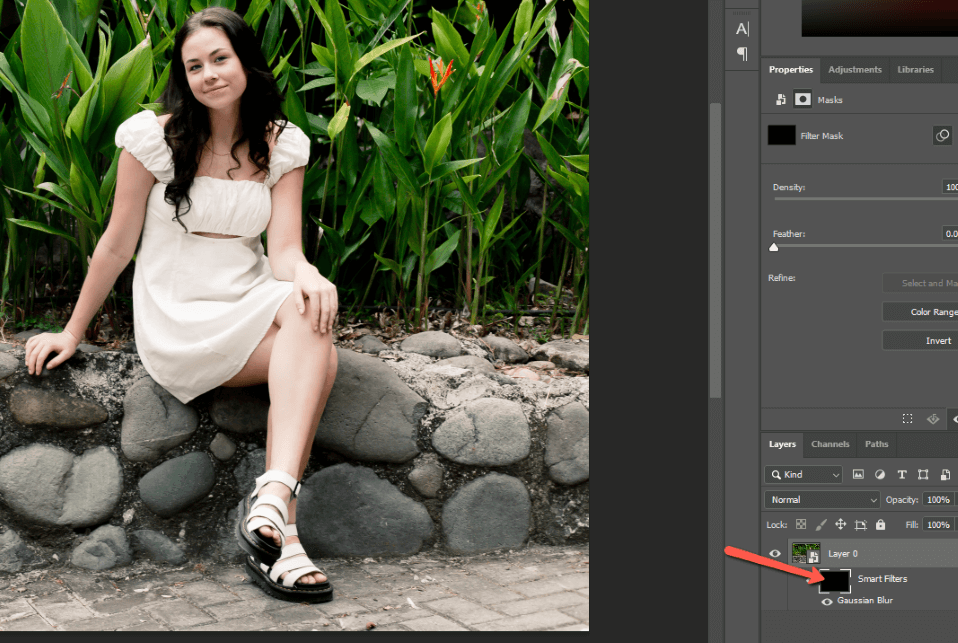
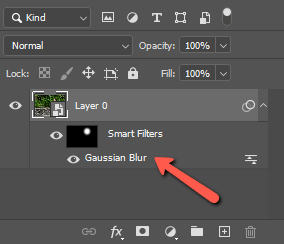
Over in the Layers panel, you’ll see that the smart filter is automatically applied with a layer mask. This is what makes our edits non-destructive. We’re editing a mask and not the image itself.
Click on the layer mask to select it. Make sure the broken white box appears around it.
Remember that in Photoshop black conceals and white reveals. Right now the layer mask is white, revealing the blur changes we just made. So let’s invert the mask to black.
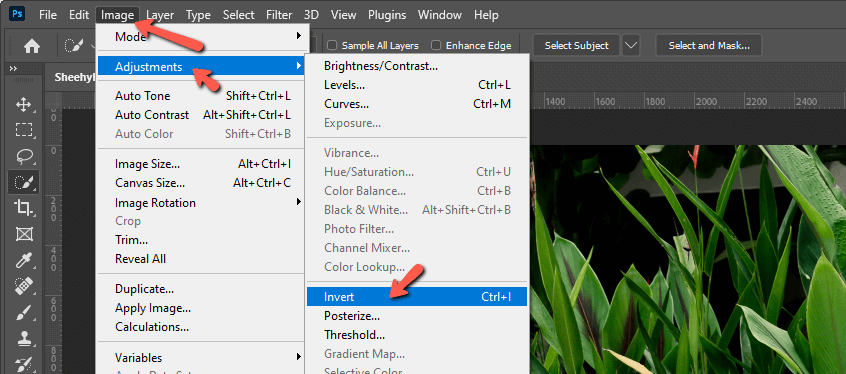
Press Ctrl + I or Command + I to make this change or go to Image hover over Adjustments and choose Invert.
You can see here that the layer mask has turned to black and the image is clear once again.
Step 4: Brush in the Blur
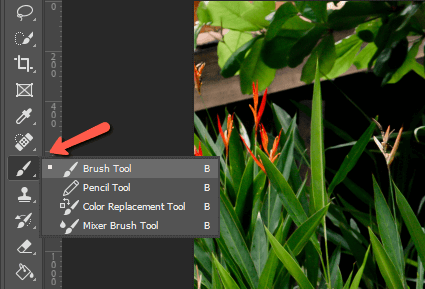
Now it’s time to add the blur where we want it. Press B on the keyboard or choose the Brush tool from the toolbar on the left.
Up in the Options bar, press the dropdown arrow next to the brush icon to open the Brush Settings.
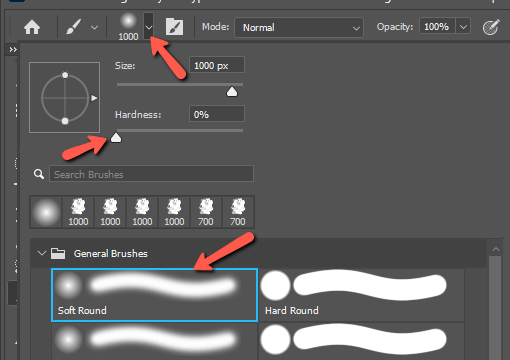
Choose a soft round brush and make sure the Hardness is low so there won’t be a hard line around the blur. Pick an appropriate size for your image.
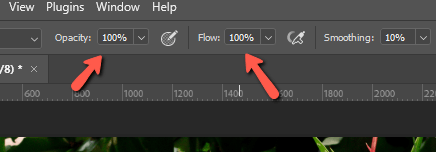
Make sure that the Opacity and Flow are both set to 100% in the Options panel.
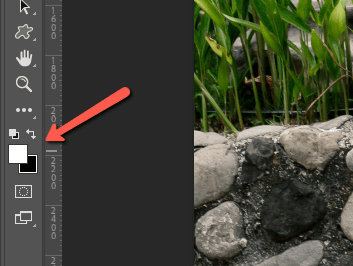
Lastly, make sure the foreground color is set to white. Remember, we’re working with a black mask, so we need the opposite color to reveal the blur.
Click on the subject’s face.
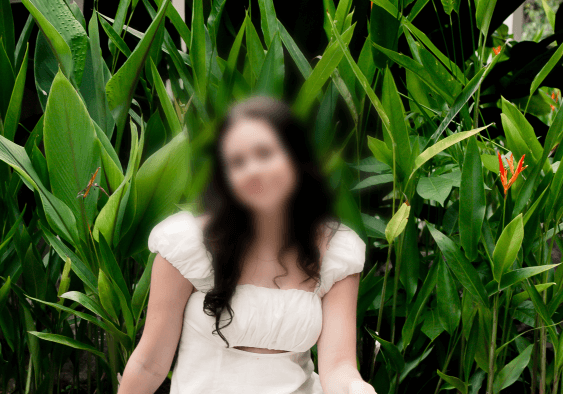
Boom! A blurred face!
If you want to make changes to the intensity of the blur, all you have to do is double-click on the Gaussian blur smart filter in the Layers panel.
What else is easier than you expected in Photoshop? Check out how to blur edges here!
About Cara Koch