Even if you’ve only used Photoshop a little, you know that working with the program can get tedious. This is particularly true if you want to create the same effect on multiple photos. To speed it up, you can use Photoshop actions instead of going through every step on each photo.
Hello! I’m Cara and as a photographer, I love anything that can speed up my workflow on the computer. After all, I’d rather be taking pictures!
Let’s look at how to use Photoshop actions to speed up editing as well as create complex effects quickly. Check it out!
Note: the screenshots below are taken from the Windows version of Photoshop CC. If you are using the Mac version, they will look slightly different.
Table of Contents
What is a Photoshop Action and Why Use It?
A Photoshop action is a prerecorded set of commands. Instead of tediously going through every command, you can apply an action that will apply a list of commands all at once.
Also Read: Free Photoshop Sketch Actions
This is helpful for a few different situations. As a photographer, Photoshop actions are handy for creating a certain look in a photo. You can think of it kind of like presets in Lightroom if you’re familiar with those.
For example, there are actions for creating vintage, film, sepia, black and white, sun flares, light leaks, and many other looks.
Actions also allow you to apply certain effects to an image without having to go through all the steps. That’s what we’ll look at today with this free dispersion action.
In this article, I’m only going to show you how to install and use the action. The action I’ve chosen also comes with a special brush. Learn how to add brushes here.
How to Use Photoshop Actions
Follow the step-by-step guide below!
Step 1: Open the Actions Panel
Once you’ve got your action and brushes in place, it’s time for some fun. Make sure you have your image open in Photoshop.
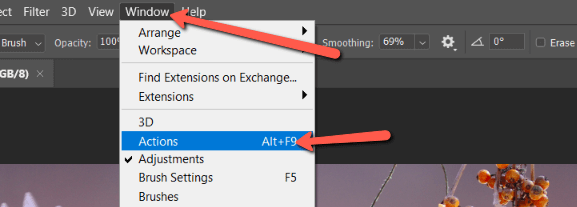
Open the Actions panel by going to Window in the menu bar. Choose Actions.
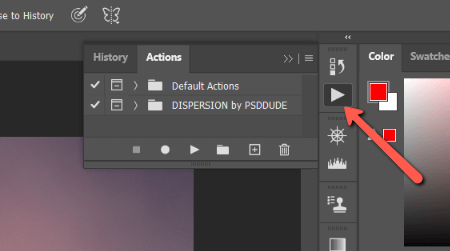
Depending on your Photoshop layout, you may also be able to get to the Actions panel from a thin bar on the right side of your screen. Hit the triangle button that looks like a “play” icon.
Step 2: Choose the Action
I’m going to hit the little arrow next to the folder named DISPERSION by PSDDUDE. This opens two options for me to choose from. I want the second one, so I click on dispersion 2 by psddude.
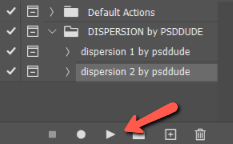
Then I can run the action by clicking the triangular play button at the bottom of the panel.
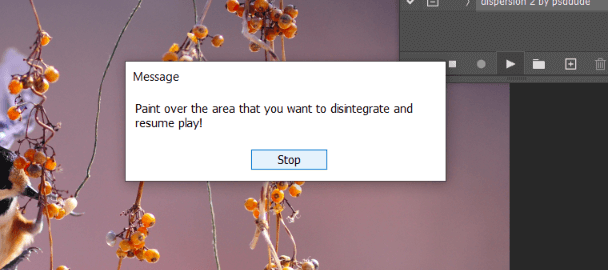
For this particular action, Photoshop creates a few commands and then I get this message. I need to paint over the areas of the photo where I want the effect to be applied. Click Stop to pause the action.
Step 3: Use the Brush Command to Apply to a Specific Area
Not all actions will require this step, but for those that do, here’s how to do it. Select the Brushes panel from the same panel as the Actions panel.
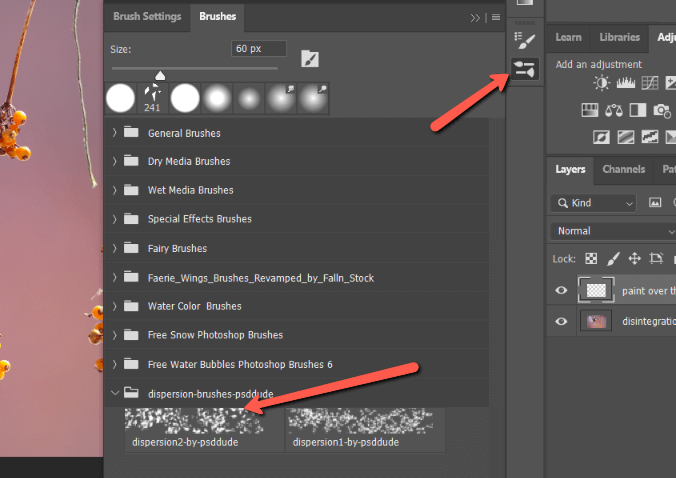
You can also get to this brush by pressing B on the keyboard. Then click the arrow next to the brush type in the Options bar at the top of the screen.

Regardless of how you get there, look through your brushes and select the one you want. I want the dispersion brush I downloaded with this action.
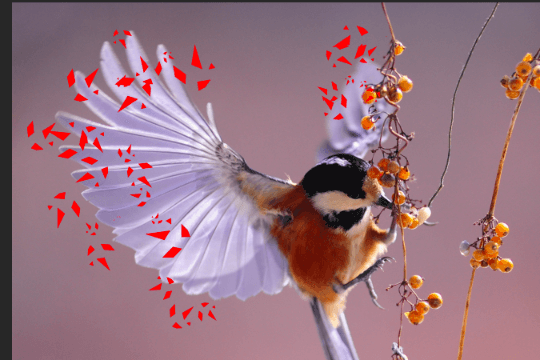
Then I dabbed a few times around where I want the action to happen.
Step 4: Run the Action
Now, I’ll go back to the actions panel. Making sure I still have the dispersion action selected, I’ll hit the play button to run the action.
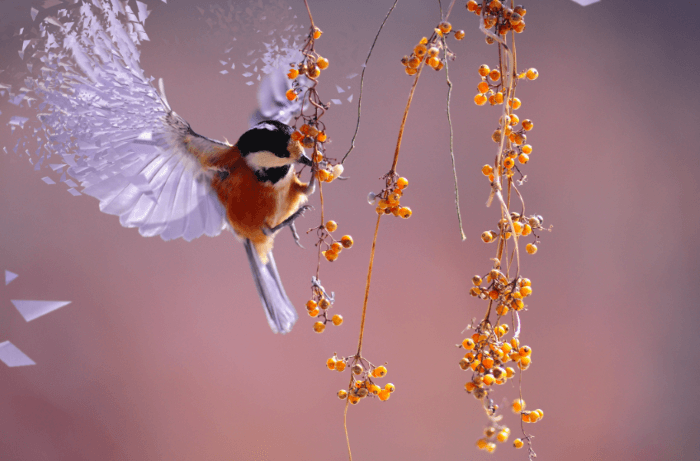
The effect got a little crazy and threw some dispersed pieces where I don’t want them. So I selected the Eraser Tool from the toolbar on the left (E on the keyboard) and cleaned up those areas.
And voila!
Be sure to check out more of our fun tutorials to learn how to create other cool effects!
About Cara Koch