What is the super-easy way to add fairy wings, lightning, smoke, bubbles, lens flares, and more to your images in Photoshop? You can use a Photoshop brush specially designed to create these effects.
I’m Cara and as a professional photographer who likes to dabble in image manipulation, I’ve run across the need for Photoshop brushes a time or two.
There are thousands of free and paid Photoshop brushes available on the Internet. If you can dream about adding something to your images, you can probably find a brush that will help.
But how do you get these brushes from the Internet to Photoshop? Follow me and I’ll show you a quick 5-step tutorial.
Note: all the screenshots below are taken from the Windows version of Adobe Photoshop CC. If you are using earlier versions or the Mac version, screenshots may look a bit different.
Table of Contents
Step 1: Download Your Brushes
There are some sites such as Brusheezy, myPhotoshopBrushes, and BrushLovers that offer free brushes to download. Find the one that you want and download it from the site.
Always make sure that you’re downloading from a reputable source. You don’t want any nasty malware riding along with your Photoshop brushes.
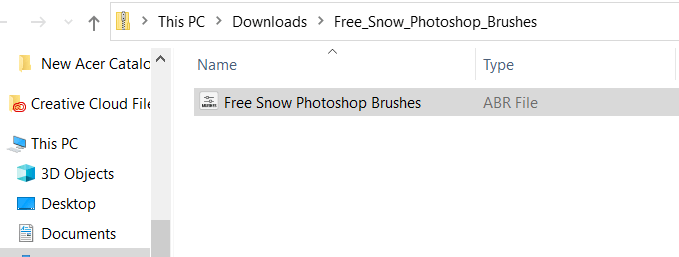
If the files come in a zip file, be sure to unzip them first. Photoshop brushes come as an ABR file as can be seen below.
Step 2: Move to Photoshop Brushes Folder
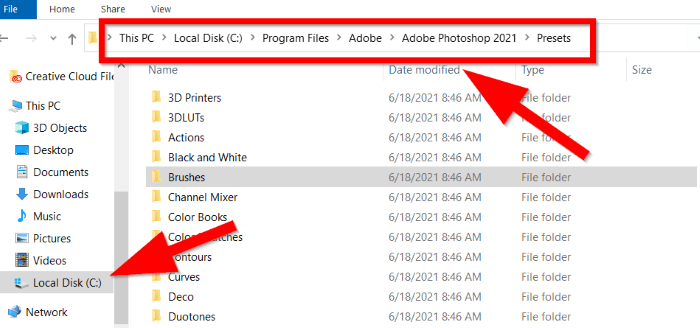
Now you need to add the ABR file to the Photoshop Brushes folder.
In Windows, go to Local Disk. Then click Program Files > Adobe > Adobe Photoshop (Your version) > Presets > Brushes
Note: Your version of Photoshop may be different, just choose the one you have.
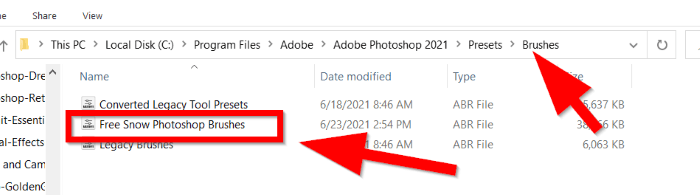
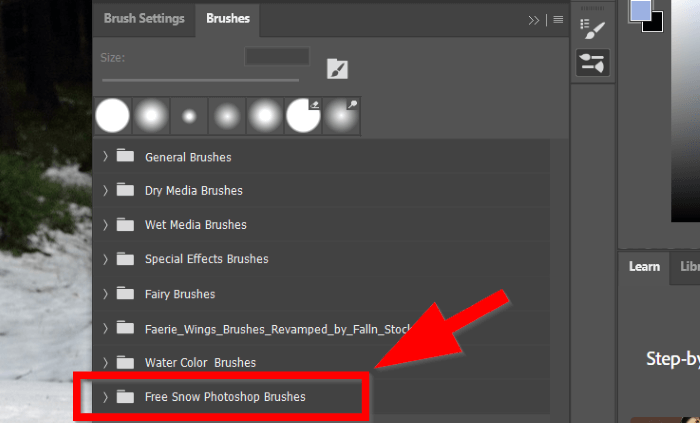
Move the ABR file to the Brushes folder. Here you can see I downloaded and added “Free Snow Photoshop Brushes” to the folder.
At this point, the brushes might appear in Photoshop on their own. That’s only for really lucky people though.
The rest of us have to add them manually. Thankfully, it isn’t hard.
Step 3: Open the Brush Panel
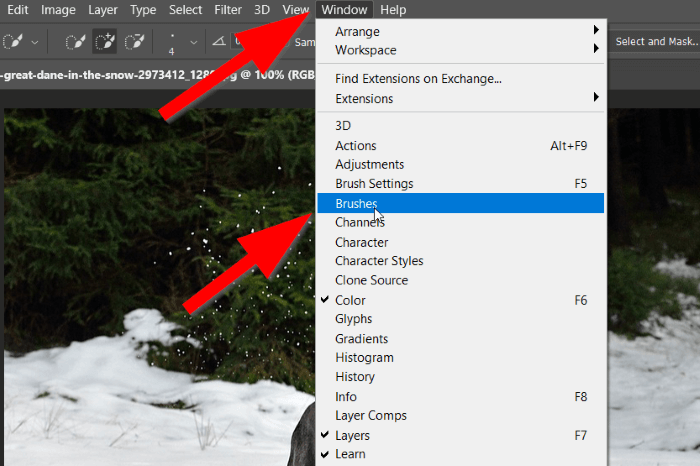
Launch Photoshop, open an image, and go to the brush panel by clicking Window at the top and selecting Brushes.
The brush panel will pop out at this point. You may have to grab it with your mouse to lock it into place with the other panels on the right side of your screen.
Step 4: Import the Brushes
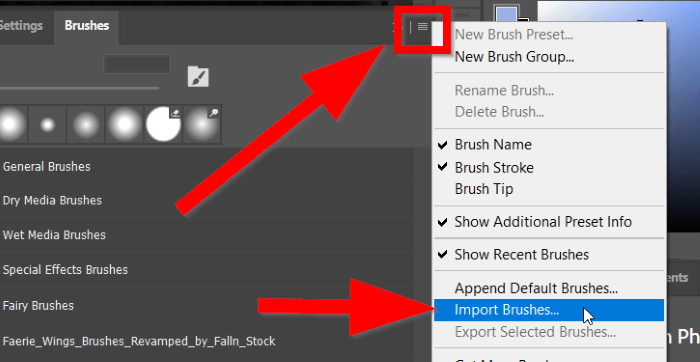
Click the Settings icon in the top right corner of the brush panel. It looks like four horizontal lines. In the menu that pops up, select Import Brushes.
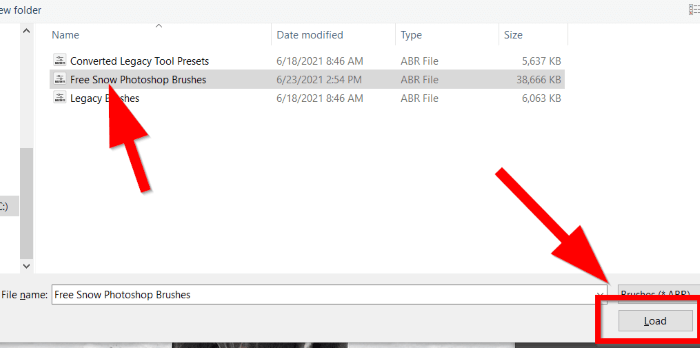
The correct brushes folder should open, but don’t worry if it doesn’t. Simply browse to the same folder where you placed the ABR files. Then select the files and click Load.
The folder should appear in the brush panel.
Step 5: Enjoy Your New Brushes!
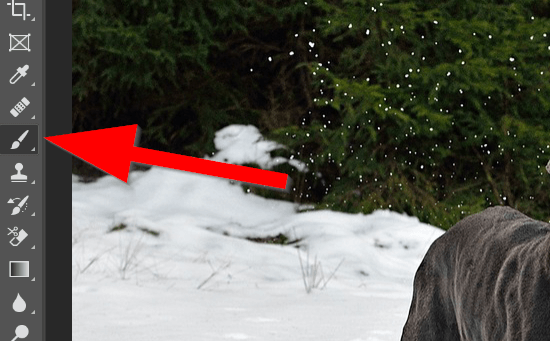
Now you can head over and select the brush tool from the toolbox on the left side of the screen.
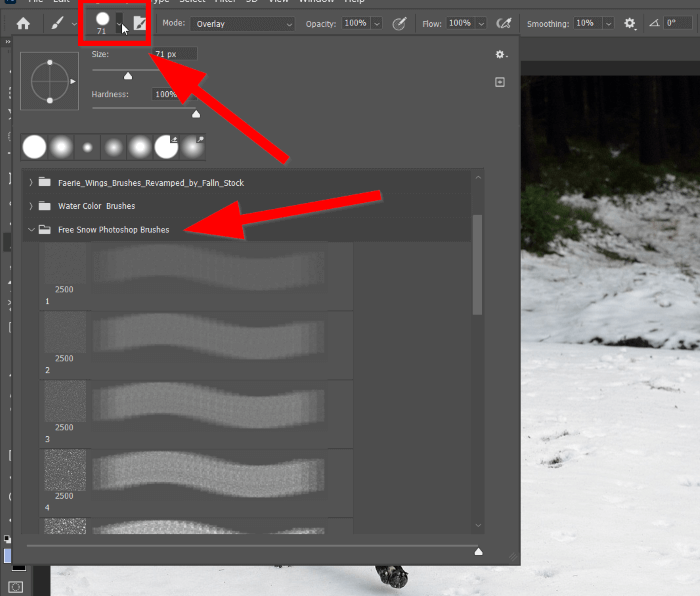
Access your new brushes by selecting the little arrow to the right of the Brush Preset Picker in the menu at the top. You should see the new brushes that you installed in the folders below.
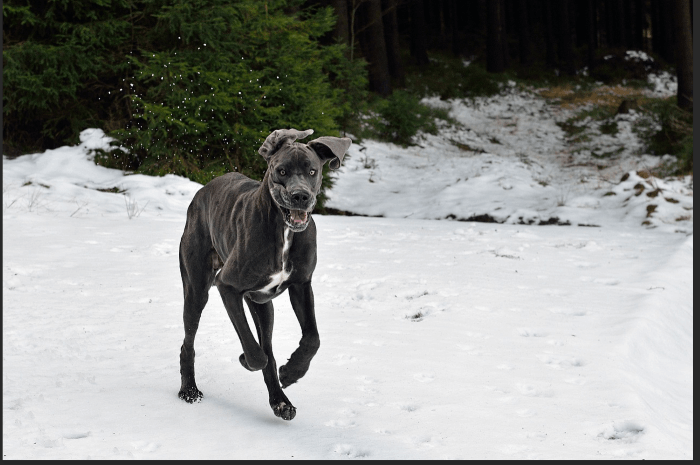
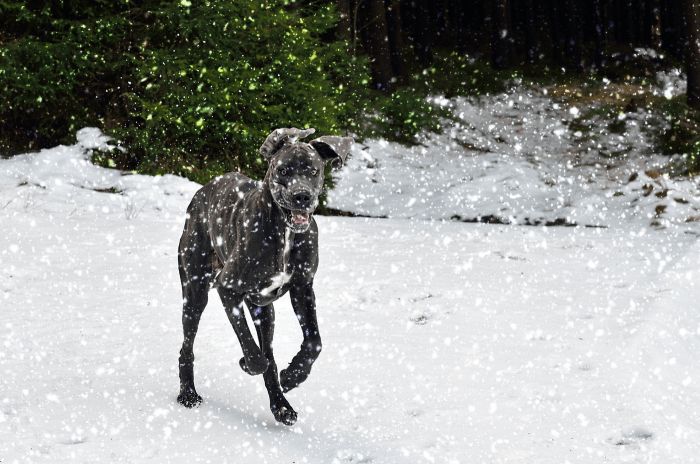
And start enjoying your brushes! For example, you can add more snow to your winter images.
Happy brushing!
About Cara Koch