It’s not quite as common as it was back in the days of cheap disposable film cameras (yes, there was such a time, trust me), but you’ve still probably seen the “red eye” effect in photos.
It’s caused by a poorly-timed camera flash that reflects off the back of your eye before your pupil has a chance to contract, and the result is that your adorable niece or loving grandma suddenly has bright red glowing eyes that look like they belong in the middle of a supernatural horror movie.
While most modern smartphones use their flashes in a way that counteracts the ‘red eye’ phenomenon, there are still plenty of cameras that don’t. As a result, you’ll eventually have to do a bit of red-eye removal in Photoshop as part of your work as an image editor.
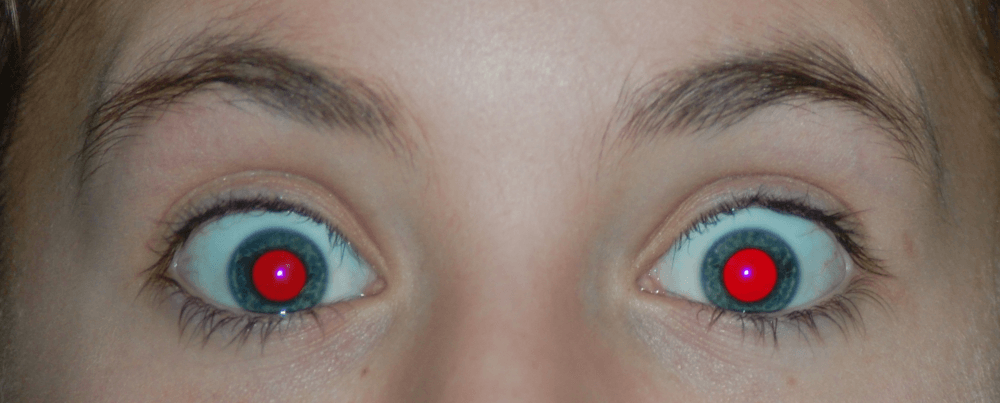
Note: I don’t do any kind of portrait photography, and stock photographers always remove red-eye before sharing their work online, so I don’t have a good sample image to use for this tutorial.
I’ve used the example image provided by Wikipedia in their article about red-eye, which is available under the Creative Commons license.
Table of Contents
The Quick Guide to Remove Red Eyes In Photoshop
Here’s how to remove red eyes in Photoshop:
- Step 1: Select the Red Eye Removal tool.
- Step 2: Adjust the Pupil Size and Darken Amount settings as desired.
- Step 3: Click and drag to create a rectangular marquee around each eye.
You’ve just removed red eyes in Photoshop! This is definitely the fastest way to do it, but it’s not necessarily the best way. Depending on the amount and location of red-eye glow in your image, you may need to take a more hands-on approach.
If you want to remove a different colored glow from your subject’s eyes, such as the green glow created by the eyes of common housepets and many other animals, you’ll need to follow the detailed guide below.
The Detailed Guide to Photoshop Red Eye Removal
I find that the Red Eye Removal tool doesn’t always do a good enough job, but there’s a more detailed manual way to fix red eyes in Photoshop. It takes a bit more time, but you’ll get results that look better than Photoshop’s automatic method.
Before you get started, pay close attention to the specular highlights in the eyes, also known as ‘catchlights’. Maintaining or recreating these highlight reflections after you’re finished with the rest of your edit can improve the realism and create a more natural edit.
Step 1: Select The Glow
The first step is to create a selection around every pixel that glows in your subject’s pupil. This can be done in a number of different ways, so if you have a favorite method, feel free to use it.
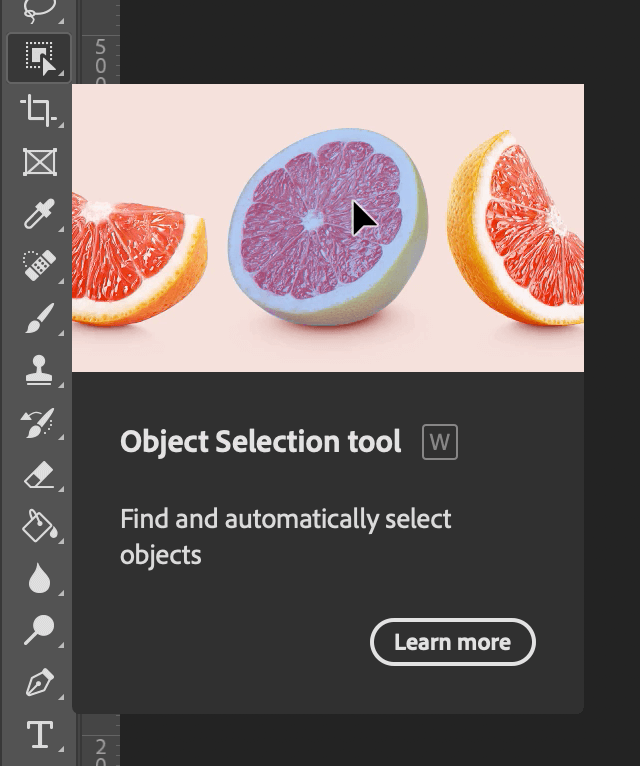
If you’re not sure what tool to use, I’d recommend starting out with the Object Selection Tool. You can switch to it using the toolbox (it’s nested with the Magic Wand and Quick Selection tools), or you can press the keyboard shortcut Shift + W to cycle through the nested tools until you reach the Object Selection Tool.
Once you’ve got the Object Selection Tool active, click and drag to create a rectangular marquee around the first eye’s red glow. Try to keep the selection area as close to the edges of the glow as possible, but make sure you cover it all.
Photoshop will think for a second, and then create a selection for you automatically.
Because the red-eye glow is such a markedly different color than the rest of your image, Photoshop should have no trouble automatically selecting the correct pixels – but again, this may vary a bit depending on the content of your image.
If the Object Selection Tool has done a good job on the first eye, it’s reasonable to assume it will also do well on the second eye.

Hold down the Shift key to add to your existing selection, and click and drag over the red-eye glow in the second eye to select it as well.
Step 2: Add A Curves Adjustment Layer
Now that you’ve completely selected the red-eye glow that you want to remove, it’s time to add a Curves adjustment layer. Because you’ve got an active selection, Photoshop will automatically create a layer mask using your selection when you add an adjustment layer.
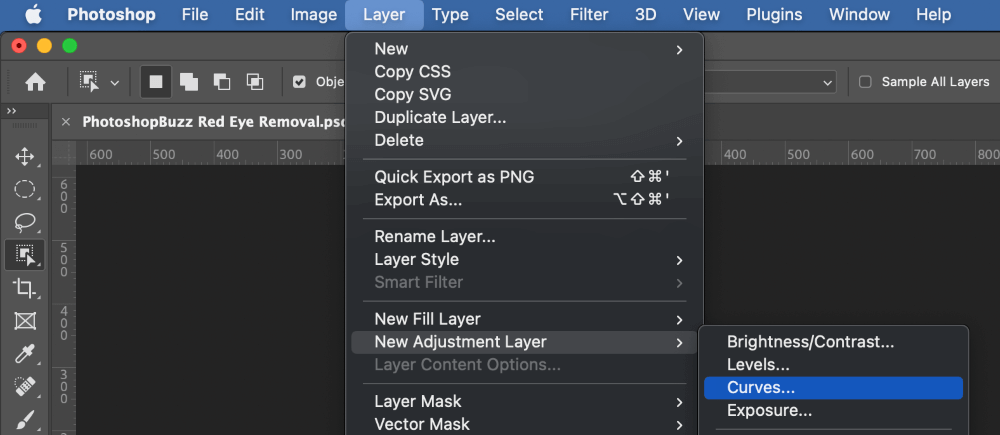
You can add a Curves adjustment layer by opening the Layer menu, selecting the New Adjustment Layer submenu, and clicking Curves. You can also add one using the Adjustments panel if you’ve got it open.
Locate the Properties panel, which should now display the settings for your Curves adjustment layer. Click the black point slider at the bottom of the dialog (highlighted with the red arrow below) and drag it over toward the right side of the histogram.
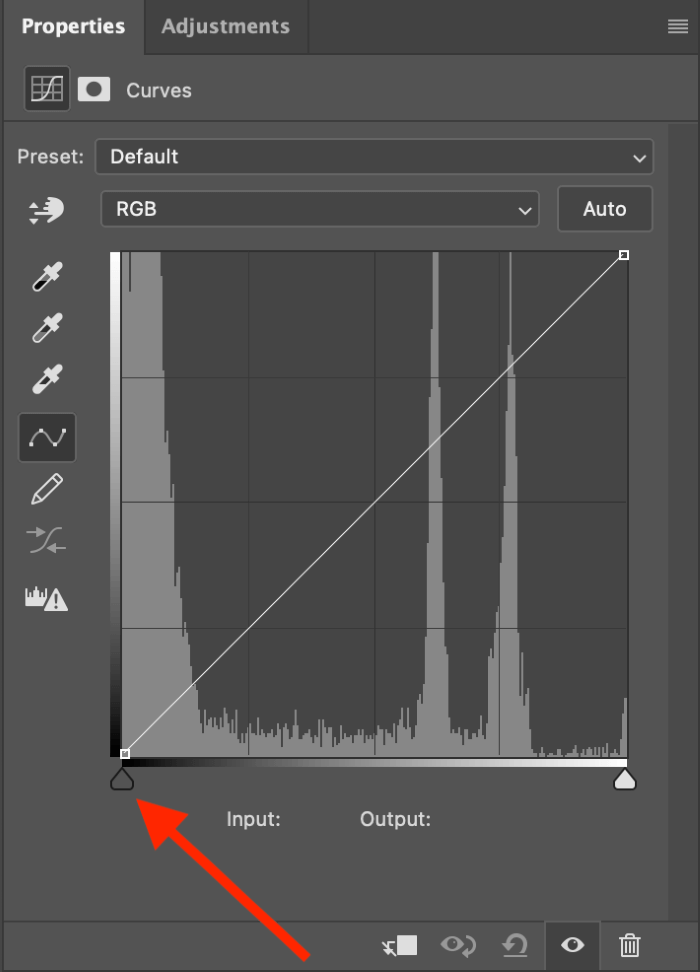
Keep a close eye on your image as you move the slider so that you’ll know when to stop. Remember that you want to maintain the highlights in the eyes if possible so that they appear natural, so don’t drag the slider too far.
Step 3: Add A Hue/Saturation Adjustment Layer (Optional)
If you’re not quite satisfied that the colors are properly adjusted, or you want to tweak the color of the catchlight visible in the eye, you can add a Hue/Saturation adjustment layer.
Restore the selection you made in Step 1 by pressing the keyboard shortcut Command + Shift + R (use Ctrl + Shift + R on a PC) to run the Reselect command. This will automate the layer mask creation process, just as you did in Step 2.
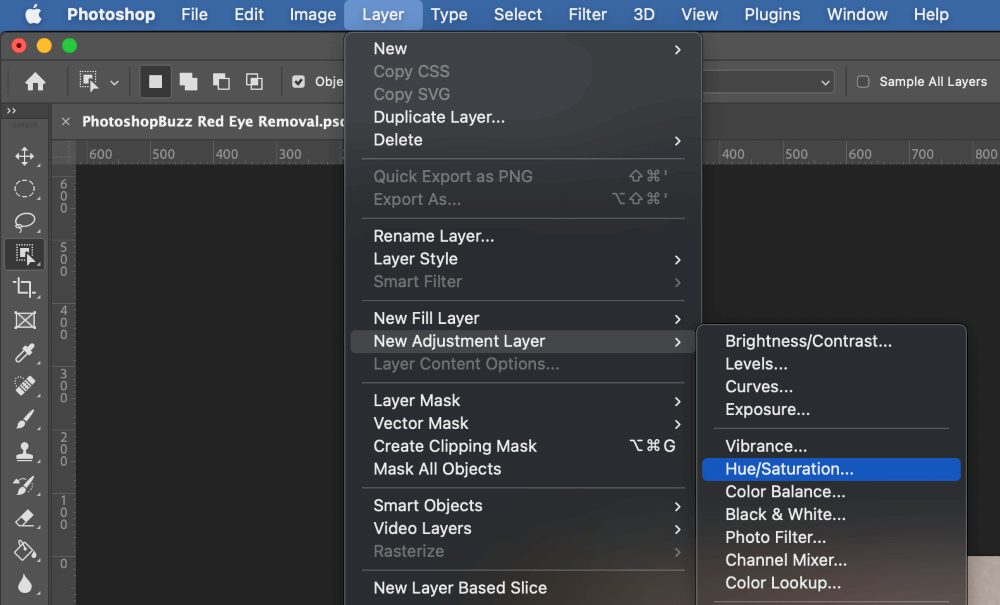
Open the Layer menu, select the New Adjustment Layer submenu, and click Hue/Saturation. Once the layer is added, switch to the Properties panel, and adjust as needed.
I find it’s usually helpful to lower the Saturation slider dramatically to create a neutral catchlight, although you can also adjust the Hue slider instead if you’d rather just change the color of the reflection instead.

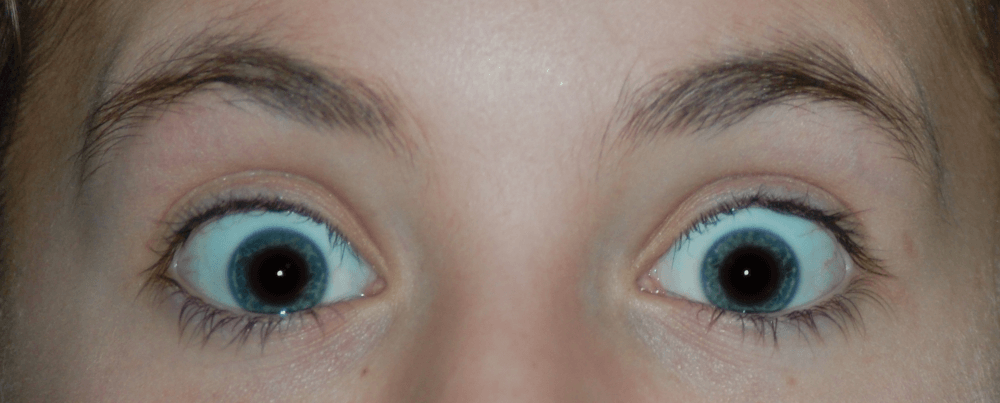
Congratulations, you’ve just created a manual edit that’s better than Photoshop can do by itself! Removing red eyes in Photoshop isn’t always easy, but it’s nice to be able to outperform a computer – at least at some things.
A Final Word
A lot of the time, image editors are in a rush, working against a deadline. But while automatic tools are good enough for some situations, there are times when you have no alternative but to roll up your sleeves and get your hands dirty with a manual edit. But hey – at least your subject won’t look like a reject from a bad horror movie 😉
Happy editing!
About Thomas Boldt