Things in the world are rarely perfect. But in pictures, we can use Photoshop to make anything we want – including a world without clothing wrinkles.
Hey there, I’m Cara! If you’ve been on Photoshop Buzz for a while, hopefully, you’ve learned a cool trick or two from me. Such as how to create fire or put together a composite.
Today we’re going to look at a “boring” topic by comparison, but a necessary technique for fashion photographers or anyone who wants a wrinkle-free look for their portrait. Let’s look at how to remove clothing wrinkles in Photoshop!
Note: I use the Windows version of Photoshop. If you are using a Mac, the workspace will look slightly different from the screenshots displayed here.
Table of Contents
Tools for Removing Wrinkles in Photoshop
There are a few different tools you can use to remove wrinkles in Photoshop. Their effectiveness will depend on the image so I’ll demonstrate several so that you’ll have what you need for your image. And don’t forget that you can combine techniques.
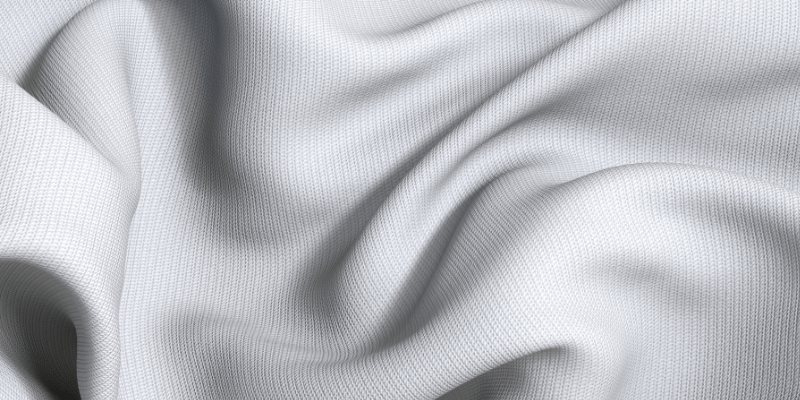
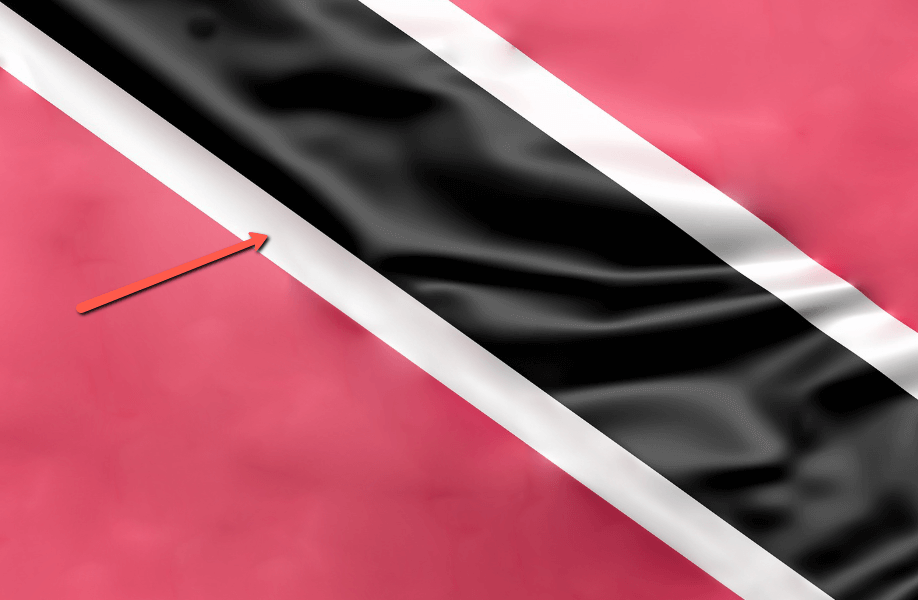
We’re going to work with this image from Pixabay.com and see if we can’t iron this piece of fabric out.

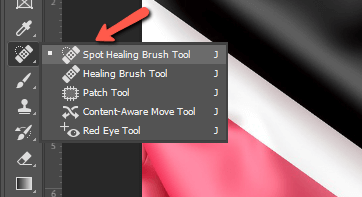
Tool #1: Spot Healing Brush Tool
Let’s start with the Spot Healing Brush tool. This tool allows you to paint over something in an image that you want to remove. The program will then do its best to match the surrounding pixels and remove the inconsistency.
It is surprisingly effective and useful for removing all sorts of unwanted objects, including people from the background of your images!
Choose the Spot Healing Brush from the toolbar on the left or press J on the keyboard.
Then, simply paint over a wrinkle. To paint in a straight line, hold Shift while clicking at first one end of your line and then the other.
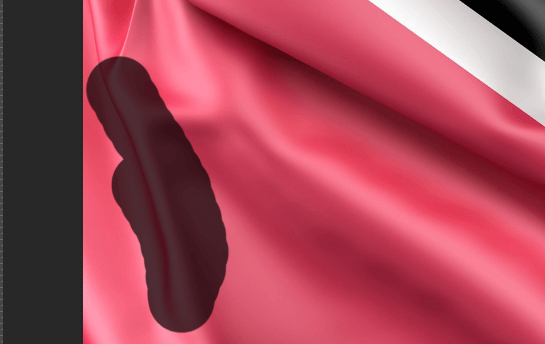
And Photoshop will smooth it out.
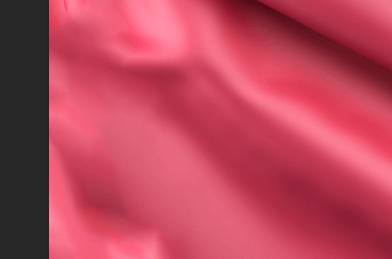
This tool works best when there are smaller patches of wrinkles to smooth.
Tool #2: The Patch Tool
The Patch Tool is your friend when it comes to smoothing larger areas. With this tool, you can draw around areas you want to smooth. Then you can choose a source point and Photoshop will do its best to match the surrounding colors.
You can find the Patch Tool hiding behind the Spot Healing Brush tool.

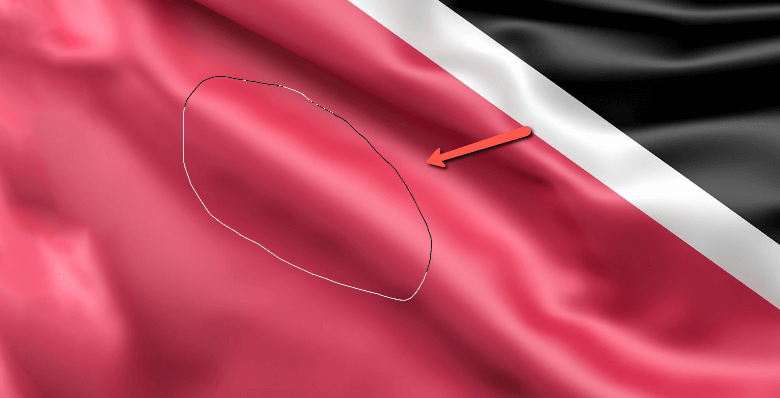
With the Patch tool active, draw around a section you want to smooth.
Then, click and drag the selection to an area of the image you want to use as the source. Photoshop will offer a preview, but not with the color and shading it will apply.
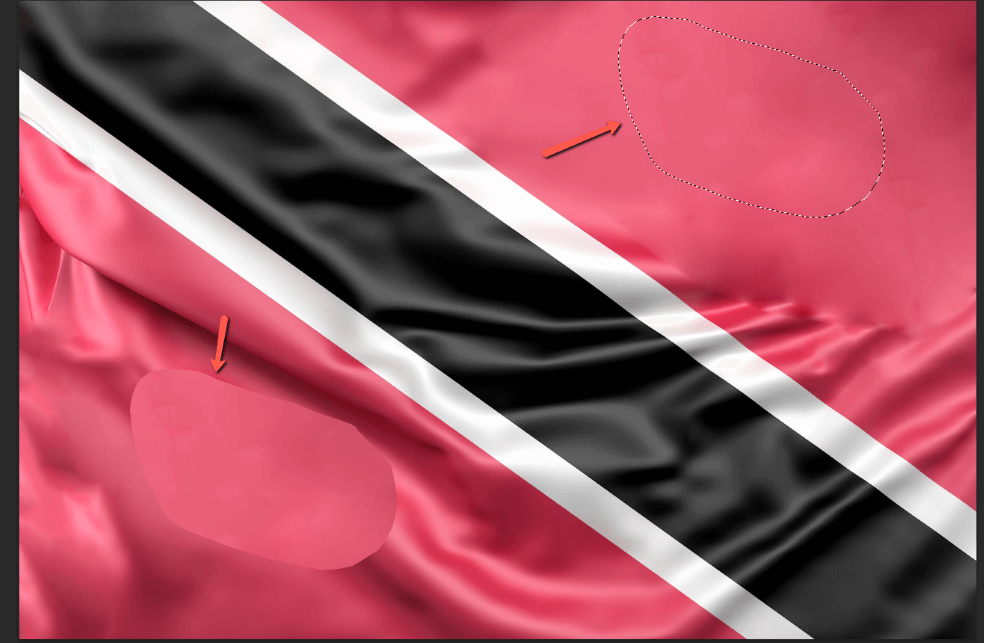
Release the selection to see how Photoshop will match the lighting. Not too shabby!
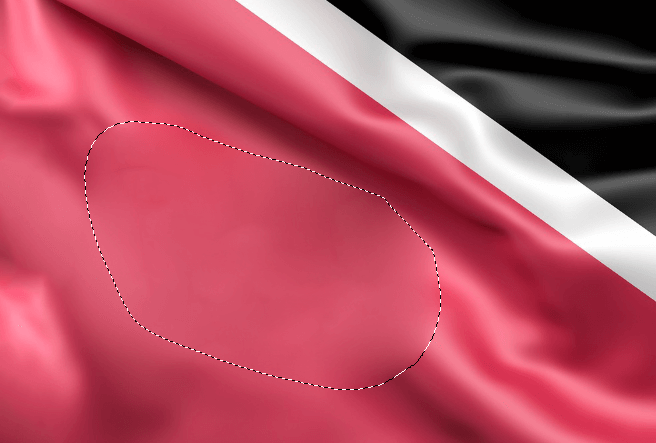
You can keep going like this until you’ve smoothed all your wrinkles. It’s pretty amazing how well this works. I haven’t finished all the material, obviously, but you can see how nicely Photoshop is “ironing” out this image.

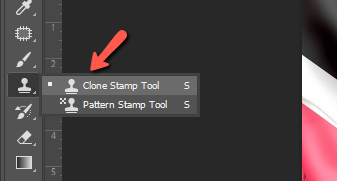
Tool #3: The Clone Stamp Tool
For the most part, the first two tools should take care of most images. If you need more precise control for a difficult image, you can use the Clone Stamp Tool. You’ll find it in the toolbar on the left.
With this tool active, hold Alt or Option while clicking to select a spot from which to sample. Then, carefully paint over an area you would like to fix. You can work in a straight line by holding Shift while clicking on beginning and ending points.
To help avoid obvious lines where I’m applying cloned pixels, I’ll turn down the Flow and Opacity in the Options bar. You can also turn down the brush’s Hardness to help blend the edges.
I’m going to use this technique along the bottom white strip. See how hot smoothed things out?
Let’s give it a try along the red side of that white strip. The Patch tool did a nice job, but there are a few spots that don’t look quite right. You can also start with the Clone Stamp tool to get the nice edge, then smooth out any shading inconsistencies with the Patch tool.

I haven’t touched the black section, but you get the idea. It’s amazing how much Photoshop can “iron” out those wrinkles!

Curious about other things you can change in Photoshop? Find out how to open closed eyes here!
About Cara Koch